
Your Vitamix immersion blender isn’t just another kitchen gadget—it’s your secret weapon for creating restaurant-quality dishes in minutes. From silky soups that rival your favorite bistro to homemade mayonnaise that puts store-bought versions to shame, this handheld powerhouse transforms everyday ingredients into culinary masterpieces without the dangerous transfer of hot liquids to countertop blenders. Forget messy splatters and multiple dirty dishes—these vitamix immersion blender recipes let you work directly in your cooking pot, mixing bowl, or mason jar for seamless results.
Whether you’re whipping up quick weekday meals or impressing guests with homemade aioli, mastering these techniques will revolutionize your cooking. You’ll discover how variable speed control creates perfect textures—from chunky stews to velvety sauces—while eliminating the wrist fatigue of traditional whisking. In the next sections, you’ll learn professional methods that turn simple pantry staples into extraordinary meals with minimal cleanup.
Essential Soup Recipes for Immersion Blending

Tomato Basil Bisque
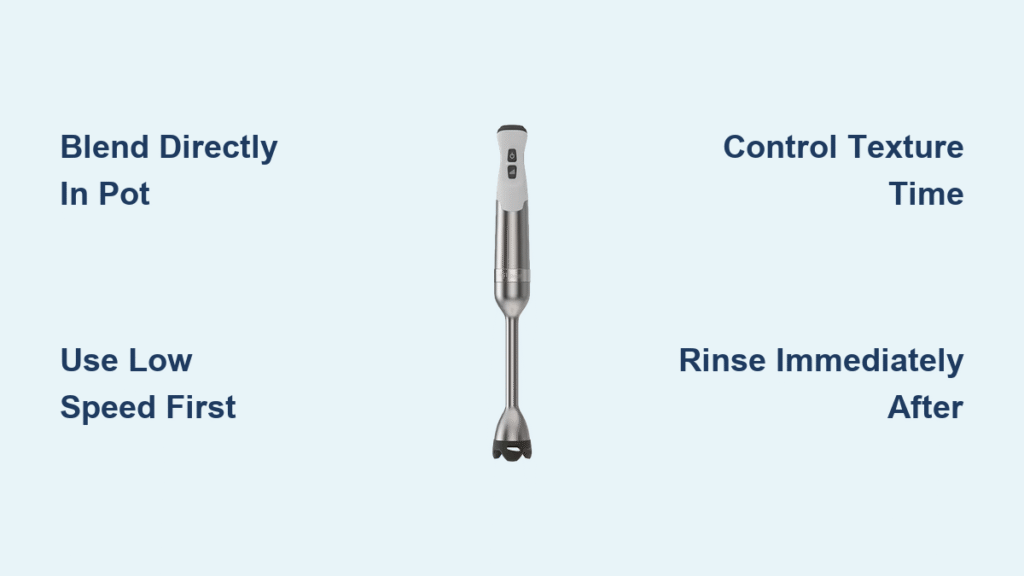
Transform canned tomatoes into velvet-smooth bisque directly in your pot without transferring hot liquids. Start by sautéing aromatics, then add crushed tomatoes and broth. Position the blender vertically at the pot’s bottom, submerging blades completely before starting. Use medium speed to create a vortex that pulls ingredients downward—this prevents air pockets and ensures even blending. Stop blending when you achieve that signature silky texture; over-processing thins the soup. For vibrant color, add fresh basil after initial blending to prevent oxidation from prolonged heat exposure.
Chunky Beef Stew Maintenance
Preserve hearty vegetable chunks while thickening your stew naturally. Blend only one-third of the stew by angling the immersion blender to target softer ingredients like potatoes near the pot’s bottom. Tilt your pot slightly to create a pooling area where you can concentrate blending action. This technique releases starches from broken-down vegetables to thicken the broth while leaving 70% of ingredients intact. If the stew becomes too thick, add reserved broth gradually while blending at low speed to incorporate smoothly.
Cream-Based Sauce Foundation
Achieve restaurant-quality smoothness in béchamel or Alfredo without curdling. After making your roux, gradually add warm milk while blending on low speed. The key is maintaining a consistent temperature—never let the mixture exceed 180°F (82°C). Keep the blender submerged in the thickest part of the sauce, moving it in slow figure-eights. If incorporating cheese, add it in three batches, blending just until melted. This direct-pot method prevents the emulsion breakage common when transferring hot liquids.
Emulsion-Based Dressing Recipes
Fail-Proof Caesar Dressing
Create stable emulsions that won’t separate for days using a wide-mouth mason jar. Combine egg yolk, lemon juice, anchovy paste, and garlic first. Start blending on the lowest speed before slowly drizzling in olive oil—this initial vortex is critical for emulsion formation. Keep the blender stationary at the jar’s bottom until the mixture thickens (about 15 seconds), then slowly raise it to incorporate remaining oil. For perfect consistency, use room-temperature ingredients; cold components cause separation.
Creamy Herb Vinaigrette
Achieve balanced acidity and visible herb flecks in 30 seconds. Add vinegar and mustard first, then oil, and finally fresh herbs. Use pulse technique—3-second bursts at medium speed—to chop herbs without pulverizing them. Stop blending when you see distinct green specks suspended in the dressing. Pro tip: Freeze your immersion blender shaft for 10 minutes before making vinaigrettes with delicate herbs like tarragon to prevent bruising and bitterness.
Dessert Creations and Sweet Applications
Perfect Whipped Cream Technique
Make billowy peaks in 45 seconds using a chilled mason jar. Pour cold heavy cream (at least 35% fat) to fill only one-third of the jar. Start on the absolute lowest speed—this prevents splattering and incorporates air gradually. Watch for the soft peak stage where swirls hold shape briefly. Warning: Stop immediately when firm peaks form; just 5 extra seconds creates grainy butter. For flavored cream, add vanilla or sugar after initial aeration to prevent deflation.
Quick Fruit Sauces
Turn overripe berries into gourmet toppings without transferring hot mixtures. Simmer fruit with sugar for 5 minutes until softened, then blend directly in the saucepan. Control texture by blending time: 10 seconds for rustic chunkiness, 20 seconds for smooth coulis. For elegant plating, strain through a fine-mesh sieve after blending. This method reduces waste while creating restaurant-quality sauces—perfect for pancakes or ice cream.
Herb and Nut-Based Sauces
Classic Basil Pesto
Create vibrant, non-oxidized pesto in under a minute without food processor browning. Combine pine nuts, garlic, and parmesan first, then add basil leaves. Blend in three stages: nuts/cheese (10 sec), add half basil (5 sec), add remaining basil (5 sec). This preserves chlorophyll for bright green color. Stop blending when you see visible leaf fragments—over-processing releases bitter compounds. For best results, use the pulse function with cold ingredients.
Batter and Baking Applications
Fluffy Pancake Batter
Eliminate lumps without overmixing—the enemy of tender pancakes. Whisk dry ingredients separately, then add wet components to your mixing bowl. Blend just 8-10 seconds on low speed until barely combined—visible streaks of flour are acceptable. Let batter rest 5 minutes; this allows gluten relaxation for lighter results. Over-blending activates gluten, creating rubbery pancakes. For blueberry pancakes, fold in berries after blending to prevent bursting.
Beverage and Smoothie Recipes
Single-Serve Breakfast Smoothies
Create lump-free smoothies directly in your travel cup. Layer ingredients strategically: liquid base first (1/2 cup), then soft ingredients (yogurt, banana), frozen items last. Fill only halfway to allow vortex formation. Start blending on low for 10 seconds to break down frozen fruit, then increase to medium for 20 seconds. The narrow cup shape actually creates better circulation than wide blenders—just keep the blades submerged at a 45-degree angle.
Container Selection Guide
Wide-Mouth Jars
Use 16-oz mason jars for dressings, whipped cream, or single-serve sauces. The straight sides create optimal vortex formation, while the wide opening prevents ingredient trapping near the rim. Critical tip: Never fill beyond half capacity—this leaves room for the vortex and prevents overflow during emulsification. These jars double as storage containers: blend, screw on lid, and refrigerate for up to 5 days.
Speed Control Mastery
Low Speed Applications
Reserve lowest setting for emulsion starters and delicate tasks. When making mayonnaise or whipped cream, begin blending before adding liquids to create the initial vortex. This setting incorporates air gently without splashing. It’s also essential for hot soups near the surface—any higher speed causes dangerous steam eruptions. Master this setting to prevent the most common immersion blender accidents.
Cleaning and Maintenance Tips
Immediate Rinse Protocol
Prevent dried-on food with this 10-second ritual: Fill your blending container with warm soapy water immediately after use. Submerge the shaft and blend for 10 seconds—this loosens particles while they’re still soft. For stubborn residues like nut butters, add a drop of vinegar to the water. Never run the motor while the blade is exposed above liquid level; this damages the seal.
Your Vitamix immersion blender unlocks professional techniques that transform tedious tasks into effortless creations. From weekday soups that taste like they simmered all day to impromptu dessert sauces that impress guests, these vitamix immersion blender recipes prove that extraordinary results require neither professional equipment nor hours of effort. Start with one technique—like the tomato bisque or herb vinaigrette—and master it before expanding your repertoire. Remember to always begin on low speed, choose the right container for each task, and rinse immediately after use. With these methods, you’ll discover why chefs consider the immersion blender the most versatile tool in modern kitchens. For continued success, explore how these vitamix immersion blender recipes adapt to seasonal ingredients—your next culinary breakthrough is just a blend away.


