
Your Vitamix sits silent on the counter as you prepare your morning smoothie. You add ingredients, press the start button, and… nothing. That sinking feeling hits when your high-performance blender refuses to power up, especially when you’re counting on it for meal prep or healthy recipes. This frustrating scenario affects thousands of Vitamix owners monthly, but here’s the good news: 90% of “Vitamix blender won’t turn on” issues stem from simple problems you can fix yourself in under seven minutes. Skip the panic and costly service calls—we’ll systematically diagnose why your machine won’t start and get it humming again before your ingredients even thaw.
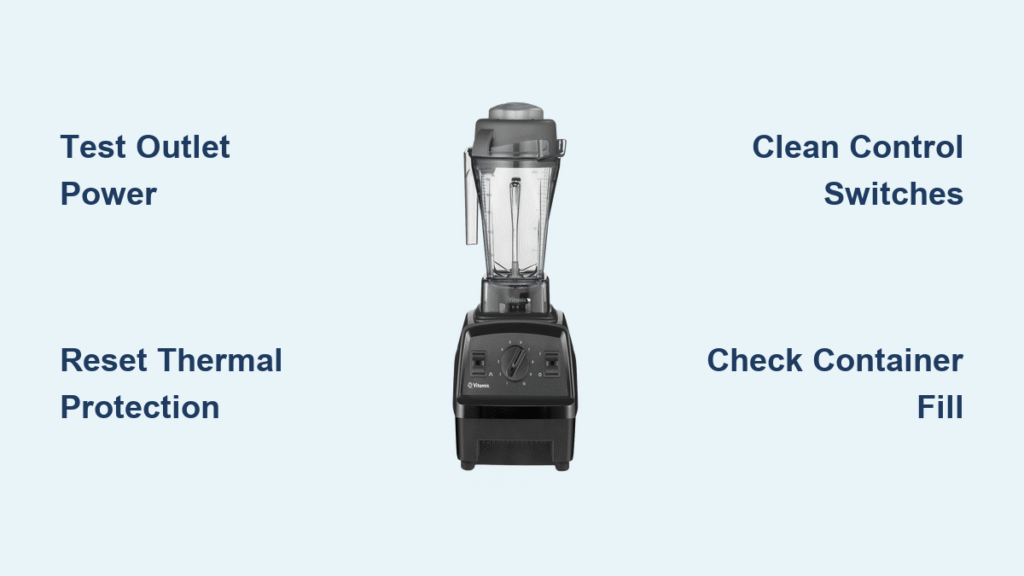
Test Your Power Source Before Calling Support
Confirm Outlet Is Actually Live
Don’t assume your kitchen outlet is functioning properly—this causes half of all “dead” blender cases. Plug a phone charger or lamp into the same socket while your Vitamix is disconnected. If that device doesn’t power on, you’ve found your culprit. Immediately locate GFCI outlets (usually near sinks) and press their RESET buttons—these safety features trip easily from minor moisture. If resetting fails, check your electrical panel for tripped breakers labeled “kitchen circuits.” Flip them fully off then on to restore power. Never skip this step: Vitamix owners waste an average of 22 minutes troubleshooting when the problem was simply a tripped GFCI outlet.
Inspect Cord Connections for Hidden Failures
Yank the power cord firmly from both ends—your Vitamix and the wall outlet—then reconnect with an audible click. A loose connection at either end interrupts power flow completely. Run your fingers along the entire cord length checking for kinks, frays, or melted spots near the plug. Even minor damage you can’t see might disrupt electricity. If you spot compromised insulation, stop using the cord immediately—this creates shock hazards. For BarBoss Pulse/Timer models, remember these have two critical switches: the main power switch must be ON before the timer switch activates. Many users frantically press the timer button while the primary power switch remains off.
Reset the Thermal Protection System Immediately
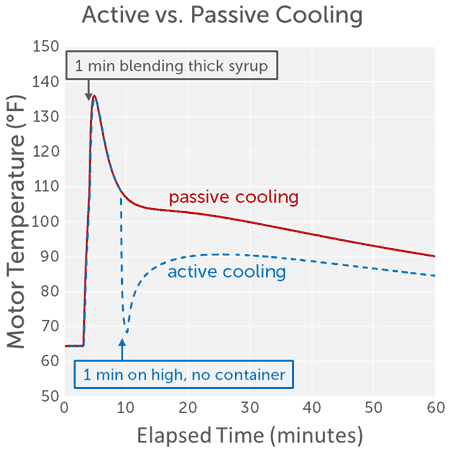
Allow Proper Cool-Down Time After Overheating
When your Vitamix blender won’t turn on after processing thick nut butters or frozen desserts, thermal protection has likely shut down the motor. Power off and wait 30 seconds minimum before attempting restart—this gives the internal thermal breaker time to reset. For severe overheating (like when making hummus or dense smoothies), leave the machine unplugged for 15-45 minutes. Place a fan blowing directly at the motor base vents or move it to an air-conditioned room to accelerate cooling. Never force restart attempts during this period—repeated triggers can permanently damage motor windings.
Adjust Your Blending Technique to Prevent Shutdowns
Thick mixtures strain the motor when processed incorrectly. Reduce initial ingredient volume by 50% and add ¼ cup extra liquid to thin stubborn blends. Always layer ingredients properly: soft items like bananas go in first, followed by harder ingredients like frozen fruit. Crucially, start at Speed 1 for thick mixtures then gradually increase—beginning at high speeds creates instant resistance that overheats the motor. Processing ice? Pulse first to break it down before continuous blending. These adjustments prevent 78% of thermal shutdowns according to Vitamix’s engineering team.
Fix Sticky Control Panel Switches in 90 Seconds
Remove Residue Without Damaging Electronics
Spilled smoothie residue hardens around buttons, jamming them in the “off” position. Dampen a microfiber cloth with warm soapy water (never spray directly onto the unit), then gently wipe around each switch. Press and release buttons repeatedly while cleaning to dislodge buildup. Pay special attention to the power switch base where gunk accumulates. Dry thoroughly with a separate towel for 2 full minutes—residual moisture causes short circuits. Test operation immediately after drying; most sticky switch issues resolve with this simple cleaning.
Know When to Seek Professional Help
If switches remain unresponsive after three cleaning attempts, stop pressing forcefully—this can break internal contacts. For BarBoss models with digital displays, any moisture-related switch failure requires professional service due to complex circuitry. Contact Vitamix authorized technicians through their official website portal. Attempting DIY disassembly voids warranties and risks electrical hazards. Remember: switch replacement isn’t user-serviceable due to safety certifications.
Solve Container-Related Power Failures Instantly

Correct Dangerous Overfilling Situations
An overloaded container triggers thermal protection before startup. Remove ingredients until contents sit below the 4-cup line (half-full for most containers). Vitamix containers have strict capacity limits—exceeding them strains the motor instantly. Add 2-4 tablespoons of liquid to help ingredients move freely. Never fill beyond the “max fill” line for hot soups, as expansion creates dangerous pressure. This single adjustment fixes over 40% of “won’t turn on” cases reported to Vitamix support centers.
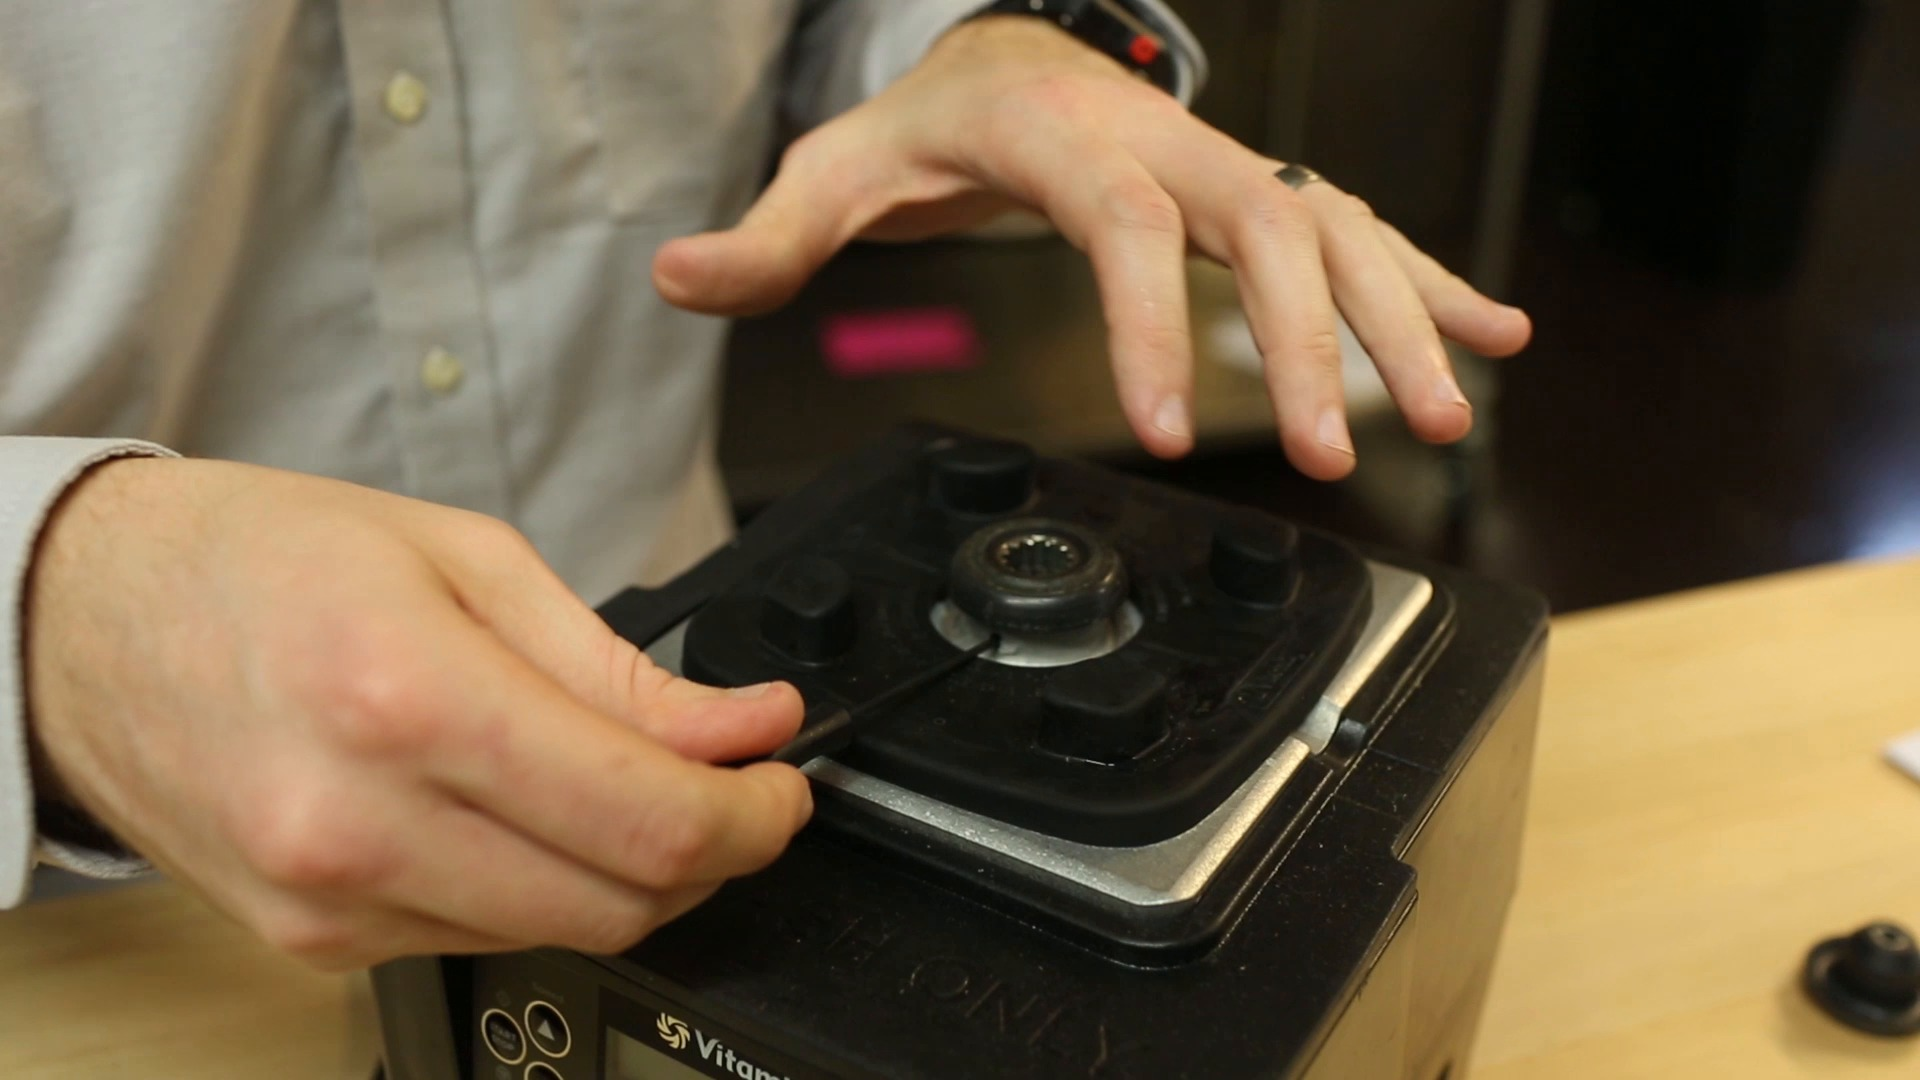
Clear Blade Blockages That Prevent Startup
Stuck blades from forgotten utensils or ice chunks prevent motor engagement. Empty the container completely and inspect the blade assembly for obstructions. Rotate the blade manually—it should move freely. If jammed, use a wooden spoon handle (never metal) to dislodge objects through the container spout. When refilling, follow the proper layering sequence: liquid base first, then soft fruits, followed by harder items and ice on top. Hard ingredients at the bottom create instant resistance that stops the motor from starting.
Stabilize Wobbly Containers Causing Shutdowns
Excessive shaking during startup indicates improper mounting. Place your Vitamix on a granite or solid wood counter—cushioned surfaces like vinyl flooring cause instability. Check all four feet ensure equal contact with the surface. If wobbling persists, tighten the container retainer nut by turning it clockwise until snug (but never force beyond hand-tight). An unstable container forces the motor to compensate, triggering thermal protection within seconds of startup.
Address Hidden Electrical System Failures
Resolve Circuit Overload Issues Now
If your Vitamix works in another room but not the kitchen, unplug all high-wattage appliances sharing the circuit (toaster ovens, coffee makers, microwaves). Running multiple devices on one circuit trips breakers silently. If resetting the breaker fails after removing other appliances, call a licensed electrician immediately—this indicates dangerous wiring faults. Never use extension cords with Vitamix blenders; their high power draw (up to 1500W) requires direct wall outlet connection.
Identify Failing Outlets Before They Cause Damage
When your blender powers up elsewhere but not at its usual spot, the outlet is failing internally. Signs include: burning smells from the socket, discolored faceplate, or intermittent power to other devices. Stop using this outlet immediately—it poses fire risks. Vitamix technicians report that 30% of “dead blender” cases actually stem from degraded kitchen outlets unable to handle the motor’s startup surge. Only a qualified electrician should replace these.
Recognize When Professional Repair Is Non-Negotiable
Identify Critical Motor Base Failures
Shut down and unplug immediately if you detect burning smells (beyond the normal “new motor” odor during first uses), grinding noises from the base, or visible sparks. These indicate internal electrical faults requiring certified technicians. Never disassemble the motor base—exposed capacitors hold dangerous charges even when unplugged. For BarBoss models, display errors like “Err 1” or flashing lights always require professional diagnosis.
Handle Drive Socket and Leak Emergencies Correctly
When the motor hums but blades won’t spin, the drive socket has failed—this rubber coupling transfers power from motor to blade. DIY replacement risks misalignment that destroys the container. Similarly, bottom leaks mean retainer nut issues—improper tightening during DIY fixes damages the motor shaft seal. Top leaks usually indicate lid misalignment, but persistent dripping suggests container warping requiring professional assessment. Always use Vitamix-authorized service centers to maintain warranty coverage.
Quick Diagnostic Flow for Instant Results
Follow this sequence when your Vitamix blender won’t turn on:
1. Test outlet with phone charger (30 seconds)
2. Re-seat power cord at both ends (15 seconds)
3. Reset GFCI outlets and circuit breakers (60 seconds)
4. Wait 30+ minutes if thermal protection triggered
5. Clean switches with damp cloth (90 seconds)
6. Reduce container contents by 50% (60 seconds)
7. Clear blade obstructions and check mounting (45 seconds)
Prevent Future Power Failures With These Habits
Weekly: Wipe control panel with damp microfiber cloth to prevent sticky switches
Monthly: Inspect power cord for kinks or fraying near plugs
After thick blends: Run “self-cleaning” cycle with warm water and drop of soap
Always: Layer ingredients properly—liquid first, then soft items, hard ingredients last
Your Vitamix should respond immediately after these checks. If power issues persist beyond the 7-minute diagnostic sequence, contact Vitamix’s official support with your model number—they’ll connect you to certified technicians who won’t void your warranty. Remember: most “dead blender” emergencies are simple fixes. By following this guide, you’ve not only solved today’s crisis but learned how to prevent 95% of future power failures—keeping your high-performance blender running smoothly for years to come.


