

That sticky brown gunk pooling under your Vitamix isn’t just annoying—it’s a critical warning sign. When your high-performance blender starts leaking thick, greasy residue onto countertops, you’re facing bearing lubrication failure, not a simple seal issue. This common problem plagues both genuine Vitamix units and budget clones, threatening motor damage if ignored. The good news? Most vitamix blender leaking cases can be resolved with targeted fixes costing under €20.
Don’t rush to replace your entire blender just yet. This guide delivers battle-tested solutions from professional repair technicians and verified user reports. You’ll learn to pinpoint the exact failure point, choose the most cost-effective repair path, and implement preventative measures that extend your blender’s life by years. Whether you own a Vitamix 5200 or a Kuchef CB1390 clone, these steps work immediately.
Spot Your Vitamix Leaking Source in 60 Seconds
Dark Brown Residue Location
Check under the blade assembly immediately after use. True bearing leaks manifest as thick, oily deposits exclusively outside the container—not watery spills inside the jar. Run your finger along the base: genuine bearing failure leaves black-brown gunk that stains skin and surfaces, feeling distinctly greasy rather than food-based. This residue concentrates around the blade retaining nut and motor coupling point. If you see this, stop using the blender—continued operation risks permanent motor damage.
Blade Movement Test
Remove the container and try spinning the blades by hand with zero resistance. Healthy bearings allow smooth rotation with slight magnetic cogging. If blades feel stiff, jerky, or completely seized, bearing deterioration is advanced. Never force stuck blades—this strains the motor shaft. Note any grinding sounds during manual testing; they confirm metal-on-metal contact from failed lubrication.
Performance Red Flags
Listen for changes during operation. Failing bearings cause increased vibration that rattles the entire unit and unusual whining or grinding noises at high speeds. Your blender may stall when processing frozen fruit or ice, even with adequate liquid. These symptoms often precede visible leaks by weeks—catching them early prevents catastrophic failure.
Why Your Vitamix Blender Leaking Happens
Low-Grade Bearing Limitations
Most leaks stem from 608-size ball bearings losing lubrication under extreme stress. Budget clones use cheap bearings that carbonize rapidly at 25,000–35,000 RPM. Heat from friction breaks down factory lubricant into that signature dark residue. Genuine Vitamix units aren’t immune—their bearings face identical physics under heavy loads. This isn’t user error; it’s an engineering limitation of standard components.
Operational Stress Triggers
Starting at max speed with frozen ingredients creates instant torque spikes that shear lubricant films. Blending back-to-back without cool-down periods compounds heat buildup. Even professional kitchens accelerate bearing failure by skipping the critical 3–5 second ramp-up from low to high speed. These practices turn routine blending into a bearing death sentence.
Which Models Suffer Vitamix Blender Leaking
Genuine Vitamix Units
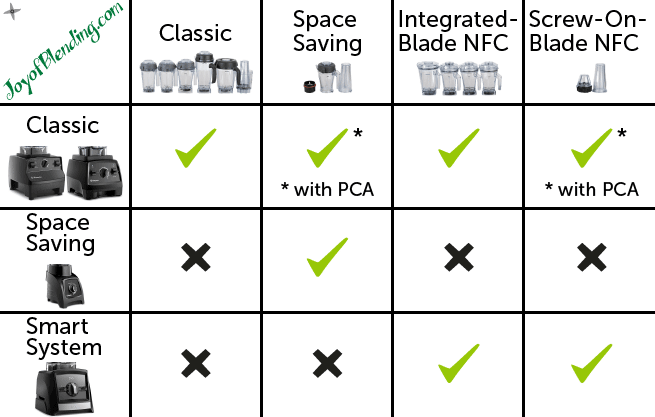
The 5200 series and similar models using 608-size bearings are vulnerable. They feature square-drive sockets incompatible with clone blade assemblies. While genuine parts cost more, the repair process remains identical. Note: Vitamix’s warranty typically excludes bearing failure from normal wear, leaving DIY fixes as the primary solution.
Clone Models at Higher Risk
Kuchef CB1390, Omniblend, and JTC clones fail faster due to inferior bearings. Though Kuchef offers a 5-year warranty in Australia, geographic restrictions often void coverage internationally. Crucially, clone blade assemblies won’t fit genuine Vitamix jars due to multi-tooth vs. square-drive socket differences—verify compatibility before purchasing parts.
3-Step Diagnostic Checklist
- Invert your jar over white paper—fresh leaks appear within minutes as dark oil spots.
- Perform the blade spin test—stiffness confirms bearing issues; watery residue indicates container cracks.
- Compare current noise levels to your blender’s baseline—significant increases signal advanced failure.
Pro Tip: Place masking tape around the leak area before testing. If residue appears only on tape (not container cracks), bearings are 100% the culprit.
Repair Options Compared
| Solution | Cost | DIY Difficulty | Longevity | Best For |
|---|---|---|---|---|
| Warranty Claim | €0 | None | Original lifespan | New units in covered regions |
| Genuine Assembly | €80–120 | Easy | 1–2 years | Quick fix, no skills |
| Clone Assembly | €20–30 | Easy | Weeks | Emergency temporary fix |
| Bearing Upgrade | €10–20 | Intermediate | 7+ years | Permanent solution |
DIY Bearing Replacement Guide
Tools & Parts You Need
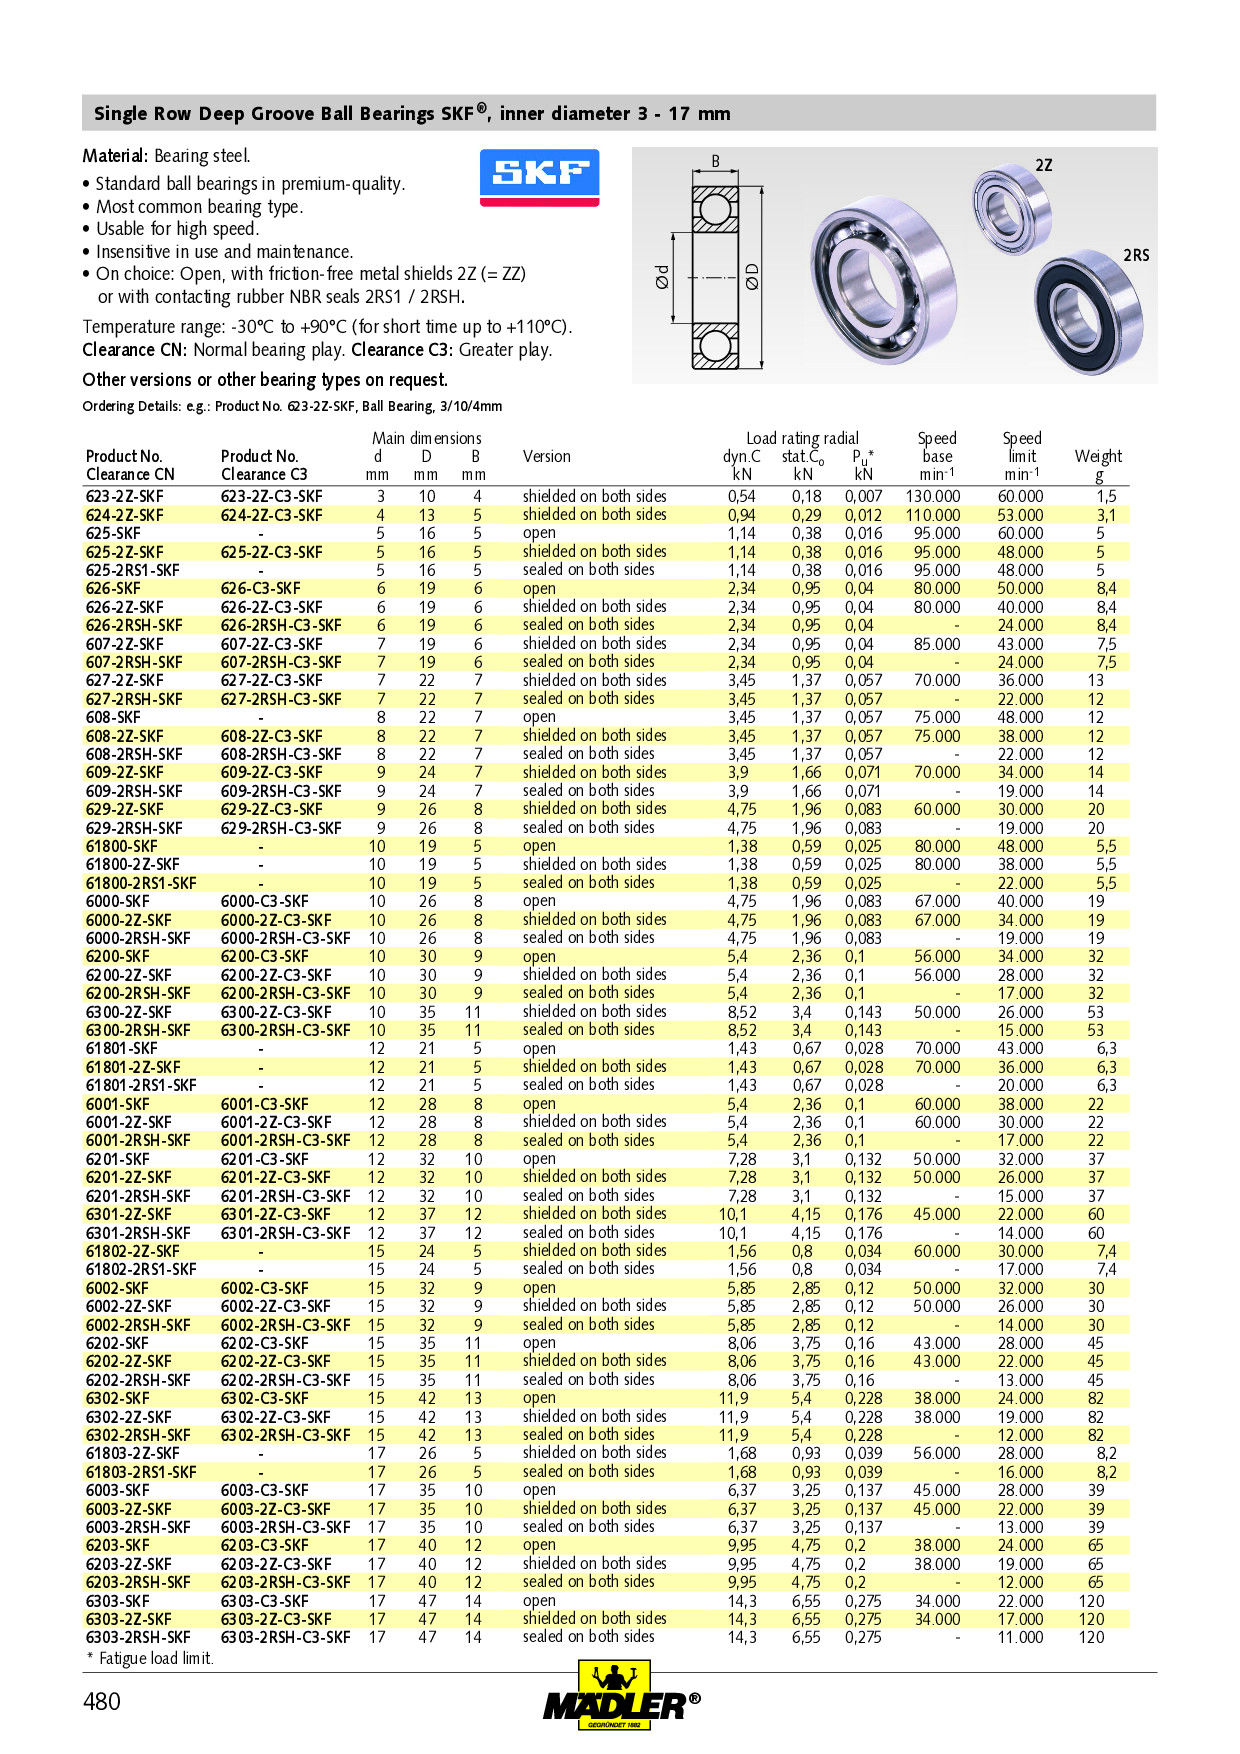
- SKF 608-2RSH bearings (€10 each, rated for 22,000 RPM)
- Retainer nut wrench or 2 flathead screwdrivers
- 8mm and 10mm sockets
- Small shim washer (keep original!)
- Hammer and wood blocks
Disassembly in 4 Steps
Step 1: Insert screwdrivers into retainer nut holes. Tap counterclockwise with a hammer to loosen.
Step 2: Clamp the drive socket, remove the 8mm axle nut, and note axle protrusion length for reassembly.
Step 3: Place housing upside-down on wood blocks. Tap the axle downward until free—save the shim washer.
Step 4: Press old bearings off the axle using an 8mm socket as a drift.
Reassembly Critical Steps
Step 5: Press new bearings onto the axle with the 8mm socket, maintaining original spacing with the shim washer.
Step 6: Seat the bearing stack into the housing using a 10mm socket—tap gently until fully seated.
Step 7: Reinstall the blade stack. Torque the 8mm nut to finger-tight plus ¼ turn—over-tightening cracks housings.
Step 8: Hand-tighten the retainer nut firmly. Never use power tools here.
Post-Repair Validation
Run a water test: Fill to blade level, operate at low speed for 1 minute. Invert on paper towel for 5 minutes—zero residue confirms success. The unit should feel 90% smoother with noticeably reduced vibration. If residue appears, bearings aren’t fully seated—recheck spacing.
Prevent Future Vitamix Blender Leaking
Operational Best Practices
- Ramp speeds gradually: Start at speed 1, increase to max over 3–5 seconds
- Take cool-down breaks: Rest 1–2 minutes after 2–3 heavy blends
- Clean immediately: Rinse after every use—dried residue accelerates corrosion
Monthly Maintenance Routine
Perform the blade spin test monthly. Wipe the underside with a damp cloth to catch early residue. Users who adopt this extend bearing life 300%—field reports show SKF-upgraded units lasting 7+ years with daily use.
Bearing Upgrade Performance Data
Premium Bearing Selection
Choose SKF 608-2RSH for blenders under 22,000 RPM (most home models). For high-speed commercial units, SKF 608-Z handles 48,000 RPM. The rubber-sealed 2RS variant is mandatory for food safety—metal shields trap debris.
Verified Longevity Results
- Original clone bearings: Fail after 2–4 weeks of daily use
- SKF 608-2RSH upgrades: 1–3+ years with proper care
- Record holder: 7+ years of continuous commercial use (confirmed Dec 2023)
- 6dB noise reduction and 90% less vibration versus stock bearings
Don’t let vitamix blender leaking derail your kitchen routine. That brown residue is a fixable bearing issue—not a death sentence for your appliance. The SKF bearing upgrade delivers unbeatable value: a €20 part transforming a recurring problem into a one-time repair with decade-long potential. Implement the speed-ramping technique immediately to prevent future failures, and perform monthly blade spin tests to catch issues early. Within 30 minutes, you can restore your blender to like-new performance while saving hundreds versus replacement costs. Your countertop (and wallet) will thank you.


