
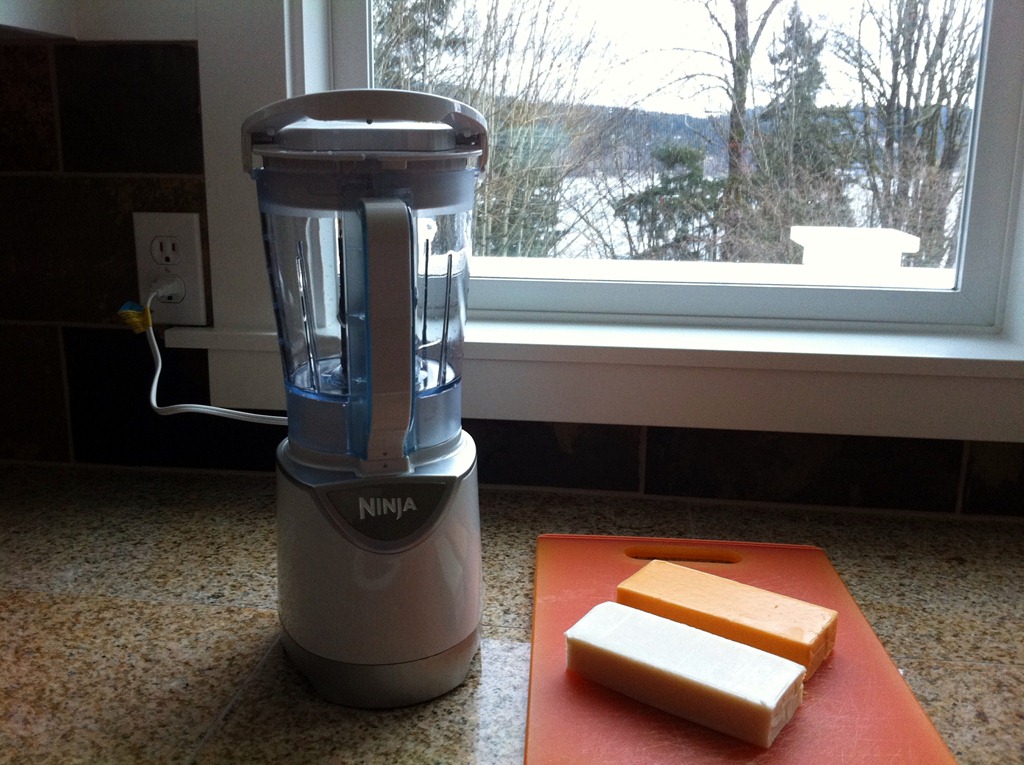
Your Ninja blender sits ready for pizza night, but that block of cheddar won’t grate itself. You’ve heard you can shred cheese in a Ninja blender—but when you try, you get sticky blobs instead of perfect strands. You’re not imagining it. Most Ninja blenders can’t create traditional shreds; they produce crumbles ideal for melting but useless for cheese boards. The difference? Your specific model and technique. This guide reveals exactly how to maximize your Ninja’s cheese-shredding potential—whether you own a basic Pulse or a Mega Kitchen System—so you never waste $8 cheese again.
Which Ninja Models Actually Shred Cheese (And Which Only Make Crumbles)
Your Ninja’s cheese results depend entirely on whether it has dedicated grating hardware. Standard blenders without attachments force cheese through spinning blades, creating crumbles. Food processors with shredding disks deliver true shreds.
Why Your Standard Ninja Blender Creates Crumbles
Ninja Pulse and Professional Blender models use dual or triple blades designed for liquid blending—not shredding. When you pulse cheese, the blades chop it into uneven crumbles (0.25–0.5 inches) perfect for melting into sauces or casseroles but visually unappealing for garnishes. Cheddar works best here, yielding uniform crumbles that melt evenly. Avoid mozzarella—it turns into sticky globs due to its high moisture content.
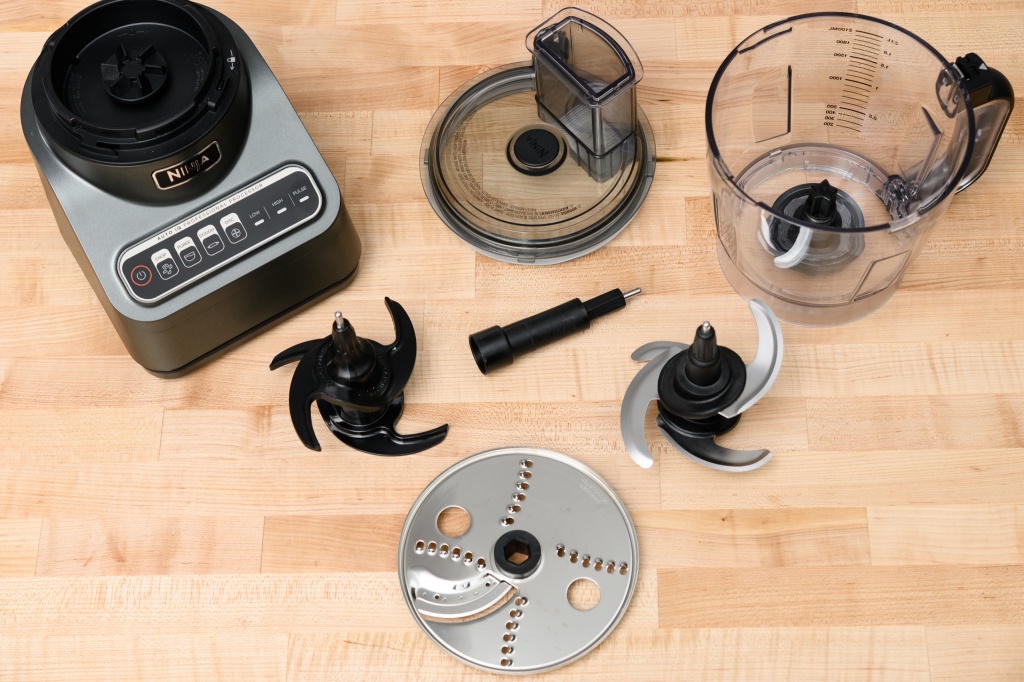
Models That Deliver True Restaurant-Style Shreds
Newer Ninja Pulse models and the Mega Kitchen System 1500 include dedicated grating attachments with stainless steel shredding disks. These mimic box graters by pulling cheese against sharp perforations. For optimal results:
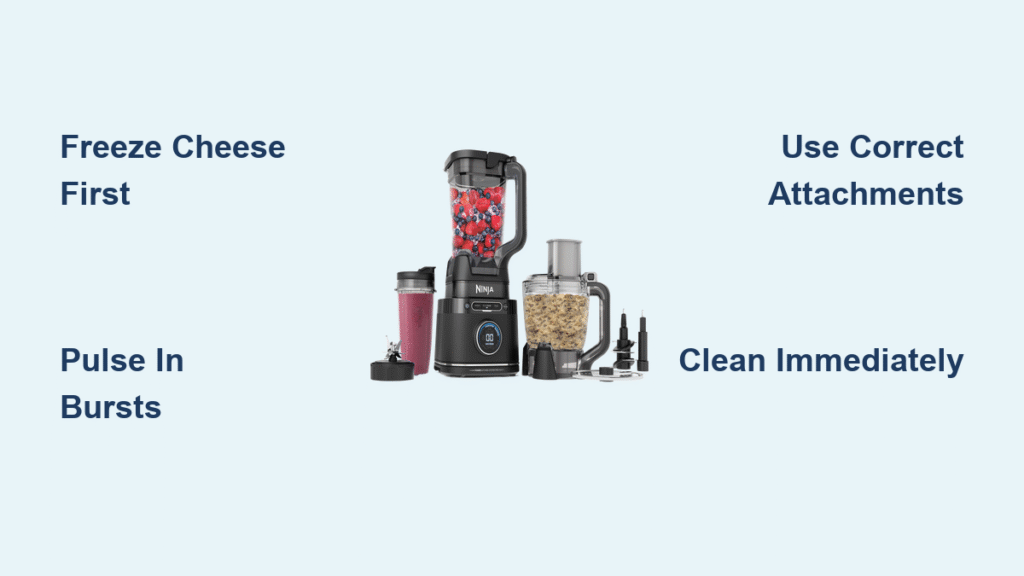
– Freeze cheese 15–20 minutes first (critical for firm texture)
– Use the S-blade for fine shreds or grating disk for coarse strands
– Process in 1–2 inch chunks to prevent clogging
Without these attachments, your Ninja blender cannot create long, uniform shreds—no matter how many times you pulse.
How to Force Crumbles from Your Standard Ninja Blender
If you own a basic Ninja blender without grating hardware, optimize crumble production for cooking applications. Skipping these steps guarantees paste-like results.
The 4-Step Crumble Method That Actually Works
- Cube hard cheese into 2-inch pieces (softer cheeses like Swiss require smaller 1.5-inch chunks)
- Load only cheese cubes—no other ingredients—to avoid uneven processing
- Pulse exactly 9–10 times in 1-second bursts (hold the pulse button no longer)
- Stop immediately when texture resembles coarse sand—over-pulsing melts fats
Critical visual cue: Properly shredded cheddar crumbles should hold shape when pinched but break apart easily. If cheese sticks to the blade shaft, it’s too warm—return cubes to freezer for 5 more minutes.
Cheese-Specific Results You’ll Actually Get
| Cheese Type | Result in Standard Ninja | Best Use Case |
|---|---|---|
| Extra-sharp Cheddar | Uniform crumbles (0.3-inch) | Pizza toppings, mac and cheese |
| Parmesan | Fine, powdery texture | Pasta dishes, baked toppings |
| Mozzarella | Wet, sticky clumps | Avoid—use pre-shredded instead |
| Swiss | Semi-firm crumbles with holes | Casseroles, soups |
Soft cheeses like brie or cream cheese will instantly turn to paste—don’t waste your block.
Fix These 3 Ninja Cheese Shredding Disasters Immediately

When cheese sticks to blades or forms glue-like paste, these fixes salvage your batch during processing.
Emergency Clump Breakup Technique
If cheese clumps during pulsing:
1. Stop the machine—never force it through continuous blending
2. Scrape down sides with a silicone spatula (unplug first for safety)
3. Add 2–3 new frozen cheese cubes to break up sticky masses
4. Pulse 2–3 more times and recheck
This works because the cold new cubes disrupt heat buildup. Never add liquid—it creates cheese paste.
Paste Prevention Protocol
Paste forms when blade friction melts cheese fats. Prevent it by:
– Pulsing in 2-second bursts max (never hold the button)
– Processing ≤½ cup cheese at a time (overfilling causes heat retention)
– Chilling the bowl in freezer for 5 minutes before loading cheese
Pro tip: Wipe the blade shaft with a paper towel between pulses if residue builds up—this stops heat transfer.
Clean Your Ninja Before Cheese Hardens (Critical!)
Cheese proteins harden into rock-like residue within 20 minutes. Delaying cleaning risks permanent blade damage.
4-Minute Post-Shred Cleaning Routine
- Disassemble immediately—remove blade, lid, and bowl while cheese is soft
- Rinse blade under warm running water (never soak—water damages seals)
- Scrub crevices with a stiff-bristled brush (dental brushes work perfectly)
- Air-dry all parts upside down for 1 hour before reassembling
Warning: Dishwasher cleaning warps plastic components. For stubborn residue, fill the bowl with warm water + 1 tbsp vinegar, pulse 5 times, then rinse.
When to Ditch Your Ninja for Cheese Shredding
Your Ninja excels for melting applications but fails for presentation-focused tasks. Use this decision guide:
Perfect Ninja Shredding Scenarios
- Pizza night: Crumbles melt faster and more evenly than shreds
- Cheese sauce: Crumbles incorporate quicker without lumps
- Casseroles: Texture disappears during baking anyway
- Emergency situations: When your grater’s in the dishwasher
Grab a Box Grater Instead When:
- Building charcuterie boards (shreds look amateurish)
- Topping salads (crumbles sink and disappear)
- Following recipes requiring “¼-inch shreds” (Ninja can’t measure this)
- Using mozzarella (it will blob—no workaround)
Cost-Saving Buying Guide: Is the Grating Attachment Worth It?
For frequent shredders, Ninja’s grating add-ons justify their cost. Occasional users should skip them.
Real-World Price Breakdown
The Ninja Pulse with grating attachment retails for $87.50, but Bed Bath & Beyond sales drop it to $70. With their 20% coupon, you pay $56—cheaper than a standalone food processor. If you shred cheese weekly, this pays for itself in 6 months versus pre-shredded bags (which cost 30% more per ounce).
When to Buy the Mega Kitchen System
Splurge on the $150 Mega Kitchen System 1500 only if:
– You shred hard cheeses (cheddar, parmesan) 3+ times weekly
– You already use single-serve cups for smoothies
– You lack counter space for a separate food processor
Otherwise, a $12 box grater handles presentation needs better than any Ninja crumble.
Pro Shredding Hacks for Flawless Results
Master these techniques to stretch your Ninja’s capabilities beyond its limits.
The Temperature Hack All Cooks Miss
Freeze cheese for exactly 17 minutes—not 10 or 20. This firms the exterior while keeping the core pliable. Test with a fork: it should pierce easily but feel cold throughout. Warm cheese (above 40°F) melts on contact with blades.
Batch Processing Order for Mixed Cheeses
When shredding multiple types:
1. Process hardest cheeses first (parmesan)
2. Follow with medium (cheddar)
3. Never shred soft cheeses after hard ones—residue causes clumping
4. Clean blade between types for optimal results
One-time setup: Label your Ninja bowls “HARD CHEESE ONLY” and “SOFT CHEESE” to prevent mistakes.
Final Note: Your Ninja blender can shred cheese effectively—but only if you match the technique to your model. Standard blenders create chef-worthy crumbles for cooking, while food processor attachments deliver presentation-perfect shreds. Freeze your cheese, pulse in short bursts, and clean immediately. For mozzarella or garnishing, keep a box grater handy—but for 90% of cooking applications, your Ninja delivers fast, consistent results that beat pre-shredded bags every time. Master these steps, and you’ll never buy expensive pre-shredded cheese again.


