
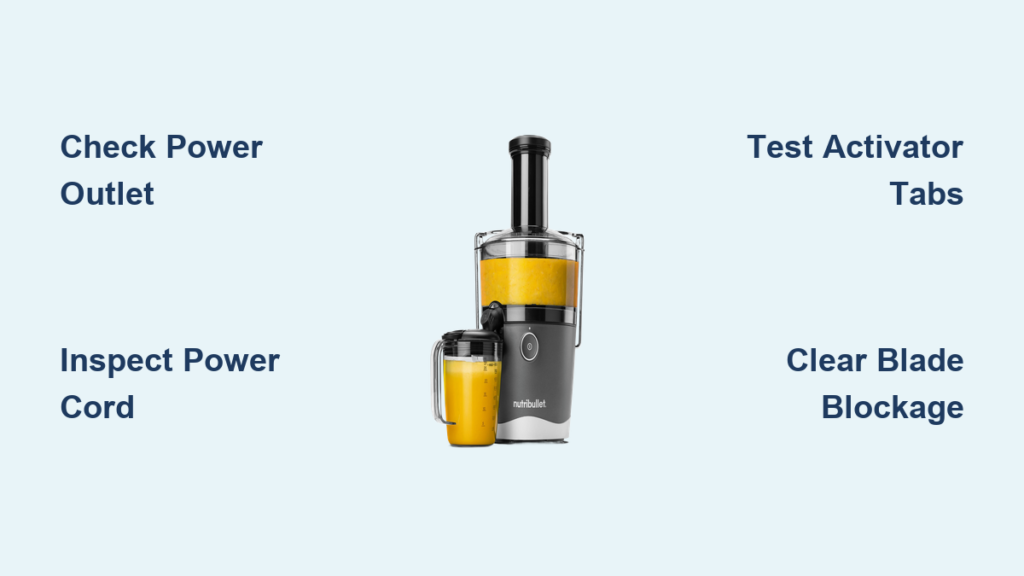
Your NutriBullet suddenly stops responding mid-blend, leaving you staring at a silent appliance and a half-prepared smoothie. This frustrating scenario affects thousands of NutriBullet owners annually, with many reporting complete failure after just months of regular use. When your NutriBullet juicer not working situation strikes, you don’t need generic advice—you need targeted solutions that address the exact symptoms you’re experiencing. This guide delivers proven fixes for every common malfunction, from total power failure to unresponsive blades and mysterious indicator lights, so you can restore your blender’s functionality without unnecessary replacement costs.
Diagnose Complete Power Failure in Your NutriBullet

When your NutriBullet shows absolutely no signs of life—no power light, no humming sound, complete silence—you’re dealing with a serious power interruption that requires systematic troubleshooting. This complete failure scenario affects numerous models including the popular NB500 series, with customers reporting sudden shutdowns after only a few months of ownership. The frustrating reality is that the unit appears completely dead, offering no clues about the underlying cause.
Start with the simplest solution first: test multiple electrical outlets throughout your home with a different device to confirm they’re functioning properly. Many users waste time diagnosing complex issues when the problem is simply a tripped circuit breaker or faulty outlet. Next, carefully inspect the entire power cord for visible damage, fraying, or breaks in the wiring—the cord may appear intact externally while hiding internal wire breakage that interrupts electrical flow.
Allow your NutriBullet to rest for at least 60 minutes before attempting to restart it. If you’ve been processing tough ingredients or running the blender continuously, the thermal fuse may have blown as a safety precaution. This protective mechanism prevents permanent motor damage by cutting power when temperatures reach dangerous levels, requiring a cooldown period to reset.
Verify Your Outlet Isn’t the Culprit
Many NutriBullet juicer not working complaints stem from outlet issues rather than appliance failure. Plug a lamp or phone charger into the same outlet to confirm power delivery—this simple test eliminates one of the most common false diagnoses. If the outlet works but your blender remains dead, move to the next troubleshooting step immediately.
Inspect for Hidden Cord Damage
Feel along the entire length of the power cord for soft spots or irregularities that indicate internal damage. Pay special attention to areas where the cord connects to the base and where it plugs into the wall, as these junctions experience the most stress during regular use. A cord that appears intact externally may have broken wires inside, preventing electrical current from reaching the motor.
Fix Stuck Activator Tabs Preventing Operation

Your NutriBullet’s white activator tabs serve as the critical safety mechanism that must engage properly for the unit to function. These small tabs on the base must click into place when the cup twists on, signaling that the blender is properly assembled and safe to operate. If these tabs are stuck, broken, or obstructed, your NutriBullet will remain completely unresponsive regardless of power status.
Test Tab Mobility and Function
Visually inspect both activator tabs for visible damage and physically test their movement. Gently press and release each tab to confirm they spring back properly—sticky or immobile tabs prevent the safety interlock from engaging. Clean around the tabs with a soft brush to remove any food debris or residue causing obstruction. If a tab feels loose or doesn’t return to position, the internal spring mechanism may be damaged.
Confirm Cup Tab Integrity
The cup itself contains corresponding tabs that must align with the base activator tabs. One documented case involved a broken tab on the cup—when the user tried a different cup, the unit worked perfectly. Always test with an alternate cup before concluding the base unit has failed. Examine the cup’s tabs for cracks or breaks, especially if you’ve recently dropped the container.
Resolve Motor Operation Issues When Blue Light Appears
A particularly frustrating scenario occurs when your NutriBullet displays a solid blue light but fails to operate—this indicates partial electrical functionality with a specific failure point. The blue light confirms power reaches the control circuitry, but something blocks the signal to the motor assembly. This symptom points to either a motor control problem or an internal component failure that interrupts the operational pathway.
Diagnose Motor Strain Symptoms
When your NutriBullet makes unusual sounds but the blades don’t rotate, or operates at reduced speed unable to blend ingredients properly, you’re likely dealing with either a mechanical blockage or electrical fault. If the motor strains or whines without blade movement, immediately stop operation to prevent further damage. Check for blade obstructions as your first step before investigating electrical components.
Test for Thermal Fuse Activation
The thermal fuse blows during motor overload situations as a safety precaution. If your NutriBullet stopped working after processing frozen ingredients or running continuously, the thermal protection likely engaged. Allow the unit to cool completely for several hours before attempting to restart—rushing this process often leads to repeated failures.
Clear Frozen or Overfilled Contents Blocking Blades

Improper filling causes immediate operational failures in many NutriBullet juicer not working cases. When the chamber is overfilled or contains frozen ingredients without sufficient liquid, the blades become physically unable to rotate, triggering the motor’s protection mechanisms. This common issue often gets misdiagnosed as electrical failure when the solution is simply content adjustment.
Manually Test Blade Mobility
Attempt to rotate the black rubber circle on the lid—if it won’t turn, your blades are obstructed. Never force rotation as this can damage the drive mechanism. Instead, remove about one-third of the contents and add additional liquid to create a more flowable consistency. For frozen ingredients, allow them to thaw slightly or add warm liquid to help break up solid masses before attempting to blend again.
Prevent Future Blockages
Follow these specific guidelines to avoid content-related failures:
– Never fill above the MAX line indicated on your cup
– Add liquid ingredients first before solids
– For frozen ingredients, use a 2:1 liquid-to-solid ratio
– Process in 30-second intervals with 15-second rests between cycles
– Avoid blending extremely hard items like whole nuts or ice cubes
Address Water Damage to Electrical Components
Water exposure creates particularly dangerous conditions for NutriBullet units, often leading to permanent damage. One documented case involved a user who accidentally submerged the base during cleaning—despite thorough drying, the unit never restarted, indicating moisture had damaged sensitive electrical components.
Proper Cleaning Protocol
Never submerge the base unit in water or allow liquid to enter electrical connections. Clean the base only with a damp cloth on exterior surfaces, keeping all electrical components completely dry. If moisture contacts the base, immediately unplug it and allow drying in a warm, well-ventilated area for at least 48 hours before attempting use again.
Warning Signs of Water Damage
Look for these indicators that moisture may have compromised your unit:
– Rust or corrosion around electrical contacts
– Discolored or warped plastic near the base
– Musty odor when attempting to operate
– Intermittent operation that worsens over time
Navigate Warranty Replacement for Failed Units
Given that many NutriBullet juicer not working failures occur within the first few months of ownership, warranty coverage represents your best solution for newer units. Models still under warranty with no signs of external damage or misuse typically qualify for replacement through NutriBullet customer service.
Prepare for Warranty Claim
Document all troubleshooting steps you’ve attempted and note specific symptoms observed. Have your model number, purchase date, and detailed description of the failure ready when contacting customer service. Clear documentation significantly expedites the replacement process—users who provide specific failure details receive faster resolutions.
Critical Warranty Warning
Disassembling your NutriBullet yourself may void the warranty. For units still under coverage, manufacturer contact should always be your first course of action rather than attempting internal repairs. If your unit is past warranty, the troubleshooting steps in this guide can still help determine whether simple fixes are possible.
Prevent Future NutriBullet Failures Through Proper Usage
High-frequency usage patterns directly correlate with premature NutriBullet failures. Users who operate their blenders multiple times daily, sometimes seven days per week, report sudden failures without warning. While designed for regular use, extreme usage patterns accelerate wear on internal components and contribute to overheating issues.
Implement Usage Best Practices
Extend your NutriBullet’s lifespan with these proven techniques:
– Limit continuous blending sessions to 60 seconds maximum
– Allow 2-3 minutes of cooling time between uses
– Never blend completely frozen ingredients without sufficient liquid
– Clean the base unit with only a slightly damp cloth—never submerge
– Store in a dry location away from direct heat sources
Regular maintenance prevents most common failures—check power cord integrity weekly, ensure activator tabs move freely, and clean blade assemblies thoroughly after each use. By respecting your NutriBullet’s operational limits and following these preventative measures, you’ll significantly reduce the likelihood of encountering nutribullet juicer not working situations in the future. If your unit remains completely unresponsive after working through these verified solutions, warranty replacement or professional repair represents your most practical next step.


