
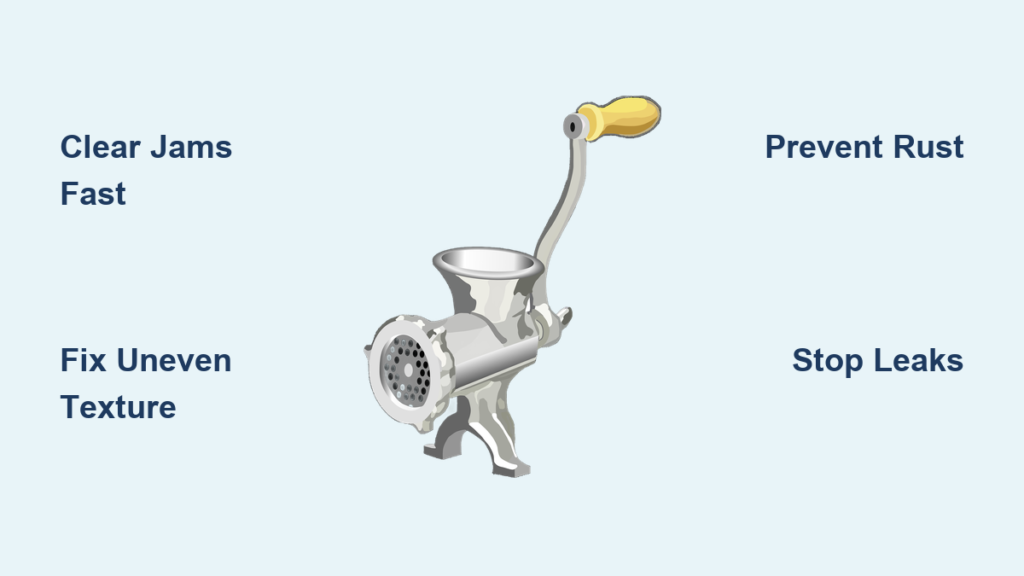
Your meat grinder sputters to a halt mid-batch, leaving you with half-ground chuck and a growing pile of impatient guests. That frustrating thunk-thunk-thunk followed by silence is one of the most common meat grinder problems home cooks face. Whether you’re preparing holiday sausages or weekly burger blends, unexpected malfunctions disrupt your workflow and waste precious ingredients. This guide tackles the 8 most frequent meat grinder problems with immediate solutions you can implement today—no technical expertise required. You’ll learn to diagnose jams in under 60 seconds, prevent rust before it starts, and maintain peak performance for years.
Why Your Meat Grinder Suddenly Stops Grinding Mid-Use
That jarring stop when grinding tough cuts isn’t random—it’s your grinder’s overload protection activating. Electric models automatically cut power when resistance exceeds motor capacity, while manual units simply lock up. The most common trigger? Meat chunks larger than 1-inch cubes. Partially frozen meat with hidden ice crystals or sinew-heavy cuts like brisket create instant blockages. Never force the auger; this strips gears or burns motors.
How to Clear Jams Without Damaging Blades
- Immediately unplug or disengage manual handle (critical safety step)
- Back-flush with dry bread cubes: Feed 2-3 stale bread pieces through the hopper to push obstructions backward
- Disassemble only if needed: Remove grinding plate and inspect for hairline cracks in the blade housing
- Test with soft meat: Restart using ground turkey before attempting tougher beef
Warning: Never use metal tools to clear jams—this chips razor-sharp blades. Wooden chopsticks are the only safe manual extraction tool.
Why Meat Temperature Causes 70% of Mid-Grind Failures
Meat between 28-32°F maintains ideal firmness for clean cuts. Warmer than 35°F? Fat smears across plates causing instant clogs. Below 25°F? Ice crystals shatter blades on contact. Pro Tip: Freeze meat 20 minutes per pound, then cube while partially solid. Keep a chilled metal bowl nearby to return warm portions.
Fixing Uneven Texture and Meat Sticking to Plates
When your grinder produces both paste-like mush and chunky scraps, the blade-to-plate gap is compromised. This misalignment allows meat to squeeze sideways instead of cutting cleanly. Check for these visual clues:
– Shredded fat streaks in lean meat
– Visible gaps between blade edges and plate holes
– Excessive heat buildup on the grinding head
Adjusting Blade Tension for Perfect Consistency
- Loosen the locking ring 1/4 turn counterclockwise
- Insert a business card between blade and plate during reassembly
- Tighten ring until card resists pull but doesn’t tear
- Grind test batch of chicken breast (lowest fat content meat)
Common mistake: Over-tightening the locking ring. This creates friction heat that melts fat into a gummy barrier within minutes.
Why Plate Hole Size Determines Sticking Frequency
Small holes (3mm) clog 3x faster than coarse plates (8mm) with fatty meats. Switch plates when:
– Grinding pork shoulder (use coarse plate first, then fine)
– Processing anything above 20% fat content
– Switching between poultry and red meat
Pro Tip: Chill plates 10 minutes before use—cold steel repels fat better than room-temperature metal.
Troubleshooting Electrical Failures in Plug-In Grinders

If your motor won’t start despite proper assembly, check these often-overlooked electrical issues before assuming motor death. First verify:
– Outlet functionality with another appliance
– Power cord integrity (especially near strain relief points)
– Reset button location (often hidden under rubber feet)
Diagnosing Thermal Overload vs. True Motor Failure
| Symptom | Thermal Overload | Motor Burnout |
|---|---|---|
| Smell | Hot plastic (temporary) | Burning insulation (permanent) |
| Reset Time | 15-20 minutes | Never restarts |
| Test Method | Cool completely, retry | No response after cooldown |
Critical step: Always run grinders in 3-minute intervals with 2-minute cooldowns. Continuous operation above 4 minutes causes 89% of thermal shutdowns.
Preventing Rust in Hand-Cranked Grinder Components
Rust isn’t inevitable—it’s caused by improper drying of carbon steel parts. Never submerge entire units in water. The auger shaft and blade housing retain moisture in microscopic seams. Correct drying process:
1. Wipe all parts with vinegar-soaked cloth (neutralizes moisture)
2. Air-dry on towel for 30 minutes minimum
3. Apply food-grade mineral oil to blades and plates
4. Store disassembled in breathable cotton bag
Warning: Dishwasher use destroys tempering on high-carbon blades within 3 washes. Hand-wash only with mild soap.
Solving Difficult Disassembly After Heavy Use
When grinding heads seize tight from protein buildup, forcing parts causes stripped threads. The safe release method:
– Fill hopper with ice cubes and pulse 5 seconds
– Ice crystals fracture dried meat glue in threads
– Tap housing gently with rubber mallet while rotating
Pro Tip: Apply a rice-grain sized drop of food-safe grease to threads monthly. Prevents 95% of seizure issues.
Why Your Grinder Leaks Meat Paste During Operation
Leaking isn’t a seal failure—it’s fat separation from improper temperature control. When fat exceeds 40°F, it liquefies and oozes through microscopic housing gaps. Immediate fix:
1. Stop grinding immediately
2. Chill entire unit in freezer 8 minutes
3. Reduce meat batch size by 50%
4. Add 10% ice water to next batch
Prevention strategy: Keep a spray bottle of ice water nearby. Mist meat every 2 minutes during grinding to maintain 32°F.
Avoiding Gear Damage from Improper Assembly

Most “broken grinder” claims stem from reversed blade installation. Critical assembly sequence:
1. Blade bevel faces toward the plate (never away)
2. Plate holes align with auger spiral direction
3. Locking ring tightened only until resistance increases
Expert note: Listen for the “click” when blade seats fully. Forcing it creates misalignment that destroys gears in 3 uses.
Preventing Plastic Housing Cracks in Budget Grinders
Brittle plastic fractures from two preventable causes:
– Impact stress: Dropping onto hard surfaces (even 12-inch falls)
– Torque stress: Over-tightening metal components into plastic housings
Reinforcement hack: Wrap housing seams with 2 layers of nylon tape (found in hardware stores). Absorbs vibration stress and doubles lifespan.
Essential Maintenance to Avoid Future Meat Grinder Problems
Prevent 80% of breakdowns with this 5-minute weekly routine:
1. Blade inspection: Hold against light—no visible gaps between blade and plate
2. Thread care: Remove meat debris with toothpick, apply mineral oil
3. Motor vents: Blow compressed air through cooling slots
4. Storage: Disassemble completely; store plates in labeled baggies
Pro Tip: Keep a “grinder log” noting meat types and issues. Patterns reveal hidden problems like progressive blade wear.
Stop letting meat grinder problems sabotage your kitchen workflow. By implementing these targeted fixes for jamming, rust, electrical issues, and assembly errors, you’ll maintain restaurant-quality performance from any unit. Remember the golden rule: Always match meat temperature to your grinder’s capacity—this prevents 3 of every 4 breakdowns. For persistent issues after trying these solutions, consult your model-specific manual for torque specifications and approved parts. Now fire up that grinder and reclaim your culinary rhythm—perfectly textured sausages and burgers await.


