
Nothing disrupts your morning coffee ritual or café service like a Mazzer grinder that’s not performing properly. When your Super Jolly, Mini, or Robur suddenly produces inconsistent grinds, refuses to start, or makes alarming noises, your entire coffee operation grinds to a halt. Mazzer grinders are workhorses in the coffee industry, but even these precision machines encounter problems that affect extraction quality and workflow efficiency. This practical troubleshooting guide gives you the knowledge to diagnose and fix the most frequent Mazzer grinder issues yourself, saving costly service calls and minimizing downtime. By following these specific diagnostic steps, you’ll quickly identify whether a simple adjustment will solve your problem or if professional service is truly needed.
How to Fix a Mazzer Grinder That Won’t Start
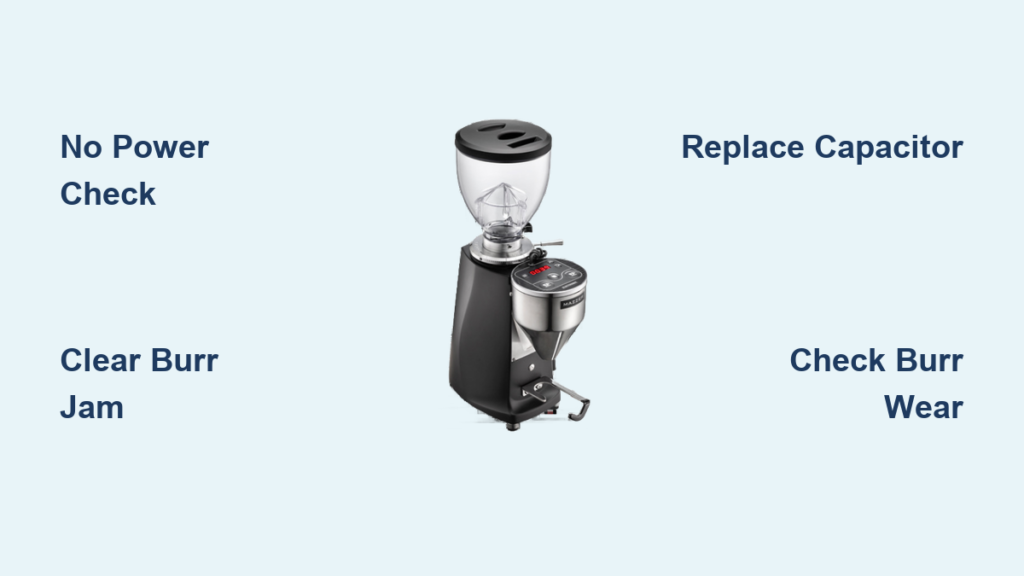
When your Mazzer remains silent after pressing the start button, don’t panic—most no-start issues have straightforward solutions. First, confirm the obvious: check that the power cord is fully inserted into both the grinder and a functioning outlet. Test the outlet with another device to rule out electrical issues at the source. If power is confirmed but the grinder stays dead, inspect the power cord for visible damage or fraying that could interrupt the connection.
Next, examine the burr assembly for jams—a common culprit behind startup failures. Unplug the grinder completely, remove the hopper, and use a flashlight to inspect between the burrs. If you spot compacted coffee grounds or foreign objects, carefully clear them with a soft brush or wooden tool (never metal, which can damage burr threading). After clearing any obstructions, try starting the grinder again.
If you hear a humming sound without rotation, your Mazzer likely has a capacitor issue. The start capacitor provides the initial energy boost needed to overcome inertia—when it fails, the motor can’t reach operating speed. This repair requires basic electrical knowledge: locate the capacitor (usually mounted near the motor), discharge it safely, and replace it with an identical specification unit. If you’re uncomfortable working with electrical components, this is the point to call a professional technician.
Diagnose and Fix Inconsistent Grind Particle Size

Inconsistent grind size destroys espresso extraction, leading to uneven shots regardless of your perfect recipe. When your Mazzer’s outputs vary in texture, immediately check these three critical areas before considering burr replacement.
First, inspect your burrs for visible wear—they’re the primary cause of inconsistent grinding. Flat burrs (in Super Jolly and Mini models) typically last 500-1000 pounds of coffee, while conical burrs (Robur models) endure 1000-1500 pounds. Look for rounded cutting edges, chipped sections, or discoloration. If burrs show these signs, replacement is necessary—don’t waste time troubleshooting other potential causes.
Next, test for retention issues by weighing a specific dose of beans, grinding them, and weighing the output. A significant discrepancy indicates grounds are sticking in the chamber. Common retention points include the discharge chute exit, the space between burr carrier and adjustment ring, and doser mechanisms. Clean these areas thoroughly with grinder cleaning tablets followed by several purge doses of fresh beans.
Finally, verify your adjustment mechanism hasn’t developed play. Rotate the adjustment ring and feel for looseness—if it wobbles or doesn’t seat firmly against the stop ring, recalibration is needed. Remove the adjustment ring, reset to zero point (where burrs nearly touch), and reassemble with thread locker to prevent future loosening. This simple procedure often restores consistent grind quality without burr replacement.
Stop Your Mazzer Grinder From Overheating
Excessive heat during operation triggers thermal protection shutdowns that disrupt your workflow and shorten your grinder’s lifespan. When your Mazzer becomes uncomfortably hot to the touch, address these three overheating causes immediately.
Clear blocked ventilation paths first—coffee chaff and dust accumulation around cooling slots restrict airflow. Locate all ventilation points (varies by model), then use a soft brush or compressed air to remove debris. Never operate your grinder in enclosed spaces; maintain at least six inches of clearance on all sides for proper air circulation. Commercial environments especially require weekly ventilation cleaning to prevent heat buildup.
Respect your model’s duty cycle—Mazzer specifies maximum continuous grinding times (typically 30-60 seconds). Exceeding these limits without rest periods causes heat to accumulate faster than dissipation. If your workflow demands high-volume grinding, implement a rotation schedule between two grinders or build mandatory cooling breaks into your routine.
Listen for unusual motor noises accompanying heat issues. A failing bearing creates friction that generates excess heat while producing distinctive humming or grinding sounds. If you detect these symptoms, bearing replacement is necessary. This repair requires partial motor disassembly—consider professional service unless you have mechanical experience and proper tools.
Eliminate Dosing Inconsistency in Mazzer Super Jolly Models
Doser-equipped Mazzer grinders like the Super Jolly develop specific problems that affect dose accuracy and increase grounds retention. When your doser delivers inconsistent shots or leaves significant coffee behind, focus on these three critical components.
Inspect the doser blade first—it should maintain firm contact with the chamber wall throughout rotation. Remove the doser cover and check for wear, looseness, or coffee oil buildup that reduces effectiveness. If the blade isn’t scraping grounds cleanly from chamber corners, adjust or replace it immediately. Replacement blades cost little and install in minutes, restoring consistent dosing.
Test the doser gears by rotating the knob manually while observing the mechanism. If the knob spins freely without dispensing grounds, the gear linkage has failed. This repair requires removing the doser assembly and replacing worn components. Many owners convert to doserless operation at this stage using available conversion kits, eliminating ongoing doser maintenance while improving dose consistency.
Combat static-related retention in the discharge chute by applying a tiny amount of food-safe lubricant to the exit collar, then wiping away excess. This creates a non-stick surface that reduces grounds clinging to metal surfaces. Additionally, always run a small purge dose of fresh beans before each service period to clear residual grounds from previous use.
Decode Strange Noises From Your Mazzer Grinder
Unusual sounds from your Mazzer indicate developing problems that require immediate attention. Learn to identify these three common noise patterns and their underlying causes before they escalate into major failures.
A high-pitched squeal during startup signals capacitor trouble. This component provides the initial torque boost needed to overcome inertia—when failing, it creates this distinctive sound as it struggles to start the motor. Replace the capacitor at the first sign of this noise to prevent complete failure during critical service periods.
Metallic grinding or scraping noises demand immediate shutdown—these indicate direct contact between components that should have clearance. Possible causes include foreign objects in the burr chamber, loose burrs, or backing-out hardware. Continuing operation with these sounds causes rapid, expensive damage to burrs and motor components.
Rhythmic clicking that changes with burr speed typically originates from failing bearings or loose adjustment hardware. Bearing failure progresses through stages: slight noise first, then pronounced clicking, eventually leading to rough operation or seizure. Address bearing noise early through replacement to prevent catastrophic motor shaft damage.
When Mazzer Grinder Repairs Require Professional Help
While many Mazzer issues are DIY-fixable, certain situations demand professional service to ensure safety and proper repair. Recognize these three critical boundaries to avoid personal injury, further damage, and voided warranties.
Any repair involving the motor assembly—bearing replacement, winding repairs, or armature work—requires specialized tools and electrical knowledge. These repairs involve components under spring tension and electrical systems that retain dangerous charges even when unplugged. Professional technicians have equipment to safely discharge capacitors and tools for precise reassembly.
Electrical repairs beyond switch and cord replacement should be left to professionals. Issues with control boards, timer circuitry, or internal wiring require schematic diagrams, test equipment, and component-level troubleshooting skills. Attempting these repairs without proper knowledge risks fire, electric shock, and permanent grinder damage.
Catastrophic failures—complete motor seizure, major water damage, or visible burning—require professional assessment before any repair attempt. These situations often reveal underlying issues that cause repeated failures even after seemingly successful DIY repairs. A qualified technician can diagnose root causes and perform repairs to factory specifications.
By addressing problems promptly with the right approach, maintaining a consistent care schedule, and recognizing when professional help is needed, your Mazzer grinder will deliver precision grinding for years to come. The investment in proper troubleshooting knowledge pays dividends in consistent shot quality, reduced repair costs, and extended equipment lifespan that every serious coffee professional values.


