
Your Mazzer grinder has suddenly stopped producing those perfectly uniform espresso grounds, leaving you staring at an empty portafilter and wondering what went wrong. Whether you rely on a Mazzer Mini, Major, or Robur for your morning coffee ritual or your café’s entire operation depends on that consistent grind, a grinder that won’t grind throws everything off schedule. The good news is that most grinding failures stem from a handful of identifiable causes, and many can be resolved with basic troubleshooting before you need to call a technician or order expensive replacement parts.
This guide walks you through every major reason a Mazzer grinder stops grinding, from simple jam-clearing procedures to motor diagnostics and electrical checks. By the end, you’ll understand exactly what’s preventing your grinder from functioning and have a clear path toward restoring its performance.
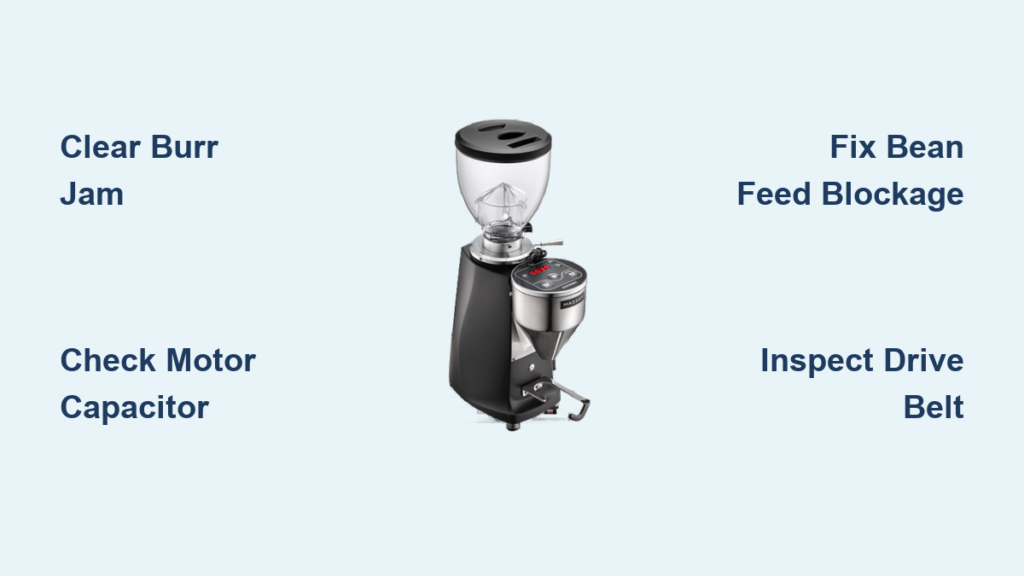
Clear Burr Jams Without Damaging Your Mazzer
When your Mazzer stops grinding completely, the most likely culprit is a jam between the burrs or in the grinding path. Coffee oils gradually harden, creating stubborn blockages that prevent burr rotation, especially in high-use commercial settings or with oily dark roast beans.
Start by removing the bean hopper and any remaining beans. On most Mazzer models, rotate the hopper locking ring counterclockwise then lift straight up. Next, access the grinding chamber by removing the bottom burr carrier—this varies by model but typically involves unscrewing a retaining ring. Keep track of any shims you remove as they affect calibration.
Use a soft brush to clear loose grounds between burr teeth, then carefully scrape stubborn buildup with a wooden or plastic tool—never use metal implements that could damage the precision burr surfaces. Rotate the top burr by hand to verify free movement throughout its full rotation. Any resistance indicates remaining obstruction.
If the jam persists after cleaning, try this professional trick: place several uncooked rice grains in the grinding chamber and run the grinder briefly. The rice acts as a natural abrasive to dislodge stubborn buildup without damaging burrs. Follow with a thorough cleaning to remove rice residue before grinding coffee again.
Pro Tip: To prevent future jams, run your Mazzer for 15-20 seconds after each use with no beans—this clears residual grounds from the grinding path before oils harden.
Diagnose Mazzer Motor Failures Step by Step
When your grinder activates but the burrs don’t turn, you’ve isolated a motor or drive problem. Proper diagnosis prevents unnecessary part replacements and gets your grinder back online faster.
First, listen carefully when activating the grinder. A distinct humming sound without burr rotation typically indicates a failed start capacitor or severe binding. Complete silence points to power delivery issues rather than motor problems. If you hear humming, check the thermal cutout by allowing the motor to cool completely for 30-60 minutes, then testing again.
Test the start capacitor using a multimeter set to capacitance mode. A reading significantly below the capacitor’s labeled microfarad rating (usually printed on the capacitor itself) confirms failure. Capacitors typically fail after 3-5 years of commercial use but can last longer in home settings.
For brush-style motors (common in older Mazzer models), inspect brush length—replace if worn below 1/4 inch. Clean brush housings of carbon dust buildup, which can cause poor electrical contact. Worn brushes often cause intermittent operation that worsens as the grinder heats up during use.
Critical Safety Note: Always unplug your Mazzer before performing any motor diagnostics. Working on energized equipment creates serious shock and injury risks.
Fix Bean Feed System Blockages That Stop Grinding
Nothing is more frustrating than a running grinder that produces no grounds—this almost always indicates a bean feed problem rather than grinding mechanism failure.
Verify the hopper is properly seated and locked. Mazzer hoppers use specific mounting systems that require precise rotation or locking. An improperly seated hopper may leave gaps preventing beans from reaching the feed throat. On commercial models, ensure the hopper safety interlock is engaged—most Mazzers won’t operate with the hopper improperly installed.
Check for bean bridging, where beans form an arch preventing flow into the grinding chamber. Tap the hopper sides firmly to dislodge stuck beans, or remove the hopper and clear the throat manually. Beans stored in humid conditions often swell slightly, creating perfect bridging conditions.
Inspect the anti-popcorn device—a small lever or paddle near the feed throat designed to prevent foreign objects from entering. These frequently stick in the closed position, blocking all bean flow. Clean and lightly lubricate the mechanism if stiff. On some models, this device requires periodic adjustment as it wears.
Time-Saving Shortcut: For frequent bridging issues, store beans in an airtight container with a silica gel packet to prevent moisture absorption that causes swelling.
Repair Drive System Failures on Belt and Gear Models
Mazzer grinders use different drive systems depending on model, and failures here prevent power transmission from motor to burrs.
On belt-driven models like the Mini and Major, inspect the belt for cracks, fraying, or stretching. A properly tensioned belt should deflect only 1/8 to 1/4 inch when pressed midway between pulleys. Replace belts showing visible wear—most commercial operations should replace annually as preventative maintenance.
For gear-driven models like the Robur, listen for unusual grinding or clicking sounds that indicate gear damage. Worn gears often produce inconsistent grinding performance before complete failure. Gear replacement typically requires professional service due to precision alignment requirements.
Check the clutch mechanism on applicable models. The clutch protects the motor from damage during jams but can slip or fail over time. A slipping clutch allows the motor to run while the burrs remain stationary. Clutch adjustment or replacement resolves these issues—consult your model-specific service manual for proper torque specifications.
Perform Essential Electrical System Checks
Electrical problems can cause complete failure or intermittent operation that mimics other issues. Systematic electrical diagnosis identifies power delivery problems efficiently.
Examine the power cord thoroughly, especially near the plug and where it enters the grinder housing. Frayed insulation or damaged plugs create safety hazards and cause intermittent operation. Replace damaged cords immediately—never attempt to repair with tape.
Check the internal fuse, typically located near the power entry point. A blown fuse immediately explains complete failure to operate. Replace only with the exact rating specified in your manual—using a higher-rated fuse creates fire risk.
Test the main power switch with a multimeter for continuity. The switch should show continuity (closed circuit) when turned on and no continuity when off. Failing switches often work intermittently or only at certain positions.
Inspect all wiring connections for tightness. Vibration during operation loosens connections over time, creating intermittent problems. Look for signs of overheating at connections, including discoloration or melted insulation.
When to Call a Professional for Mazzer Repairs
Some Mazzer problems require specialized tools and expertise that exceed what most users can safely address.
Motor replacement involves handling heavy components, precise electrical connections, and proper mounting alignment. Unless you’re experienced with motor swaps, this job requires professional service. Electronic control board issues also demand specialized diagnostic equipment and component-level repair skills.
Burr replacement and realignment require precision to maintain proper particle distribution. Improper installation affects grind quality and may quickly damage new burrs. While experienced users sometimes replace burrs successfully, the risk of improper calibration makes professional installation advisable for most users.
Gear and transmission repairs on models like the Robur demand specialized tools and knowledge of gear specifications. These repairs often cost more in labor than parts, making them poor candidates for DIY attempts.
Prevent Future Mazzer Grinding Failures With Proper Maintenance
Preventative maintenance extends your Mazzer’s lifespan and prevents most grinding failures before they occur.
Clean burrs monthly for commercial use (quarterly for home use) using specialized grinder cleaning tablets. These absorb oils without damaging burrs, preventing the buildup that causes jams and accelerated wear.
Replace motor brushes every six months in commercial settings, annually for home use. Worn brushes cause poor motor performance and eventual failure.
Inspect and replace drive belts annually in commercial applications. Preventative belt replacement avoids mid-shift failures and protects other drive components.
Tighten all fasteners, particularly those holding burr carriers and motor mounts, during routine maintenance. Vibration gradually loosens connections, causing alignment problems.
Pro Maintenance Schedule: Create a maintenance log tracking burr cleaning, brush replacement, and belt changes. Most Mazzer failures occur between scheduled maintenance intervals when problems develop unnoticed.
Your Mazzer grinder represents a significant investment in quality espresso preparation. Most grinding failures respond to systematic troubleshooting, and even when professional service becomes necessary, understanding the problem helps you communicate effectively with technicians. Regular maintenance and prompt attention to early warning signs keep your grinder performing at its best for years of reliable service.


