
You’ve just pulled tender potatoes from the pot, ready for creamy comfort—but your potato masher is buried in the back of the cabinet. That immersion blender gathering dust on your counter suddenly looks like a solution. Can this handheld tool actually create fluffy mashed potatoes without turning them into sticky glue? Absolutely, but only if you master the precise technique that prevents over-processing disasters. Skip the guesswork: when used correctly, your immersion blender delivers restaurant-quality mash in under 20 seconds with just one bowl to clean.
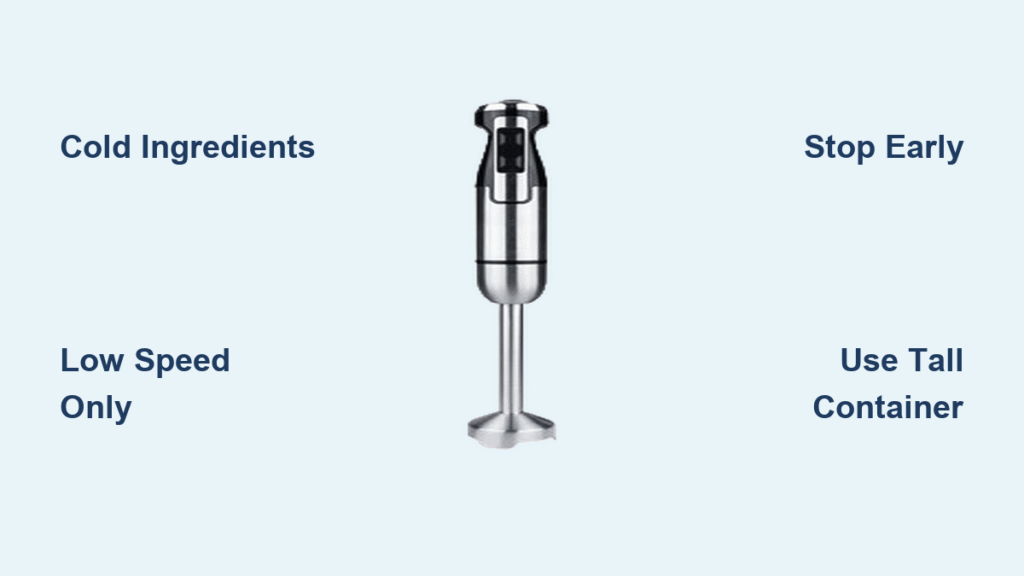
The immersion blender’s secret lies in controlled processing power. Unlike countertop blenders that pulverize potatoes into gummy paste, this handheld tool gives you real-time visual feedback to stop exactly when smoothness hits. Cold ingredients and strategic speed management are your insurance against failure—critical factors most home cooks overlook. Forget the myth that immersion blenders can’t make good mashed potatoes; we’ll transform yours into a reliable kitchen hero for weeknight dinners and holiday feasts alike.
Select and Cook Potatoes for Flawless Blending
Russets or Yukon Golds are non-negotiable for immersion blender success—their high starch content breaks down perfectly while absorbing butter. Chop them into uniform 1.5-inch cubes before boiling to prevent undercooked centers that resist blending. Boil until a fork slides through with zero resistance; any hint of firmness means you’ll battle stubborn lumps later.
Critical doneness test: Lift a potato cube and press gently with a fork. If it crumbles without clinging to the tines, you’re ready. Drain immediately in a colander, then return potatoes to the warm pot for 60 seconds. This steaming step evaporates surface moisture that would otherwise dilute your mash’s rich texture. Skipping this creates watery potatoes that require excessive butter—a sure path to heavy, dense results.
Build Your Immersion Blender Station Correctly
Transfer potatoes to a tall, narrow container—like a 4-cup liquid measuring pitcher—not a wide salad bowl. This shape contains splatter and concentrates the blender’s vortex for efficient processing. Before blending, add refrigerator-cold ingredients directly into the potatoes: 2 tablespoons butter per pound, ¼ cup milk or cream, and your salt.
Why cold matters: The temperature shock from chilled dairy prevents starch molecules from rupturing prematurely. Room-temperature butter melts on contact, making potatoes gluey before you even start blending. If you’re adding roasted garlic or herbs, mix those in now too—never add solids mid-blend. Position your blender with the shaft fully submerged before powering on; starting above the potatoes guarantees a starchy explosion on your cabinets.
Execute the Immersion Blender Technique in Seconds

Hold the blender vertically against the container’s bottom, then pulse twice at the lowest speed to shatter large chunks. Immediately blend continuously for 3–5 seconds while slowly raising the head toward the surface. Repeat this lift-and-blend motion around the bowl until smooth—never exceeding 20 seconds total.
Your visual texture guide:
– ✅ Perfect: Silky surface that holds soft peaks
– ⚠️ Warning: Slight sheen developing on the surface
– ❌ Disaster: Stretchy strands clinging to the blender
Set a timer the first few times—you’ll be shocked how quickly over-processing happens. For batches over 4 servings, work in two portions. Large quantities overwhelm the blender, creating uneven texture where edges turn gummy while the center stays lumpy. Stop blending the moment you achieve uniform smoothness; slightly coarse potatoes beat gluey ones every time.
Stop Gluey Texture Before It Ruins Your Batch
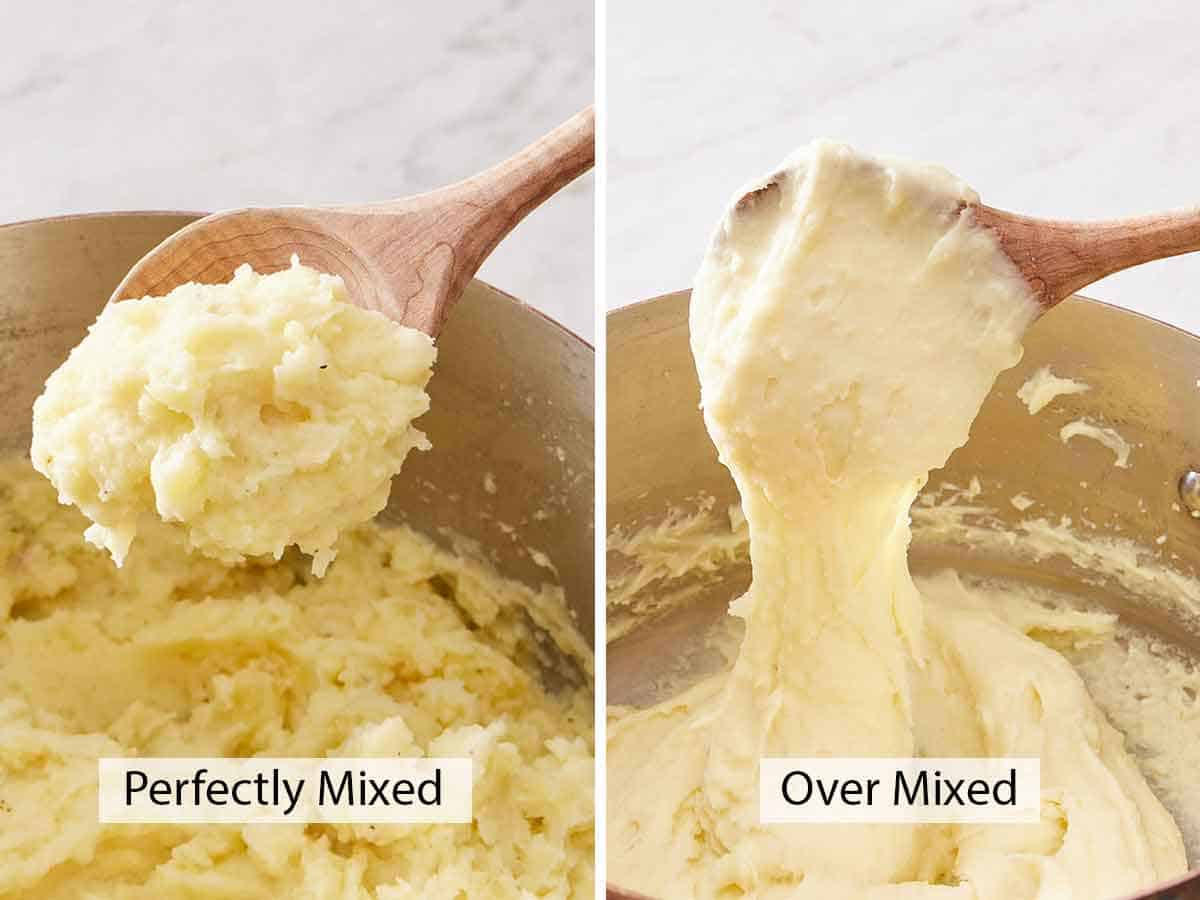
Over-blending breaks potato starch cells beyond repair, creating an elastic, sticky mess no amount of cream can fix. This happens within 5–10 seconds of hitting ideal smoothness—faster than you’d think. If your potatoes suddenly pull away from the bowl in sheets or develop a shiny surface, power off immediately.
Emergency fixes for texture disasters:
– For sticky potatoes, fold in 2 tablespoons of cooled potato cooking water (starch-rich but not hot)
– For watery mash, return to low heat for 2 minutes while stirring constantly to evaporate moisture
– For irreversible glue, repurpose into potato pancakes—mix with egg and flour before pan-frying
Prevention beats cure: Always use low speed and cold ingredients. High-speed settings exceed 18,000 RPM—far too aggressive for delicate potatoes. If your blender has a variable trigger, squeeze gently like you’re milking a cow for steady, controlled power.
Solve Lumps, Thickness, and Salt Issues Instantly
Persistent lumps? Your potatoes likely cooked unevenly. Next time, cut cubes precisely and avoid overcrowding the pot. For current batches, pulse 2-second bursts while moving the blender to unprocessed zones—never blend continuously.
Too thick? Add milk 1 tablespoon at a time while pulsing briefly. Never pour in extra liquid all at once; this dilutes flavor and requires more blending (risking glueiness).
Over-salted? Drop a peeled, quartered raw potato into the mash and blend 5 seconds. The raw potato absorbs excess salt—remove it after 30 seconds. This works because raw starch binds sodium ions faster than cooked potatoes can.
Optimize Speed Settings for Your Blender Model
Your blender’s speed dial is the difference between success and failure. Most operate at 10,000–15,000 RPM on low—ideal for potatoes—but jump to 18,000+ RPM on medium. Never use high speed; it shreds starch cells instantly. If your model lacks clear settings:
- Small batches (2–4 potatoes): Use lowest setting only
- Large batches (6+ potatoes): Start low, increase to medium only if lumps persist after 10 seconds
- Variable trigger models: Apply 30% pressure consistently—no squeezing
Premium blenders with torque control (like high-end Breville models) handle potatoes best, but even budget units succeed with disciplined low-speed use. Test your blender’s lowest setting on a single potato first—it should create gentle bubbles without splatter.
Adjust Technique for Batch Sizes

Small batches (2–4 servings) transform in 5–10 seconds but require careful container selection. Use a 2-cup pitcher so potatoes surround the blender head. For large batches (6–8 servings):
- Halve the potatoes between two containers
- Blend each portion separately for 15 seconds max
- Combine and fold gently by hand to avoid over-processing
Never fill containers beyond two-thirds full. Overflow forces you to lift the blender mid-process, creating uneven texture. If blending in the cooking pot, ensure it’s at least 6 inches deep—shallow pans cause chaotic splattering that wastes half your potatoes.
Clean Your Immersion Blender in 60 Seconds
Rinse the blender head under hot water immediately after use while starch is still soft. For stubborn residue:
- Fill the potato bowl with warm soapy water
- Submerge the blender and pulse 5 seconds
- Rinse thoroughly under running water
- Dry completely before storing
This “self-clean” trick leverages the blender’s power to dislodge starch—no scrubbing required. Skip this, and dried potato glue will clog the blade shaft, damaging your tool. You’ve just eliminated the potato masher, ricer, and mixing bowl—cutting cleanup time by 75%.
Elevate Flavor Without Ruining Texture
After mastering basic technique, try these foolproof upgrades:
- Garlic lovers: Blend 3 roasted cloves directly with potatoes for seamless flavor
- Herb infusion: Add 1 tablespoon fresh thyme or chives during the final 2 seconds of blending
- Cheesy mash: Fold in ½ cup grated Parmesan after initial blending to prevent clumping
- Loaded style: Pulse bacon bits and chives at the very end for texture contrast
Never add liquids like truffle oil mid-blend—they accelerate starch breakdown. Instead, drizzle over finished potatoes and fold by hand. For dairy-free versions, substitute cold coconut cream for milk but reduce quantity by 25% (it’s richer).
Store and Reheat Like a Pro
Refrigerate cooled mash in airtight containers up to 4 days. The immersion blender’s uniform texture prevents the dry edges common in hand-mashed potatoes. For perfect reheating:
- Add 2 tablespoons milk per cup of potatoes
- Microwave at 50% power in 90-second intervals
- Stir gently between cycles—never use full power
Freeze portions in zip-top bags with air pressed out for 2 months. Thaw overnight in the fridge before reheating. Avoid refreezing, as repeated temperature changes degrade starch structure.
Mastering mashed potatoes with immersion blender transforms a potential disaster into your fastest, most reliable side dish. Remember the holy trinity: cold ingredients, low speed, and immediate stopping. Within 20 seconds, you’ll achieve the silky texture that makes guests ask for your “secret” technique. Whether you’re feeding a family on Tuesday night or hosting Thanksgiving, this method delivers consistent results with minimal cleanup. Your immersion blender isn’t just a backup—it’s the ultimate mashed potato tool when you respect the starch.


