
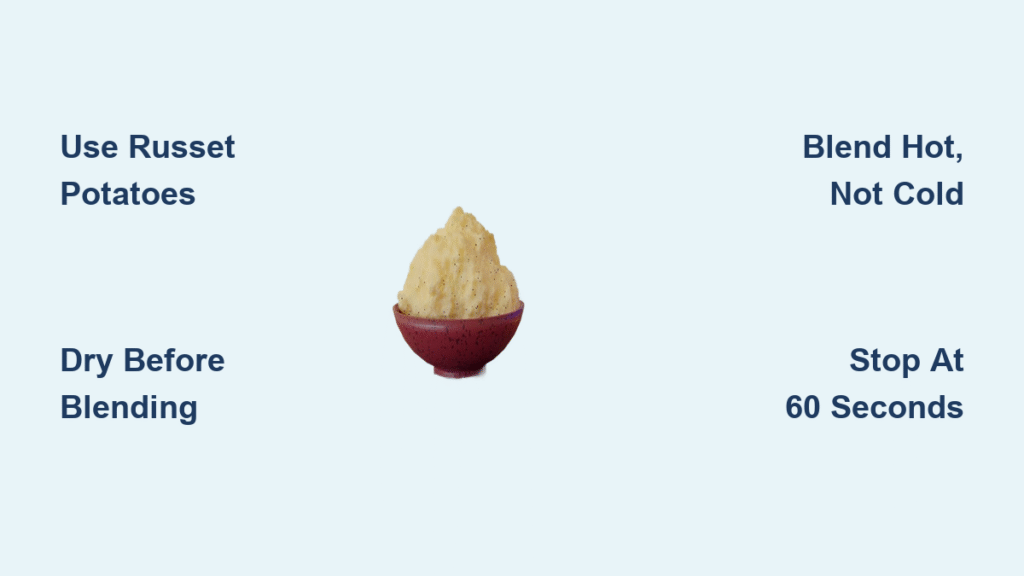
That moment when your fork hits a stubborn lump in supposedly smooth mashed potatoes? It’s the silent dinner party killer. Traditional mashing leaves you fighting chunks while wasting precious time you could spend with guests. But here’s the game-changer: mashed potatoes in blender transforms starchy chunks into velvet-perfect silk in under two minutes. Forget potato mashers and ricer struggles—your high-speed blender (yes, that dusty countertop appliance) delivers Michelin-star texture with half the effort. You’ll never wrestle with lumps again once you master this method, and the best part? Total hands-on time shrinks to just 10 minutes while your blender handles the heavy lifting.
Why does this technique work when your grandma’s method fails? Blenders pulverize potato cells at 24,000 RPM, releasing starch evenly without overworking it—a scientific sweet spot impossible with manual tools. The result? Cloud-light potatoes that hold their shape yet melt on your tongue. In this guide, you’ll discover exactly how to avoid the #1 mistake that turns potatoes gummy (hint: it’s not what you think), which potato varieties actually work, and why warming your milk isn’t optional. Whether you’re prepping Thanksgiving dinner or weeknight comfort food, these steps guarantee flawless results every time.
Why Russet Potatoes Beat Yukon Golds for Blending
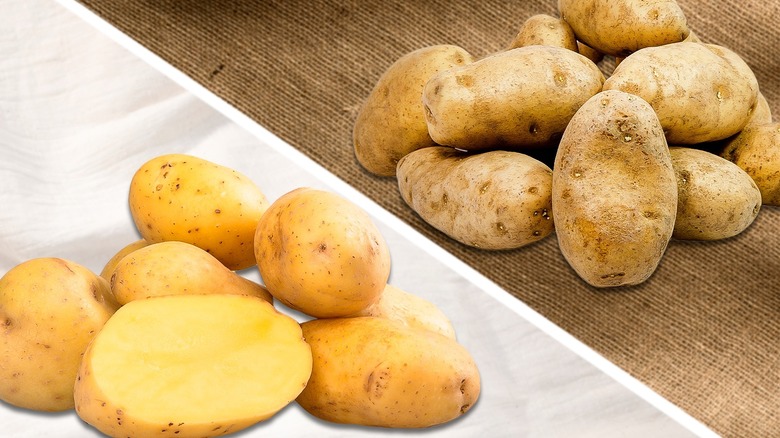
Russet’s Secret Starch Advantage
Russet potatoes dominate blender mashed potatoes because their fluffy, high-starch interior breaks down cleanly without turning gluey. When blades hit russet flesh, cells separate smoothly—like tearing tissue paper versus duct tape. Yukon Golds? Their denser, waxier structure fights the blades, requiring longer blending that activates excess starch. Critical warning: Red or fingerling potatoes transform into sticky paste within 30 seconds of blending. Stick to russets for foolproof silkiness, or use Yukon Golds only when russets are unavailable—and reduce blending time by 30 seconds.
Perfect Potato Prep for Zero Lumps
Skip peeling if you want fiber-rich rustic mash—just scrub skins clean. For classic smoothness, peel with a Y-shaped peeler. Non-negotiable step: Cut potatoes into uniform 1.5-inch chunks. Smaller pieces overcook into mush; larger chunks stay hard. Fill your pot so chunks sit in a single layer with 1 inch of water above them—this prevents uneven cooking. For 4 dinner guests, use exactly 2 large russets (about 1.5 pounds); scale to 4 pounds for holiday feasts. Never skip the cold-water start—it cooks starch granules gently for even tenderness.
Steam-Dry Potatoes or Guarantee Gummy Disaster
The 90-Second Moisture Fix Restaurants Use
Boiling potatoes correctly makes or breaks blender success. Place chunks in cold salted water (1 tablespoon salt per gallon), bring to boil, then simmer 15-20 minutes until a knife slides in with zero resistance. Here’s where home cooks fail: Dumping soggy potatoes straight into the blender. Instead, drain immediately in a colander, then return empty pot to low heat. Shake the colander like you’re shedding rainwater for 60 seconds—this evaporates surface moisture. Next, pour drained potatoes back into the hot (not boiling) pot. Cook 90 seconds over low heat, shaking gently. You’ll see steam rising and potatoes looking drier. This step removes 30% more water than draining alone—your insurance against watery mash.
Microwave Shortcut for Last-Minute Fixes
When guests arrive early, microwave potatoes in a covered glass dish with 2 tablespoons water. Cook 8-10 minutes on high, flipping halfway. Test doneness with a fork—if it meets resistance, add 1 minute intervals. Pro tip: Pierce skins with a fork before microwaving to prevent explosions. While faster, this method retains slightly more moisture than boiling, so extend the stovetop drying step to 2 minutes. Never skip drying—it’s why your microwave mash turned gluey last time.
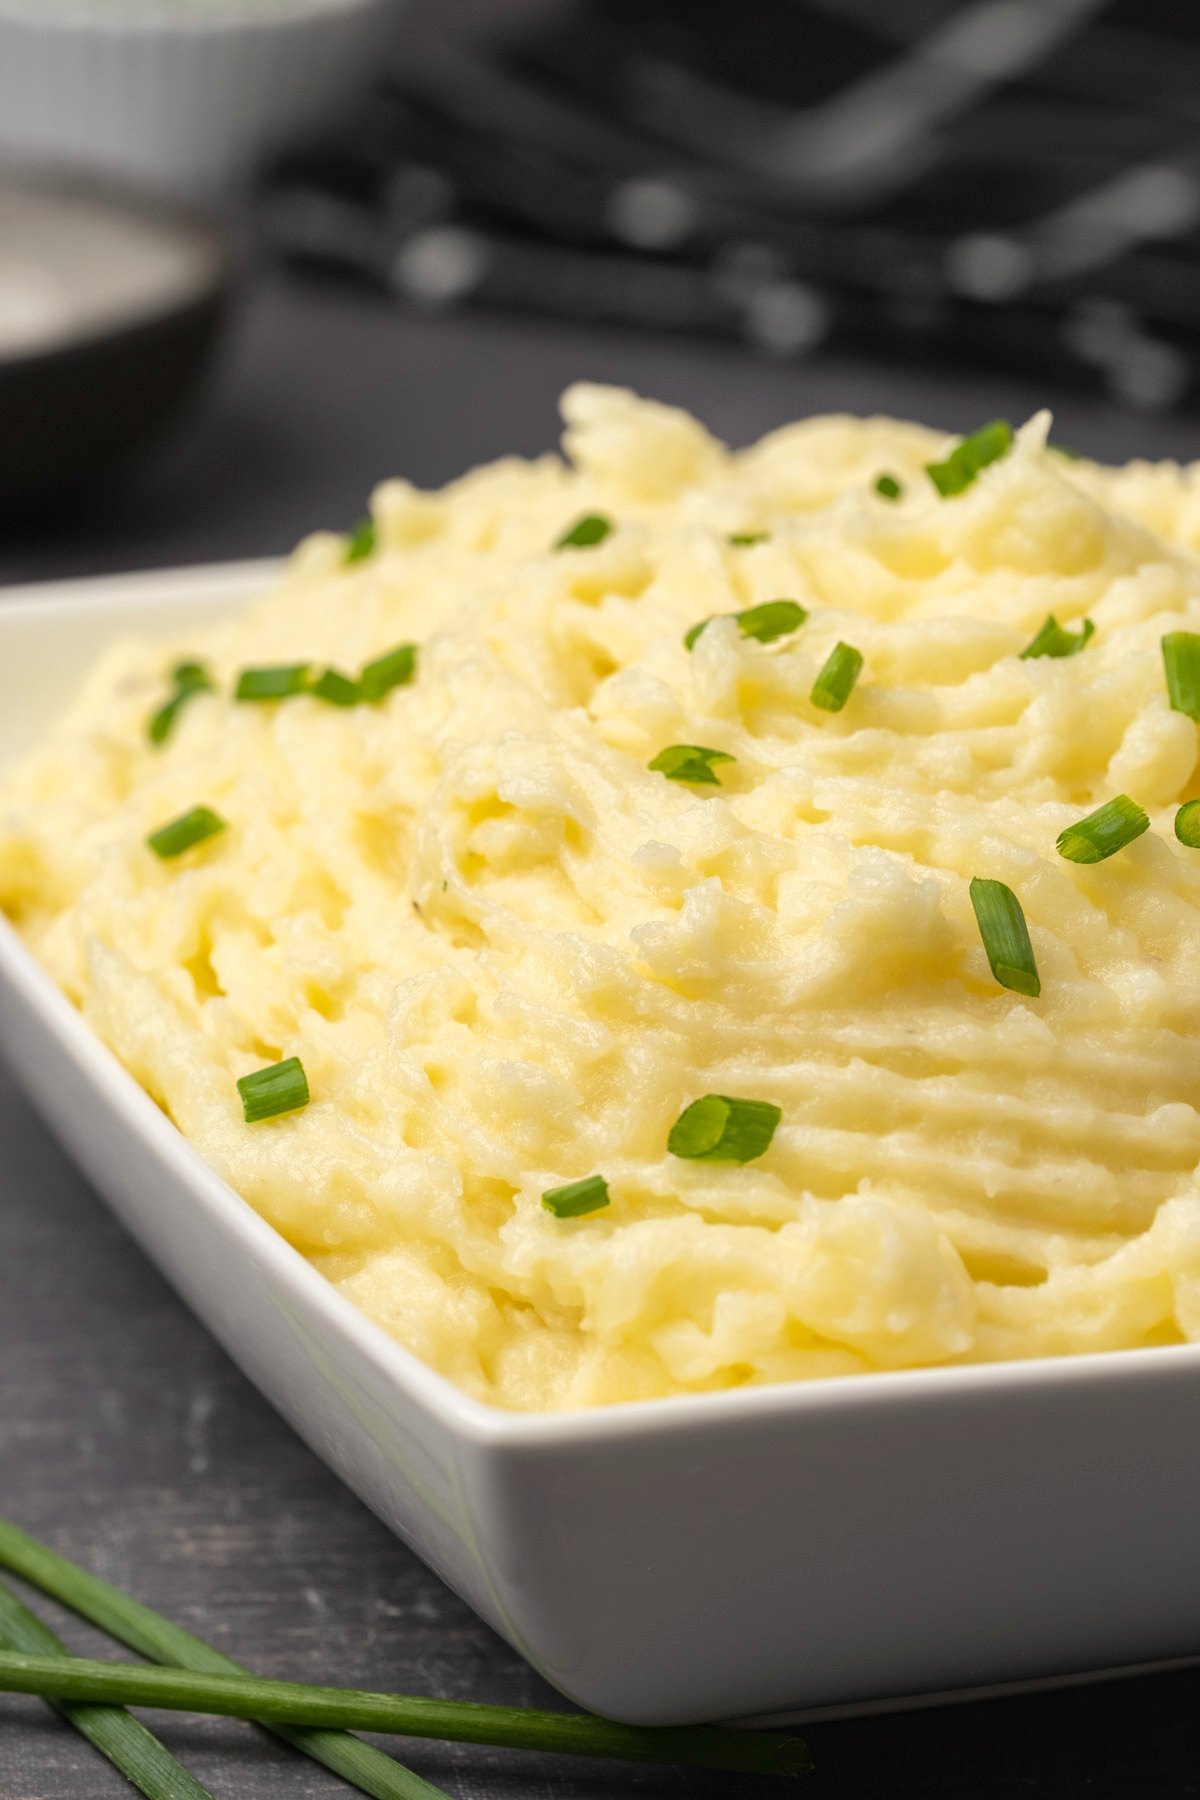
Blend Hot Potatoes or Face Texture Catastrophe
:max_bytes(150000):strip_icc()/Simply-Recipes-Perfect-Mashed-Potatoes-LEAD-53d6cb18d346461a8528c61f447ced49.jpg)
Temperature Rules That Prevent Gummy Failures
Critical rule: Blend potatoes while still hot (160-180°F). Cold potatoes won’t emulsify with fats, creating separated, watery mess. But scalding-hot potatoes risk steam explosions—let them cool 3 minutes after cooking. Warm your milk or broth to 140°F (test with your wrist—it should feel hot but not burn). Never add cold liquid to hot potatoes; the thermal shock makes starch seize into lumps. Keep butter melted and ready. Vitamix users: Preheat the container by filling it with hot water for 1 minute before dumping.
Exact Blending Sequence for Flawless Silk
Follow this sequence to the second:
1. Load hot potatoes into blender—never more than halfway full
2. Add ¼ cup warmed liquid (milk/broth) and 2 tablespoons melted butter
3. Blend on low for 10 seconds to break up chunks
4. Increase to high for 60 seconds (set timer!)
5. Insert tamper through lid opening—press ingredients into blades
6. Stop immediately at 60 seconds for smooth texture; 90 seconds for ultra-creamy
Warning: Over-blending past 2 minutes activates excess starch, turning potatoes into wallpaper paste. If mixture sticks, pause, scrape sides with spatula, and add 1 tablespoon warm liquid—never force-blend dry spots. For batches over 2 pounds, process half the potatoes with half the liquid, then combine in a bowl.
Vegan Blender Mash That Even Butter Lovers Crave
Creamy Plant-Based Formula Without Tahini
Skip store-bought vegan butter—this 5-ingredient hack mimics dairy richness:
– 2 large russets (cooked and dried)
– ¾ cup vegetable broth warmed to 140°F
– 1 tbsp nutritional yeast
– 1 tsp onion powder
– 2 tbsp olive oil (not coconut oil—it solidifies when cool)
Key difference: Blend broth and olive oil first for 15 seconds to emulsify, then add potatoes. Pulse 12 times instead of continuous blending—this prevents the starchy release that makes vegan mash gummy. For cheese lovers, add ¼ cup cashew cream during final pulses. Pro tip: A pinch of white miso adds umami depth without detectable flavor.
Fix Watery or Gummy Mash in 60 Seconds
Emergency Texture Rescue Protocol
If too watery: Immediately return to warm pot. Cook 2 minutes over low heat, stirring constantly with a wooden spoon—the residual heat evaporates excess moisture. Never add flour or cornstarch; it creates pasty texture. If gummy: Mash in 2 tablespoons room-temperature sour cream (dairy or coconut-based). The fat coats starch molecules, breaking the gummy web. For severe cases, spread potatoes on a baking sheet and bake at 300°F for 8 minutes to dry out—stir every 2 minutes.
Achieve Perfect Consistency Every Time
Want rustic chunkiness? Pulse 8 times after initial blend. For fine-dining smoothness, blend full 90 seconds but add liquid 1 tablespoon at a time. Visual cue: Perfect mash should mound slightly when dropped from a spoon but slowly flatten—like soft-serve ice cream. If it runs like soup, you skipped the drying step; if it’s stiff like playdough, you over-blended.
Serve Immediately or Ruin Your Texture
The 5-Minute Rest That Makes or Breaks
Let blended potatoes sit covered for exactly 3-5 minutes before serving—this allows starches to set into luxurious silk. Never re-blend cooled potatoes; the second spin guarantees glue. For make-ahead meals, press plastic wrap directly onto the mash surface in a heatproof bowl (no air pockets), then seal with foil. Hold in a 140°F oven up to 2 hours. Reheat by stirring in 2 tablespoons warm broth per cup over low heat—microwaving creates rubbery patches.
Garnish Like a Pro (Without Hiding Flaws)
Skip parsley sprinkles that mask texture issues. Instead, top with crispy elements that complement smoothness:
– For richness: A single pat of cold butter that melts slowly
– For crunch: Crispy fried shallots or bacon bits
– For freshness: Micro-chives sprinkled after plating
Critical mistake: Adding herbs during blending turns them brown and bitter. Always fold delicate ingredients in by hand after processing.
Texture Destroyers Checklist: Avoid these 3 fatal errors—using waxy potatoes, skipping the 90-second stovetop dry, or blending beyond 90 seconds. Do this now: Warm your milk, set a timer, and grab russets. In 10 minutes of active work, you’ll serve mash so smooth guests will demand your “secret restaurant technique.” The blender doesn’t just save time—it transforms a chore into your culinary superpower.


