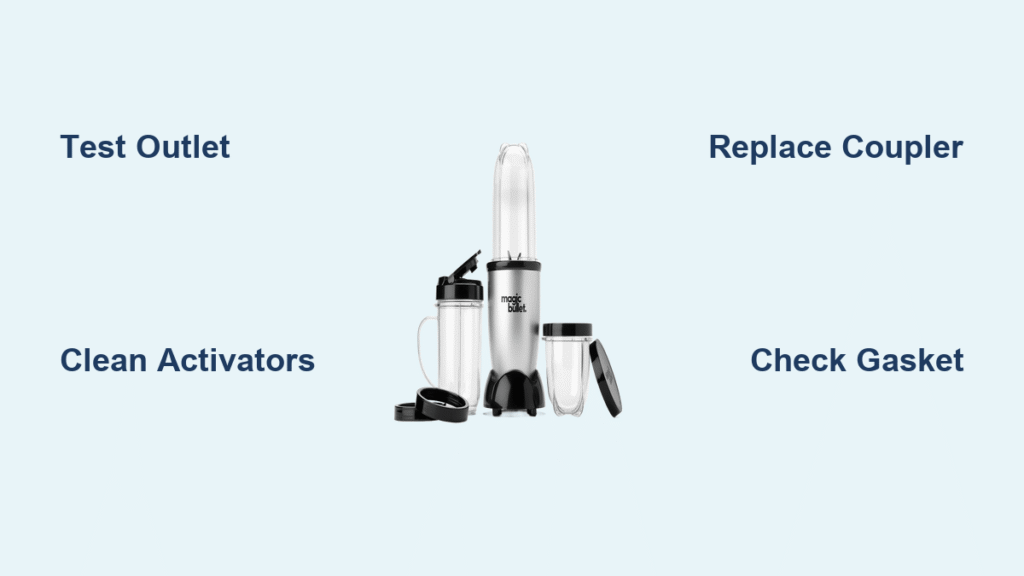
Your Magic Bullet sputters to a halt mid-smoothie, leaving chunky spinach and frustration in its wake. Don’t trash it yet—90% of “dead” units revive with these exact fixes. Most Magic Bullet blender not working issues stem from simple mechanical failures you can diagnose and repair in under 15 minutes. This guide delivers targeted solutions for every failure mode, from silent bases to spinning blades that won’t cut, using only manufacturer-approved parts and procedures.
Power Base Completely Dead? Rule Out These 4 Culprits
Test Your Wall Outlet With Another Device First
Plug a phone charger or lamp into the same outlet before blaming your Magic Bullet. If those fail, check your circuit breaker panel for tripped switches. If other devices work, unplug the blender base and inspect the cord for tears, kinks, or exposed copper wires. Never tape a damaged cord—this creates a fire hazard. Replace the cord immediately if compromised.
Reset GFCI Outlets in Your Kitchen
Kitchen outlets often have built-in GFCI protection that trips during minor surges. Locate the small “Reset” button between the outlet slots and press firmly until it clicks. Retry your Magic Bullet. If still dead, move the base to an outlet in another room on a different circuit. Persistent failure across outlets indicates a household wiring issue requiring an electrician.
Clean Stuck Safety Activators Under the Base
Flip your base upside-down to reveal four white plastic nubs surrounding the center shaft. Press each with a pen tip—they should snap back with audible resistance. If one feels mushy or won’t spring up, dried smoothie residue is jamming it. Dip a cotton swab in rubbing alcohol and scrub around each activator while pressing it repeatedly until it moves freely. Critical check: After cleaning, place your cup on the base and press down firmly—if you hear distinct clicks from all four nubs, the safety switches are engaged.
Verify Cup Tab Height and Integrity
Hold your cup against a bright window. Each of the three plastic tabs must extend at least 3 mm from the rim. Chips, cracks, or worn-down edges prevent full contact with the activators. Visual test: Shine a flashlight through the cup—if light leaks through tab roots, replace the cup immediately. Temporary fixes like tape won’t withstand blade torque and create safety risks. Use part MB1001-12OZ-CUP for standard models.
Motor Hums But Blades Won’t Spin? Diagnose Drive System Failure
Inspect the Drive Coupler for Stripping

Remove the blade assembly and peer into the base center. The metal hexagon should have sharp, defined edges. Rounded corners or missing teeth mean the coupler is stripped—motor spins but power doesn’t transfer. Pro tip: Shine a flashlight at a 45-degree angle; worn couplers show shiny “polished” metal where teeth should grip. Order replacement part MB1001-COUPLER and swap it by removing the four base screws.
Test Blade Assembly for Seized Bearings
Unscrew the blade assembly from the cup and flick the blades with your finger. They should spin freely for 5+ seconds. Grinding noises, wobble, or complete lock-up signal failed bearings from liquid intrusion. Warning: Never attempt to disassemble the sealed blade unit—replace the entire assembly (MB1001-BLADE-ASM). A sharp blade cleanly slices a soft tomato; dull or seized blades only bruise it.
Reset Thermal Overload Safely
If the motor shut off mid-blend with a burning smell, the internal heat sensor tripped at 221°F. Unplug the base and wait exactly 30–60 minutes—no shortcuts. Restart with 30-second pulses and increased liquid volume to reduce strain. Never exceed 60 continuous seconds, or you’ll blow the thermal fuse permanently.
Blender Shuts Off After 60 Seconds? Solve Overheating Fast
Reduce Blend Load With Smart Filling

Thick nut butters or frozen fruit overload the motor. For 12-oz cups:
– Fill solids only to the ½-cup line
– Add liquid to just below the MAX line
– Run 30 seconds ON, 10 seconds OFF
Pre-chop frozen items into 1 cm cubes. If the motor slows audibly when other appliances kick on, your circuit is overloaded—use a dedicated kitchen outlet.
Leaking From Blade Assembly? Seal These 3 Failure Points
Tighten Blade Base With the Hand-Plus Method
After screwing the blade assembly onto the cup, grip the cup’s ridges and give an extra ⅛ turn—snug but not forceful. Over-tightening warps the gasket. Visual cue: If rubber o-ring extrudes from the groove, you’ve overtightened.
Replace Worn Gaskets Before They Fail
Pop the rubber ring from the blade base groove. Cracks, stretching, or permanent flattening cause leaks. Install new MB1001-GASKET-2PK and lightly coat with food-grade silicone grease. Pro tip: Keep spare gaskets in your drawer—they cost less than shipping fees when ordered later.
Scan Cups for Hairline Cracks
Fill the cup with water, invert over the sink, and watch for thin streams. Cracks usually start at tab roots after drops. Critical test: Submerge the cup in water and squeeze—if bubbles emerge, replace immediately. Epoxy repairs won’t survive blade torque.
Poor Blending Performance? Optimize Blades and Technique
Swap Dull Blades Using the Tomato Test
If ice cubes bounce or spinach stays stringy after 30 seconds, blades are dull. Press a soft tomato against spinning blades—if they bruise instead of slicing cleanly, replace the assembly. Replacement schedule: Cross blades every 1–2 years with daily use.
Match Blades to Your Task Precisely
- 4-prong cross blade: Smoothies, ice crushing, liquids (use for 90% of tasks)
- 2-prong flat blade: Coffee beans, spices, dry milling only
Using the wrong blade creates chunky results even with sharp edges.
Add Liquid in Correct Sequence
Always pour liquid first, then solids to the MAX line. Dry ingredients alone stall the motor. For thick mixtures, stop every 5 seconds to shake the cup—this redistributes ingredients 3x faster than continuous blending.
Cups Won’t Lock? Fix Alignment in 60 Seconds
Clean Base Notches With Wooden Tools
Dried smoothie residue in the three base slits prevents seating. Use a wooden toothpick (never metal) to scrape out debris, then wipe with a damp cloth. Test: Rotate the cup—it should turn smoothly without gritty resistance.
Rotate Cup 120° for Quick Engagement
If one tab is chipped, spin the cup a third turn to align an intact tab with the base notch. This temporary fix works until your replacement cup arrives.
Critical Preventive Maintenance Schedule
- After every use: Rinse blade assembly immediately; soak 5 minutes in warm soapy water
- Weekly: Check cord for nicks and cup tabs for new cracks
- Monthly: Inspect gasket—replace at first sign of brittleness
- Operating rule: 30 seconds ON, 10 seconds OFF to keep motor cool
Quick Part Replacement Guide
| Symptom | Part Needed | Price | Where to Buy |
|---|---|---|---|
| Stripped drive coupler | MB1001-COUPLER | $8–$12 | Amazon |
| Seized blade assembly | MB1001-BLADE-ASM | $9–$14 | Walmart |
| Leaking gasket | MB1001-GASKET-2PK | $4–$6 | eBay |
| Cracked cup | MB1001-12OZ-CUP | $7–$10 | Target |
Pro tip: Buy a spare blade assembly and gasket set when ordering—shipping costs more than the parts. Keep them in your junk drawer for instant repairs.
If your Magic Bullet emits smoke, sparks, or a burning odor, unplug it immediately and recycle through e-waste facilities—do not attempt repair. For all other failures, these targeted solutions revive most units without professional help. Implement the preventive schedule to extend your blender’s life by 2–3 years while saving $40 on replacement costs. Remember: 90% of “dead” Magic Bullets simply need the right fix—not the trash.


