
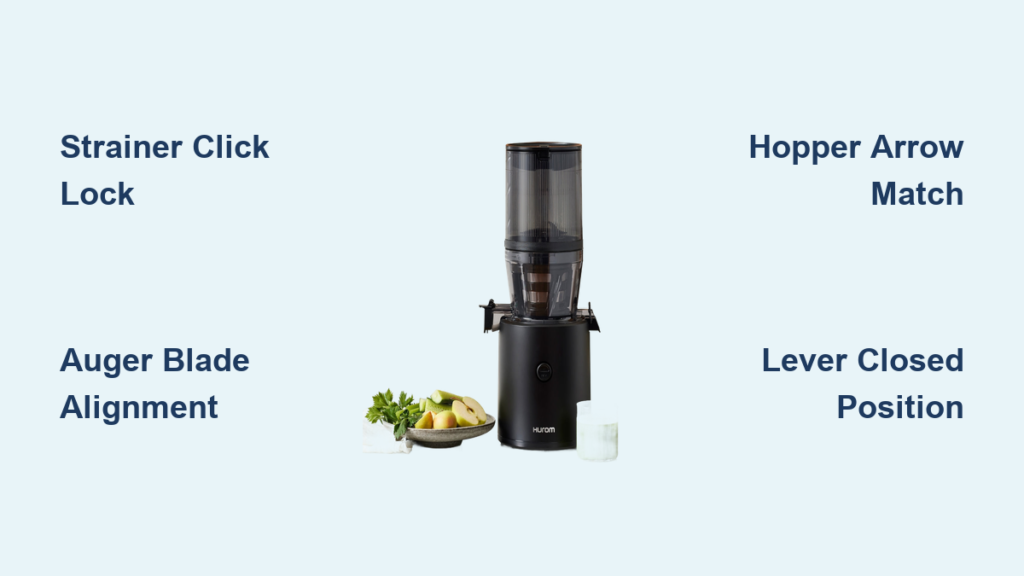
Your Hurom slow juicer won’t function properly if components aren’t assembled correctly, leading to frustrating leaks, poor juice yield, or even permanent damage to your machine. Taking just 5-7 minutes to master the proper Hurom juicer assembly sequence ensures you’ll enjoy smooth operation, maximum nutrient retention, and years of reliable service from your investment. Unlike traditional centrifugal juicers, the Hurom’s slow-press mechanism depends on precise component alignment to create that signature cold-press extraction.
Many first-time Hurom owners make the mistake of rushing through assembly, only to discover juice spraying everywhere or the machine making alarming noises during operation. The truth is, Hurom’s engineering requires specific orientation and secure connections at each step—there’s no room for approximation. This comprehensive guide walks you through every critical connection point, highlighting what to listen for, what to look for, and exactly how components should fit together for flawless performance from your very first juice.
Gather and Prepare All Hurom Juicer Components Before Assembly
Before touching any assembly steps, lay out all components on a clean, dry surface where you have ample space to work. Your Hurom slow juicer requires six key pieces for proper assembly: the drum housing, strainer, spinning brush, auger (also called the screw or rotor), hopper, and lever mechanism. Never skip this preparation step—trying to assemble while searching for misplaced parts leads to errors and potential damage.
Wash each component in warm, soapy water before first assembly, then dry thoroughly with a lint-free cloth. Residual moisture creates slippery surfaces that make precise alignment difficult, while tiny water droplets trapped between components can cause premature wear. Pay special attention to the strainer’s fine mesh—use the included cleaning brush to ensure no fibers or debris remain in the microscopic openings, as these will compromise juice extraction efficiency.
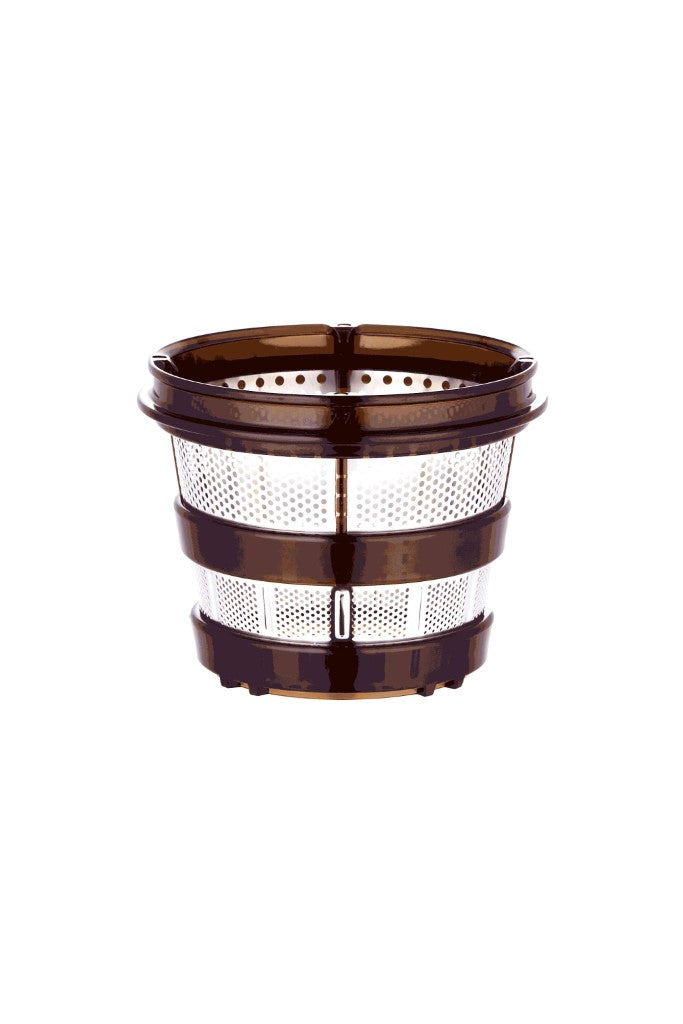
Securely Install Strainer and Spinning Brush with Proper Click Confirmation

Begin your Hurom juicer assembly by connecting the strainer directly into the spinning brush assembly. Hold both components firmly and align them so the strainer slides straight into the brush housing—forcing at an angle will damage the alignment tabs. Apply steady, even pressure until the strainer sits flush with the top of the brush assembly, creating a single integrated unit ready for drum installation.
Now insert this combined unit into the drum housing with the brush side facing downward. Twist clockwise while applying gentle downward pressure until you hear a distinct double-click sound. This audible confirmation is absolutely critical—it means the internal locking mechanism has engaged properly. If you don’t hear the click, disassemble and try again; operating without this secure connection causes the strainer to shift during use, resulting in uneven juicing and potential damage to the drum’s internal threads.
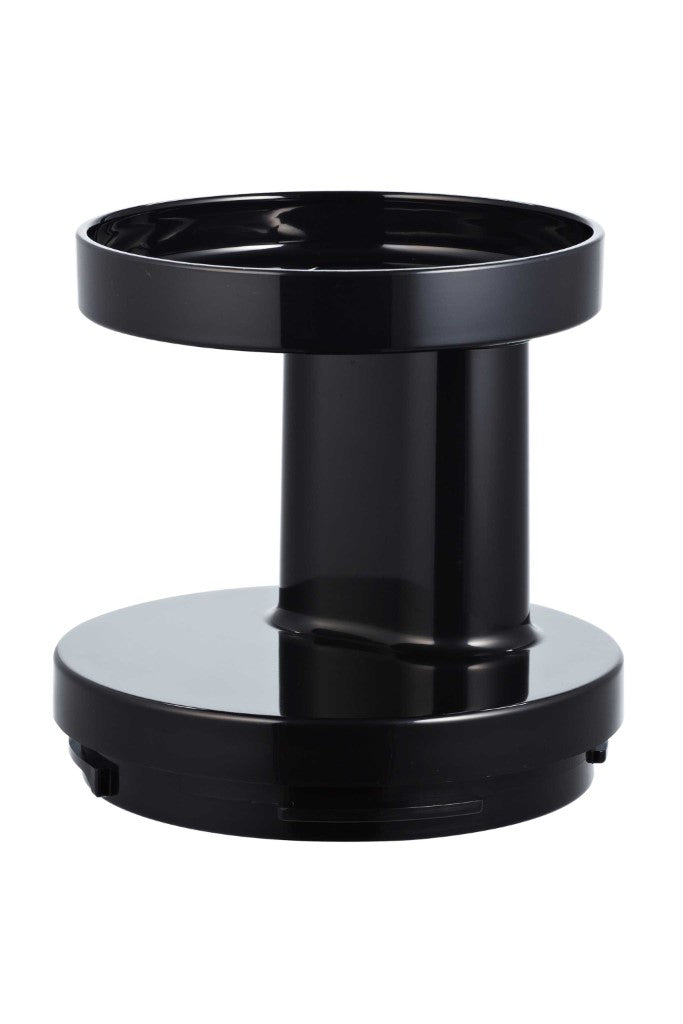
Position Hurom Auger Correctly for Maximum Juice Extraction
With the strainer and brush securely locked in the drum, it’s time to install the auger—the heart of your Hurom’s cold press technology. Take the auger by its handle and insert it straight down into the center of the strainer. You’ll notice two blade tips that must align with corresponding depressions on the outer edge of the strainer assembly.
Rotate the auger gently clockwise while applying slight downward pressure until both blades click into their respective depressions. Proper blade alignment is non-negotiable—if the blades aren’t seated correctly, the auger won’t rotate smoothly, causing excessive vibration, poor extraction, and potential damage to the strainer mesh. When correctly installed, the auger should rotate freely with just finger pressure, with no binding or resistance throughout a full rotation.
Attach Hopper with Perfect Arrow Alignment for Leak-Free Operation
Position the hopper directly over the top of your assembled drum unit, ensuring the feed chute opening faces toward you for comfortable operation. Now twist the hopper clockwise while applying gentle downward pressure until the alignment arrows stamped on both the hopper and drum body match perfectly.
This arrow alignment is your visual confirmation that the hopper is correctly oriented and fully engaged with the locking mechanism. Many users mistakenly believe the hopper is secure when it’s only partially twisted into place—always verify those arrows line up exactly. A properly installed hopper won’t wobble or shift when you press down on its top surface; if it moves, remove it and repeat the twisting motion until perfect alignment is achieved.
Configure Lever Position for Optimal Juice Flow Control
Before plugging in your Hurom juicer, locate the lever mechanism on the front of the drum assembly. This critical component controls internal pressure and must be set to the “close” position (usually indicated by a downward-pointing arrow or closed padlock symbol) before starting any juicing operation.
Operating with the lever in the wrong position creates multiple problems: ingredients may back up out of the hopper, juice extraction becomes inefficient, and the machine may produce unusual noises from improper pressure distribution. The closed position allows your Hurom to build the precise pressure needed for cold press extraction—don’t be tempted to adjust it during initial operation. Once juicing begins and pulp starts exiting the chute, you can fine-tune the lever for optimal flow, but always start in the closed position.
Perform Final Verification Check Before First Hurom Juicer Use
Before adding any produce, conduct a thorough assembly verification to prevent avoidable problems during operation. First, confirm the strainer/brush unit remains securely locked in the drum by attempting to rotate it counterclockwise—it should not move. Next, ensure the auger rotates freely when turned by hand, with no scraping sounds or resistance points.
Place your assembled juicer on a stable surface and run it empty for 15-20 seconds. Listen carefully for any unusual grinding, clicking, or vibration that might indicate misalignment. Watch for component shifting, especially at the hopper-drum connection point. If anything seems amiss, disassemble completely and restart the process—it’s far better to catch an assembly error now than risk damaging your machine during actual use.
Essential Maintenance After Hurom Juicer Assembly for Longevity
Your Hurom juicer assembly process isn’t complete until you establish proper maintenance habits. Disassemble all components immediately after each use—dried pulp becomes exponentially harder to remove and can permanently clog the strainer’s fine mesh. Use the included cleaning brush to thoroughly scrub the strainer from both sides, paying special attention to the narrow channels where pulp collects.
Never store your Hurom with damp components—moisture trapped between the strainer and brush assembly promotes mold growth and accelerates wear on plastic threads. After washing, dry each piece completely with a lint-free cloth or allow air drying for at least 30 minutes before reassembling for storage. Some users prefer to store their Hurom fully assembled with a dry towel inside the drum, while others disassemble completely; both methods work as long as all parts are bone-dry.
Critical Assembly Mistakes That Damage Your Hurom Slow Juicer
Forcing components that don’t slide together easily is the fastest way to damage your Hurom juicer. If the strainer doesn’t insert smoothly into the brush assembly or the auger doesn’t twist into place with gentle pressure, stop immediately and check alignment. The precision engineering of Hurom components means forced assembly strips internal threads or cracks plastic alignment tabs, requiring expensive replacement parts.
Skipping the critical click confirmation when installing the strainer/brush unit accounts for nearly 70% of early assembly problems. Users who don’t hear the distinct double-click often proceed to add ingredients, only to have the strainer shift during operation, causing uneven juicing and potential damage to the drum’s internal mechanism. Always verify that secure click—it’s your insurance against costly mistakes.
Misaligning the auger blades with the strainer depressions creates uneven pressure distribution that wears out the strainer mesh prematurely. When the blades aren’t seated correctly, they scrape against the mesh during rotation, creating microscopic tears that compromise juice quality over time. Take that extra moment to ensure perfect blade alignment—it extends your strainer’s lifespan by years.
Your Hurom slow juicer is now correctly assembled and ready to deliver professional-quality cold press juice with maximum nutrient retention. By following this precise assembly sequence each time you use your machine, you’ll enjoy consistent performance, eliminate frustrating leaks, and extend the lifespan of your investment. Remember that proper Hurom juicer assembly isn’t just about connecting parts—it’s about creating the precise mechanical harmony that makes cold press extraction superior to traditional juicing methods. The few extra minutes you spend ensuring perfect alignment now will reward you with years of delicious, nutrient-packed juices from your Hurom machine.


