
You’ve invested in a Vitamix blender, but that powerful machine might still be sitting on your counter collecting dust. Maybe you’re only using it for basic smoothies, unaware that your $400 investment can make hot soup from scratch, grind fresh flour, or even knead pizza dough in under a minute. This guide reveals exactly how to use Vitamix blender beyond the basics, transforming you from hesitant beginner to confident culinary expert who finally justifies that premium price tag. Within minutes, you’ll master techniques that unlock 10x more value from your machine.
Vitamix Container Selection and Loading Sequence
Match Your Container to the Task
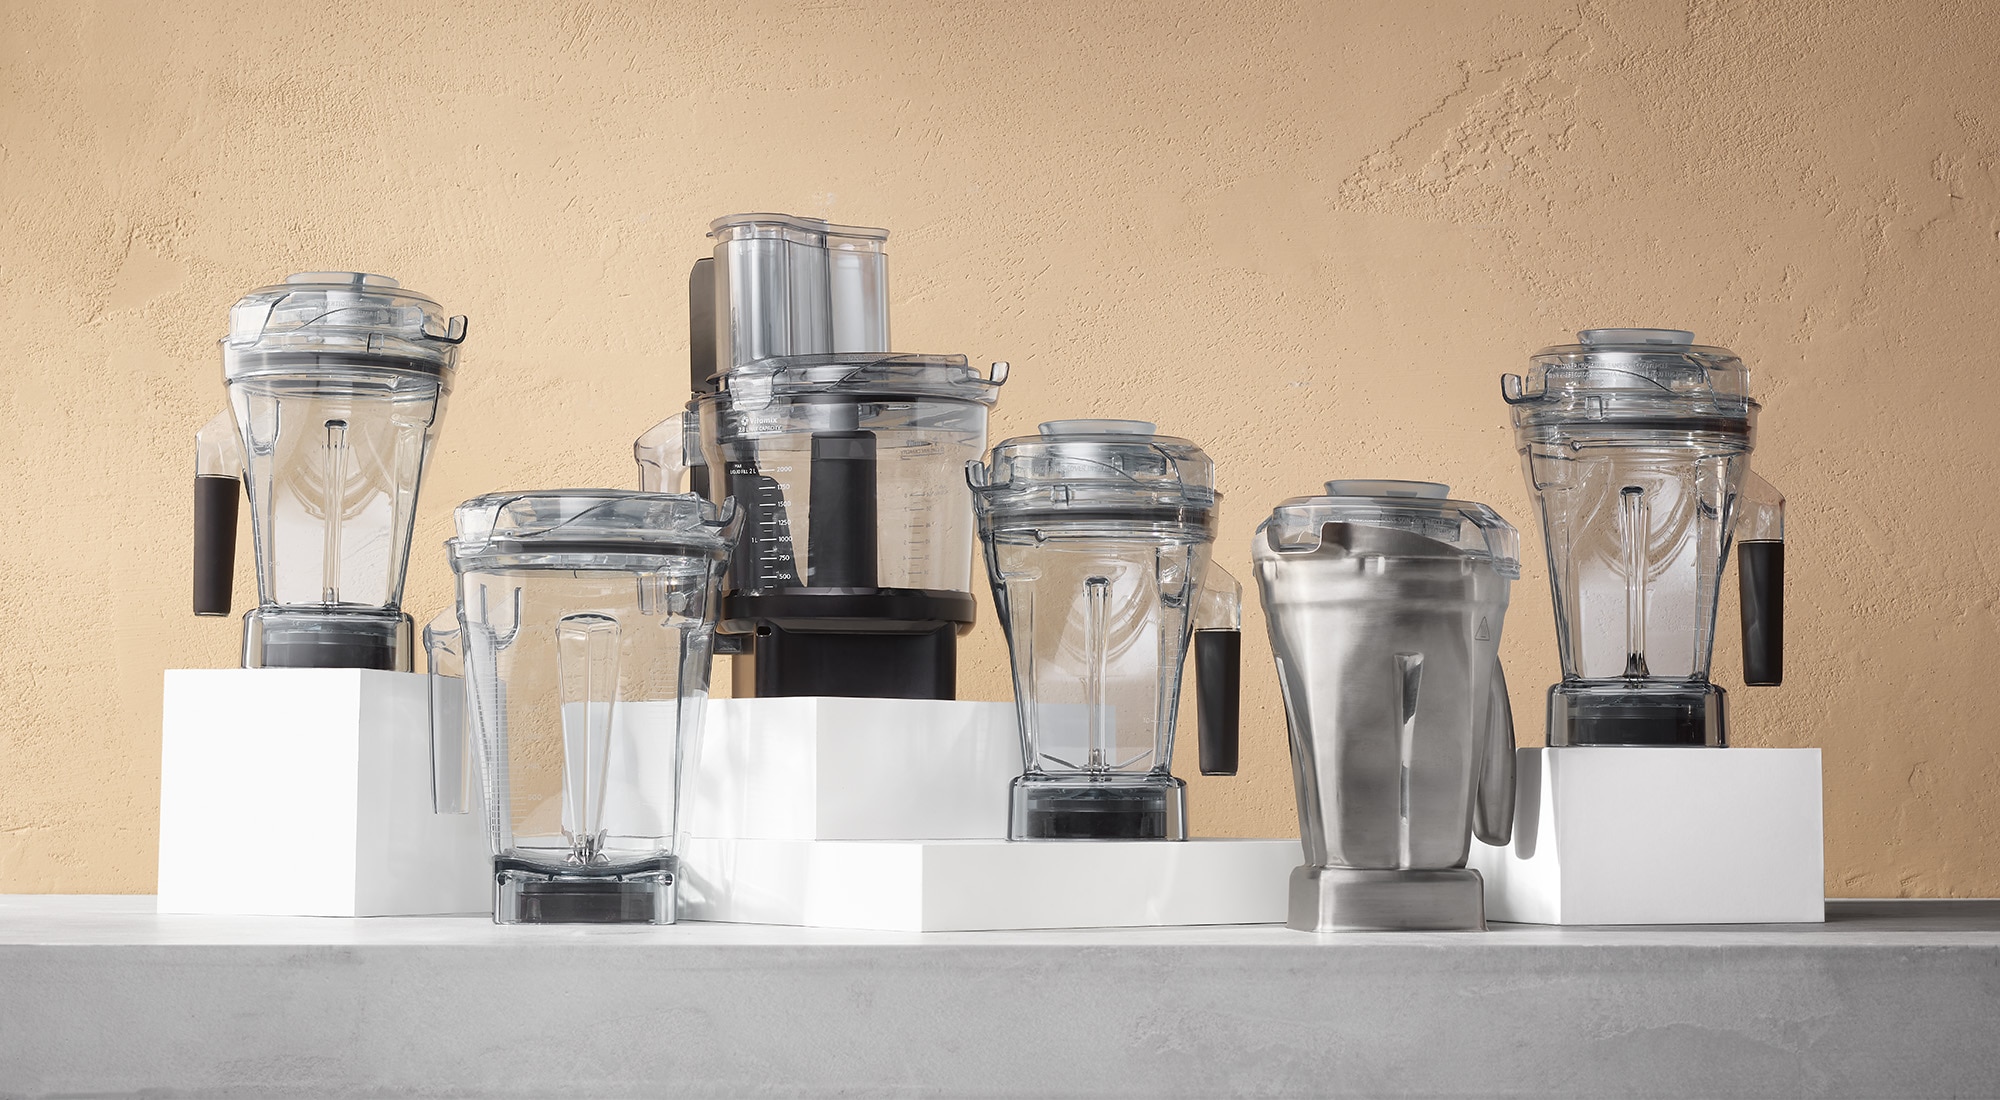
Choosing the right Vitamix container determines whether your blend succeeds or fails. The standard 64-ounce container handles family-sized batches but requires more liquid to create proper vortex action. For smaller households, the 48-ounce container prevents food waste while maintaining optimal performance. If you plan to grind grains or make dough, the Dry Grains Container is essential—it creates a reverse vortex that prevents ingredients from packing around the blades.
Specialized containers dramatically expand capabilities: the Aer Disc Container whips cream and foams cocktails, while the Personal Cup Adapter transforms your full-size Vitamix into a single-serve blender. Color-coded containers solve cross-contamination issues for allergen-sensitive households.
Perfect Ingredient Loading Order
Your blending results depend entirely on loading sequence. For standard containers: start with liquids (water, milk, or yogurt) to create initial movement. Next add powders and dry goods like protein powder or spices. Layer leafy greens on top, followed by fruits and vegetables, with ice and frozen items going in last. This sequence prevents ingredients from getting stuck above the blades.
For personal containers where you flip the cup onto the base, reverse this order—place frozen items at the bottom and liquids on top.
Speed Control and Tamper Mastery
Optimal Speed Settings for Every Task
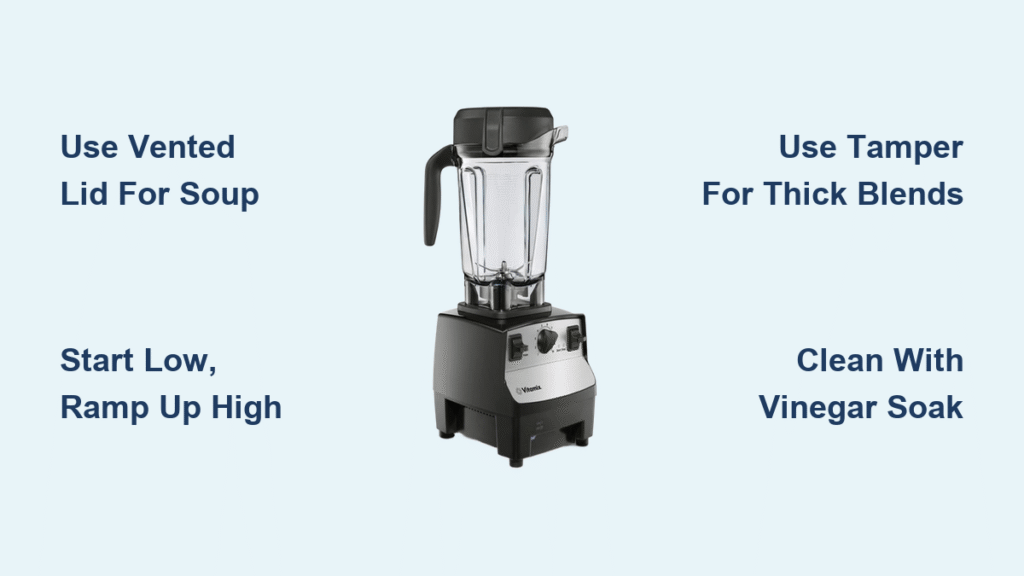
Vitamix’s Variable Speed Control (1-10) isn’t just for show—each setting serves a specific purpose. Start all blends on low speed (1-3) to begin ingredient movement, then ramp up to high (7-10) within 10 seconds. Contrary to popular belief, high speed actually cools the motor by pulling in more air—running constantly on low speeds generates more heat.
Use the Pulse feature (which operates at speed 5) for controlled chopping when making salsas or pesto. For thick blends like nut butters, maintain high speed while using the tamper to push ingredients toward blades.
Tamper Technique That Prevents Failed Blends
The included tamper isn’t optional—it’s essential for thick recipes. Always use with lid secured to prevent blade contact. Insert through the lid opening and push ingredients toward blades while blending, moving to all four corners until a vortex forms. For smoothies with adequate liquid, you may not need the tamper as the container’s tapered design creates natural circulation.
Never substitute the tamper with wooden spoons or spatulas—these can break, sending plastic fragments into your food and potentially damaging the container.
Hot Soup Preparation Without External Heat
Create Steaming Soup in 6 Minutes
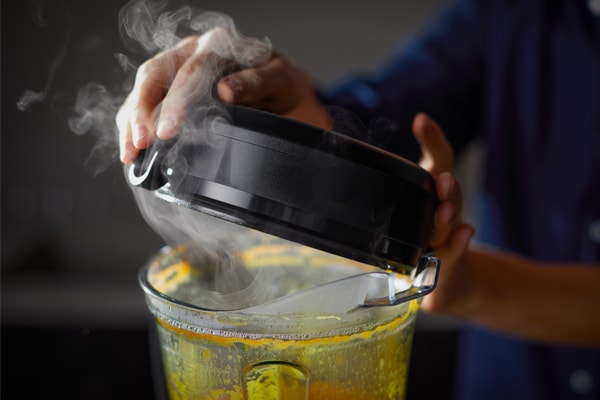
Your Vitamix can heat ingredients to serving temperature through blade friction alone—no stove required. For perfect hot soup: use the vented lid to release steam pressure, start with aromatic ingredients like garlic in small amounts (Vitamix intensifies flavors), and follow the formula: 4 cups vegetables + 2 cups liquid + 1-2 tablespoons fat.
Pro tip: Begin blending on low, gradually increase to high, and run for 6-10 minutes until steaming hot. The motor’s friction creates temperatures up to 180°F—perfect for serving immediately.
Frozen Treats and Ice Crushing Techniques
Perfect Sorbets and Crushed Ice Every Time
For frozen desserts, liquid ratio is critical: aim for 25% liquid to 75% frozen ingredients. Too little liquid creates powder; too much makes smoothies. Layer frozen fruit on top of liquid for optimal blending without stopping to stir. Use high speed for large batches and pulse for single servings to control texture.
When crushing ice for cocktails, add a small amount of liquid first to initiate movement, then gradually add ice while maintaining high speed. The precision-cut stainless steel blades pulverize ice without dulling—a task that destroys cheaper blenders.
Professional-Grade Cleaning Methods
Self-Cleaning in 60 Seconds
Vitamix’s self-cleaning feature saves significant time: rinse container immediately after use (especially with nut butters), fill halfway with warm water, add 1-2 drops dish soap, secure lid firmly, then start on low and increase to high for 30-60 seconds. The centrifugal force cleans every surface.
Simultaneously clean the tamper by holding it in place during the cycle. For stubborn residues, let the soapy water soak for 10 minutes before running the cleaning cycle.
Restore Cloudy Containers Like New
Mineral deposits cause containers to turn cloudy over time. Deep clean with white vinegar: fill with 1 cup vinegar, top with warm water, soak overnight, then run a normal cleaning cycle the next day. Avoid abrasive cleaners that scratch the container surface.
Troubleshooting When Your Vitamix Fails

Machine Won’t Start? Fix These First
If your Vitamix won’t power on, check the GFCI outlet reset—kitchen outlets frequently trip. Test the outlet with another appliance before assuming blender failure. If the Automatic Overload Protection activated, wait 30-45 minutes for reset, or speed up cooling by unplugging, removing container, and blowing cool air into the base with a hair dryer.
Never disassemble the base—this voids the 7-year warranty. Contact Vitamix customer service for persistent issues.
Stop Leaks and Shaking Immediately
Lid leaks usually mean improper sealing—check the gasket and ensure tamper hole is covered. Base leaks require immediate service—do not continue using. For excessive vibration, move to a solid counter surface (avoid cutting boards) and check for worn feet. Persistent shaking indicates drive socket issues requiring professional service.
Advanced Applications Beyond Smoothies
Nut Butters in 90 Seconds
Make almond butter by processing 2 cups roasted nuts on high speed while using the tamper. Add 1-2 tablespoons neutral oil only if mixture seems too dry. The intense friction creates smooth butter without external heat—far faster than food processors.
Fresh Flour Grinding
Use the Dry Grains Container to grind 1-2 cups of whole grains at a time. The reverse vortex design prevents packing, producing finer flour than standard containers. Clean thoroughly between different grains to prevent cross-contamination of flavors.
Prevent Costly Beginner Mistakes
Critical Errors That Damage Your Investment
Overfilling beyond the max line causes leaks and uneven blending—remember contents expand during processing. Insufficient liquid prevents vortex formation, leaving chunks in your blend. Using the wrong container (like standard container for flour) yields poor results and strains the motor. Ignoring ventilation space around the base during extended use leads to overheating.
Speed setting mistakes are common—running constantly on low speeds generates more heat than brief high-speed bursts. Always ramp up gradually for optimal performance and motor longevity.
Final Pro Tips for Daily Mastery
Pre-portion smoothie ingredients in freezer bags for grab-and-blend mornings—just dump contents into container with liquid. Clean immediately after nut butters before residue dries. Use pulse for chunky textures like salsa or chopped herbs. Store with speed dial turned down to prevent accidental high-speed starts.
Your Vitamix becomes exponentially more valuable each time you explore new techniques. Start with hot soup this week, then progress to nut butters and fresh flour. Within a month, you’ll wonder how you ever managed without this kitchen powerhouse. The 7-year warranty means you can blend confidently, knowing Vitamix stands behind their machines through countless creations. Try the hot soup technique today—it’s the perfect gateway to unlocking your blender’s full potential.


