
There’s nothing quite like the vibrant taste of fresh juice made in your own kitchen, and a power juicer puts this nutritious beverage within easy reach. Learning how to use power juicer effectively transforms ordinary fruits and vegetables into nutrient-dense elixirs that support your wellness journey. Unlike centrifugal juicers that spin at high speeds, power juicers operate with a slow, gentle pressing action that preserves more enzymes, vitamins, and minerals while delivering drier pulp and higher yields.
Thousands of home juicers struggle with inefficient extraction, messy cleanup, and premature wear on their machines simply because they haven’t mastered the proper techniques. This comprehensive guide eliminates the guesswork by providing actionable steps you can implement immediately. Whether you’re a first-time juicer owner or looking to optimize your current routine, you’ll discover how to extract maximum nutrition while keeping your machine in peak condition for years to come.
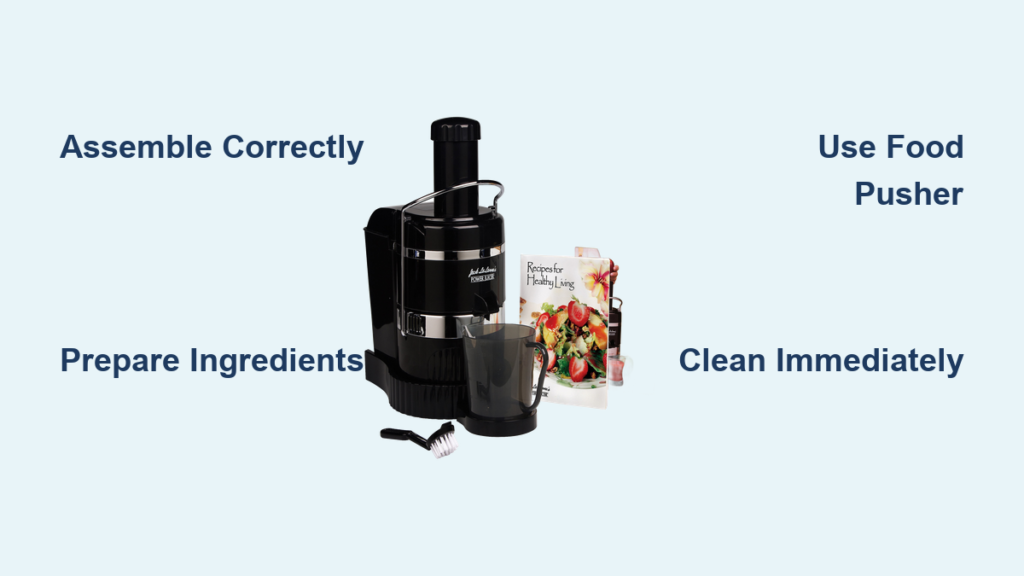
Power Juicer Assembly: Getting Started Right

Proper assembly ensures safe operation and optimal performance from your first juice session. Power juicers typically feature modular components that must be positioned precisely to function correctly—skip this step and you’ll face leaks, poor extraction, or even damage to your machine.
Begin by placing the base unit on a stable, dry countertop near an electrical outlet. The base contains the motor housing and should remain stationary during operation. Next, align the juicing bowl with the base unit’s locking mechanism—most models feature color-coded tabs or audible clicks when properly seated. Rotate the bowl clockwise until it locks securely into place; you should feel resistance when attempting to turn it further.
Install the filter basket by placing it directly onto the central spindle inside the juicing bowl. Ensure it sits flush with the bowl bottom—any gap will cause juice to mix with pulp. Some models require specific orientation, so check for alignment markers on both components. Finally, attach the feed tube by aligning its tabs with the juicing bowl slots and pressing down firmly until it clicks. The entire assembly process should take less than two minutes once you’re familiar with your model.
What to Check Before First Use
Before juicing your first ingredient, verify these critical assembly points:
– All components click securely into place with no gaps or wobbling
– The filter basket spins freely when manually rotated (don’t force it)
– The feed tube locks completely—test by gently trying to lift it
– Both juice and pulp containers are positioned correctly under their respective spouts
Preparing Ingredients for Maximum Juice Extraction

Your results depend heavily on how you prepare produce before it enters the juicer. Proper preparation prevents clogs, improves yield, and creates smoother-tasting juice without unnecessary strain on your machine.
Washing and Cutting Techniques That Matter
Wash all produce thoroughly under cold running water, even items you’ll peel. For leafy greens like kale or spinach, submerge them in a bowl of water and swish vigorously to dislodge hidden dirt. Cut harder vegetables like carrots and beets into 1-inch chunks that fit comfortably in your feed tube—larger pieces cause jams while smaller ones create unnecessary waste. For citrus fruits, remove all peel and white pith to avoid bitter flavors in your juice.
Pro Tip: Alternate between hard and soft produce during juicing sessions. Process a handful of leafy greens followed by a carrot or apple—this creates a natural “push” that optimizes extraction and prevents pulp buildup in the filter basket.
Operating Your Power Juicer: The Right Technique
Power juicers require specific techniques that differ significantly from centrifugal models. Understanding these differences prevents common mistakes that lead to poor extraction and machine strain.
Start by plugging in your juicer and turning it on using the main power switch. Allow the machine to reach full operating speed (about 3-5 seconds) before adding ingredients. Always use the food pusher—not your fingers—to guide produce down the feed tube. Apply steady, moderate pressure: too little and ingredients won’t process properly; too much and you’ll strain the motor. For fibrous items like celery or wheatgrass, push slowly while rotating the pusher to maintain consistent pressure.
Troubleshooting During Operation
If juice flow slows unexpectedly:
– Check for partial clogs by stopping the machine and inspecting the feed tube
– Alternate ingredient types—add a harder vegetable to push through fibrous material
– Reduce ingredient size for problematic items like ginger or turmeric
– Pause briefly every 2-3 minutes to let the motor cool during extended sessions
Critical Safety Practices Every Juicer Must Follow
Power juicers contain powerful mechanisms that demand respect. Following these safety protocols prevents serious injury and extends your machine’s lifespan.
NEVER insert fingers, utensils, or foreign objects into the feed tube while the machine is plugged in. Always unplug the unit and wait 30 seconds for moving parts to stop before clearing jams. Keep long hair tied back and avoid loose clothing that could catch in moving parts. Never operate the juicer without both juice and pulp containers properly positioned—this prevents dangerous overflow and mess.
Warning Signs That Require Immediate Action
Stop juicing immediately if you notice:
– Unusual burning smells indicating motor strain
– Excessive vibration suggesting improper assembly
– Smoke or sparking from the base unit
– Leaking juice from unexpected areas
Cleaning Your Power Juicer: The 5-Minute Method
Proper cleaning after each use prevents permanent staining and maintains optimal performance. Power juicers require prompt attention—dried pulp becomes exponentially harder to remove.
Disassemble components while still damp (never let pulp dry completely). Rinse the filter basket under warm running water while gently scrubbing with the provided brush—focus on the mesh surface but avoid aggressive pressure that could damage the fine screen. Soak stubborn residue in warm water with a tablespoon of baking soda for 10 minutes before scrubbing. Dry all parts thoroughly with a microfiber cloth before storage; trapped moisture causes mold growth in hidden crevices.
Components That Need Special Attention
- Filter basket: Clean mesh from both sides using the soft brush
- Auger/spindle: Remove any wrapped fibers with a toothpick
- Sealing rings: Check for pulp buildup in grooves
- Juice spout: Flush with warm water to prevent clogs
Troubleshooting Common Power Juicer Problems
Even with proper technique, issues occasionally arise. These solutions address the most frequent problems power juicer owners face.
Why Your Juicer Makes Loud Noises
Excessive noise usually indicates:
– Misaligned components—disassemble and reassemble carefully
– Overloaded motor—reduce ingredient quantity per session
– Foreign object—unplug and inspect for trapped seeds or pits
– Worn parts—check for damaged auger or filter basket
Low Juice Yield? Try These Fixes
If extraction seems inefficient:
– Increase hard vegetable ratio (carrots, beets, apples)
– Cut produce smaller for better processing
– Alternate produce types throughout juicing session
– Clean filter basket—clogged mesh reduces extraction
Maximizing Nutrient Retention in Your Juice
Power juicers preserve more nutrients than high-speed alternatives, but your technique still impacts nutritional quality. Juice begins oxidizing immediately after extraction, so consume within 15-20 minutes for maximum benefits. Store juice in an airtight glass container filled to the top to minimize air exposure. Keep your juicer in a cool, shaded area—heat degrades nutrients faster during extraction.
Best Ingredient Combinations for Beginners
Start with these foolproof combinations:
– Green Energizer: 2 cucumbers, 4 celery stalks, 1 green apple, handful of spinach
– Immunity Booster: 3 carrots, 1 orange (peeled), ½ inch ginger, ½ lemon (peeled)
– Detox Delight: 2 beets, 3 carrots, 1 apple, small handful of parsley
Long-Term Care for Your Power Juicer Investment
Regular maintenance prevents costly repairs and extends your machine’s lifespan significantly. Every 20-30 uses, perform a deep clean by running a solution of water and white vinegar through the juicer, followed by two plain water cycles. Inspect rubber seals monthly for cracks or hardening—replace them immediately if compromised. Store components in a dedicated cabinet away from heat sources that could warp plastic parts.
Pro Tip: Keep your original packaging for long-term storage. Should you need to transport your juicer or store it for extended periods, the custom-fit packaging prevents damage to delicate components.
Creating Your Daily Juicing Routine
The true value of your power juicer emerges through consistent use. Start with simple recipes three times weekly, gradually increasing frequency as you master techniques. Prep ingredients the night before to streamline morning juicing sessions. Keep a small notebook to track which combinations you enjoy most and which produce items deliver the best extraction for your specific model.
Fresh juice provides an immediate energy boost and delivers concentrated nutrients your body absorbs quickly. By mastering these power juicer techniques, you’ve invested in a sustainable health habit that pays dividends for years to come. The vibrant colors, fresh flavors, and noticeable wellness effects will keep you reaching for your juicer day after day.


