
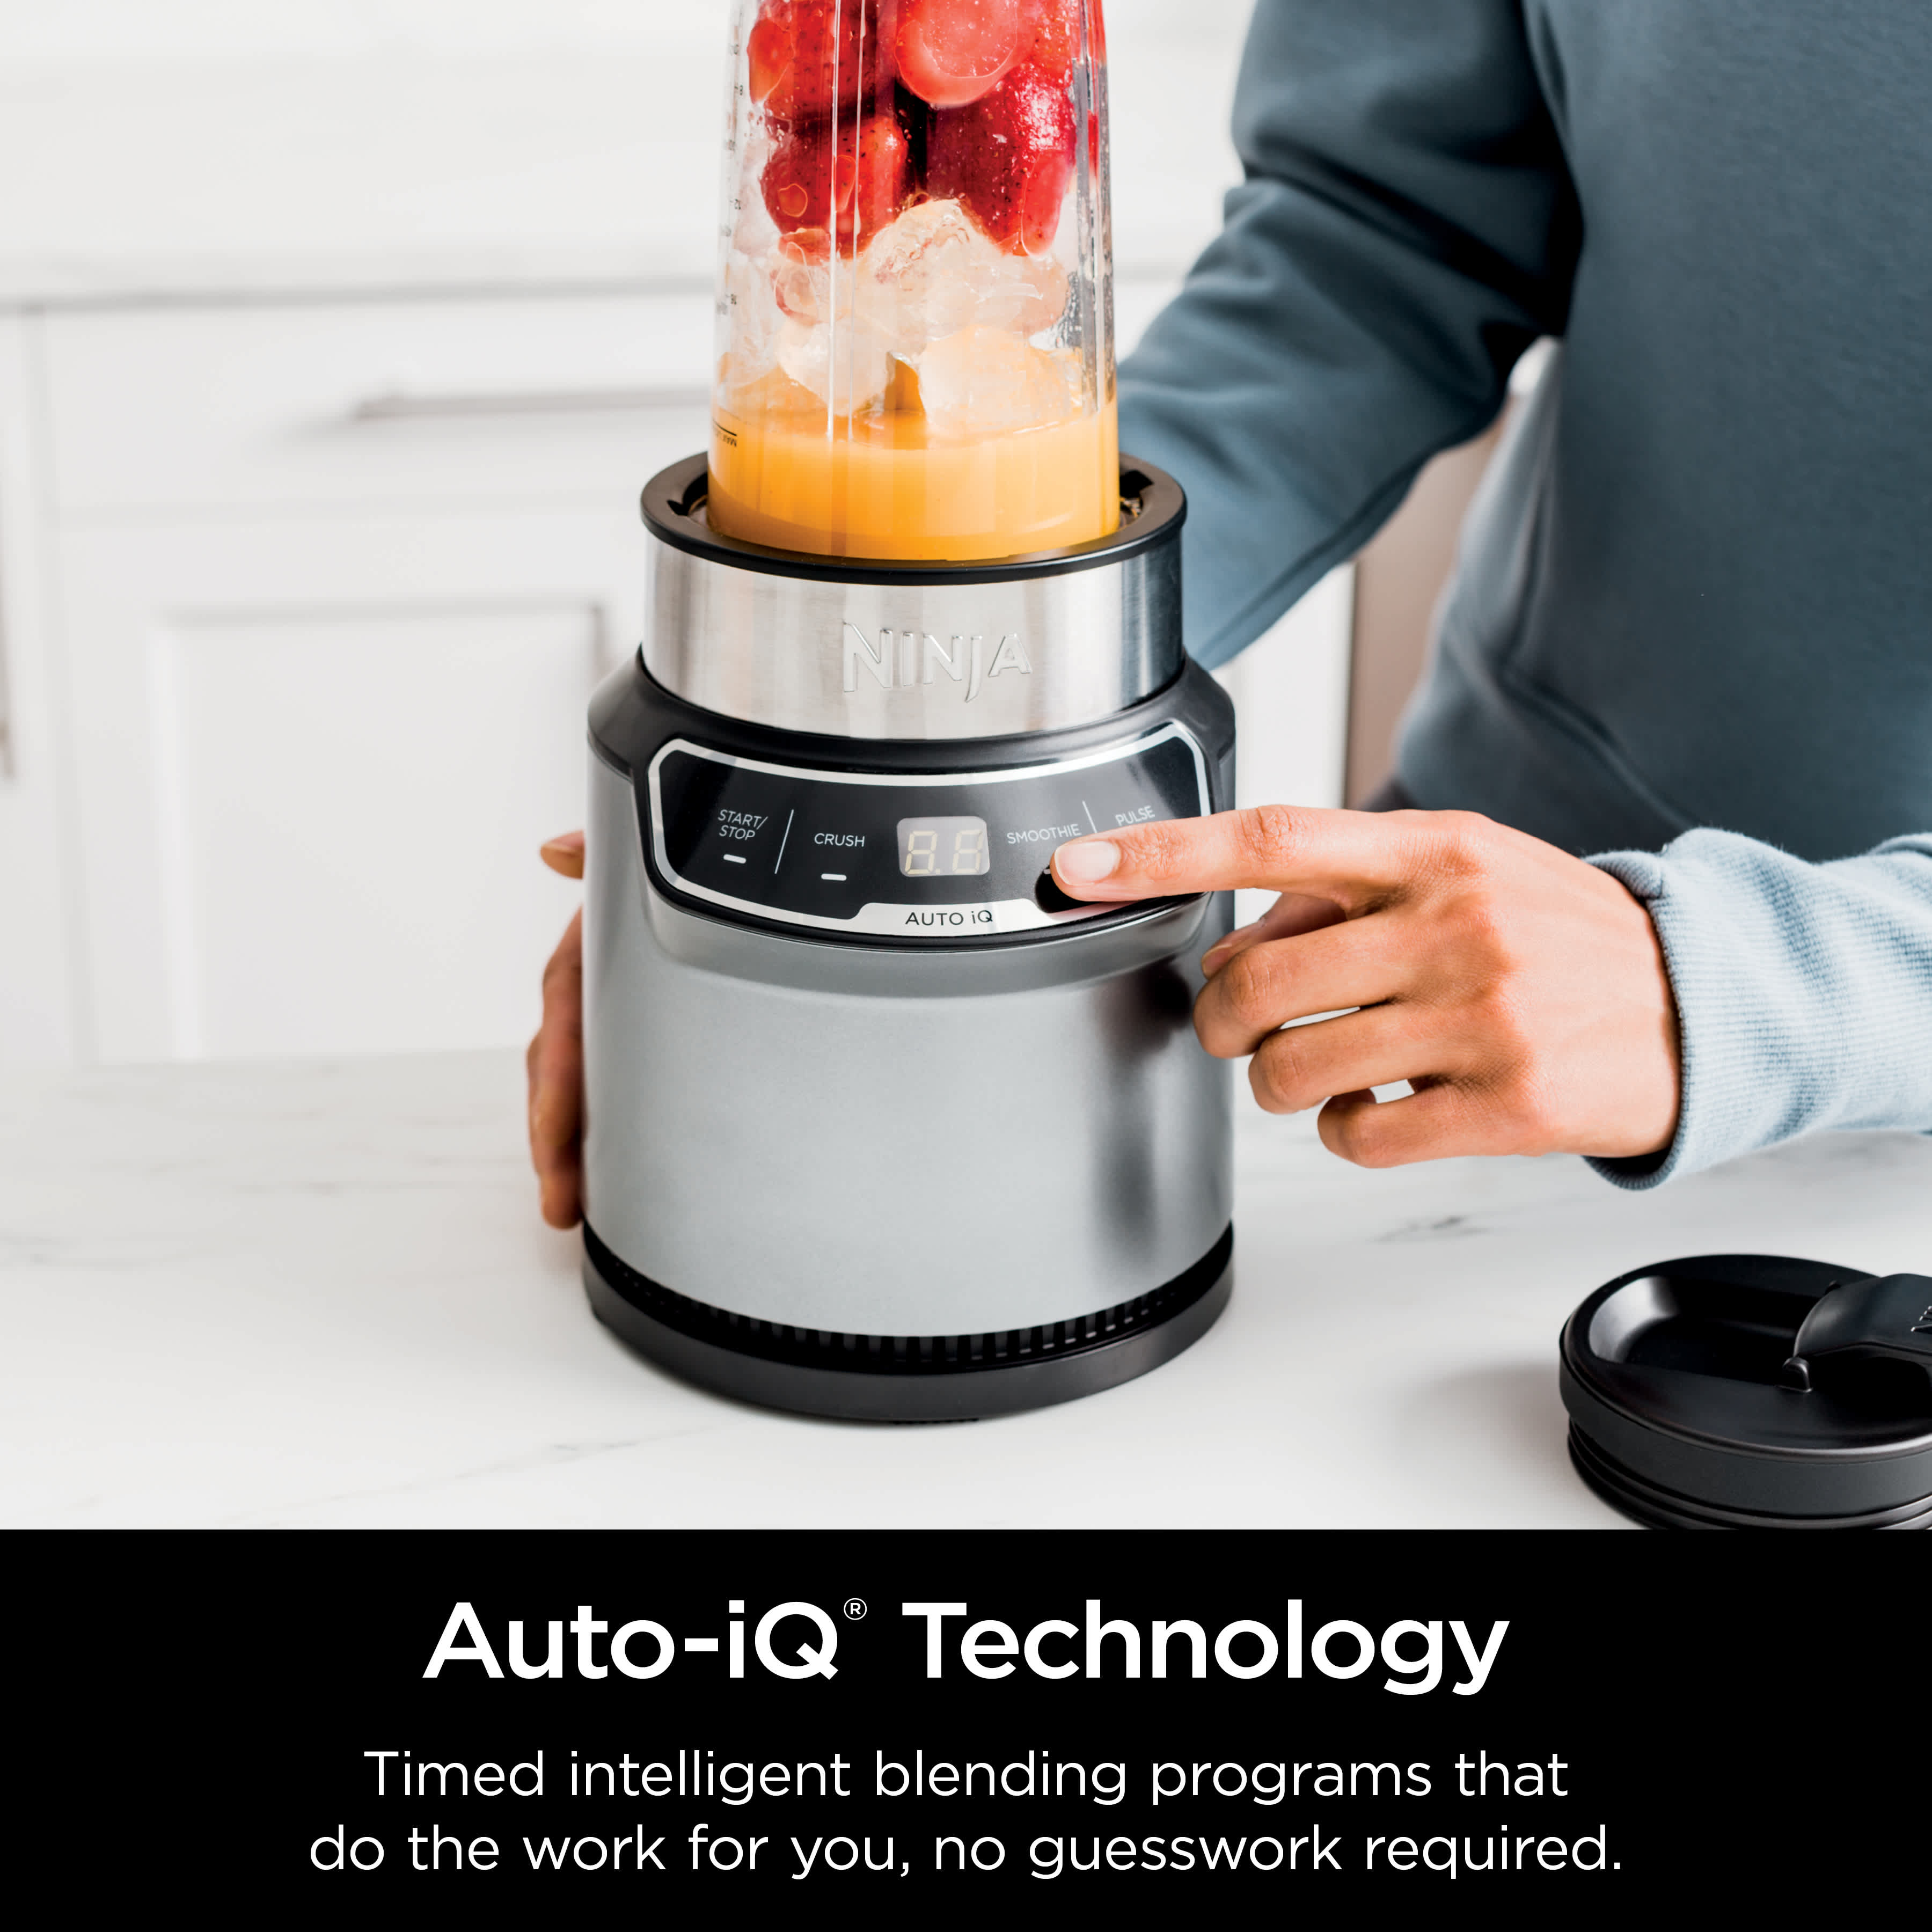
Your morning routine just got simpler. The Ninja Nutri Blender Pro transforms frozen fruit, greens, and protein into velvety smoothies faster than your coffee brews—no bulky pitcher required. Unlike conventional blenders, this compact powerhouse uses stacked blade technology to pulverize ingredients instead of chopping, extracting maximum nutrients from every sip. If you’ve ever struggled with leaky lids, blinking error lights, or gritty smoothies, mastering this single-serve system unlocks café-quality results with minimal cleanup.
Most users waste months guessing at settings or battling stubborn residue because they skip critical alignment steps. This guide cuts through the confusion with proven techniques directly from Ninja’s specifications. You’ll learn exactly how to load ingredients to prevent blade lock, decode that frustrating red light error, and clean in under 90 seconds—so you spend less time troubleshooting and more time enjoying nutrient-packed drinks. Whether you’re blending post-workout shakes or meal replacements, these steps work for every model in the Nutri Blender Pro line.
Secure Your Lid and Cup Like a Pro
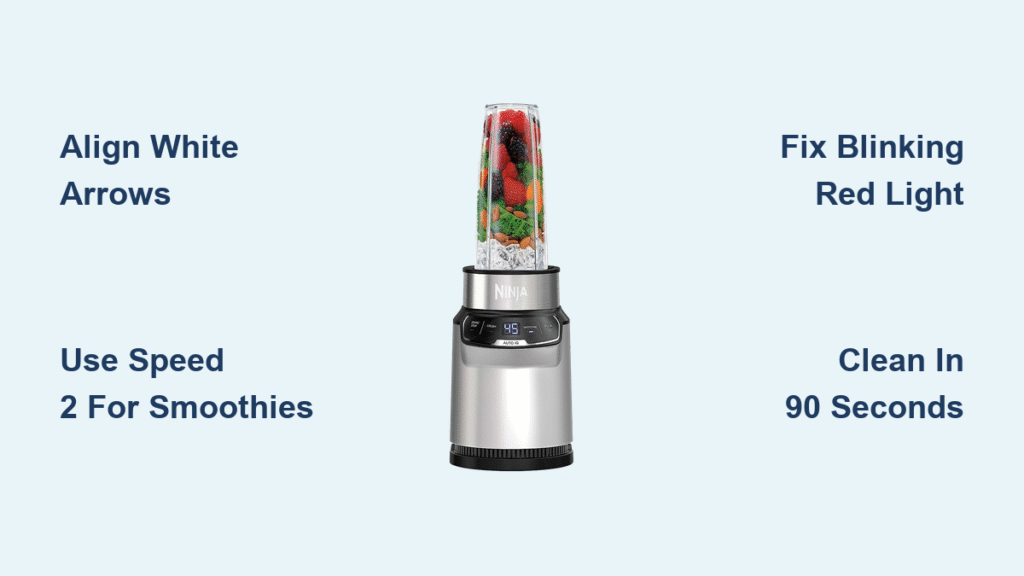
Align White Arrows Before Blending
Misaligned arrows trigger safety failures 90% of the time. After adding ingredients, press the rectangular release button to close the lid. Twist the lid until the white arrow on the lid perfectly matches the arrow on the cup handle—these must form a straight line. Test by gently rotating the cup; if it clicks and spins freely on the base, alignment is correct. Never force the lid down past its stopping point, as this cracks the plastic housing.
Position Cups Correctly on the Base
The 18-ounce cup fits snugly for protein shakes, while the 24-ounce version handles meal-replacement smoothies. Place your filled cup on the motor base so the handle points toward you. Press down firmly until you hear a distinct click—this engages the safety sensor. If the cup wobbles or spins too freely, lift and reposition it. A properly seated cup rotates smoothly but won’t slide sideways when nudged.
Verify Power Connection Safety
Plug the blender into a dedicated kitchen outlet away from sinks. Route the cord behind countertops to prevent accidental unplugging during use. Never operate with the base near water sources or with wet hands. Before your first blend, run a dry test: place an empty cup on the base, press Speed 1 for 2 seconds, and confirm the blades rotate without grinding noises.
Optimize Speed Settings for Perfect Texture

Speed 1: Mix Powders Without Clumping
Use this setting exclusively for soft ingredients like protein powder, yogurt, or nut butter. Add liquids first (water, milk, or juice), then powders, and blend for 10-15 seconds. This prevents the “powder volcano” effect where dry ingredients erupt from the lid. Ideal for pre-workout drinks—stop immediately if you see lumps forming; stir manually and restart.
Speed 2: Blend Frozen Fruit Smoothly
This is your go-to setting for 80% of recipes. Load frozen berries, spinach, or banana chunks, then press and hold Speed 2 for 30-45 seconds. For thick mixtures, pause at 20 seconds to scrape sides with a silicone spatula (never while blades spin). The stacked blades create a vortex that pulls ingredients downward—watch for visible spirals in the cup. If blending stalls, reduce ingredient volume by 20%.
Speed 3: Crush Ice Without Straining the Motor
Reserve this setting only for ice cubes or rock-hard frozen mango. Never exceed 25 seconds of continuous use—overheating triggers automatic shutoff. Add ½ cup liquid first to lubricate blades, then pulse 3-4 times before holding Speed 3. For snow-cone texture, stop blending while small ice fragments remain; they melt within 60 seconds after pouring.
Pulse Function: Unlock Stuck Ingredients
When ingredients cling to the cup walls, use pulse mode for precision control. Hold the button for 3-second bursts, releasing fully between pulses. This works best for nut butters or frozen cauliflower rice. Never pulse more than 5 times consecutively—allow 10 seconds of rest between cycles to prevent motor burnout.
Fix Blinking Red Light Errors Immediately
Check Lid Lock Before Anything Else
A blinking red light means the safety system blocked operation. Unplug the blender, remove the cup, and inspect the lid’s release button. It should sit completely flush—not protruding. Press it firmly until you hear a double click. Reattach the cup and test alignment; 70% of errors resolve here.
Re-Seat the Cup on the Motor Base
If the light persists, lift the cup straight up (don’t twist) and wipe the base’s sensor ring with a dry cloth. Re-center the cup so the handle aligns with the motor’s front indicator dot. Press down with even pressure until the safety click occurs. If the cup spins too loosely, debris may block the sensor—use a toothpick to clear crumbs from the base groove.
Test with Empty Cup for Diagnostics
After reassembly, plug in the blender and place an empty cup on the base. Press Speed 1: if the light stops blinking and blades spin, the issue was alignment. If blinking continues, unplug for 2 minutes to reset the circuit. If problems persist, contact Ninja support with your model number—they often replace faulty bases under warranty.
Clean in 90 Seconds Without Disassembly
Rinse Blades Under Hot Water Immediately
Residue hardens within 5 minutes, so rinse the cup and blade assembly under hot running water before setting it down. Hold the cup upright and swirl vigorously for 20 seconds—this dislodges spinach fibers and protein gunk from blade crevices. Never soak blades overnight; prolonged water exposure loosens the sealed assembly.
Dishwasher-Safe Cleaning Protocol
Place cups, lids, and blade assemblies only on the top rack of your dishwasher. Space components 2 inches apart so water jets reach all surfaces. Use standard detergent—avoid citrus-based cleaners that degrade plastic seals. After washing, inspect the blade gasket for trapped seeds; a toothpick clears debris without damaging the seal.
Base Maintenance You’re Probably Skipping
Wipe the motor base with a microfiber cloth dampened with vinegar solution (1:1 water/vinegar) weekly. Focus on the sensor ring where cups attach—grime here causes false error lights. Never immerse the base or spray cleaners directly onto it. Store the cord wrapped neatly in the base’s groove to prevent fraying.
Critical Safety Steps Most Users Ignore
Handle Blades Only by the Lid Edges
The stacked blades stay permanently sharp—sharper than kitchen knives. When washing, grip only the plastic lid rim. Never insert fingers into the blade chamber, even when disconnected. For stubborn residue, use the stiff-bristled brush included with your model (sold separately for older units).
Never Blend Hot Liquids or Overfill
Adding steaming soup or coffee risks explosive pressure buildup. The max fill line is 1 inch below the cup rim—exceeding this causes leaks during high-speed blending. For thick mixtures like hummus, fill only to the 12-ounce mark and add ¼ cup extra liquid. Always start on Speed 1 before increasing power.
Check for Model-Specific Recalls Monthly
Ninja issued a 2022 recall for certain Nutri Blender Pro models (check serial numbers starting with “NB100”) due to lid detachment risks. Register your model on Ninja’s website for safety updates. If your unit lacks the double-arrow alignment system described in this guide, stop using it immediately and contact support.
Maximize Longevity With These Pro Moves
Use Pulse Mode for Thick Mixtures
When blending nut butters or frozen avocado, operate in 15-second pulse intervals with 30-second cooling breaks. This prevents motor strain that causes permanent speed setting failures. Stop blending if you smell burning plastic—this indicates immediate overheating.
Store Blades With Protective Covers
Always snap the included blade guards onto detached assemblies before storage. These prevent accidental cuts and protect blade edges from countertop impacts. Store cups inverted in a dish rack to air-dry completely—trapped moisture breeds mold in the lid gasket.
Replace Worn Components Immediately
Cracks in cups or loose blade assemblies compromise safety. Ninja’s warranty covers manufacturing defects for 1 year, but normal wear isn’t included. Order replacement cups ($12.99) and lids ($8.50) directly from Ninja if you notice cloudiness, warping, or misalignment that won’t resolve.
Mastering your Ninja Nutri Blender Pro means never wasting ingredients or time on avoidable errors. By aligning arrows precisely, respecting speed limits, and cleaning within the 5-minute window, you’ll extract maximum nutrients while extending your blender’s life. Start with Speed 2 for 30-second green smoothies, then experiment with pulse techniques for nut butters once you’ve mastered the safety checks. For model-specific troubleshooting, always consult your manual first—Ninja’s website also offers video tutorials showing the exact alignment clicks and error light patterns covered here. Your perfect smoothie awaits; now you know exactly how to use Ninja Nutri Blender Pro to create it.


