
Your morning routine just got a major upgrade with the Magic Bullet juicer system. Whether you’ve invested in the dedicated Mini Juicer appliance or the juicer attachment for your standard Magic Bullet blender, knowing exactly how to use bullet juicer properly transforms mediocre results into smooth, nutrient-packed juice every time. Forget the frustration of clogged filters or watery juice—this guide delivers the precise techniques that maximize yield, flavor, and nutrition while extending your appliance’s lifespan. You’ll be creating restaurant-quality juice in minutes with these actionable steps.
Identify Your Juicer Components Before First Use
Before you process your first apple or carrot, properly identifying your system’s specific components prevents assembly mistakes that damage equipment or compromise results. The Magic Bullet juicer ecosystem comes in two primary configurations: the juicer attachment for standard Magic Bullet bases and the dedicated Mini Juicer appliance. Confusing these systems leads to improper assembly and disappointing extraction.
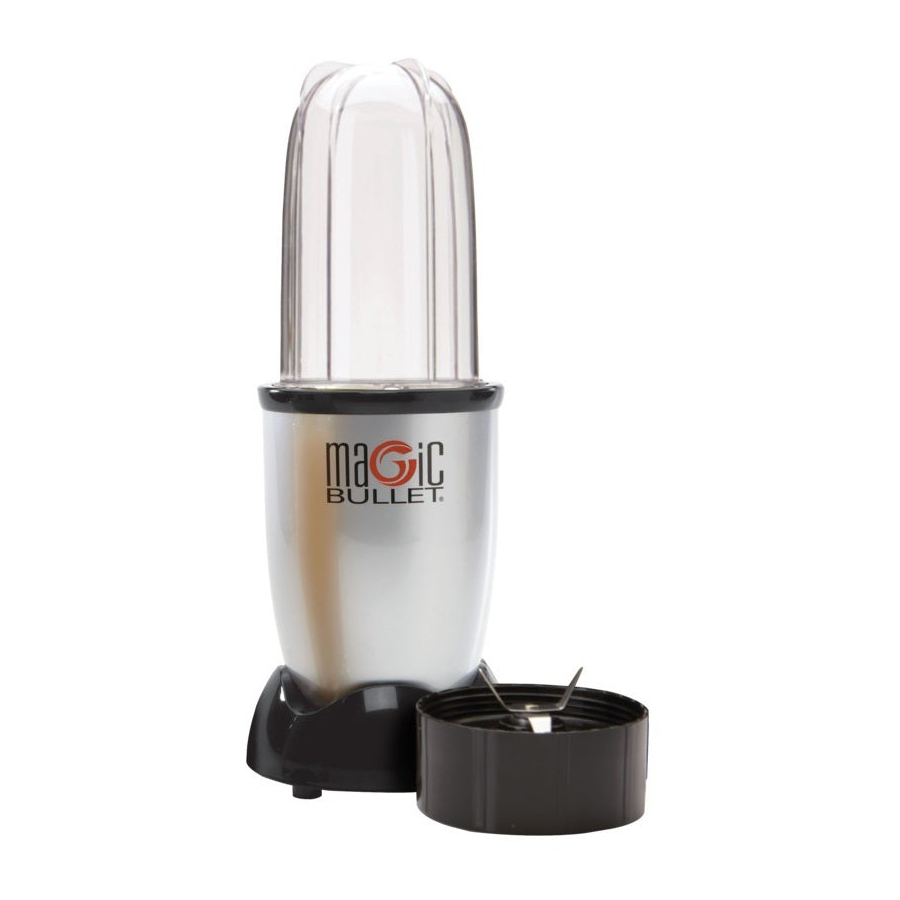
For the attachment system, locate the stainless steel juicer blade with its integrated fine mesh screen—this differs significantly from standard blending blades. The extraction blade features specialized teeth that shred produce while simultaneously forcing liquid through microscopic openings in the mesh. Improperly using a standard blending blade instead of the juicer attachment produces pulpy smoothies rather than smooth juice.
Mini Juicer Assembly Checklist
The dedicated Mini Juicer requires immediate identification of its five critical components: the motor base, pulp collection bin (52-ounce capacity), sieve/filter assembly, juice cup (16-ounce), and to-go lid. Verify all pieces are present before proceeding—missing the silicone spout cap, for instance, causes countertop drips that stain surfaces. The 400-watt motor unit should show no visible damage to the power cord or housing.
Critical Pre-Use Inspection Steps
Examine the sieve mesh under bright light for any tears, holes, or stretched areas that compromise filtration. Run your finger along sealing surfaces to detect cracks or imperfections that cause leaks during operation. Check blade sharpness by gently testing against a carrot—dull blades require replacement and produce inferior juice. Address these issues immediately rather than risking damage during your first juicing session.
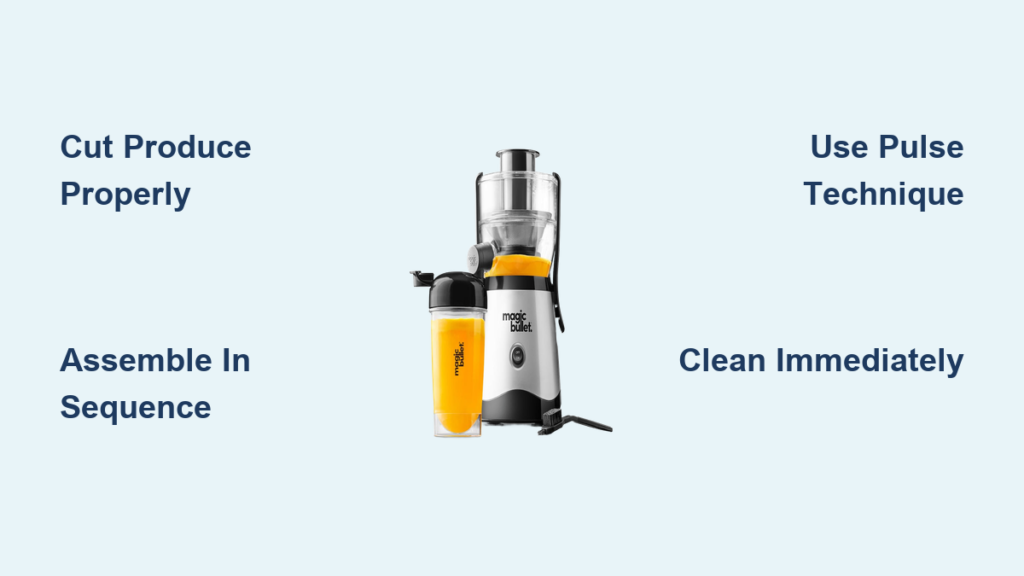
Cut Produce to Exact Size for Maximum Juice Extraction

Proper ingredient preparation directly determines your juice yield and extraction efficiency—skip this step and you’ll waste up to 30% of potential juice. The Magic Bullet Mini Juicer’s 2-inch feed chute accommodates larger pieces than most compact juicers, but specific dimensions maximize performance without straining the motor.
Vegetable-Specific Cutting Guide
Process hard vegetables like carrots and beets into uniform 1-inch chunks—larger pieces jam the feed chute while smaller pieces create unnecessary prep time. For fibrous ingredients like celery and kale, cut into ½-inch pieces and process in smaller batches to prevent blade stalling. Leafy greens require removal of thick stems before juicing to avoid fiber buildup on the blade assembly.
Fruit Preparation Techniques
Core apples but leave the skin intact for maximum nutrient retention—peels contain significant fiber and antioxidants. Cut citrus into quarters with peel removed to prevent bitter compounds from affecting flavor. Berries need no cutting but require thorough washing to remove pesticides from porous surfaces. Stone fruits like peaches must be pitted to prevent blade damage and bitter flavors.
Assemble Components in Precise Sequence for Safe Operation
Incorrect assembly causes 70% of juicer malfunctions according to Magic Bullet’s service records. Follow this exact sequence to ensure proper function and safety:
Attachment System Assembly Steps
- Press the juicer blade firmly into the base of the Magic Bullet cup until you hear the distinct click of the locking mechanism
- Verify the blade sits flush against the cup interior with no wobble or gaps
- Align the cup with the motor base using the arrow markers on both components
- Rotate the cup clockwise until it seats completely—attempting to operate without full seating trips safety mechanisms
Mini Juicer Assembly Protocol
Place the pulp bin securely on the base plate first, ensuring it sits flat without tipping. Position the sieve assembly on top, confirming all tabs engage completely. Secure the lid with firm downward pressure until the locking mechanism clicks. Finally, position the juice cup beneath the spout with the cup rim flush against the spout base. The entire assembly should feel solid with no movement when gently shaken.
Master the Pulse Technique for Professional-Grade Juice

Continuous operation produces uneven extraction and overheats the motor—professional juicers use pulse techniques that maximize yield while protecting equipment. Add ingredients to the fill line only (never exceeding the MAX mark), then follow this precise sequence:
- Add ¼ to ½ cup water for dry ingredients like carrots or leafy greens
- Pulse for 2-3 seconds, then pause for 5 seconds to allow ingredient redistribution
- Repeat pulses 8-10 times while gently shaking the container
- Listen for consistent motor hum—straining indicates overloading
Troubleshooting Motor Issues
If the motor sounds strained, immediately stop and redistribute ingredients. Add liquid if processing dry produce. Never force ingredients down the feed chute with utensils—this damages blades and voids warranties. For fibrous greens that consistently cause issues, blend with softer fruits first to create a liquid base that facilitates extraction.
Strain Juice Through Mesh in One Fluid Motion
The critical separation phase determines whether you get smooth, drinkable juice or pulpy disappointment. Pour the blended mixture through the sieve in one continuous motion rather than multiple small pours. Apply gentle downward pressure with a silicone spatula to extract every last drop—this simple technique increases yield by up to 25%.
Pulp Management Strategies
The 52-ounce pulp bin accommodates substantial quantities before requiring emptying—monitor fill level through the transparent walls. Save extracted pulp for baking (carrot pulp in muffins), composting, or adding fiber to soups. Never discard pulp immediately after juicing; many nutrients remain in this often-wasted component.
Clean Components Within 5 Minutes to Prevent Permanent Stains
Residue hardens within 10 minutes of juicing, making cleanup exponentially more difficult. Follow this lightning-fast cleaning protocol:
- Immediately disassemble all components after juicing
- Rinse each piece under warm running water while residue remains soluble
- Use the included cleaning brush on the sieve mesh in circular motions
- Place dishwasher-safe components in the top rack (check manual for specifics)
Critical Sieve Maintenance
The fine mesh sieve requires special attention—immerse it in warm, soapy water for 5 minutes before brushing. Hold the sieve under running water while brushing from the inside outward to force trapped fibers through the mesh. Inspect regularly for tears—damaged sieves produce cloudy juice and require immediate replacement.
Fix These 3 Common Juicing Problems Immediately
Problem: Juice Extraction Suddenly Slows
Solution: Check for three specific issues:
– Clogged sieve mesh (clean with brush)
– Dull blades (replace every 6 months with heavy use)
– Overfilled chamber (process in smaller batches)
Problem: Liquid Leaking from Base
Solution: Disassemble completely and verify:
– Pulp bin seated flat on base plate
– All locking mechanisms fully engaged
– No food debris on sealing surfaces
Problem: Excessive Foam in Finished Juice
Solution: Reduce foam by:
– Adding ingredients in proper sequence (hard items first)
– Using less water during processing
– Allowing juice to settle for 2 minutes before serving
Boost Juice Nutrition with Strategic Ingredient Pairing
Combine vitamin C-rich citrus with iron-dense spinach to increase iron absorption by 300%. Pair carotenoid-rich carrots with healthy fats like avocado to dramatically improve nutrient bioavailability. Start with simple combinations like apple-carrot-ginger before experimenting with more complex blends.
Flavor Balancing Formula
Use this ratio for consistently delicious juice:
– 60% base ingredient (apple, cucumber, or celery)
– 30% primary flavor (carrot, beet, or citrus)
– 10% flavor enhancer (ginger, mint, or lemon)
Extend Juicer Lifespan with Monthly Deep Cleaning
Beyond daily rinsing, perform this maintenance monthly:
1. Soak components in warm water with 2 tablespoons baking soda
2. Scrub blade assembly with soft brush (never submerge motor base)
3. Inspect all components for wear or damage
4. Replace sieve if mesh shows stretching or holes
The standard one-year warranty covers manufacturing defects but not damage from improper cleaning. Register your product immediately and retain proof of purchase for warranty claims. Consider the extended warranty if juicing daily—it provides three additional years of coverage for critical components.
Save Time with These Proven Juicing Hacks
Prep produce in advance by washing, cutting, and storing in airtight containers—morning juicing takes just 3 minutes. Freeze juice portions in ice cube trays for smoothie bases. Use the to-go lid to transport juice directly from machine to car without transferring containers. Process lemons and ginger in bulk and freeze for instant flavor boosts.
The Magic Bullet system delivers commercial-quality juice in a compact footprint when you know precisely how to use bullet juicer correctly. By following these specific techniques for preparation, assembly, operation, and maintenance, you’ll transform fresh produce into nutrient-dense beverages that taste better and deliver more health benefits than store-bought alternatives. Your journey to daily fresh juice just got simpler—grab your produce and start juicing today.


