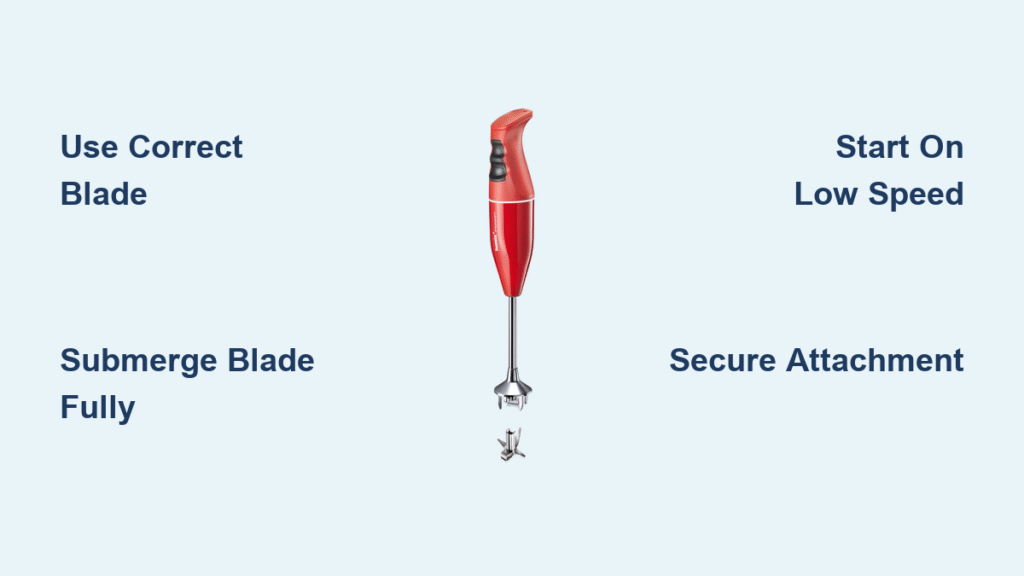
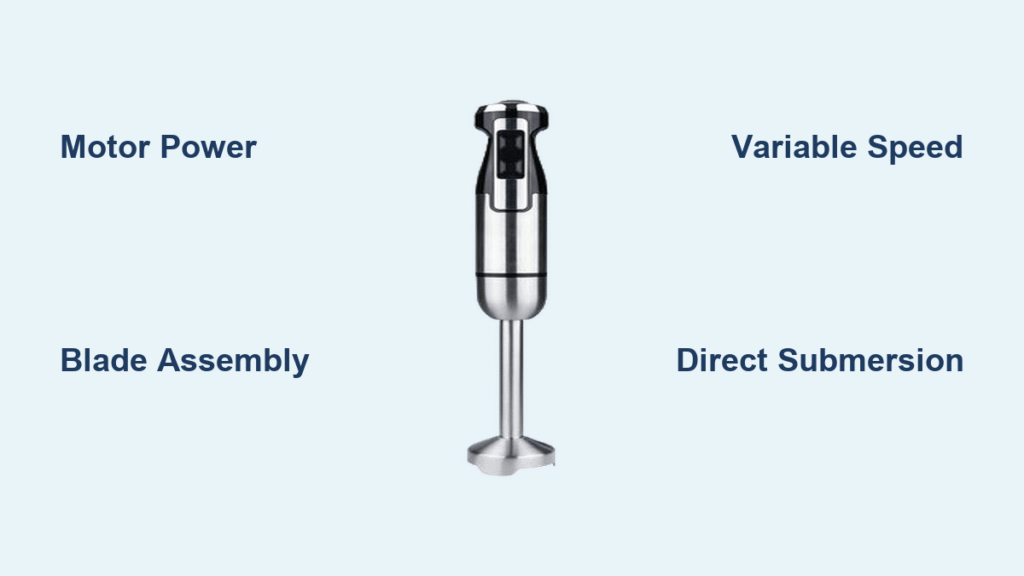
Your Bamix hand blender sits untouched in the kitchen drawer while you juggle multiple appliances for simple tasks. That multi-attachment powerhouse could replace your food processor, whisk, and even stand mixer—if only you knew which blade transforms roasted peppers into silky romesco or turns egg whites into cloud-like peaks. Swiss-engineered for precision, your Bamix becomes indispensable once you master its four core attachments and two-speed system. This guide cuts through the confusion with exact techniques for every blade, preventing common mistakes that turn smoothies into splatter zones and mayonnaise into broken messes.
Select the Right Bamix Blade for Each Task

Multi-Purpose Blade: Your Heavy-Duty Kitchen Workhorse
Reach for this blade when tackling hot soups straight from the pot, frozen fruit for smoothies, or dense nut butters. Its sharp serrated edges mince raw vegetables, puree cooked ingredients, and even knead bread dough without overheating. For perfect baby food, blend steamed carrots on low speed for 30 seconds. Creating hummus? Process chickpeas with tahini using quick up-and-down motions until smooth—usually under 60 seconds.
Pro tip: Always cool hot soups for 5 minutes before blending to prevent pressure buildup that causes dangerous splattering. The blade’s centrifugal force pulls ingredients downward, eliminating the need for manual stirring when submerged.
Beater vs Whisk: Stop Guessing Which Attachment to Use
Choose the beater attachment when you need to incorporate air—think stiff whipped cream, meringue, or cappuccino foam. Its curved wires create volume quickly, transforming cold cream into peaks in under 30 seconds. The whisk attachment handles delicate emulsions where aeration would ruin the texture: mayonnaise, vinaigrettes, or thin pancake batters.
Critical distinction: For hollandaise sauce, the whisk gently combines egg yolks and melted butter without over-whipping, while the beater would create an unstable foam. When in doubt, start with the whisk—it’s more forgiving for beginners.
Specialty Attachments That Replace Countertop Appliances
Unlock restaurant techniques with the meat mincer blade that processes fibrous vegetables like asparagus without clogging—perfect for vibrant green pesto. The processor bowl grinds whole spices into custom blends (try coriander and cumin for curry powder) and transforms almonds into butter in 90 seconds. Never fill beyond 2/3 capacity to prevent overflow during grinding.
Game-changing use: The SliceSy attachment creates uniform tartare by precisely chopping pre-cut fish or vegetables. Load grapes or cherry tomatoes for instant salad-ready pieces without bruising.
Master Two-Speed Operation for Perfect Results
When to Use Each Speed Setting
Position one (low speed) handles delicate tasks: emulsifying mayonnaise, incorporating egg yolks into custards, or mixing small batches of dressing. Position two (high speed) powers through frozen fruit, tough root vegetables, or large soup batches. Liquids under 2 cups require low speed to prevent splashing, while nut butters need high speed with constant blade movement.
Visual cue: If ingredients splash upward, reduce speed or ensure the blade stays fully submerged. For thick batters, high speed creates vortex action that pulls ingredients downward automatically.
Liquid Blending Technique That Prevents Kitchen Disasters
Submerge the blade completely before activating. Position the wand vertically in the pot’s center, then tilt slightly toward the bottom. Start on low speed, allowing centrifugal force to create a vortex that draws ingredients toward the blade. Never lift the blade above liquid level while running—this causes immediate splattering. For 4 cups of soup, process 45-60 seconds until silky smooth.
Dry Ingredient Processing Without Overheating
Engage high speed immediately for thick mixtures like hummus or pesto. Use sharp vertical motions—push down for 2 seconds, lift completely, repeat. This prevents ingredients from packing beneath the blade. For nut butters, process in 30-second bursts with 10-second rests to avoid motor strain. Stop when the mixture turns glossy, usually within 2-3 minutes.
Secure Attachment Installation and Removal

Foolproof Blade Attachment Method
Hold the motor unit vertically with the drive stub facing up. Align the attachment socket directly over the stub—no twisting required. Push straight down until you hear a distinct click. Test security by gently tugging; it should feel solid with zero wobble. Critical mistake: Angling the attachment during installation prevents proper seating, causing dangerous wobbling during use.
Safe Removal Protocol Every User Must Follow
Always unplug before changing attachments—this prevents accidental activation that could cause injury. Grip the attachment firmly at its base (not the blade edges) and pull straight off. Never twist or shake the attachment loose. If resistance occurs, check for food debris around the drive stub.
Optimal Storage to Protect Cutting Edges
Store attachments upright in the original Bamix stand or a divided drawer organizer. Keep blades separated to prevent nicks on cutting edges. The processor bowl nests perfectly inside the stand with attachments secured inside—this setup keeps everything organized and ready for your next cooking session.
Blade-Specific Techniques for Restaurant Results
Multi-Purpose Blade Soup Mastery
For hot soups: Cool 5 minutes, submerge blade, start on low speed, gradually increase as ingredients break down. Process 45 seconds for velvety texture. For nut butters: Use 1-cup batches of toasted almonds, process 2 minutes with 30-second rest intervals, scraping sides as needed. Stop when the mixture releases oil and turns glossy.
Beater Attachment Whipped Cream Perfection
Chill your metal bowl and beaters for 10 minutes first. Add cold cream and 1 tablespoon sugar per cup. Start on low speed, gradually increasing as volume builds. Stop at soft peaks (20-30 seconds) for dolloping on desserts or continue to stiff peaks (45 seconds) for piping decorations. Over-whipping causes immediate separation.
Whisk Attachment Mayonnaise Formula
Combine 1 egg yolk and 1 teaspoon lemon juice in a tall, narrow container. Start blending on low speed. Drizzle in oil as a thin, steady stream—never pour. The emulsion forms in 60-90 seconds. If it breaks, stop blending, add 1 teaspoon water, and restart slowly. This technique creates stable mayonnaise every time.
Solve Common Bamix Problems in Seconds
Eliminate Splattering Immediately
Problem: Ingredients spray outside container
Solution: Ensure blade stays submerged at least 1 inch below liquid surface. Use deeper containers (minimum 3 inches tall). Start on lowest speed setting, especially with small liquid volumes.
Prevent Overprocessed Results
Problem: Soup becomes gluey or nuts turn to butter
Solution: Pulse in 3-second bursts instead of continuous blending. Check texture after each pulse. For nuts, stop processing once the mixture turns glossy—not when it’s completely smooth.
Fix Wobbly Attachments
Problem: Blade vibrates or falls off during use
Solution: Unplug unit, clean drive stub with damp cloth to remove food debris, reinstall attachment with straight downward pressure until it clicks securely.
Extend Your Bamix’s Lifespan with Proper Care
Daily Cleaning That Prevents Buildup
Rinse attachments immediately after use—dried food residue damages blades. Submerge blades in warm soapy water, run for 5 seconds, then rinse. Never immerse the motor unit; wipe with damp cloth only. Dry all parts thoroughly before storage to prevent rust on metal components.
Monthly Deep Cleaning Routine
Disassemble attachments by removing blade screws. Soak in hot water with 2 tablespoons baking soda for 10 minutes to dissolve stubborn residue. Use a soft brush to clean crevices. Reassemble only when completely dry—moisture in electrical connections causes long-term damage.
Performance Check Before Critical Tasks
Test blade sharpness monthly by processing soft vegetables. Dull blades require longer processing times and create uneven textures. Replace attachments showing visible nicks or rust. Store in a dry location away from heat sources to maintain electrical connections.
Your First Three Bamix Challenges to Build Confidence
Start today with these foolproof applications: Whip cold cream in 30 seconds using the beater attachment for instant coffee toppings. Blend hot tomato soup directly in the pot with the multi-purpose blade—no transferring to a blender. Create restaurant-style vinaigrette in the processor bowl with 10 seconds of blending. Within one week, you’ll instinctively reach for the right attachment to emulsify sauces, grind spices, or mince herbs without consulting this guide. The Bamix pays for itself the moment you stop washing multiple appliances for single tasks—master these techniques, and you’ll unlock the professional kitchen efficiency hidden in your drawer.


