
Your morning glass of fresh juice loses nutritional value the moment it leaves the juicer. Within minutes, oxidation begins breaking down delicate vitamins and enzymes, turning vibrant, nutrient-rich liquid into a less potent version of itself. Unlike commercial juices treated with High-Pressure Processing, your homemade juice contains no preservatives to fight this natural degradation process. Learning how to store fresh juice from juicer properly is your only defense against losing up to 50% of vitamin C within 24 hours. This guide reveals exact methods to preserve both flavor and nutrition, whether you’re making juice for daily consumption or preparing batches for the week ahead. You’ll discover container types that double shelf life, refrigerator placement tricks professionals use, and natural preservation techniques that slow oxidation without compromising taste.
Why Your Fresh Juice Loses Nutrients Within Hours of Extraction
The juicing process ruptures plant cell walls that normally protect nutrients, exposing sensitive compounds to air, heat, and light. This triggers oxidation—the same chemical reaction that turns an apple slice brown within minutes. Polyphenol oxidase enzymes released during juicing accelerate this process, breaking down vitamins and altering flavor compounds. Your juice starts losing nutritional value immediately after extraction, with measurable vitamin C reduction occurring within the first hour.
How Oxidation Destroys Juice Quality
Oxidation doesn’t just change color—it fundamentally alters your juice’s nutritional profile. The delicate balance of sugars, acids, and aromatic oils that create distinctive flavors begins breaking down as soon as juice contacts oxygen. Within 12 hours, many green juices lose up to 25% of their chlorophyll content, while vitamin C degrades at an even faster rate. The result? Juice that tastes increasingly flat and loses its vibrant color, transforming from a nutritional powerhouse into a less potent beverage.
Time Sensitivity by Juice Type
- Green juices (kale, spinach, wheatgrass): Lose nutrients fastest—consume within 24-48 hours
- Citrus-based juices (oranges, grapefruits): Naturally higher acid content extends shelf life to 48-72 hours
- Root vegetable juices (carrots, beets): Moderate degradation rate—best consumed within 48 hours
- Apple-based juices: Highly susceptible to oxidation—add lemon immediately to slow browning
Cold-Press vs. Centrifugal: Which Juicer Preserves Juice Longer?
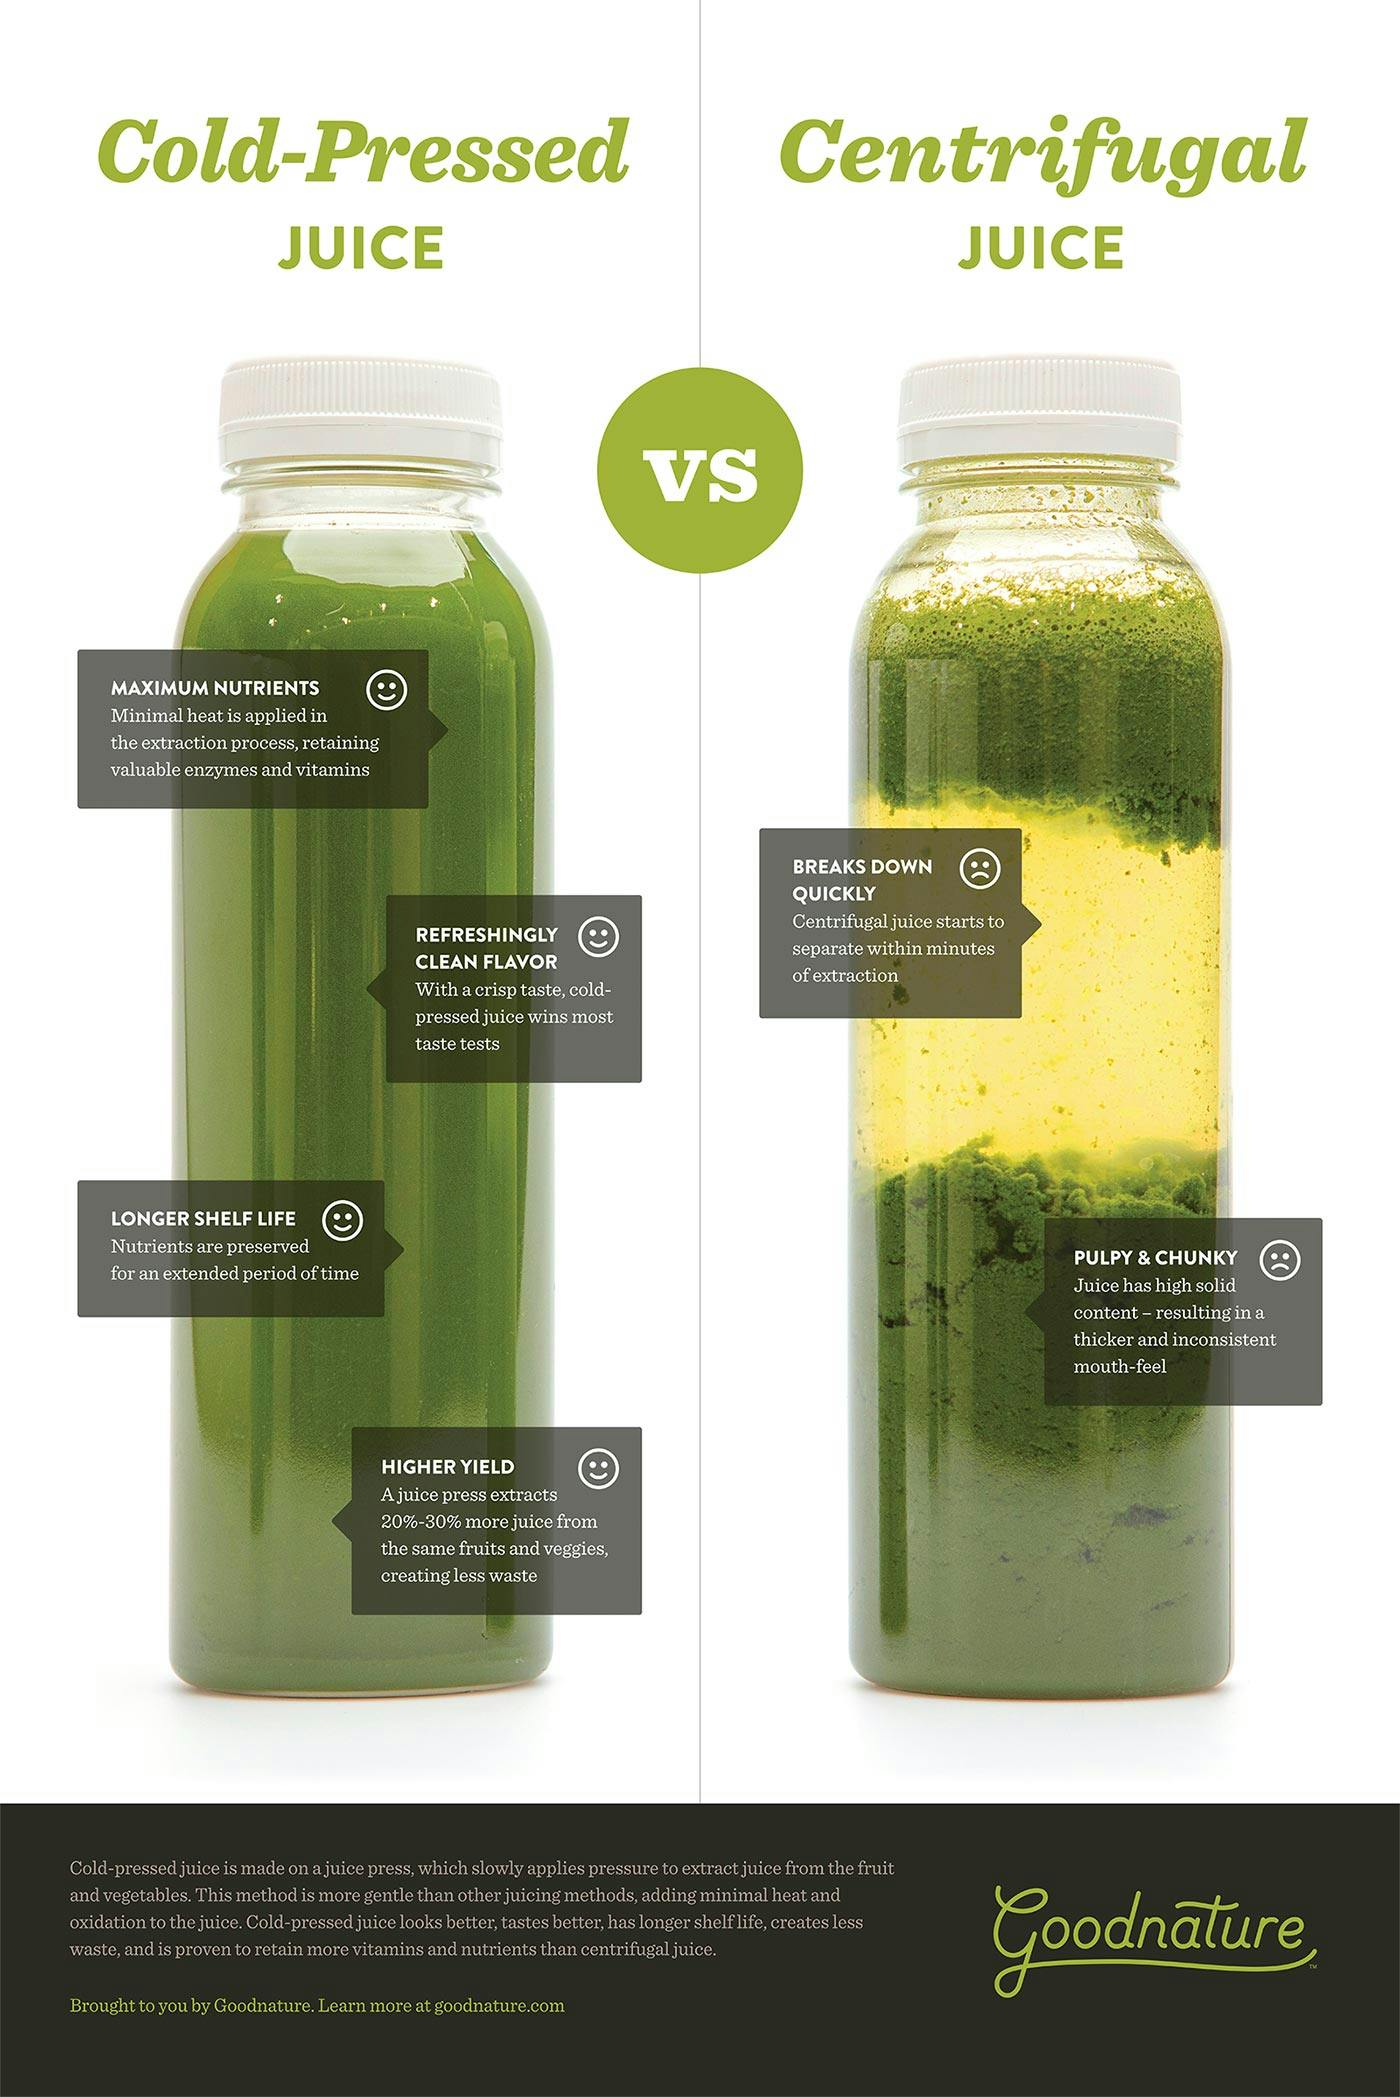
The juicer you use dramatically impacts how long your juice stays fresh. Cold-press (masticating) juicers extract liquid through slow mechanical pressure rather than high-speed spinning, generating minimal heat and significantly less oxidation. Juice from these machines maintains nutritional integrity 30-50% longer than centrifugal alternatives. If you regularly store juice beyond immediate consumption, investing in a cold-press model pays nutritional dividends.
Centrifugal Juicer Storage Workarounds
If you own a centrifugal juicer, implement these strategies to counteract its faster oxidation rate:
– Chill ingredients beforehand: Cold produce reduces heat generation during juicing
– Juice in small batches: Process only what you’ll consume within 24 hours
– Immediately add lemon: The citric acid slows oxidation already underway
– Skip the pulp container: Collect juice directly into storage containers to minimize air exposure
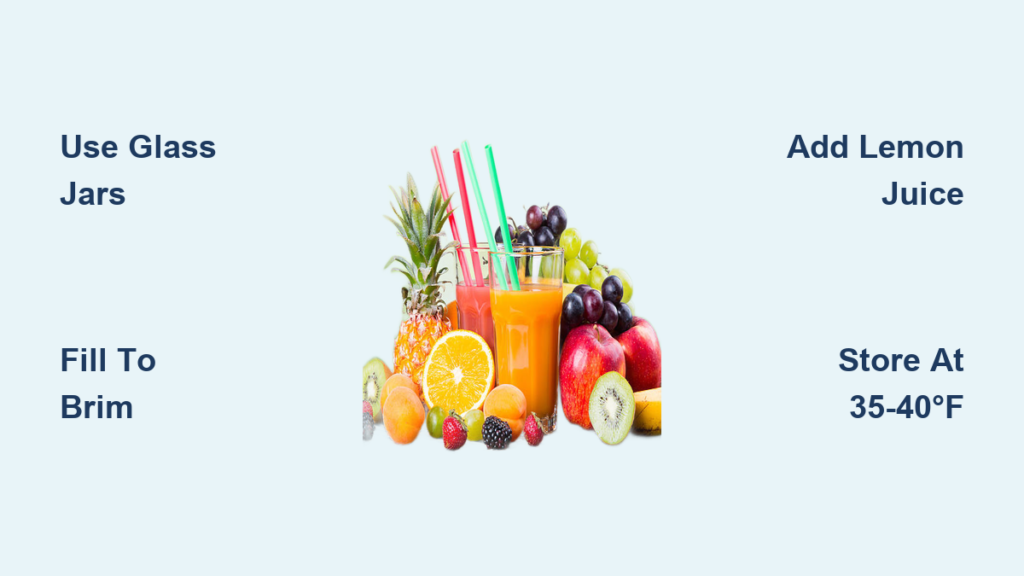
Glass Jars vs. Plastic Bottles: The Container That Doubles Juice Shelf Life

Glass containers with airtight seals represent the undisputed champion for juice storage. Unlike plastic, which allows oxygen permeation and may leach chemicals into acidic liquids, glass creates an impermeable barrier that significantly slows oxidation. Mason jars with rubber gaskets provide the most effective seal, preserving both flavor and nutrients far better than standard containers.
Filling Technique That Maximizes Freshness
Fill glass containers to the absolute brim before sealing—this critical step minimizes oxygen contact with your juice. Leave no air space at all; the liquid should touch the underside of the lid. This simple technique extends shelf life by 24+ hours compared to partially filled containers. For immediate storage, place a piece of plastic wrap directly on the juice surface before securing the lid—this creates an additional oxygen barrier.
Refrigerator Storage: The Exact Temperature and Position for Maximum Freshness
Store juice at precisely 35-40°F (1.6-4.4°C)—temperatures colder than 35°F can freeze juice, while warmer temperatures accelerate spoilage. The back of your refrigerator maintains the most consistent temperature, making it the ideal storage location. Avoid door compartments where frequent temperature fluctuations occur with each opening.
Refrigeration Time Limits by Juice Type
| Juice Type | Maximum Refrigeration Time | Signs of Degradation |
|---|---|---|
| Green juices | 24-48 hours | Yellowing color, bitter taste |
| Citrus juices | 48-72 hours | Sour aroma, cloudy appearance |
| Mixed vegetable | 48 hours | Separation that won’t remix |
| Apple-based | 24 hours | Brown color, flat taste |
Freezing Fresh Juice: Step-by-Step Guide for 3-Month Shelf Life
Freezing effectively pauses oxidation, preserving nutrients for months. Use small portions (4-8 oz) in glass containers or silicone trays, leaving ½ inch headspace for expansion. Smaller portions freeze faster (4-6 hours) and allow you to thaw only what you need. Properly frozen juice maintains 85-90% of original nutrients for 2-3 months.
Thawing Method That Preserves Quality
Thaw frozen juice overnight in the refrigerator—not at room temperature—to maintain texture and flavor. Once thawed, consume within 24 hours as if it were freshly made. Avoid refreezing previously frozen juice, as this accelerates nutrient breakdown and alters texture.
Vacuum Sealing: Extend Juice Freshness to 7 Days Without Freezing
Vacuum sealing removes oxygen that drives oxidation, extending refrigerated shelf life from 72 hours to 5-7 days. Use a vacuum sealer with juice-specific settings to prevent liquid from being drawn into the machine. Vacuum-sealed green juice maintains quality for 4-5 days compared to 24-48 hours with standard storage.
Lemon Juice Trick: Natural Preservative That Slows Oxidation by 30%
Add 1-2 tablespoons of fresh lemon juice per quart of juice immediately after extraction. The citric acid acts as a powerful antioxidant, significantly slowing enzymatic browning and nutrient degradation. This technique works especially well for apple, pear, and peach juices that oxidize rapidly. Citrus juices naturally contain these protective compounds, requiring less additional lemon.
When to Add Citrus During Juicing
For maximum preservation, juice lemons or limes along with your primary ingredients rather than adding juice afterward. The mechanical action of the juicer better incorporates the protective compounds throughout the liquid. For centrifugal juicers, run citrus through first to create an antioxidant-rich base that protects subsequent ingredients.
5 Warning Signs Your Stored Juice Has Gone Bad (Don’t Drink #3!)
Visual Changes That Signal Spoilage
- Separation that won’t remix when shaken (normal separation blends easily)
- Unusual cloudiness beyond natural pulp settling
- Color shifts toward brown or yellow (especially in green juices)
- Gas bubbles indicating fermentation
- Mold growth on surface or container edges
Smell and Taste Red Flags
Fresh juice should smell vibrant and taste clean. Discard immediately if you detect:
– Sour or vinegar-like aroma
– Yeasty or alcoholic scent
– Bitter aftertaste not present in original ingredients
– Any off-putting odor different from fresh version
Never taste juice that shows visible mold or has an obviously sour smell—this can cause food poisoning.
Batch Juicing Strategy: Prepare a Week’s Worth of Juice in 1 Hour
Maximize efficiency by juicing once weekly with this system:
1. Prep ingredients Sunday evening: Wash, chop, and store produce in refrigerator
2. Juice in order of oxidation rate: Start with greens, finish with citrus
3. Add lemon to each container immediately after filling
4. Label containers with juice type and date using masking tape
5. Store in back of refrigerator on designated shelf for juice only
6. Rotate stock using oldest first (FIFO method)
For green juice lovers who need longer storage, freeze half your batch in 8-ounce portions. Thaw one container nightly for tomorrow’s morning juice—this system ensures you always have fresh-tasting, nutrient-dense juice ready with zero daily preparation.
Proper storage transforms juicing from a daily chore into a sustainable healthy habit. By implementing these specific techniques—using glass containers filled to the brim, maintaining precise refrigerator temperatures, adding natural preservatives, and understanding exact shelf life limits—you’ll consistently enjoy juice that tastes vibrant and delivers maximum nutritional benefits. The difference between juice that’s lost 70% of its nutrients and juice that maintains 90% comes down to these precise storage methods. Start applying these strategies today, and taste the difference in your very next glass.


