
Dull garden tools transform simple outdoor tasks into exhausting chores. A blunt shovel requires twice the effort to dig, and worn pruning shears crush stems instead of making clean cuts that heal properly. Many gardeners waste energy compensating for dull equipment when the solution is surprisingly straightforward. Using an angle grinder to sharpen garden tools delivers professional results in minutes, restoring your equipment to peak performance. This method works effectively on shears, hoes, axes, and shovels, saving you money on replacements while making gardening significantly more enjoyable.
Knowing how to sharpen garden tools with angle grinder properly transforms your outdoor maintenance routine. You’ll cut through branches cleanly, slice through soil effortlessly, and complete tasks faster with less physical strain. This guide provides the exact techniques, safety precautions, and tool-specific approaches you need to achieve razor-sharp edges on all your garden implements.
Critical Safety Measures for Angle Grinder Sharpening
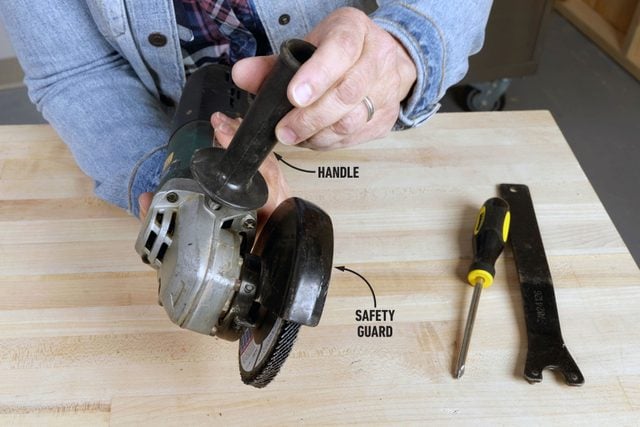
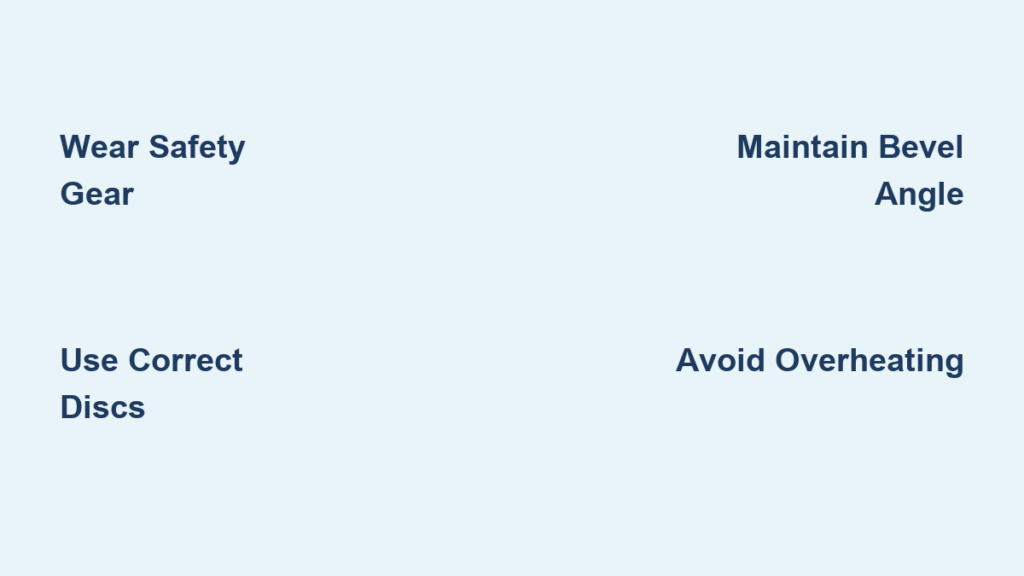
Angle grinders operate at 8,000-12,000 RPM, creating serious injury risks if proper safety protocols aren’t followed. Protect yourself with essential gear before starting any sharpening project. Always wear ANSI-approved safety glasses or a full-face shield to prevent metal fragments from reaching your eyes. High-decibel grinding demands hearing protection—earplugs or earmuffs prevent long-term hearing damage. Heat-resistant gloves protect hands from both hot metal and accidental contact with the spinning disc. Dress appropriately in long sleeves, long pants, and closed-toe shoes to minimize skin exposure to sparks.
Your workspace setup matters just as much as personal protection. Work outdoors whenever possible to avoid inhaling metal dust and to provide better ventilation. Clear the area of flammable materials like dry leaves, sawdust, or chemical containers before starting. Secure your garden tool in a heavy-duty vise mounted to a sturdy workbench—never attempt to hold the tool with one hand while operating the grinder with the other. A loose tool can catch on the disc and cause dangerous kickback. Keep a fire extinguisher nearby and ensure children and pets stay well clear of your work area.
Choosing the Right Angle Grinder and Discs for Garden Tools

Selecting appropriate equipment makes the difference between professional results and frustration. For most garden tool sharpening, a 4.5-inch or 5-inch angle grinder offers the ideal balance of power and control. Smaller 4-inch models lack sufficient power for axes and heavy shovels, while larger 7-inch grinders become unwieldy for precision work on pruning shears. If possible, choose a grinder with variable speed control—lower RPM settings (3,000-5,000) provide better control for delicate sharpening tasks.
Disc selection significantly impacts your results. For garden tool sharpening, you need two types of discs: coarse grinding discs (40-80 grit) for initial material removal and shaping, and finer flap discs (120-220 grit) for polishing the edge. Coarse discs remove metal quickly but leave a rough finish, while finer discs refine the edge without removing excessive material. Flap discs—made of overlapping abrasive flaps—conform better to curved edges on axes and shears than standard grinding wheels. Always verify the disc’s maximum RPM rating exceeds your grinder’s speed and replace worn discs immediately.
Perfect Bevel Angles for Different Garden Tools

Each garden tool requires a specific bevel angle for optimal performance. Understanding these angles prevents common sharpening mistakes that ruin tool functionality. Pruning shears and loppers need a 22-30 degree bevel that balances cutting efficiency with edge durability. These tools typically feature a single bevel, so focus your grinding only on the cutting side while maintaining the factory angle. Deviating from this range creates either a fragile edge that chips easily (too steep) or a blunt edge that crushes stems (too shallow).
Axes and hatchets require special attention to their unique geometry. Felling axes perform best with a 25-30 degree bevel on the primary cutting side, while brush axes work optimally at 20-25 degrees. Most axes feature a secondary hollow grind on the opposite side—never alter this factory design. Hoes and edgers need steeper 35-45 degree angles to withstand constant soil contact and impact. This aggressive angle sacrifices some sharpness for dramatically improved edge longevity. Shovels benefit from 30-40 degree bevels, with many experienced gardeners using asymmetrical angles (35 degrees on one side, 25 on the other) for more efficient soil cutting.
How to Maintain Consistent Bevel Angles
Creating a consistent bevel angle requires technique and practice. For straight-edged tools like shovels and hoes, place a protractor against the blade to verify your angle before grinding. Mark the target angle with a permanent marker as a visual guide. When grinding, keep your elbow locked and pivot only from the shoulder to maintain a steady angle. For curved tools like axes, practice your motion on scrap metal first to develop muscle memory. Start with light passes and frequently check your progress by feeling the edge with your fingertip (carefully) to identify inconsistencies.
Step-by-Step Pruning Shear Sharpening Technique
Begin by thoroughly cleaning pruning shears with a wire brush to remove sap and debris. Inspect for cracks or severe damage—minor nicks can be ground out, but badly damaged blades need replacement. Secure the shears in a vise with the cutting edge facing upward and accessible. Position the angle grinder at your target bevel angle (22-30 degrees) and make light, sweeping passes from the blade’s heel toward the tip. Apply minimal pressure—let the grinder’s speed do the work. After 3-4 passes, dip the blade in water to prevent overheating, which destroys the metal’s temper.
Creating a Professional-Grade Edge
After establishing the basic bevel with your coarse disc, switch to a 120-grit flap disc for refinement. Make lighter passes with reduced pressure, focusing on smoothing the edge. Finish with a 220-grit disc for a polished cutting surface. Check for burrs by carefully running your finger perpendicular to the edge—any raised metal indicates incomplete sharpening. Remove burrs by lightly grinding the flat side of the blade or using a fine file. Test the sharpness by cutting paper; properly sharpened shears should slice cleanly without snagging.
Preventing Common Sharpening Mistakes
Overheating represents the most damaging mistake when sharpening garden tools. When metal turns blue, yellow, or straw-colored, you’ve ruined the temper in that spot. Prevent this by grinding in short bursts (10-15 seconds), then cooling the metal in water. Inconsistent angles create weak, uneven edges—maintain the same angle throughout by using visual guides and proper body positioning. Applying excessive pressure slows material removal, overheats metal, and wears discs prematurely. Let the grinder work at its natural speed with light, consistent contact.
Essential Maintenance After Sharpening
Protect your newly sharpened tools with proper aftercare. Wipe blades with a light coat of oil to prevent rust—mineral oil works well for most garden tools. For pruners that contact plant material, use food-safe oil like canola. Store tools in a dry location with blades protected by guards or sheaths. Touch up edges regularly with a file between major sharpening sessions—this extends the time between full angle grinder sessions. Clean tools after each use to prevent sap and soil buildup that accelerates dulling.
When to Replace Instead of Sharpen
Not all garden tools warrant sharpening. Severely damaged blades with deep nicks or cracks often require more material removal than practical—when you’d need to remove more than half the original blade width, replacement makes more sense. Any visible cracks in axe heads or shovel blades create dangerous failure points that no amount of sharpening can fix. Worn-out handles on axes and mauls present serious safety hazards regardless of blade sharpness. Consider the cost-benefit ratio: high-quality tools justify repeated sharpening, but cheap implements might cost more in your time than replacement value.
Professional gardeners follow a simple rule: if sharpening takes longer than replacing the tool, replacement is the smarter choice. However, well-maintained premium tools can be sharpened dozens of times over their lifespan, making the initial investment worthwhile.
Quick Reference: Optimal Bevel Angles for Garden Tools
| Tool Type | Ideal Angle | Special Considerations |
|---|---|---|
| Pruning Shears | 22-30° | Single bevel only; finish with fine grit |
| Loppers | 22-30° | Same as shears; heavier construction |
| Felling Axes | 25-30° | Match original bevel; hollow grind opposite side |
| Hatchets | 20-25° | Slightly shallower for general use |
| Garden Hoes | 35-45° | Steeper angle for maximum durability |
| Edgers | 35-45° | Robust edge withstands soil abrasion |
| Shovels | 30-40° | Asymmetrical bevel (35°/25°) improves cutting |
Mastering how to sharpen garden tools with angle grinder transforms your outdoor experience. You’ll notice immediate improvements in cutting performance and reduced physical strain during gardening tasks. Remember that a sharp tool is actually safer than a dull one—clean cuts require less force and reduce the risk of slippage. Start with less critical tools to develop your technique before moving to prized implements. With practice, you’ll sharpen your entire garden arsenal in less time than it takes to drive to the hardware store for replacements. Keep your edges keen, your tools clean, and your gardening season will be more productive and enjoyable from start to finish.


