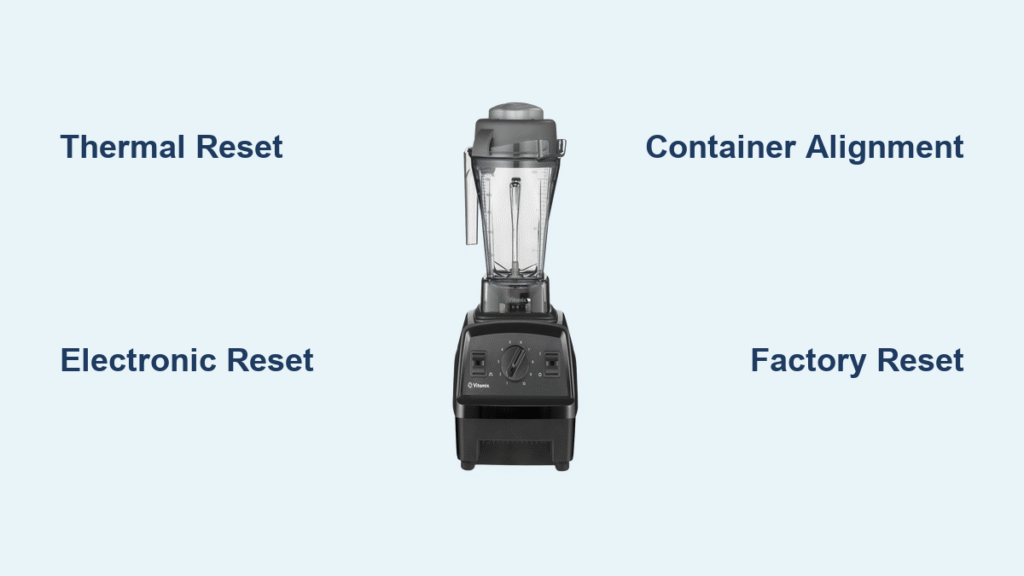
Your Vitamix abruptly halts during a morning smoothie, the motor housing radiates intense heat, and panic sets in as you stare at your expensive countertop appliance. Before assuming catastrophic failure, recognize this is actually your blender’s safety system working perfectly. Vitamix machines automatically shut down to prevent permanent motor damage during overheating or electronic glitches—a routine reset solves 95% of these “failures” without professional help. This guide delivers model-specific reset procedures directly from Vitamix’s engineering specifications, so you’ll never waste money on unnecessary repairs or replacement parts.
Understanding how to reset Vitamix blender issues requires knowing why they occur. Vitamix incorporates three distinct safety systems: thermal overload protection (stopping motor burnout), container alignment sensors (preventing leaks), and electronic safeguards (guarding against power surges). When any system triggers, your blender enters protective shutdown mode—not broken, but intelligently paused. By following these precise reset methods for your specific model, you’ll restore full functionality in under 45 minutes, turning mid-blend disasters back into smoothie success.
Why Your Vitamix Suddenly Shuts Off During Operation
Thermal overload protection activates when your motor exceeds safe operating temperatures, typically during thick blends like nut butters or frozen desserts. This isn’t a malfunction—it’s your Vitamix saving itself from destruction. Recognize these critical warning signs that demand an immediate thermal reset:
- Complete motor shutdown mid-blend with no restart capability
- Scorching hot motor base (too hot to touch for 5+ seconds)
- Distinct burning smell from ventilation slots
- No display activity on digital models
Immediate Thermal Reset Protocol:
1. Power down using the speed dial or touchscreen
2. Unplug from the wall outlet immediately
3. Remove the container to stop residual heat transfer
4. Clear all food debris from ventilation slots
5. Allow 45 minutes minimum cooling time (never skip this step)
6. Verify container isn’t overfilled (max 2/3 capacity for thick blends)
Pro Tip: Set a timer—many reset failures occur because users retry too soon. The motor needs full cooling to reset internal thermal sensors. After waiting, test with an empty container on low speed. If it runs smoothly, gradually reintroduce ingredients. If shutdown persists, check for container misalignment or electronic issues.
What Causes Repeated Thermal Shutdowns?
- Overfilling containers beyond manufacturer limits (especially with frozen fruit)
- Blending durations exceeding 60 seconds for thick mixtures without pausing
- Blocked ventilation slots from countertop placement against walls
- Worn drive sockets causing motor strain (inspect teeth for chips)
Digital Model Electronic Reset for Frozen Touchscreens
Ascent Series (A3500/A3300) and Venturist V1200 owners face unique electronic glitches where touchscreens freeze or programs malfunction. This requires a different approach than thermal resets—addressing software errors without cooling downtime.
Emergency Electronic Reset Sequence:
1. Unplug power cord completely
2. Wait exactly 30 seconds (critical for capacitor discharge)
3. Plug in while holding Start/Stop button continuously
4. Release when display shows “000” or emits two beeps
5. Test each speed setting with water before regular use
Factory Reset for Persistent Issues:
– Access Settings → System → Restore Factory Defaults
– Confirm with touchscreen tap
– Allow 2-minute reboot cycle
– Warning: This erases all custom programs and WiFi connections—use only for recurring glitches
Digital Model Red Flags Needing Factory Reset
- Touchscreen unresponsive to all inputs
- Programs start then immediately stop
- Display shows error codes (E1, E2, E3)
- Wireless connectivity failures after power surges
Fixing Container Wobble Without Tools
That alarming vibration during high-speed blending usually means your container isn’t properly seated—not a motor defect. Laser-cut blade assemblies require perfect alignment with the drive socket, and a slight shift causes dangerous wobbling or leaks.
Container Realignment Checklist:
1. Remove container from base immediately
2. Inspect drive socket teeth for wear (replace if chipped)
3. Clear blade assembly of trapped food fibers
4. Re-seat container with firm downward pressure
5. Rotate container 5-10 degrees until it “clicks” into place
6. Test with 2 cups water before adding ingredients
Critical Warning: Never operate with visible gaps between container and base—this causes leaks and strains the motor. If wobbling continues after realignment, your drive socket likely needs replacement (covered under warranty if under 7 years).
Why Container Resets Fail
- Cracked container bases (check for hairline fractures)
- Worn gaskets allowing liquid seepage (replace every 2 years)
- Debris in drive socket (clean with soft brush monthly)
- Incorrect container model (mismatched containers won’t seal)
Model-Specific Reset Cheat Sheet

Legacy Models (5200/7500): Only thermal resets apply. Cool 30 minutes, ensure speed dial is at “0” before restarting. No electronic components to reset.
Explorian Series (E310/E320): Same thermal protocol as Legacy, but containers require firmer seating pressure. Check locking mechanism alignment monthly.
Ascent Series (All A-Models): Requires dual resets—thermal for overheating, electronic for touchscreens. Post-reset, self-diagnostics run automatically. Wireless resets separately via app.
Venturist V1200: Hybrid system—thermal resets need 45 minutes cooling, while electronic resets use touchscreen menus. Always check error codes before assuming thermal overload.
When to Stop Resetting and Call Vitamix
If standard resets fail after three attempts, these danger signs indicate professional service is needed—not further DIY fixes:
- Persistent burnt smell after 45-minute cooling
- Visible sparks from motor base vents
- Motor hums but blades don’t turn (indicates drive coupling failure)
- Repeated error codes within 24 hours
- Leaking liquid into motor base
Warranty Protection Tip: Vitamix’s 7-year residential warranty covers reset-related failures from manufacturing defects. Never disassemble the motor base—this voids coverage. Register your model online before seeking service.
Post-Reset Validation Test Sequence
Never assume a reset worked. Verify safety with this 3-phase test before blending food:
Phase 1: Empty Container Run
– Add 2 cups water
– Run on Speed 1 for 30 seconds
– Listen for: Grinding noises or uneven vibration
Phase 2: Ice Load Test
– Add 1 cup ice + 1 cup water
– Blend on High for 30 seconds
– Check for: Overheating signs or shutdowns
Phase 3: Full Function Check
– Test all speed transitions
– Verify preset programs (if applicable)
– Confirm pulse function responsiveness
Failure Indicator: Any shutdown during Phase 1 requires immediate service—do not continue testing.
Preventing Future Resets Through Smart Usage
Avoid mid-blend disasters with these manufacturer-recommended habits:
Daily Prevention Tactics
– Never exceed 2/3 container capacity with thick blends
– Start on Speed 1, gradually increase to prevent strain
– Use tamper only when motor runs (never while stopped)
– Wipe ventilation slots after each use
Monthly Maintenance Must-Dos
– Inspect drive socket teeth for wear (replace if chipped)
– Deep-clean blade gaskets with vinegar solution
– Check power cord for fraying near plug
– Update Ascent Series firmware via Vitamix app
Critical Mistake to Avoid: Blending hot soups without removing center cap—this creates dangerous pressure buildup triggering thermal shutdowns.
Ascent Series Smart Reset Advantages
Owners of A3500/A3300 models gain unique diagnostic benefits during resets:
- Automatic error code display pinpointing exact issues (E1=overheating, E2=alignment, E3=electronics)
- Wireless connectivity reset separate from blending functions
- Settings backup via app before factory resets
- Post-reset self-diagnostics confirming system health
Pro Workflow: When touchscreens freeze, perform electronic reset first. If error code E2 appears, immediately check container alignment—this skips unnecessary cooling waits.
Emergency Reset Quick Reference
| Reset Type | When to Use | Critical Steps | Cool Time |
|---|---|---|---|
| Thermal Reset | Motor hot, sudden shutdown | Unplug, clear vents, wait 45 min | 45 min |
| Electronic Reset | Frozen touchscreen, program errors | Unplug 30 sec, hold Start/Stop on reboot | None |
| Container Reset | Wobbling, leaking, vibration | Remove container, realign, firm seating | None |
| Factory Reset | Persistent digital glitches | Settings → System → Restore Defaults | None |
Red Alert Signs: Unplug immediately and contact Vitamix if you see smoke, sparks, or persistent burning smells after reset attempts.
Your Vitamix is engineered for decades of service, and resets are simply its safety systems functioning as designed—not signs of impending failure. By applying these model-specific procedures, you transform panic-inducing shutdowns into 45-minute maintenance pauses. Remember that 80% of “broken” blenders simply needed proper reset protocols. Implement the daily prevention habits outlined here, and you’ll rarely need resets at all—keeping your Vitamix blending smoothly for years to come. When in doubt, always consult Vitamix’s official support line before attempting advanced fixes; their technicians guide thousands through resets weekly at no cost.

