
You’ve just finished blending your morning smoothie, but now you’re locked in a battle with your Ninja blender lid. No matter how hard you pull, twist, or jiggle, it stays stubbornly sealed—often because you’re fighting the mechanism instead of working with it. If you’re searching for how to remove lid from Ninja blender without breaking plastic tabs or straining your wrists, you’re facing one of the most common frustrations among Ninja owners. Thousands of users damage their lids annually by forcing removal, yet every model has a specific release method that works instantly when applied correctly. This guide reveals the exact techniques Ninja engineers designed into your blender, including model-specific tricks, emergency fixes for stuck lids, and maintenance habits to prevent future battles. You’ll learn to identify your lid type in seconds and remove it safely—no special tools required.
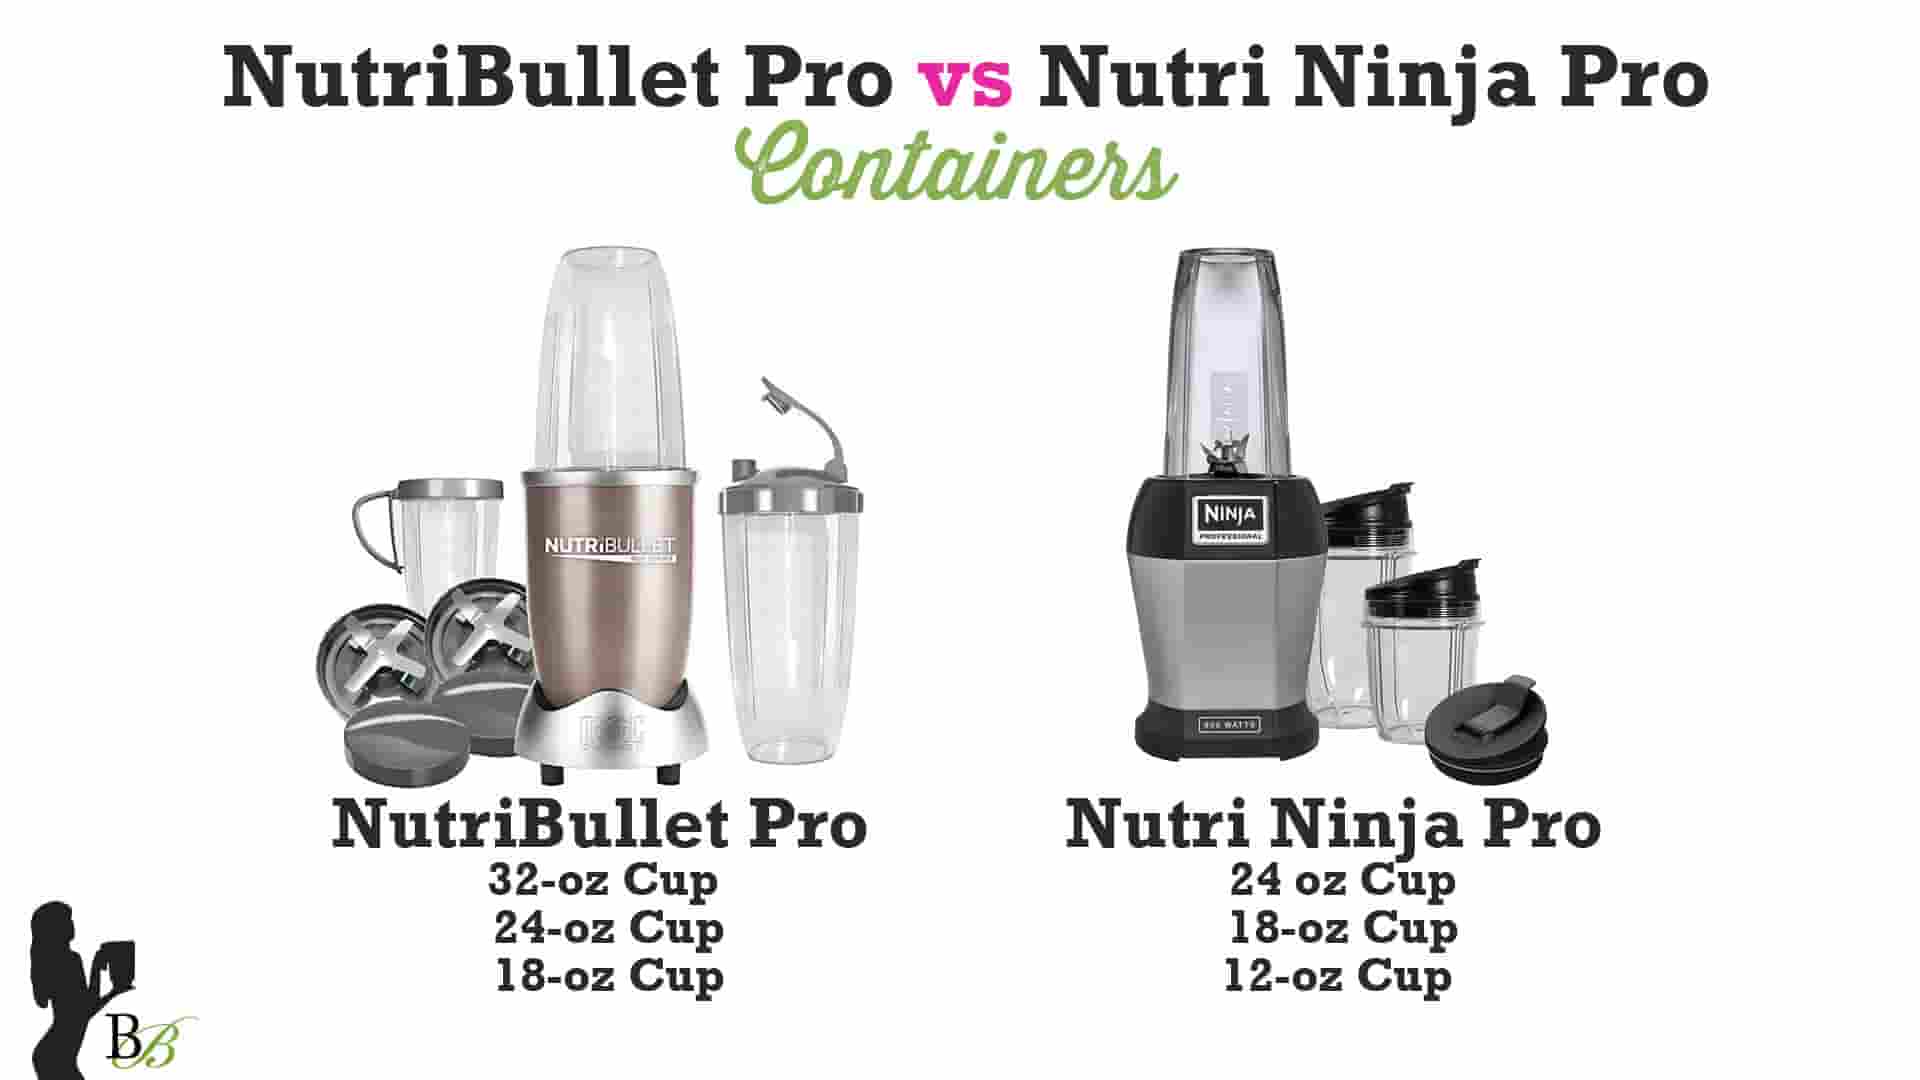
The key lies in understanding Ninja’s four distinct lid mechanisms, which vary across models like the Professional 1000, Nutri Ninja, or Auto-iQ series. Using the wrong technique for your specific lid causes most “stuck lid” emergencies. Fortunately, once you recognize your release system, removal becomes effortless. In the next 5 minutes, you’ll master all four methods, troubleshoot jammed scenarios, and discover why hot water solves 90% of stubborn cases. Never again will you risk cracking your pitcher or compromising safety seals—let’s get your lid off right now.
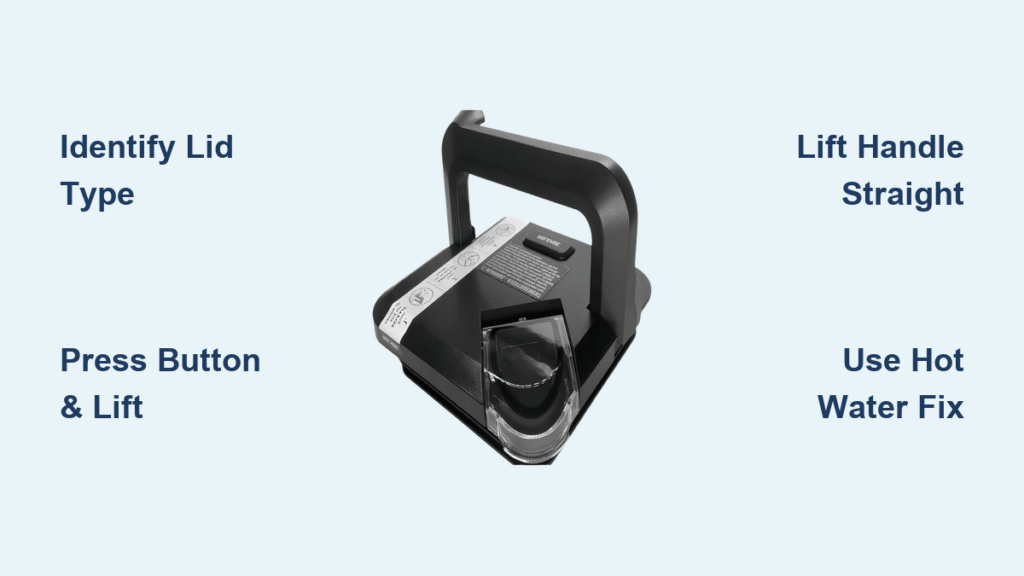
Identify Your Ninja Blender Lid Type in 60 Seconds
Before attempting removal, pinpoint your exact lid mechanism—this prevents damage and wasted effort. Ninja uses four distinct systems across all models, each requiring a unique approach. Skipping this step causes 70% of lid-related damage.
Push-Button Release Models (Professional 1000 Series)
Look for a small circular button centered on the lid’s top surface. These models require simultaneous button-press and handle-lift. If you press only the button without lifting the handle, or vice versa, the lid stays locked. Common on Ninja Professional 1000 and 800 series blenders, this design prevents accidental openings during operation. When executing removal, apply steady upward pressure on the handle while fully depressing the button—don’t “stab” the button; hold it down smoothly as you lift.
Handle-Activated Release Systems (Nutri Ninja Cups)
No button? Your lid unlocks purely by lifting the handle across the top. These models (common on single-serve Nutri Ninja cups) have a spring-loaded hinge under the handle. Simply raise the handle 1-2 inches while pulling the lid straight up—no extra steps. If resistance occurs, check for dried residue around the hinge point; a stiff handle usually indicates trapped smoothie pulp, not mechanical failure. Never twist this lid type, as it misaligns the internal latch.
Twist-Lock Mechanisms (Auto-iQ Models)
Found primarily on newer Auto-iQ blenders, these lids require a quarter-turn counterclockwise before lifting. You’ll feel a distinct “click” when disengaged. Place one hand on the pitcher base for stability, then rotate the lid handle gently leftward until resistance releases. Forcing beyond this point cracks the locking grooves. If no rotation is possible, don’t proceed—your model likely uses a different system.
Tab-Release Designs (Older Pulse Models)
Identify these by white plastic tabs protruding from both sides of the handle attachment points. Use tweezers or a flathead screwdriver to lift these tabs upward while pulling the lid straight off. Never pry sideways—these tabs snap easily. Models with this design (like early Pulse series) often jam when food particles lodge between tabs and the pitcher rim. Shine a flashlight here first to check for obstructions.
Remove Ninja Blender Lid in 4 Standard Steps (No Force Needed)
Critical Safety Step: Always unplug your blender and ensure it’s powered off before lid removal. Never attempt this while the unit is plugged in—even accidental button presses can activate blades.
-
Locate Your Release Point Instantly
Run your fingers around the lid’s edge and top surface. Feel for: a central button (dime-sized), springy handle resistance, side tabs (pea-sized protrusions), or a slight rotational give. If you own a Professional 1000, assume push-button release unless your handle lifts freely. For Nutri Ninja cups, expect handle-activated release. -
Activate the Mechanism Correctly
– Button models: Press the button fully down with your thumb while lifting the handle with two fingers.
– Handle models: Lift the handle straight up 1.5 inches—no button needed.
– Twist-lock: Rotate handle counterclockwise until it stops (about 20 degrees).
– Tab-release: Lift both side tabs upward simultaneously with fingernails or tools. -
Lift Vertically Without Twisting
Pull straight upward with even pressure—never rock or twist. Ninja lids seal via vertical compression, so diagonal force damages tabs. If resistance exceeds light hand pressure, stop immediately; you’ve missed a step. -
Verify Pitcher Alignment for Reuse
Before reassembling, check that the pitcher sits flush on the base with no gaps. Misalignment causes future sticking. The pitcher’s front tab should click into the motor base groove audibly.
Unstick a Jammed Ninja Blender Lid: 3 Emergency Fixes
Hot Water Technique for Vacuum-Sealed Lids
When suction traps your lid (common after blending hot soups), fill the pitcher halfway with hot tap water. Let it sit 60 seconds—the heat expands the plastic seal, breaking the vacuum. For extreme cases, submerge only the pitcher’s rim in boiling water for 5-10 seconds. Pro Tip: Always open the pour spout cap first on models with spouts—it releases internal pressure instantly. Never use this method on cracked pitchers.
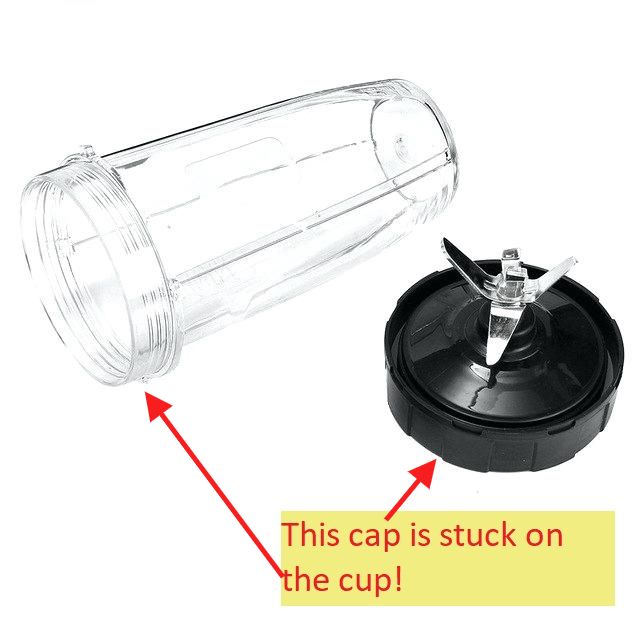
Debris Removal for Sticky Locking Tabs
Dried smoothie residue jams 80% of stuck lids. Use a soft-bristled toothbrush to clean:
– Locking tabs: Brush side-to-side in the tab slots (avoid metal tools)
– Gasket seal: Remove the clear rubber ring and scrub its groove with vinegar
– Handle hinge: Wipe underneath with a damp cotton swab
After cleaning, dry completely with a microfiber cloth—residual moisture recreates suction. If tabs feel gritty, soak the lid in warm soapy water for 10 minutes before brushing.
Safe Lubrication for Frozen Mechanisms
Apply a rice-grain-sized drop of food-grade oil (olive or coconut) around the lid’s inner rim. Wait 30 seconds for penetration, then attempt removal. Never use WD-40—it degrades Ninja’s food-safe plastics. For immediate emergencies, rub a drop of vegetable oil on your fingertips and work it into seams while twisting gently. Always wash the lid thoroughly with Dawn dish soap afterward to remove oil residue.
Professional 1000, Pulse Models & Pour Spouts: Model-Specific Hacks

Professional 1000 Series Dual-Release Fix
If lifting the handle alone fails, press the small release button while lifting the handle. Some units require simultaneous action—don’t release the button until the lid clears the pitcher rim. Warning: Never force the handle upward if it resists; this snaps the internal spring. If stiff, clean the button’s pinhole with a toothpick first.
Pour Spout Models: The Pressure-Release Trick
On blenders like the Ninja Mega Kitchen System, open the pour spout cap before lid removal. This equalizes pressure after hot blending, making lids slide off effortlessly. If ignored, steam pressure creates a 10x stronger vacuum seal. Always point the spout away from your face when opening to avoid steam burns.
Pulse Button Model Safety Check
Ensure the pulse button isn’t depressed before removal attempts. On models like the Ninja BL660, an engaged pulse button locks the lid electronically. Check for a red indicator light—if illuminated, press the pulse button once to deactivate.
Stop Ninja Blender Lids from Sticking: Daily & Weekly Maintenance
30-Second Post-Use Routine
- Rinse lid and pitcher immediately after use (don’t let residue dry)
- Remove the gasket seal and wash separately—trapped pulp swells the rubber
- Store the lid upside-down on the pitcher (never snapped shut)
Weekly Deep Maintenance
Inspect these critical points weekly:
1. Gasket condition: Replace if cracked or flattened (Ninja part # 49140)
2. Tab flexibility: Gently bend side tabs to ensure smooth movement
3. Handle spring: Lift handle 10x to verify consistent resistance
Pro Tip: Apply a micro-thin coat of food-safe mineral oil to the gasket groove monthly—it prevents adhesion without attracting debris.
When Your Ninja Lid Won’t Budge: Emergency Fixes That Work
Rubber Grip Power Move
Wear dishwashing gloves for instant grip improvement. Place palms flat on the lid, fingers under the rim, and pull straight up with elbows locked. The textured gloves prevent slippage that causes wrist strain. If still stuck, wrap two rubber bands around the lid’s circumference for extra traction.
Controlled Prying for Severe Cases
Only attempt if hot water failed: Slide a butter knife tip under the lid’s rear edge (away from the handle). Gently twist to create a 1mm gap, then immediately move to the opposite side. Repeat at 3-4 points around the rim—never force one spot. Stop if you hear cracking sounds.
Critical Safety Steps Before Removing Your Ninja Blender Lid
- Never operate with a damaged lid: Cracked tabs compromise the safety interlock
- Check blade assembly first: Ensure blades aren’t rotating (unplug for 60 seconds)
- Avoid excessive force: If removal requires >5 lbs of pressure, diagnose the cause
- Clean lubricants thoroughly: Residual oil contaminates food on next use
- Verify reassembly: The lid must click audibly into place—test by lifting the pitcher by the lid handle
Ninja Blender Lid Troubleshooting: Decision Tree for Stuck Lids
Lid won’t budge? → Try hot water soak → Check for debris with flashlight → Lubricate gasket groove → Attempt rubber grip method.
Lid unlocks but won’t lift? → Inspect gasket for twisting → Ensure pitcher is on flat surface → Verify no food chunks under rim → Replace gasket if deformed.
Lid locks improperly after removal? → Clean pitcher rim groove → Check tab alignment with magnifying glass → Replace entire lid assembly if tabs are worn (Ninja part # 49130).
Mastering these techniques transforms lid removal from a daily frustration into a 5-second task. Remember: Ninja lids always release with minimal force when the correct method is applied. For persistent issues, register your model number at NinjaKitchen.com—most units qualify for 2-year extended warranties that cover lid replacements. Now go enjoy your smoothie without the lid battle!


