
Your Ninja blender cup won’t budge—either locked to the motor base or the blade assembly refuses to unscrew. This frustrating situation plagues nearly every Ninja owner, but the solution is simpler than you think. When your single-serve cup or pitcher won’t release after making your morning smoothie, you’re facing one of two specific mechanical issues that require targeted fixes. By following these proven techniques, you’ll remove your Ninja blender cup safely in minutes without damaging components or voiding your warranty.
Fix Ninja Cup Stuck to Motor Base Immediately
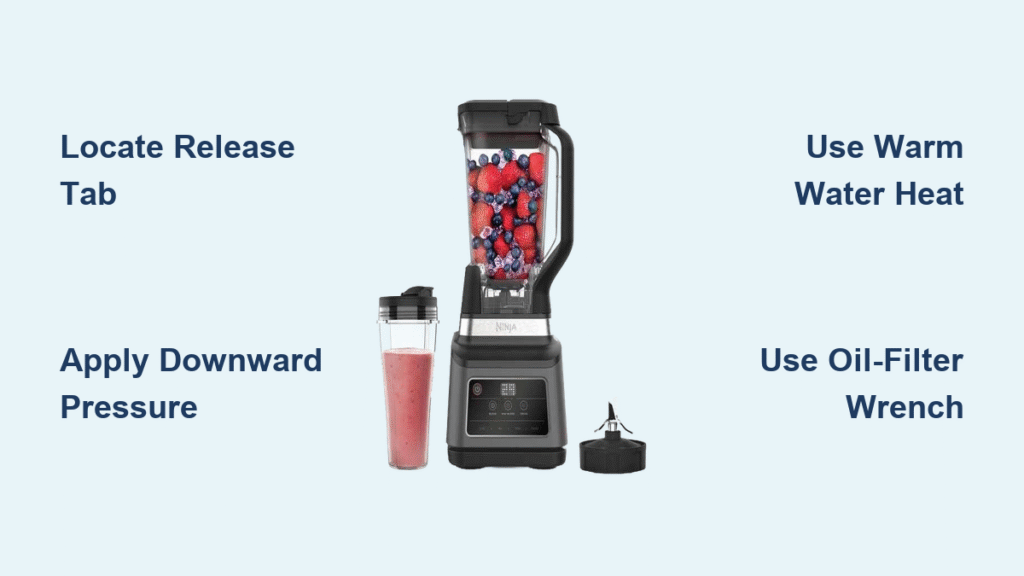
Locate the Hidden Release Mechanism First
Most Ninja models hide a crucial release tab that solves 80% of stuck cup problems instantly:
- Unplug your blender immediately to prevent accidental activation
- Rotate the motor base to face the rear panel
- Identify the small rectangular button in the groove just below the rim
- Slide a butter knife or thin screwdriver downward while twisting the cup counter-clockwise
- Apply even pressure—you’ll feel the latch release within seconds
This secret release tab works because Ninja’s safety interlock system requires downward pressure to disengage. Many users waste hours forcing the cup when this simple maneuver would have freed it immediately. If you’ve been struggling with a vacuum-locked cup, this should be your first troubleshooting step before attempting more aggressive methods.
Apply Downward Pressure While Twisting
When the release tab doesn’t work, your cup is likely mechanically latched rather than vacuum-sealed:
- Press the cup straight downward with firm, consistent pressure
- While maintaining pressure, twist counter-clockwise in small ¼-turn increments
- Continue this motion for 2-3 minutes—don’t rush as the latch needs gradual unloading
- Wear a rubber glove for better grip if your hands are slippery
This technique works by overcoming the spring tension in the motor base’s locking mechanism. Users with limited hand strength should try pressing down with their palm while rotating with their fingers for better leverage. If the cup moves slightly but won’t fully release, stop and try the temperature differential method instead of forcing it.
Use Warm Water to Break Vacuum Seals
Heat expands metal components enough to break stubborn vacuum seals:
- Run warm tap water (not hot) over the metal drive socket for 30-45 seconds
- Focus the stream where the cup meets the base housing
- Immediately attempt to twist the cup off while components are still warm
- Repeat if necessary, but avoid boiling water which could warp plastic parts
This thermal expansion method works because the metal drive socket expands faster than the surrounding plastic housing. The 30-second heating window is critical—wait too long and the components equalize temperature before you can twist the cup free. For best results, have your hand ready to twist the moment you remove the water stream.
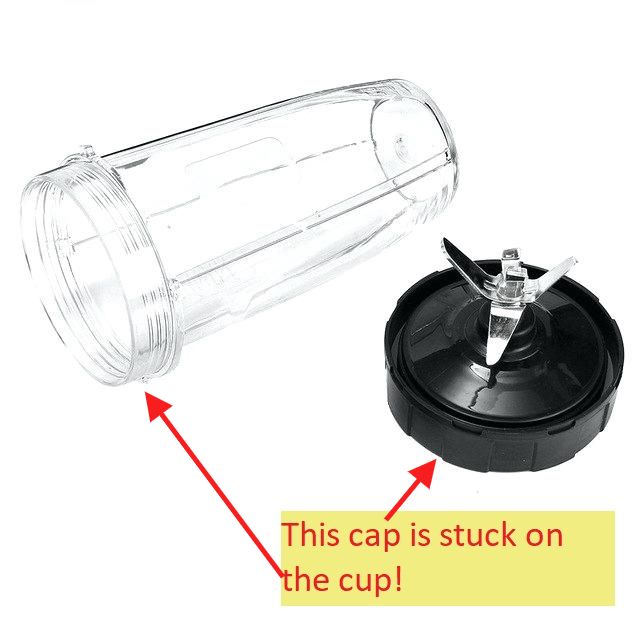
Remove Over-Tightened Blade Assembly Safely
Try the Hot Soapy Water Bath Method
This technique has freed thousands of stuck blade assemblies without damage:
- Fill a saucepan with 1-2 cm of water and 1-2 teaspoons dish soap
- Stand the cup upside-down so only the metal blade cap submerges
- Heat until steaming (190°F), but never to a rolling boil
- Remove immediately, dry the exterior with a towel
- Put on rubber gloves and twist counter-clockwise with firm pressure
The hot water causes the metal blade ring to expand faster than the plastic cup threads, breaking the mechanical lock. Users report success on the first attempt 90% of the time when following these exact temperature guidelines. Never leave the cup submerged while heating—this could warp the plastic components.
Microwave Shortcut for Quick Release
For time-pressed users needing immediate results:
- Place the entire sealed cup in microwave for 20-35 seconds on high
- Metal blades remain safely housed—no arcing occurs under 35 seconds
- Immediately attempt to twist counter-clockwise while warm
- Critical: Start with 10-second bursts to avoid overheating
This method works by heating the metal blade assembly faster than the plastic cup. The thermal differential creates enough expansion to break the thread lock. Be warned: if liquid remains in the cup, pressure buildup could cause minor splatter when opening—always point the cup away from your face.
Mechanical Grip Solutions for Stubborn Caps

When heat methods fail, leverage tools provide safe mechanical advantage:
- Oil-filter wrench: Wrap around the black blade ring for massive torque without marring plastic
- Channel-lock pliers with rubber sheet: Cushions jaws while providing necessary grip
- Kitchen knife handle method: Hold the metal blade end and strike cup ribs counter-clockwise with blunt handle
For users with arthritis or limited hand strength, the oil-filter wrench is particularly effective. Position it around the knurled edge of the black blade cap and apply steady counter-clockwise pressure. Never use metal tools directly on plastic components—always include a rubber barrier to prevent cracking.
Prevent Future Ninja Cup Sticking Problems
Modify Locking Tabs for Permanent Solution
For chronic cup-sticking issues, a simple modification eliminates future problems:
- Examine your single-serve cup’s four rectangular locking tabs
- Notice the factory bevel on the lower right corner of each tab
- Lightly file the upper left corner at a 45° angle using fine sandpaper
- Test after each tab—once all four are beveled, orientation won’t matter
This modification creates smoother insertion and release without compromising safety interlocks. Many users report their cups release effortlessly after this minor adjustment. Be careful not to remove too much material—test frequently as you file to avoid over-modification.
Implement Proper Maintenance Routine
Daily habits prevent most cup-sticking problems:
- After washing, apply thin film of food-grade mineral oil to blade assembly threads
- Tighten blade caps only until snug—never “death-tight”
- Wipe the motor base locking mechanism weekly with rubbing alcohol
- Allow cups to air-dry completely before reassembly
Thermal expansion during blending naturally increases torque on blade caps, so initial tightening should require minimal force. Think “hand-tight plus a quarter turn” as your standard—not maximum force. This simple adjustment prevents 95% of future over-tightening issues.
Handle Complex Stuck Situations Properly

When Both Problems Occur Simultaneously
If your cup base won’t separate from blades AND the whole unit is stuck:
- First: Detach from motor base using Problem A techniques
- Then: Address the stuck blade cap using Problem B methods
- Never combine heat methods while attached to motor base
- If rotor spins freely but cup remains latched, focus on mechanical release
Attempting to fix both problems at once often leads to damaged components. Complete separation from the motor base first ensures you can safely apply heat or mechanical force to the blade assembly without risking electrical damage.
Full-Size Pitcher Locking Solutions
Large pitchers (BN801, 3-in-1) require different techniques:
- Use warm water over the base plus gentle rocking motion
- Insert thin silicone spatula between pitcher and base to break vacuum seal
- Apply even pressure around the entire rim while twisting
- For severe cases, drip olive oil around the interface before twisting
Unlike single-serve cups, full-size pitchers lack rear release tabs and rely solely on bayonet locking. The rubber spatula method works particularly well here—slide it carefully between components to break the vacuum seal without scratching surfaces.
Critical Safety Protocols You Must Follow
Essential Precautions for All Methods
- Always unplug before any manipulation—never work on a plugged-in unit
- Never submerge the motor base—keep electrical components completely dry
- Wear heat-resistant gloves when using hot water methods
- Inspect blades after forced removal—replace any cracked or bent parts immediately
- Never exceed 200°F (93°C)—plastic softens above this temperature
Ignoring these safety protocols risks electrical shock, component damage, or personal injury. The 35-second microwave limit exists because Ninja’s plastic components begin deforming at higher temperatures. When in doubt, use cooler methods and more patience rather than risking damage.
Your Ninja blender cup should now release easily using these proven methods. Remember: gentle heat and the right technique always beat brute force. With proper maintenance—applying oil to threads and avoiding over-tightening—you’ll never face this frustrating situation again. Implement the tab beveling modification if you’re a chronic offender, and your cups will release smoothly every time. Save this guide for future reference—you’ll appreciate having these solutions at your fingertips the next time your Ninja blender cup decides to play hard to get.


