
You’re in the middle of juicing when suddenly your Hurom juicer grinds to a halt—the auger won’t budge, and no amount of pressing the plunger seems to help. This frustrating scenario happens to nearly every Hurom owner, but the good news is that most stuck juicer problems can be resolved in under fifteen minutes with the right approach. Understanding how to open a Hurom juicer stuck in operation will save you time, prevent damage to your machine, and get you back to fresh juice quickly.
A stuck Hurom juicer typically results from produce becoming wedged in the auger, strainer, or waste outlet system. Unlike horizontal juicers that often require aggressive feeding, the Hurom vertical slow juicer relies on gravity to feed produce through the specialized auger. When fibrous material gets trapped in this efficient system, it creates the perfect conditions for jamming. The powerful brushless induction motor is extremely reliable, so when your machine appears stuck, the issue almost always relates to physical blockage rather than motor failure.
Before attempting any fixes, ensure your workspace is prepared. Place a towel beneath the juicer to catch drips, have a bowl of warm water ready for cleaning, and keep a soft brush available for removing stubborn residue. Always verify that the power switch is in the off position and the machine is unplugged before touching any internal components. These safety precautions are essential when learning how to open a Hurom juicer stuck in operation.
Why Your Hurom Juicer Gets Stuck
Understanding the root causes of jamming helps you diagnose current problems and prevent future occurrences. The Hurom slow juicer’s safety-first design includes a magnetic sensor that prevents operation when components aren’t properly assembled, which means a seemingly “stuck” machine might actually be in protective shutdown mode rather than mechanically jammed.
Produce-related blockages account for the vast majority of stuck juicer incidents. When fibrous vegetables like celery or leafy greens are fed in large pieces, they can wrap around the auger teeth and gradually accumulate until movement stops entirely. Similarly, starchy fruits like bananas create paste-like substances that plug the strainer holes and cause backup throughout the system. The auger’s specialized tooth mechanism works brilliantly for most produce but struggles with items that are too large, too fibrous, or too starchy.
Certain produce items pose specific risks that every Hurom owner should understand:
– Bananas, eggplant, squash, and avocado should never go into a Hurom juicer—their tightly bound fiber and liquid make them unsuitable for slow juicing extraction
– Rhubarb and leeks require special preparation: cut these into pieces no larger than one inch
– Ginger should be sliced thinly to prevent jamming in the waste outlet
Use the Reverse Function First
When you notice the auger slowing down or stopping during juicing, your first response should always be the reverse function. This built-in feature rotates the auger in the opposite direction, often dislodging blockages without requiring any disassembly. Simply switch the machine to reverse for three to five seconds, then return to normal operation. In most cases, this simple step frees the blockage and allows juicing to continue uninterrupted.
How to Use Reverse Function Effectively
The reverse function works because produce typically becomes compressed in one direction as the auger rotates. By reversing the rotation, you create space between the wedged material and the auger teeth, allowing the trapped produce to break free. For best results:
- Stop juicing immediately when you notice resistance or slowing
- Switch to reverse for exactly 3-5 seconds (no longer)
- Return to normal operation and continue juicing slowly
- Repeat if necessary, but limit to 3 attempts
If the reverse function doesn’t resolve the issue within a few attempts, stop trying to force the machine on. Continued attempts can stress the motor and potentially cause damage. When the motor encounters excessive resistance, it automatically stops as a protective measure—ignoring this warning risks harming the drive system. At this point, you’ll need to disassemble the juicer to manually clear the blockage.
Disassemble the Juicer Step by Step
Complete disassembly becomes necessary when reverse operation fails to free the jam. The process takes under ten minutes once you’ve done it a few times, and understanding each step prevents confusion and potential damage to components.
Unplug and Prepare Your Workspace
Safety comes first—always switch off and unplug your Hurom juicer before beginning any disassembly. The magnetic safety sensor prevents activation when components are improperly fitted, but this precaution eliminates any risk of accidental startup. Lay a towel or workspace mat beneath the juicer to absorb any remaining juice or cleaning water, and position a bowl of warm water nearby for immediate cleaning once components are removed.
Remove the Hopper and Chute Assembly
The hopper sits at the top of your juicer and feeds produce into the auger system. To remove it, hold the chute securely with one hand while supporting the juice extraction spout with your other hand. Lift upward to disengage the hopper from the drum set, then twist counterclockwise to complete the removal. This counterclockwise motion releases the locking mechanism, allowing you to set the hopper aside safely.
With the hopper removed, you can often see the source of the jam directly at the top of the feed tube. Large pieces of produce sometimes wedge right at the chute entrance, and these can sometimes be removed by hand without further disassembly. If the blockage is deeper in the system, continue to the next step.
Access and Remove Internal Components
After hopper removal, you have full access to the drum set assembly containing the auger, strainer, spinning brush, and collection bowl. The auger is the central rotating component that crushes and extracts juice—it’s typically the source of jamming issues and the component most likely to have produce wrapped around or wedged in its teeth.
Grasp the auger firmly near the top where it connects to the drive mechanism and pull straight upward. It should slide out of the strainer relatively easily, though some resistance is normal if produce is caught between the auger teeth and strainer. Once the auger is removed, you can see the strainer (also called the screen or filter), which separates juice from pulp during extraction.
The strainer fits inside the spinning brush, which rotates against it during operation to keep the screen clear. To separate these components, gently press against the strainer to disengage it from the spinning brush. Both parts may stick together when produce residue dries, so a firm but gentle press is usually sufficient to release them.
Clean the Waste Outlet Thoroughly
Before reassembly, pay special attention to the silicone plug or seal located on the underside of the bowl in the center. This plug blocks the outlet hole and must be properly seated during assembly to prevent juice leakage. Remove this plug completely and run water through the waste outlet pipe in both directions to clear any accumulated fiber or pulp. This step is crucial for preventing future jams—the waste outlet gradually narrows as fiber builds up, eventually causing the backup that leads to a stuck juicer.
Clean All Parts Completely

With the juicer fully disassembled, clean each component thoroughly using warm water and a soft brush. Pay extra attention to the areas where pulp and fiber accumulate most heavily: the auger teeth, the strainer holes, and the spinning brush bristles. These areas collect residue that contributes to future blockages, so cleaning them completely now reduces jamming risk going forward.
For stubborn residue that doesn’t scrub away easily, soak the components in warm water for five to ten minutes before attempting to clean again. The soaking process softens dried juice and pulp, making removal significantly easier. Avoid using abrasive scrubbers or harsh cleaning chemicals, as these can damage the plastic components and strainer surface.
Inspect all components during cleaning for any signs of damage or unusual wear. Check the silicone plug for cracks or deterioration, examine the strainer for any bent or damaged bars, and verify that the spinning brush moves freely. While Hurom components are extremely durable, occasional inspection helps you catch small problems before they become major issues.
Reassemble for Proper Operation
After cleaning and drying all components, reassemble your juicer in the reverse order of disassembly. Start by ensuring the silicone plug is properly seated in its slot on the underside of the bowl—this small component is essential for proper function and must be correctly positioned before continuing.
Insert the spinning brush into the bowl first, then place the strainer on top. Press the strainer firmly against the spinning brush to ensure proper engagement between these two components. The spinning brush is designed to press against the strainer during operation, creating the cleaning action that prevents clogging, so their interaction must be correct for normal function.
Insert the auger into the center of the strainer, making sure it sits squarely on the drive shaft without any wobble or misalignment. The auger should rotate freely within the strainer once assembled. Place the assembled drum set back onto the base unit, pressing down firmly until it seats completely and securely.
Finally, replace the hopper by aligning it with the drum set and twisting clockwise to lock it in place. Before plugging in and operating the machine, double-check that all components are fitted together properly and that the bowl lid is closed securely. The magnetic safety sensor will prevent operation if anything is misaligned, so take an extra moment to verify everything is correct.
Prevent Future Hurom Juicer Jams
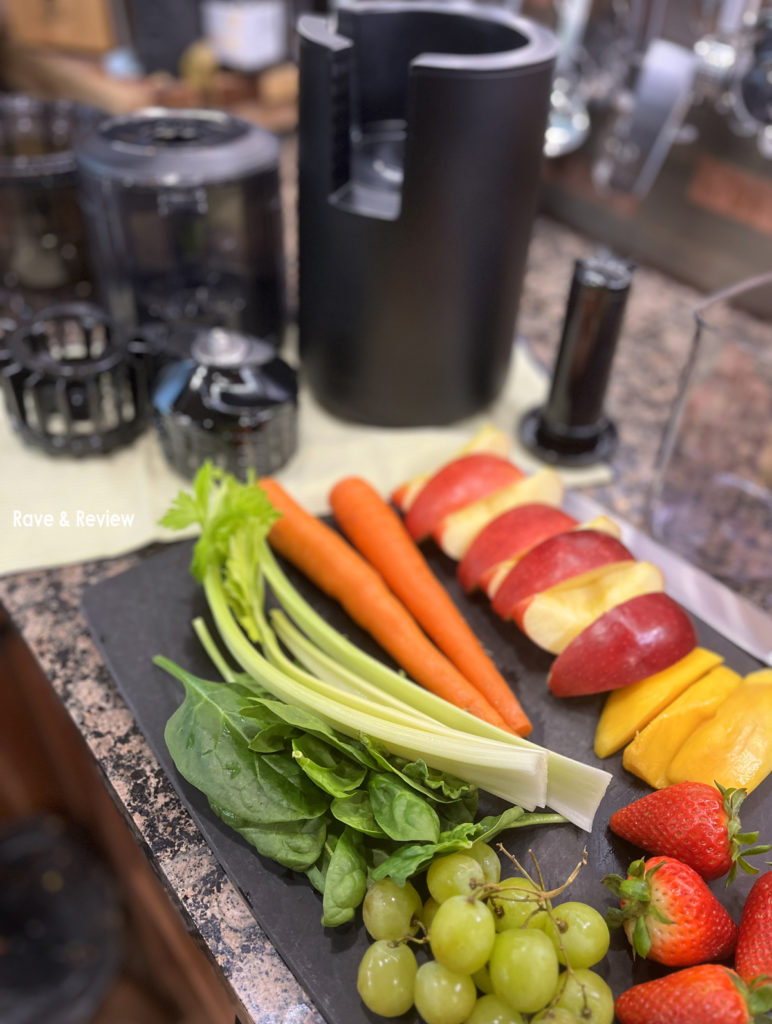
Prevention is far easier than troubleshooting, and a few simple habits dramatically reduce how often your Hurom juicer gets stuck. The most effective preventive measure is proper produce preparation—cutting all fruits and vegetables into one to two inch pieces before juicing. This guideline applies especially to celery, leafy greens, and ginger, where large pieces are most likely to cause problems.
The Hurom vertical slow juicer differs fundamentally from horizontal models in how it handles produce introduction. Unlike horizontal juicers that often require aggressive feeding, the Hurom design relies on gravity and the auger’s natural action to process food. The plunger that comes with your juicer should only be used when pieces are genuinely too large for the chute or when you’ve accidentally overloaded the feed tube. Using the plunger to forcefully push produce through creates the exact conditions that lead to jams.
After each juicing session, remove the silicone plug from the bottom of the bowl and run water through the waste outlet in both directions. This thirty-second step prevents the gradual fiber accumulation that eventually causes blockages. Many jam problems develop slowly over time as waste outlet capacity decreases—regular cleaning eliminates this progressive narrowing and extends the time between major cleanings.
Troubleshoot Safety Sensor Issues
If your juicer appears stuck but the motor makes no noise at all when you attempt to turn it on, the problem likely involves the magnetic safety sensor rather than an actual mechanical jam. The Hurom juicer will not operate unless all components are assembled correctly and the bowl lid is closed securely. This safety mechanism ensures the machine cannot activate with improperly fitted parts, protecting both the user and the appliance.
Begin troubleshooting by removing and reattaching the hopper, ensuring it twists fully clockwise to lock in place. Check that the drum set is seated completely on the base unit with no gaps or wobble. Verify the lid is closed firmly and that no produce is interfering with the lid’s ability to seal properly. Even small misalignments can trigger the safety sensor and prevent operation.
Before assuming a sensor malfunction, confirm that your power outlet is functioning correctly. Test the outlet with another appliance such as a lamp or phone charger to verify it’s supplying power. A non-functioning outlet is frequently mistaken for a jammed or broken juicer, particularly when the safety sensor prevents any noise or movement that would indicate normal operation.
Regular maintenance extends your Hurom juicer’s lifespan and dramatically reduces jam frequency. After each use, disassemble completely and clean all components, paying special attention to areas where pulp accumulates. Allow all parts to dry fully before reassembling or storing to prevent mold and bacterial growth. With proper care and technique, your Hurom juicer will provide years of reliable service with minimal stuck incidents. When you learn how to open a Hurom juicer stuck in operation, you’ll save yourself unnecessary service calls and extend the life of your valuable appliance.


