
When your angle grinder’s disc needs replacement or maintenance, knowing how to properly open and access the mechanism becomes critical. Whether you’re a weekend DIYer or professional tradesperson, improperly attempting to open your angle grinder can lead to damaged components, safety hazards, or even injury. This complete guide reveals the exact steps professionals use to safely access your angle grinder’s disc assembly, with specific techniques for the most common locking mechanisms. You’ll learn why certain tools are non-negotiable, how to avoid the most common mistakes that ruin grinders, and the precise quarter-turn rule that prevents future headaches when changing discs.
The process of opening an angle grinder primarily involves removing the disc assembly, which consists of the grinding or cutting disc, inner flange, and locking nut. Most Ryobi models like the R18AG4115-0, R18AG14, and EAG2023RG use a specific pin spanner system with a four-hole locking nut that requires proper technique. Understanding your grinder’s specific mechanism determines whether you’ll successfully access internal components or accidentally damage critical parts. This guide focuses on the pin spanner method while providing universal principles applicable to most angle grinder designs, ensuring you can confidently open your tool without compromising safety or performance.
Critical Safety Steps Before Opening Your Angle Grinder
Skipping proper safety preparation when opening an angle grinder causes preventable accidents that send dozens to emergency rooms each year. Treat these safety measures as absolute requirements, not suggestions, before touching any component of your tool.
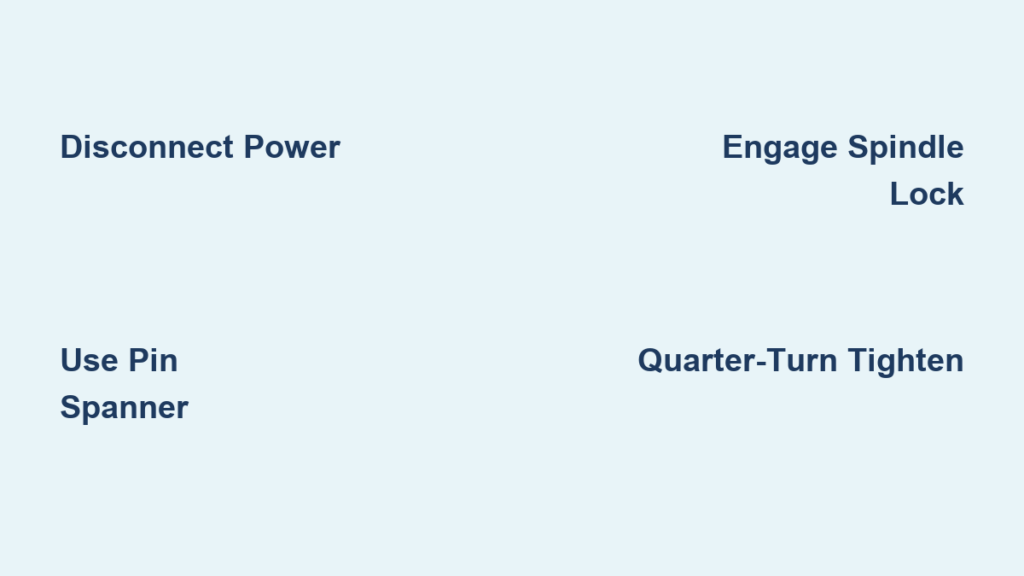
Completely Disconnect Power Source must be your first action every single time you work on an angle grinder. For cordless models, physically remove the battery pack and place it several feet away from your workspace. For corded grinders, unplug from the wall outlet and verify no power reaches the tool—never rely solely on the switch position. Accidental startups during disc removal have caused severe hand injuries when users assumed the tool was safe while it remained connected.
Allow sufficient cooling time if the grinder has been in recent operation. Discs retain intense heat that can cause serious burns and make disc material more brittle. Wait until the disc has cooled to room temperature before attempting removal—typically 10-15 minutes depending on usage intensity. Always work in a well-lit area with adequate space around you to prevent accidental contact with other tools or surfaces during the process.
Pin Spanner: The Only Tool You Need to Open Your Angle Grinder
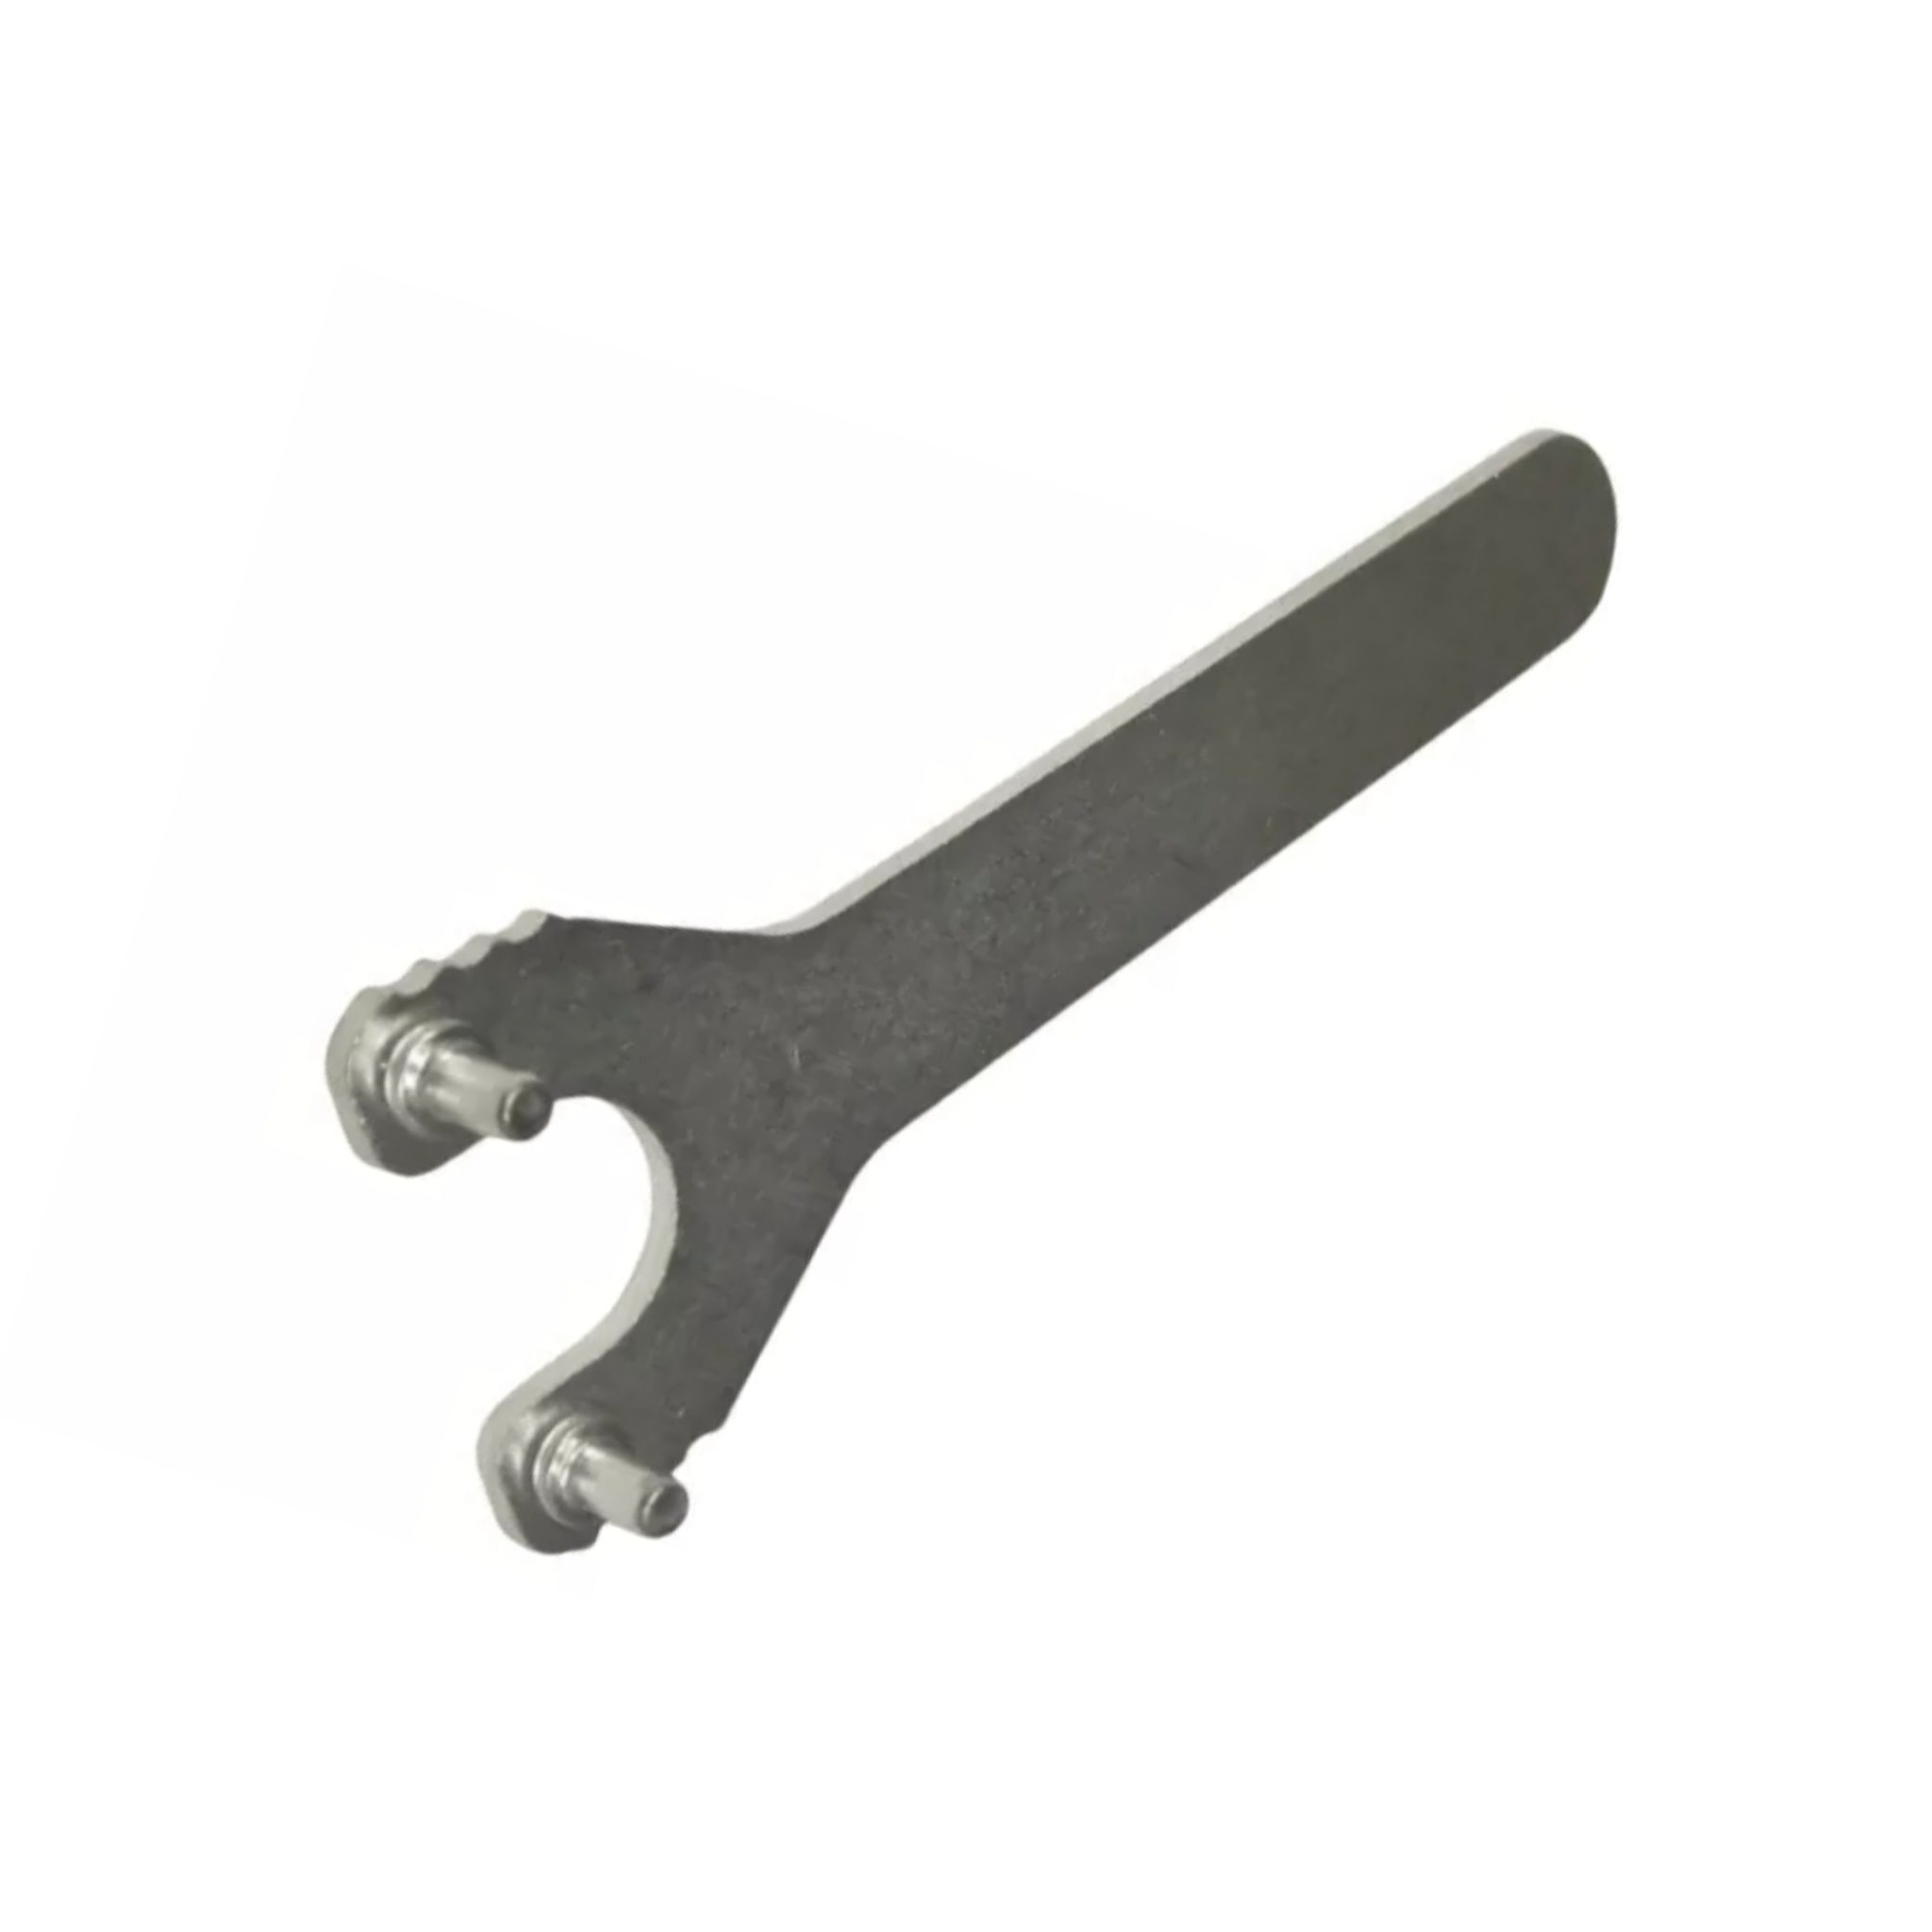
Attempting to open an angle grinder without the proper pin spanner risks permanent damage to your tool’s internal components. This specialized tool features two precisely spaced pins that engage with the four holes in your grinder’s locking nut, providing controlled leverage without damaging critical surfaces.
The pin spanner works with the specific four-hole configuration found on Ryobi models like the RAG80125-G and EAG75100-G. These holes are positioned around the center thread to accept the spanner pins in opposite positions, creating maximum leverage while preventing slippage during operation. Never substitute pliers, wrenches, or improvised tools—these often round off the locking nut holes, making future disc changes impossible without professional repair.
How to Verify You Have the Correct Pin Spanner
Before attempting to open your angle grinder, confirm your pin spanner fits properly by inserting the pins into two opposite holes of the locking nut. The pins should slide in smoothly without forcing, and the spanner should feel secure when engaged. If your spanner doesn’t fit correctly or feels loose, you likely have the wrong size for your specific angle grinder model. Using an ill-fitting spanner can damage the locking mechanism and create safety hazards during operation.
Step-by-Step Guide to Open Your Angle Grinder
Following these precise steps ensures you can safely open your angle grinder without damaging components or creating future problems during reassembly. Each step builds on the previous one to create a reliable process you can repeat with confidence.
Position Your Angle Grinder Correctly
Place your disconnected angle grinder on a stable, flat work surface with the disc facing upward. Rotate the tool to position the locking nut where you have clear visibility and comfortable access. Ensure adequate lighting so you can clearly see the four holes in the locking nut and the spindle lock button location. This proper positioning prevents accidental slips that could damage components or cause injury.
Engage the Spindle Lock Mechanism
Locate the spindle lock button on your specific model—it typically appears on the side or top of the grinder housing near the disc assembly. Press and hold this button firmly until the spindle rotation stops completely. This mechanism locks the spindle, preventing it from turning while you work on the locking nut. Crucially, you must maintain pressure on this button throughout the entire loosening process—releasing it prematurely causes the spindle to rotate freely, making disc removal impossible.
Loosen the Locking Nut Properly
Insert your pin spanner pins into two opposite holes of the locking nut while maintaining spindle lock engagement. Apply steady, controlled force to rotate the locking nut in the anti-clockwise direction. If the nut resists movement, apply gentle but firm pressure—never strike the spanner with a hammer, as this can damage the spindle threads. Continue rotating until the nut loosens sufficiently to remove by hand. If you encounter extreme resistance, double-check that the spindle lock remains fully engaged before applying additional force.
Accessing Internal Components After Opening
With the disc and locking nut removed, you now have critical access to inspect and maintain components that affect your angle grinder’s performance and safety.
Inspect the Spindle Threads Thoroughly

Examine the spindle threads for damage, wear, or accumulated debris like metal shavings or old adhesive residue. Clean the threads using a soft brush or dry cloth—never use solvents that could damage components. Damaged threads cause disc wobble, poor performance, and potential safety hazards during operation. If you notice significant thread damage, your angle grinder requires professional service before further use.
Check the Inner Flange Surface Condition
The inner flange surface where the disc seats must remain perfectly flat and clean for proper operation. Any grooves, deformation, or contamination causes vibration, uneven wear, and potential disc failure. Replace the inner flange immediately if you notice significant wear patterns or damage, as continuing to use a compromised flange risks disc slippage during high-speed operation.
Proper Disc Installation After Opening Your Grinder
Correct reassembly ensures your angle grinder operates safely and efficiently after you’ve opened it for maintenance or disc replacement.
Position Discs Based on Type
Place grinding discs with raised hubs so the raised portion faces down toward the disc. For cut-off discs, position the locking nut with the face upward. This orientation prevents disc slippage during operation and ensures proper seating against the inner flange. The disc must sit completely flush with no gaps or misalignment that would cause vibration during use.
Apply the Quarter-Turn Tightening Rule
After hand-tightening the locking nut clockwise until snug, apply no more than a quarter turn with your pin spanner while maintaining spindle lock engagement. This critical guideline prevents the most common mistake—overtightening—which jams the disc on the spindle and makes future removal extremely difficult. Excessive torque can strip spindle threads or damage the flange surface permanently, requiring expensive repairs.
Common Mistakes That Damage Angle Grinders

Understanding these frequent errors helps you avoid costly damage when opening your angle grinder for maintenance or disc changes.
Overtightening the Locking Nut
Over 70% of angle grinder service calls involve problems caused by overtightening during disc installation. While it may seem that tighter provides more security, excessive torque creates binding that makes future disc removal nearly impossible without professional tools. The quarter-turn rule beyond hand-tight provides maximum security without risking damage to internal components.
Using Improper Tools for Opening
Attempting to remove the disc with pliers, wrenches, or improvised tools instead of a proper pin spanner causes rounded locking nut holes that prevent future safe operation. These damaged components require replacement and create ongoing safety hazards. Always use the correct pin spanner designed specifically for your angle grinder model—this small investment protects your tool and your safety.
Maintenance Tips for Easy Future Access
Implement these simple habits after opening your angle grinder to ensure trouble-free disc changes for years to come.
Wipe spindle threads clean during each disc change to prevent debris buildup that causes binding and misalignment. This quick 10-second action prevents most common problems related to disc seating and removal. Inspect the locking nut, flange surface, and spindle threads regularly for signs of wear or damage—addressing minor issues early prevents major repairs later.
Store your pin spanner with your angle grinder in a dedicated toolbox compartment. Having immediate access to the proper tool ensures you never resort to improper methods when changing discs in the field. Track your disc changes and usage patterns to anticipate maintenance needs before problems develop unexpectedly during critical projects.
Opening your angle grinder properly requires understanding the specific locking mechanism, using the correct tools, and following precise procedures that protect both you and your equipment. By disconnecting power completely, using a proper pin spanner, engaging the spindle lock correctly, and adhering to the quarter-turn tightening rule, you’ll maintain your tool’s performance and safety for years. Remember that overtightening causes more problems than any other mistake during disc changes—less is truly more when securing your angle grinder’s components. When in doubt about your specific model’s requirements, consult the manufacturer’s documentation rather than risking damage or injury through guesswork. Proper maintenance after opening your angle grinder ensures each subsequent disc change becomes easier and safer than the last.


