

Tired of paying $12 for small jars of store-bought nut butter packed with palm oil and preservatives? Your Ninja blender can transform ordinary nuts into velvety-smooth spreads faster than you can microwave popcorn. I’ve made over 50 batches since discovering this game-changing method—and you don’t need specialty attachments. Whether you’re craving classic almond butter or adventurous matcha-cashew blends, your Ninja handles it all while cutting costs by 70%. In this guide, you’ll master the exact processing stages to avoid dry crumbles, learn why almonds need 4 cups minimum, and discover pro timing tricks for perfect texture every time.
Forget complicated tutorials requiring food processors or special equipment. The four-blade vortex action in your Ninja creates friction that releases natural oils—no added fats needed for most nuts. I’ll show you how to read the visual cues between clumping and oil release so you never overheat your motor. You’ll also learn why adding honey too early ruins texture and which common mistake turns sunflower seeds bitter. By the end, you’ll be making restaurant-quality spreads that last weeks in your fridge.
Ninja Blender Settings That Prevent Motor Burnout
:max_bytes(150000):strip_icc()/ses-ninja-professional-blender-1000w-ashley-fucich-control-panel-2a38efb15e884265a6c4e492a6c50358.jpeg)
Select Your Optimal Attachment and Program
Use the four-blade attachment for all nut butter batches—it creates the vortex action needed to push ingredients toward the blades. Models with the SPREAD program automatically adjust speed for perfect emulsification, but standard high-speed settings work when you pulse in 30-second intervals. Never exceed 15 continuous minutes of processing; if your motor feels hot to the touch, stop immediately and allow a 10-15 minute cooldown period. Smaller Ninja models like the Nutri Ninja require the 400ml smoothie bowl for proper blade contact—filling beyond the max line causes uneven grinding.
Essential Tools Beyond the Blender
- Built-in tamper: Twist counter-clockwise while blending to push nuts downward
- Silicone spatula: Scrape sides every 30 seconds during clump formation
- Oven thermometer: Critical for toasting seeds (sunflower burns at 350°F+)
- Glass mason jars: Store cooled butter for maximum freshness
Best Nuts for Ninja Processing (With Exact Quantities)

Why Cashews Beat Almonds for First-Timers
Cashews require just 2 cups and process in 8-10 minutes due to high natural oil content—they transform from powder to creamy butter before your eyes. Almonds need a minimum 4-cup batch (use raw, not roasted) because their low oil content stalls processing; I’ve seen batches fail with only 3 cups. Sunflower seeds make nut-free sunbutter but must be toasted first at 325°F for exactly 12 minutes—over-toasting by 2 minutes creates bitter flavors that ruin the batch. Never exceed blade level in your bowl; for the compact 400ml bowl, limit to 230g (8 oz) of roasted almonds.
Toasting vs. Raw: Flavor Impact Revealed
Toasting nuts at 325°F for 10-15 minutes before processing deepens flavor and speeds oil release by 30%. Spread them in a single layer on a baking sheet—crowding causes uneven roasting. Cool completely before blending; warm nuts create steam that makes butter seize up. Raw nuts work straight from the package but yield milder flavor. Always bring nuts to room temperature; cold almonds straight from the pantry can stall processing for 5+ extra minutes.
4-Stage Processing Method: From Crumbles to Creamy
Stage 1: Powder Creation (0-2 Minutes)
Load room-temperature nuts into your Ninja bowl without any oil. Pulse 5-6 times to break large pieces, then blend continuously on high. Watch for the transformation from whole nuts to fine, sand-like powder—this should happen within 90 seconds. Stop immediately if the motor strains; smaller batches prevent this. No scraping needed yet.
Stage 2: Critical Clump Formation (3-6 Minutes)
The powder suddenly forms dry, crumbly clumps that stick to the bowl sides. This signals oil release has begun! Scrape sides every 30 seconds using your tamper with counter-clockwise twists. The mixture will feel warm—normal friction heat—but pause if the motor housing gets hot. Almond batches often stall here; resist adding oil until Stage 3.
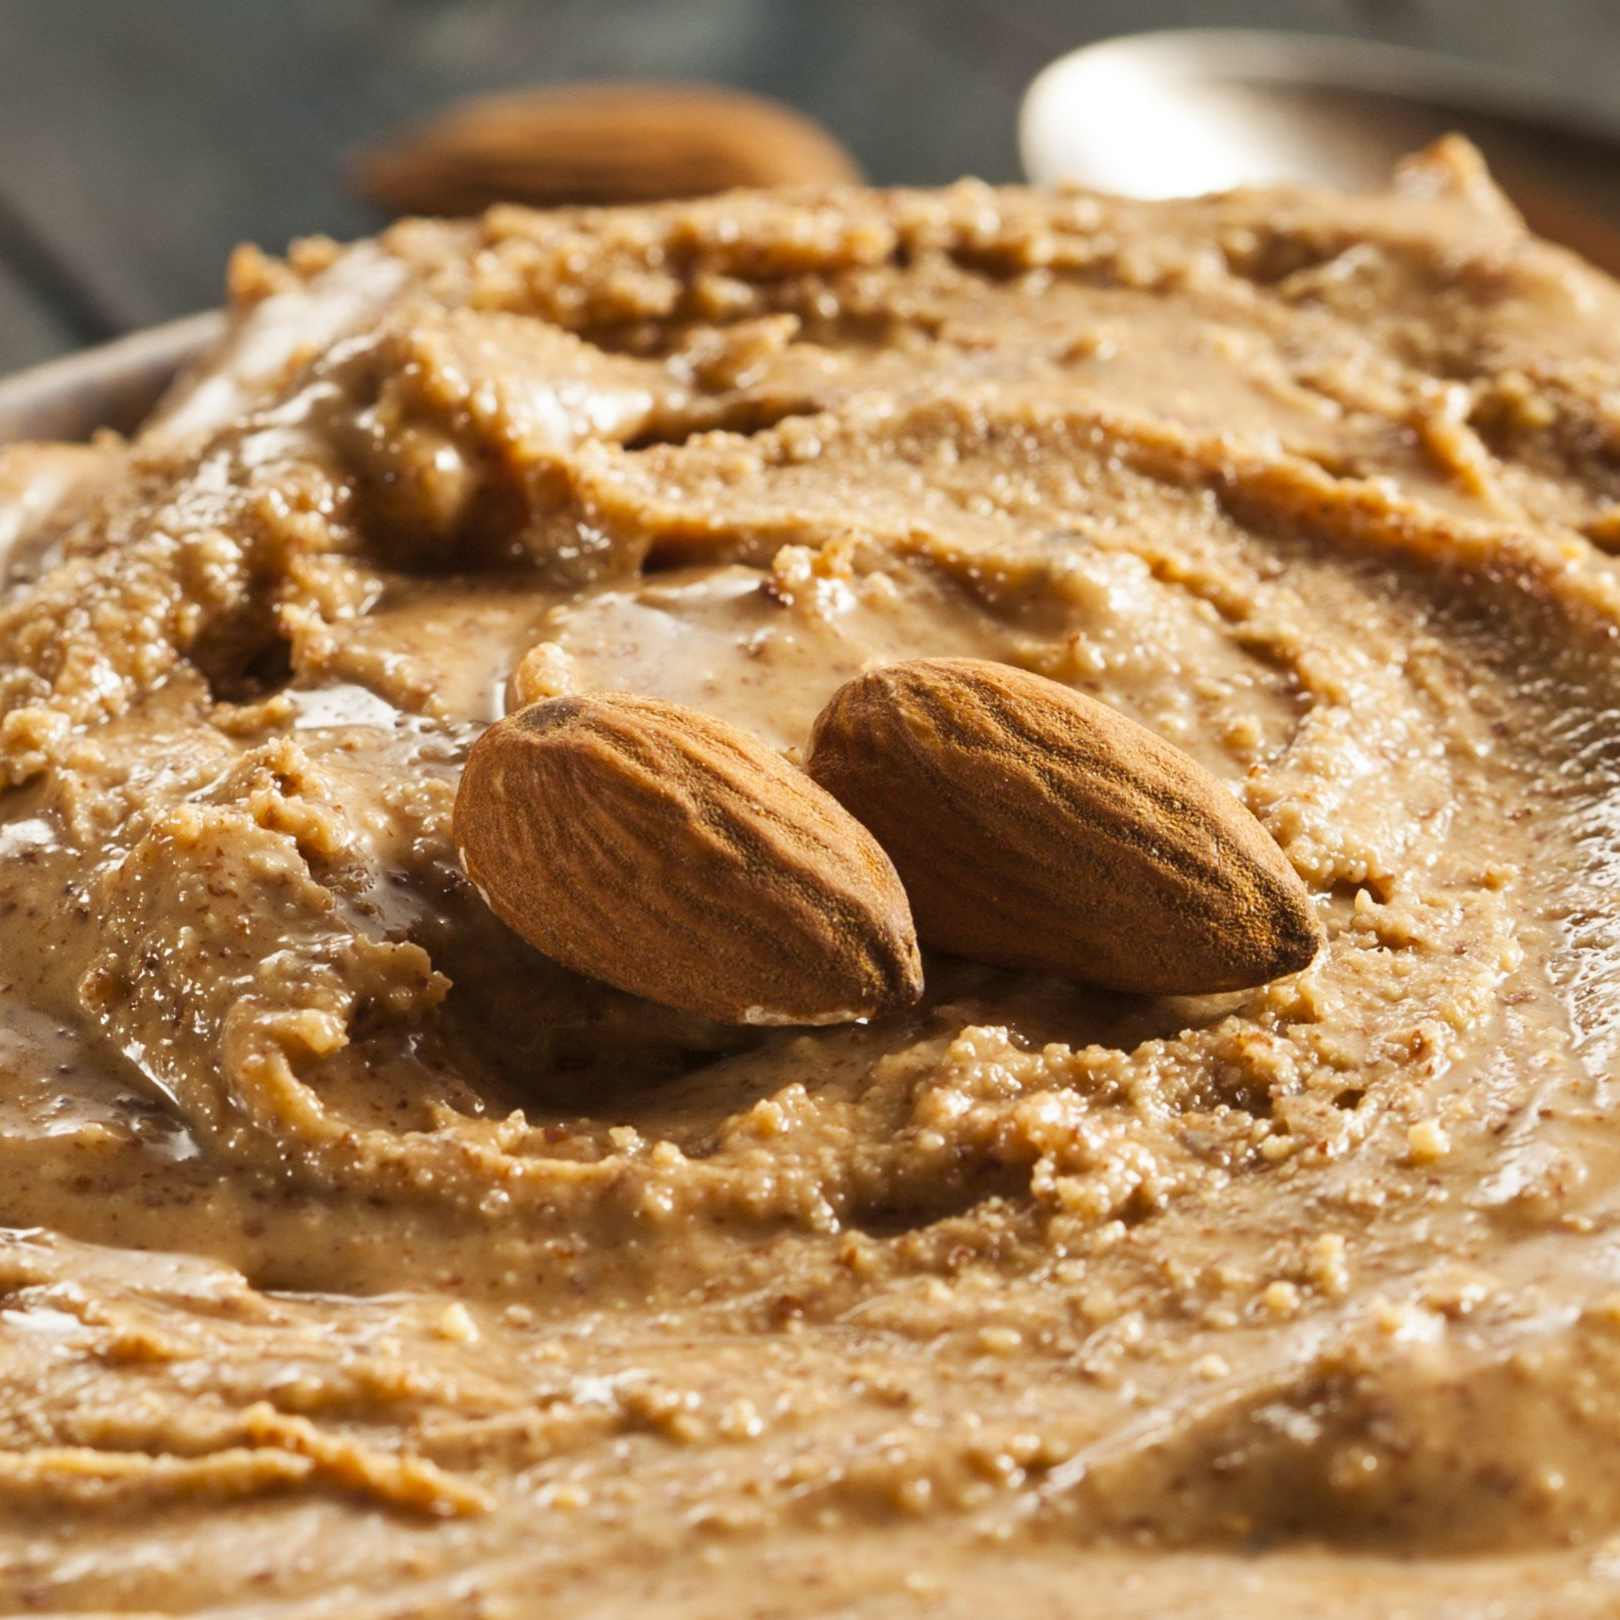
Stage 3: Oil Release Breakthrough (7-9 Minutes)
Clumps collapse into a thick, primitive paste that slowly spins around the bowl. Now add oil only if needed: cashew butter requires just 2 teaspoons of coconut oil, while almond butter needs 2 tablespoons for a 4-cup batch. Add 1 teaspoon at a time, processing 30 seconds between additions. Too much oil creates runny butter that never thickens.
Stage 4: Final Smoothing (10-15 Minutes Total)
Continue blending until the butter moves in a warm, fluid wave around the bowl. It will feel hot to the touch—this friction heat is your readiness signal. Stop when it resembles commercial peanut butter texture. Over-processing won’t make it smoother but risks burning flavors. Total time: 8 minutes for cashews, 15 for almonds.
Flavor Additions Without Texture Disaster
Timing Mistake 90% of Beginners Make
Never add sweeteners before Stage 3—liquid ingredients interfere with oil release. Wait until the final 1-2 minutes of processing. For honey or maple syrup, use 1-4 tablespoons depending on sweetness preference (cashews need less). Cane sugar must be ultra-fine or it creates gritty texture—pulse with nuts in Stage 1 if using.
Pro Flavor Combos That Actually Work
- Fall-Spiced Almond Butter: 2 tbsp honey + 1 tsp cinnamon + pinch sea salt
- Vanilla Cashew Dream: 1 tbsp vanilla bean paste + 2 tsp maple syrup
- Savory Sunbutter: ½ tsp chili powder + 1 tsp cumin (add after cooling)
- Chocolate Hazelnut: 2 tbsp cocoa powder + 1 tbsp coconut oil
Fix These 3 Ninja-Specific Problems Immediately
Dry Paste Won’t Smooth Out
Cause: Insufficient oil release due to small batch size or cold nuts. Solution: Add neutral oil (coconut/canola) 1 teaspoon at a time while processing. For almonds, ensure you used 4+ cups. If motor overheats, rest 10 minutes then resume.
Burnt Smell During Processing
Cause: Over-toasted sunflower seeds or motor overheating. Solution: For seeds, toast only until golden (not brown) at 325°F. If motor burns, discard the batch—continuing damages your Ninja. Next time, use shorter processing intervals.
Butter Separates After Cooling
Cause: Natural oil separation—happens in all homemade nut butters. Solution: Stir vigorously before refrigerating. To minimize, process until butter is very hot (140°F+), which helps emulsify oils. Never add stabilizers like palm oil.
Storage Hacks for Maximum Freshness
Refrigeration vs. Freezing: What Actually Works
Transfer warm butter into glass mason jars with tight lids—plastic absorbs odors. Refrigerated butter lasts 4 weeks but thickens when cold; let sit 10 minutes at room temperature before spreading. For longer storage, freeze in ½-cup portions for up to 4 months. Thaw overnight in the fridge—never microwave, as it separates oils. Always use clean utensils to prevent mold.
Why Homemade Beats Store-Bought Nutritionally
Per 34g serving (2 tbsp), Ninja-made nut butter delivers 195-235 calories with 6g protein and 20g healthy fats (only 2g saturated). Crucially, it contains zero preservatives and 3g fiber—unlike commercial brands that add palm oil and sugar. Sunbutter provides 1.3mg iron per serving, vital for plant-based diets. Store-bought versions often contain 3x more sodium.
Beyond Toast: 5 Unexpected Nut Butter Uses
Your Ninja-made spread transforms everyday meals:
– Protein Power Smoothies: Add 2 tbsp to banana-spinach blends
– Savory Salad Dressings: Whisk with lime juice for Thai-style dressing
– Stir-Fry Sauce Base: Thin with soy sauce for satay dipping
– Baking Moisturizer: Replace butter in muffin recipes
– Apple “Cookie” Fillings: Spread between apple slices with granola
Making nut butter with your Ninja blender unlocks pure, customizable spreads that cost pennies per serving. Start with cashews for instant success, then tackle almonds using the 4-cup minimum rule. Remember the critical clump-to-paste transition point—that’s when you know oil release has begun. Within 15 minutes, you’ll have velvety butter with no preservatives, ready to elevate everything from smoothies to stir-fries. Your Ninja just became the most valuable tool in your kitchen—no specialty equipment required.


