That $6 drive-thru frozen coffee line snaking around the building? Skip it. You can whip up a café-quality frozen coffee in your blender in under three minutes using yesterday’s leftover brew and gear already in your kitchen. No barista skills or fancy syrups needed—just strong chilled coffee, ice, and a blender that crushes ice (yes, even that $12 Walmart model works). Whether you’re reviving last night’s cold brew or using instant granules, this guide delivers the exact ratios, pro techniques, and troubleshooting fixes to nail that velvety, slushy texture every time.
Stop settling for watery, diluted drinks. I’ll show you how to lock in bold coffee flavor without bitterness, prevent blender jams, and customize it with pantry staples. You’ll learn why loading order matters, how coffee ice cubes beat regular ice, and why a pinch of salt transforms caramel versions. By the end, you’ll save $5 per drink while getting a stronger caffeine kick than store-bought versions. Let’s dive into making frozen coffee in blender that rivals your favorite café.
Essential Blender Requirements for Perfect Texture

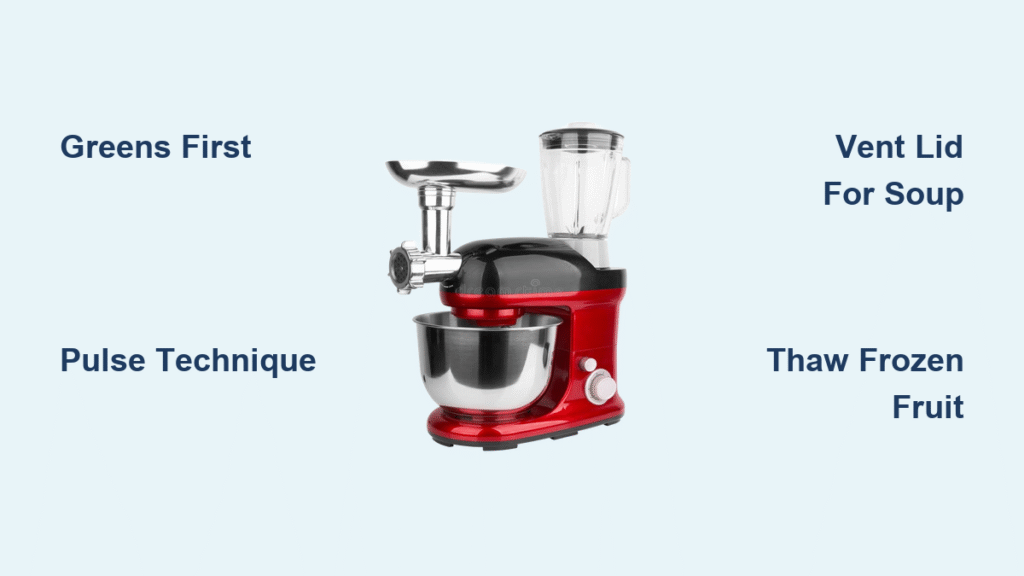
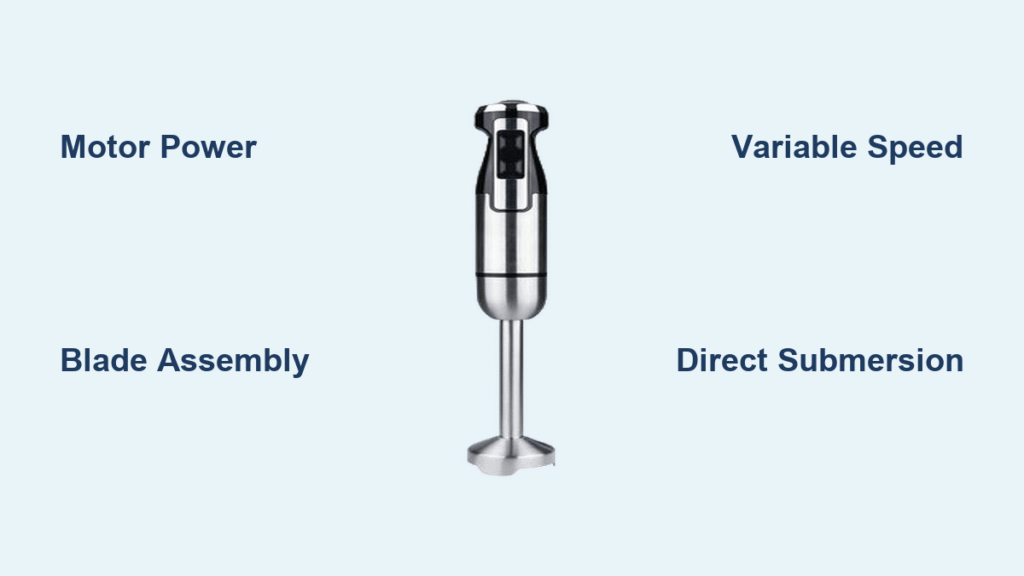
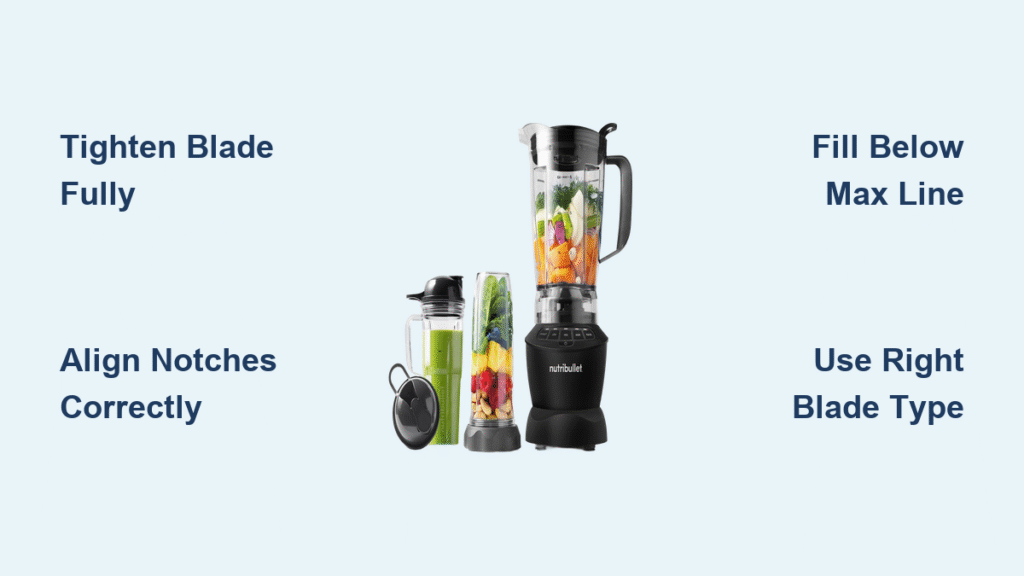
Forget splurging on expensive blenders—your basic model works if it crushes ice. Users consistently report success with entry-level units (like the $12 Hamilton Beach) and high-end Vitamixes by following one rule: never overload the ice. Start with liquid ingredients first to create a vortex that pulls solids toward the blades. If your blender stalls, reduce ice by ½ cup and add ¼ cup extra milk before pulsing in 5-second bursts. High-powered blenders with “Icy Drink” presets auto-adjust, but cheap models need manual ramping: pulse 5 seconds, then blend 45–60 seconds on high until the rattling stops and you hear a smooth whir.
Critical Pre-Blend Checks
- Coffee must be ice-cold: Warm coffee melts ice instantly, causing watery texture. Chill brew 1–2 hours or use an ice bath for 15 minutes.
- Ice quantity precision: Stick to 1–1½ cups per 1 cup coffee. Too little ice = thin drink; too much = blender strain.
- Frozen coffee cubes trump regular ice: They prevent dilution while intensifying coffee flavor (freeze leftover brew in trays overnight).
Why Your Blender Struggles (And How to Fix It)
| Problem | Real Cause | Instant Solution |
|---|---|---|
| Blender won’t crush ice | Ice packed too tightly | Always add liquids FIRST, then ice |
| Chunky ice pockets | Insufficient blending time | Blend 60+ seconds until sound smooths out |
| Motor overheating | Overfilling beyond ¾ capacity | Fill jar only halfway; blend in batches |
Exact Ingredient Ratios for Café-Quality Results

Ditch guesswork with this foolproof formula. The magic ratio is 1 cup strong chilled coffee : 1–1½ cups ice : 3 Tbsp–¾ cup milk/creamer. Deviate beyond this, and you’ll get watery or slushy disasters. For bolder flavor, use cold-brew concentrate or double-strength drip (2 Tbsp grounds per 6 oz water). Sweeteners must dissolve fast—simple syrup or melted caramel beats granulated sugar. And here’s the pro secret: 2 Tbsp whipped topping or instant pudding mix creates milkshake-thick body without extra fat.
Brew & Chill Methods That Prevent Watery Drinks
Drip/French press shortcut: Brew double-strength coffee. Pour into a chilled mason jar, then set in an ice bath for 15 minutes (stirs occasionally). Never pour hot coffee directly into the blender—it melts ice instantly.
Cold-brew concentrate: Steep 6 oz coarse grounds in 4 cups cold water 12–24 hours. Strain twice through a mesh sieve lined with cheesecloth. Keeps 7 days refrigerated for instant use.
Instant coffee hack: Dissolve 2 Tbsp instant granules in ½ cup hot water. Pour over ice cubes and stir 2 minutes to chill rapidly.
Pro tip: Freeze leftover coffee in ice trays. These cubes add zero water while boosting coffee intensity. Store in airtight bags for 2 weeks to avoid odor absorption.
Step-by-Step Blender Loading Sequence
Layer ingredients in this exact order to avoid chunky texture or motor strain:
1. Liquids first: Chilled coffee, milk/creamer, sweeteners, and syrups (e.g., 1 cup cold brew + ½ cup oat milk + 2 Tbsp caramel syrup).
2. Solids second: Ice cubes (or coffee ice cubes), then optional thickeners like 2 Tbsp Cool Whip or 1 Tbsp instant pudding mix.
3. Flavor boosts last: Cocoa powder, cinnamon, or salt—these blend unevenly if added early.
Critical mistake to avoid: Dumping ice first creates air pockets. The blades spin but can’t pull ingredients down, leaving half-melted ice at the top. If using frozen coffee cubes, reduce regular ice by ½ cup to maintain texture.
Blend Settings for Any Blender
- Pulse 5 seconds on low to break up ice and pull ingredients toward blades.
- Ramp to high for 30–60 seconds until the sound shifts from loud clacking to a smooth whir.
- Stop and scrape if needed: Cheap blenders often need a 10-second pause to dislodge ice chunks stuck near the blade.
Texture checkpoint: It should look like soft-serve ice cream. If you see visible ice shards, blend 15 more seconds. Too thin? Add 2 extra ice cubes and pulse 10 seconds.
Flavor Variations Ready in 30 Seconds
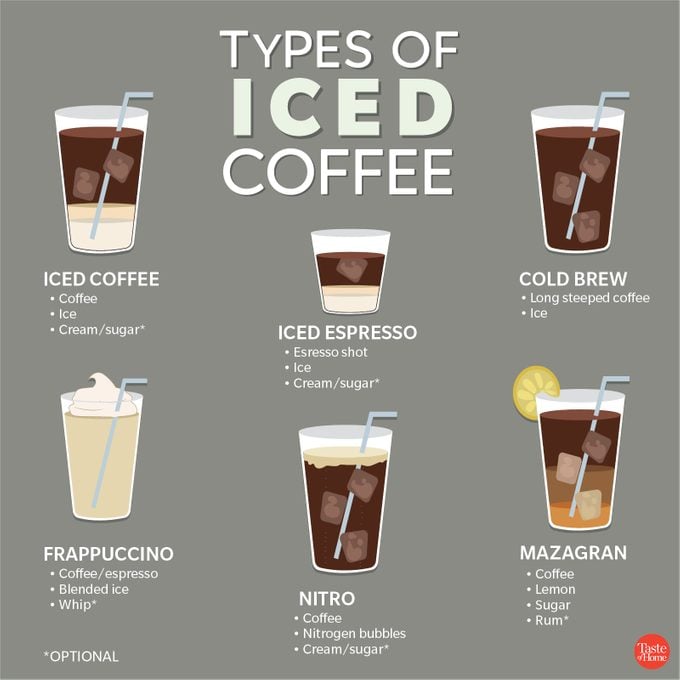
Customize your base recipe with pantry staples. These tweaks tested by users consistently outperform café versions for half the cost:
| Drink Name | Add to Base Recipe | Pro Adjustment |
|---|---|---|
| Caramel Freeze | 2 Tbsp caramel syrup + pinch of salt | Salt balances sweetness—don’t skip it! |
| Mocha Slush | 1 Tbsp cocoa powder + chocolate drizzle | Bloom cocoa in hot coffee first to prevent grit |
| Vanilla Almond | ¾ cup almond milk + 1 Tbsp vanilla syrup | Use cold brew for smoother nuttiness |
| Snickerdoodle | 1 tsp cinnamon + 1 Tbsp brown sugar | Rim glass with cinnamon-sugar mix |
| Frozen Irish | 1–2 oz Irish cream liqueur | Pulse after blending to avoid separation |
Fix These 4 Mistakes Immediately
Too watery? You used warm coffee or skipped coffee ice cubes. Fix: Swap half the regular ice for frozen coffee cubes, then re-blend 15 seconds.
Bitter bite? Over-concentrated coffee or burnt grounds. Fix: Add 2 Tbsp milk + 1 tsp sweetener and blend 10 seconds.
Grainy texture? Insufficient blending or undissolved cocoa. Fix: Blend 60+ seconds; bloom cocoa in hot liquid first.
Blender jams? Ice overload or wrong loading order. Fix: Always add liquids first, reduce ice by ½ cup, and pulse in bursts.
Make-Ahead Hacks for Busy Mornings
Prep tonight, sip tomorrow: Brew double-strength coffee, pour into ice trays, and freeze overnight. In the morning, dump 1 cup coffee cubes + ½ cup milk into the blender—no chilling wait.
Revive leftovers: Pour extra blended coffee into ice trays. When frozen solid (2+ hours), store cubes in zip bags for 2 weeks. To serve: thaw 5 minutes, then re-blend with 2 Tbsp milk for 15 seconds.
Glass trick: Chill your glass in the freezer while blending. Frosty glass = slower melting = sustained slushy texture for 20+ minutes.
Why Homemade Beats Café Versions
Cost: $0.75–$1.25 per 16 oz vs. $4.50–$6.00 at chains. Calories: 90–150 vs. 250–400 in store versions (skip whipped cream to save 50+ calories). Most importantly, user ratings prove it: 4.6/5 stars praise the “strong caffeine kick” and “creamy texture no café matches.”
Stop wasting money on overpriced, watery frozen coffee. With your blender, coffee ice cubes, and this exact method, you’ll nail the slushy-perfect texture in 120 seconds flat. Freeze those coffee cubes tonight—your wallet (and taste buds) will thank you tomorrow.

