

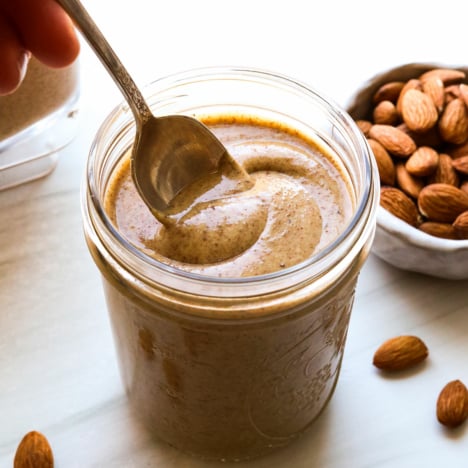
That $17 jar of store-bought almond butter? You can make fresher, tastier almond butter at home for half the price using just your blender and raw almonds. When you learn how to make almond butter in a blender, you unlock velvety-smooth results with customizable flavors—no specialty equipment required. Skip the palm oil and preservatives found in commercial versions while saving serious money. This guide reveals exactly how to transform raw almonds into creamy perfection using your Vitamix, Blendtec, or Ninja in under 20 minutes. You’ll master roasting techniques that prevent burning, blending hacks to avoid overheating, and troubleshooting fixes for dry or crumbly textures—all while creating butter that stays fresh for weeks.
Roast Almonds Correctly for Maximum Flavor
Skipping this step guarantees bland, chalky butter. Proper roasting develops the deep nuttiness that makes homemade versions superior to store-bought. Spread 2-4 cups raw almonds on a parchment-lined baking sheet and bake at 350°F (175°C) for 10-15 minutes. Stir once halfway through—this prevents scorching on the edges while ensuring even golden-brown color. Critical warning: Never skip the cooling phase. Transfer roasted almonds to a cool surface and let them reach room temperature completely (15-20 minutes). Blending warm almonds creates dangerous steam pressure in your blender and causes oil separation.
Why Roasting Time Matters
Under-roasted almonds won’t release enough oil, leaving you with dry, crumbly butter. Over-roasting creates bitter, burnt flavors that ruin the batch. Look for these visual cues:
– Perfect: Uniform light golden color with nutty aroma (10-12 minutes)
– Underdone: Pale color, raw smell (add 2-3 minutes baking time)
– Burnt: Dark spots, acrid smoke (discard immediately)
Optimize Your Vitamix, Blendtec, or Ninja for Almond Butter

Your blender’s model dictates batch size and technique. Using the wrong container guarantees failed batches. For Vitamix users, 32-48 oz containers work best—64 oz low-profile jars require a minimum of 4 cups almonds to avoid “dead zones” where nuts won’t reach the blades. Blendtec Twister Jar owners get a major advantage: its self-scraping lid eliminates stopping to stir. Standard blenders (like Ninja) need smaller 2-cup batches and strategic oil additions.
Blender-Specific Setup Checklist
- Vitamix: Load 4 cups cooled almonds minimum; keep tamper tool ready
- Blendtec Twister: Fill to 2-cup max line; rotate lid counterclockwise while blending
- Standard blenders: Never exceed 2 cups; add 1 tbsp oil before starting
- Food processors: Expect 15-20 minutes blending time (not recommended for creaminess)
Step-by-Step Blending: From Almonds to Creamy Butter in 5 Minutes
Start with cooled roasted almonds in your prepped blender—add ¼ cup neutral oil now only if making raw almond butter. Begin at low speed for 30 seconds to crush almonds into flour. Gradually increase to high speed while watching the transformation:
- 0-30 seconds: Whole almonds → fine, crumbly meal
- 30-90 seconds: Meal clumps into a solid, dough-like ball (don’t panic—this is normal)
- 90-180 seconds: Ball breaks down into thick, paste-like consistency
- 3-5 minutes: Paste thins into glossy, pourable butter
Tamper Techniques by Blender Type
- Vitamix: Continuously push almonds toward blades with tamper (won’t damage blades)
- Blendtec Twister: Rotate lid counterclockwise to self-scrape; no stops needed
- Other models: Pause every 30 seconds to scrape sides with spatula
Pro tip: If your blender stalls, add 1 tbsp oil and restart at low speed—never force it. Weak blenders may need 10+ minutes total with 2-minute cool-down breaks.
Fix Dry, Crumbly, or Separated Almond Butter Instantly
Texture issues account for 90% of failed batches—but every problem has a 30-second fix. Dry, crumbly butter means your almonds didn’t release enough oil, often from under-roasting or weak blending power. Immediately add 1 tablespoon neutral oil (coconut or avocado work best) and blend 30 seconds more. If separation occurs (oily layer on top), this is completely natural—stir vigorously before use or refrigerate to slow the process.
Emergency Troubleshooting Guide
- Overheating: Stop blending immediately; cool blender 2 minutes before resuming
- Rough texture: Continue blending—almonds release more oil with time (add oil if needed)
- Burnt taste: Discard batch; reduce roast time to 10 minutes next attempt
- Won’t blend: Reduce batch size by 25%—overfilling strains motors
10 Flavor Variations: Chocolate, Cinnamon Maple & More
Customize your butter after achieving smooth texture—adding extras too early disrupts emulsification. For cinnamon maple, blend in ½ tsp cinnamon + 1 tbsp maple syrup during the final 30 seconds. Chocolate lovers add 1-2 tbsp cocoa powder (plus 1 extra tbsp oil to prevent seizing). Keep savory versions simple: just ¼ tsp sea salt for classic flavor or a pinch of cayenne for spicy kick.
Creative Combos to Try
- Vanilla dream: ½ tsp pure extract + 1 tbsp honey
- Protein boost: 1 scoop unflavored protein powder (add 2 tbsp water)
- Mixed nut magic: Replace 30% almonds with cashews pre-roast
- Keto-friendly: Skip sweeteners; add MCT oil for creaminess
Store Almond Butter for 4 Weeks Without Spoilage
Refrigeration is non-negotiable for freshness. Transfer cooled butter to a clean mason jar (leave ½-inch headspace) and seal tightly. In the fridge, it lasts 1-4 weeks—natural oil separation slows when cold. For longer storage, freeze in 1-cup portions: thaw overnight in the fridge, then stir thoroughly. Never store at room temperature beyond 7 days, even in cool climates.
Freshness Warning Signs
- Spoiled: Sour smell, mold spots, or bitter taste (discard immediately)
- Separation: Normal oil layer on top (stir to recombine)
- Hardening: Refrigeration thickens butter—let sit 10 minutes at room temp before use
Save $10 per Jar: Homemade vs Store-Bought Cost Comparison
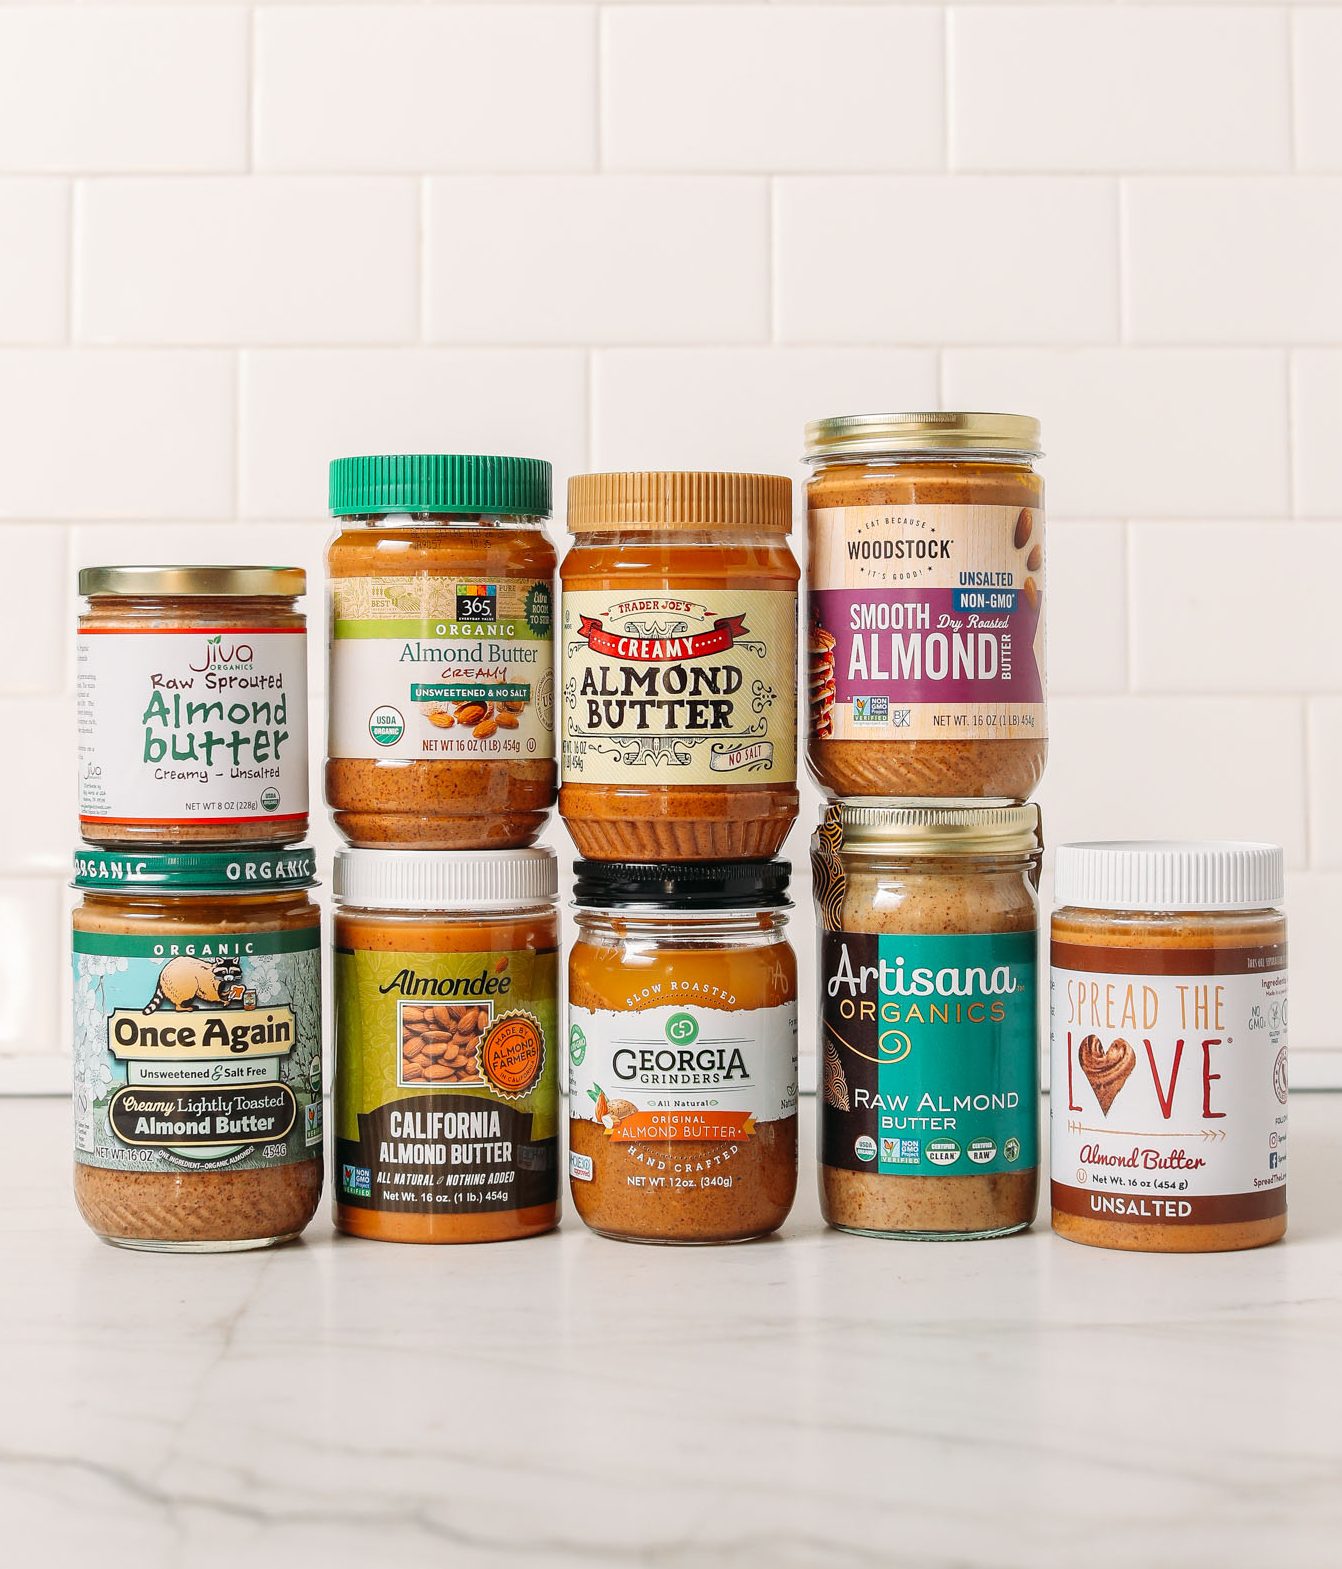
A 3-pound bag of raw almonds ($22) yields 3 pounds of butter—$7.33 per pound. Compare this to store prices: Trader Joe’s hits $7/lb (break-even), while premium brands like Barney Butter charge $17/lb. That’s 57% savings per jar. Factor in customization—adding $3 of vanilla or cocoa to your batch costs pennies per serving versus $10+ for flavored store versions.
When Homemade Wins Big
- You buy premium brands regularly
- You customize flavors (cinnamon, chocolate, etc.)
- You use >2 jars monthly (savings compound fast)
- You avoid palm oil and preservatives
7 Creative Ways to Use Almond Butter Beyond Toast
Ditch boring applications—this butter transforms meals. Swirl 2 tablespoons into morning oatmeal for protein-rich creaminess that beats powdered packets. Make energy balls by mixing ½ cup butter with 1 cup dates and rolled oats—no baking required. For savory twists, thin butter with lemon juice to create a creamy salad dressing or stir into Greek yogurt as a veggie dip.
Pro Chef Applications
- Baking secret: Replace 25% of butter in cookies with almond butter
- Smoothie booster: 1 tbsp adds healthy fats without overpowering flavor
- Pasta sauce enhancer: Whisk 2 tbsp into Alfredo for nutty depth
- Frozen treat: Freeze blended banana with 2 tbsp butter for “nice cream”
Pro Tips: Avoid Overheating and Achieve Perfect Consistency
Your blender’s lifespan depends on these techniques. Never exceed capacity limits—overfilling causes motor burnout. For Vitamix/Blendtec, process multiple batches back-to-back while the motor is warm (reduces total time). Achieve ultra-creamy texture by blending 5+ minutes; stop when butter coats the container sides smoothly. Want chunky style? Reserve ¼ cup chopped almonds and fold in during the last 15 seconds.
Critical Time-Savers
- Roast almonds while prepping your blender container
- Pre-measure add-ins in small bowls for instant flavoring
- Clean immediately with warm soapy water (run 30 seconds, then rinse)
- Use parchment paper under almonds to prevent baking sheet sticking
Quick Fixes for 5 Common Almond Butter Problems
| Problem | Instant Solution | Prevention Next Time |
|---|---|---|
| Dry, crumbly texture | Add 1 tbsp oil; blend 30 sec | Roast 2 mins longer; use fresher almonds |
| Blender overheating | Pause 2 minutes; reduce batch size | Blend in 90-sec intervals; never max capacity |
| Oil separation | Stir vigorously before use | Refrigerate immediately after cooling |
| Burnt flavor | Discard batch | Reduce roast time to 10 mins; stir more often |
| Won’t smooth out | Add oil; blend 2+ more minutes | Use high-powered blender; ensure full cool-down |
Making almond butter in a blender turns expensive store purchases into affordable, gourmet kitchen staples. You now have the exact steps to create creamy, customizable butter in under 20 minutes—no fancy equipment needed. Start with plain roasted almonds to master the base technique, then experiment with flavors like cinnamon-maple or chocolate. Remember the golden rules: cool almonds completely before blending, never skip the gradual speed increase, and refrigerate immediately after cooling. Your first batch will taste fresher and cost less than any store version, with the satisfaction of knowing exactly what’s in every spoonful. Grab raw almonds today—your wallet and taste buds will thank you.


