
Nothing beats the silky satisfaction of a perfectly blended smoothie—except maybe realizing you can whip one up in under three minutes with whatever’s in your freezer. Mastering how to make a smoothie in a blender transforms random ingredients into liquid gold, whether you’re battling morning brain fog or need a post-workout pick-me-up. This guide walks you through the exact steps, ratios, and pro tricks that turn your blender from countertop decoration into your most reliable kitchen ally. You’ll learn to avoid common pitfalls like watery textures or stubborn chunks, and create restaurant-quality results every time—no culinary degree required.
Choose Your Blender Type Wisely
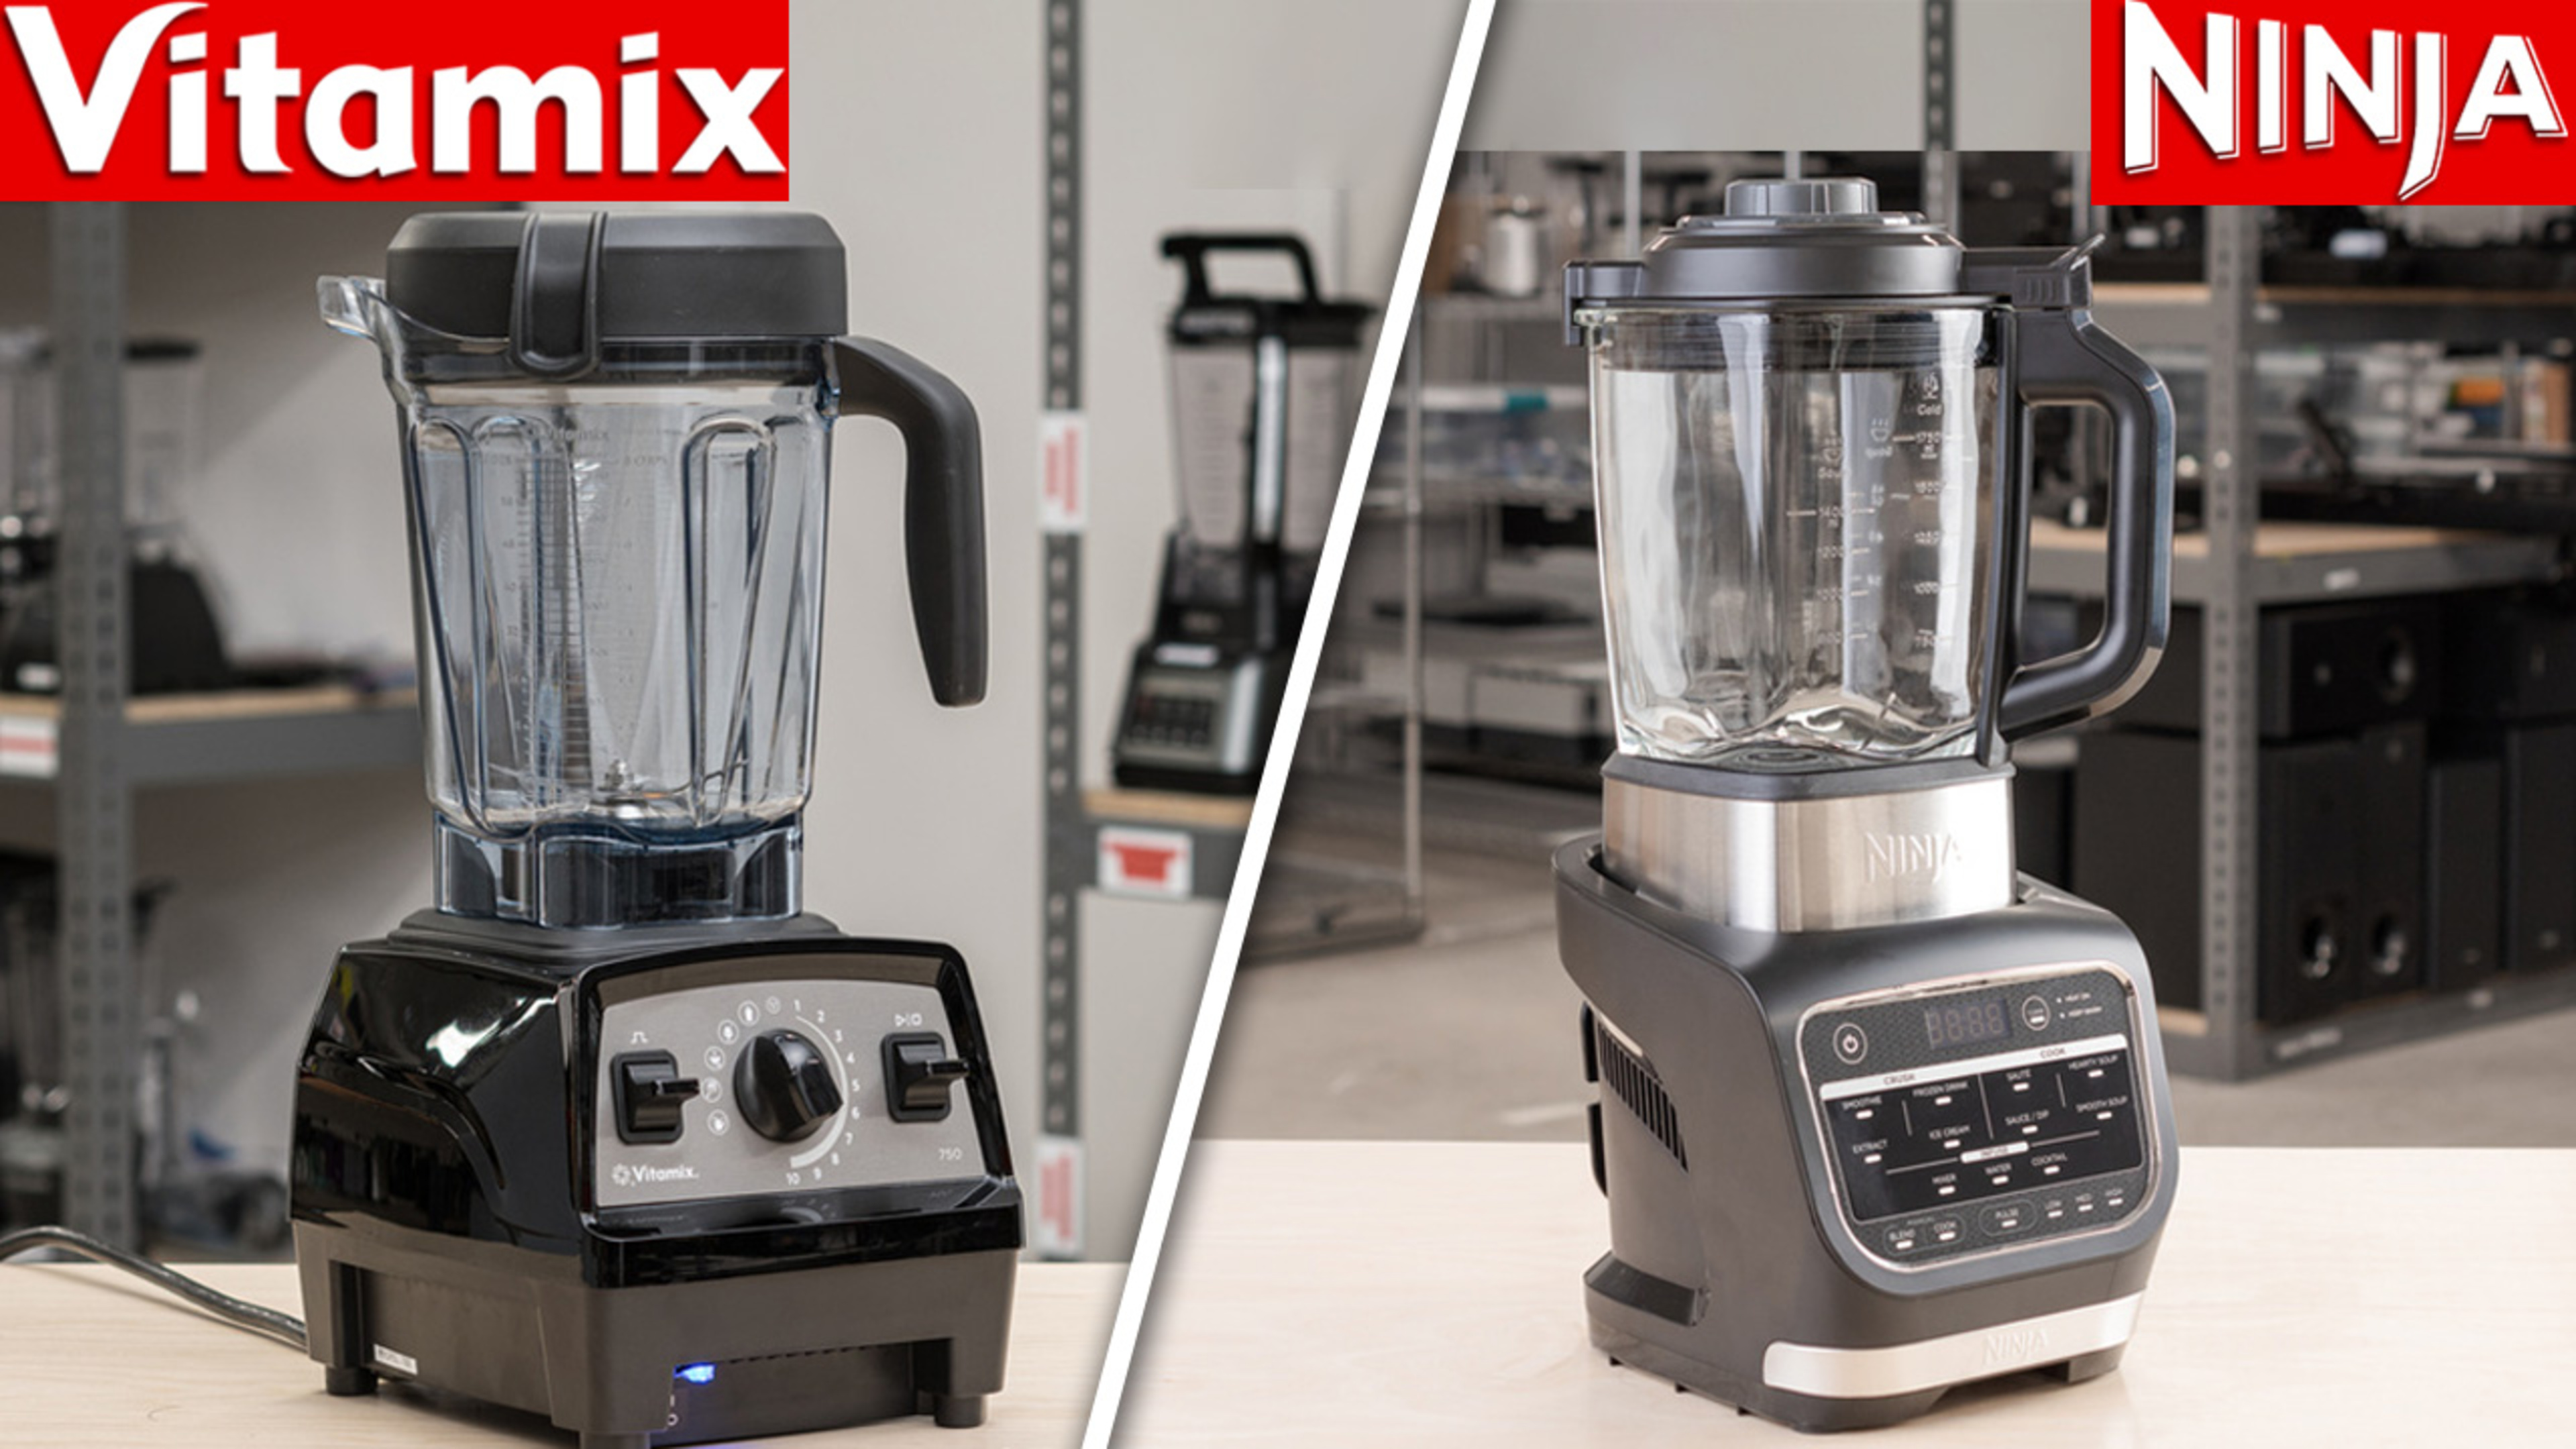
Your blender’s power level dictates whether you’ll get velvet-smooth results or end up picking kale bits from your teeth. High-powered machines like Vitamix or Ninja Professional pulverize frozen mango and fibrous greens into oblivion in under 60 seconds, while standard countertop blenders need strategic ingredient staging to prevent motor strain. Understanding your equipment prevents frustrating texture fails before you even start.
High-powered blenders (1,200+ watts) handle fully frozen fruit and leafy greens effortlessly. They create that coveted spoon-standing thickness for smoothie bowls without requiring pre-thawing—just load and blend. If yours came with a tamper tool, use it to push stubborn chunks toward the blades without stopping the motor.
Standard blenders (under 1,000 watts) demand smarter prep. Partially thaw frozen fruit for 5-7 minutes so the motor doesn’t stall, and always add liquids first to create a vortex. These workhorses deliver great results when you follow the correct ingredient layering sequence—never dump everything in at once.
Immersion blenders struggle with thick, frozen bases but shine for softer combinations. Use them only when your liquid ratio is high (at least 1 cup per serving) and frozen ingredients are minimal. Reserve these for yogurt-heavy bases or emergency smoothies when your main blender’s busy.
Avoid These Blender Nightmares
- Overloading your pitcher beyond ⅔ capacity causes uneven blending and leaks
- Adding ice cubes instead of frozen fruit waters down flavor and creates slushy texture
- Skipping liquid entirely leads to blade damage and frustrating chunks
Load Ingredients in the Perfect Sequence
Dumping everything randomly into your blender guarantees lumpy disaster. The magic happens through precise layering that creates a self-stirring vortex. Get this wrong, and you’ll spend minutes scraping sides or rebooting stalled motors. The correct order leverages physics to pull ingredients downward continuously.
Standard blender loading sequence:
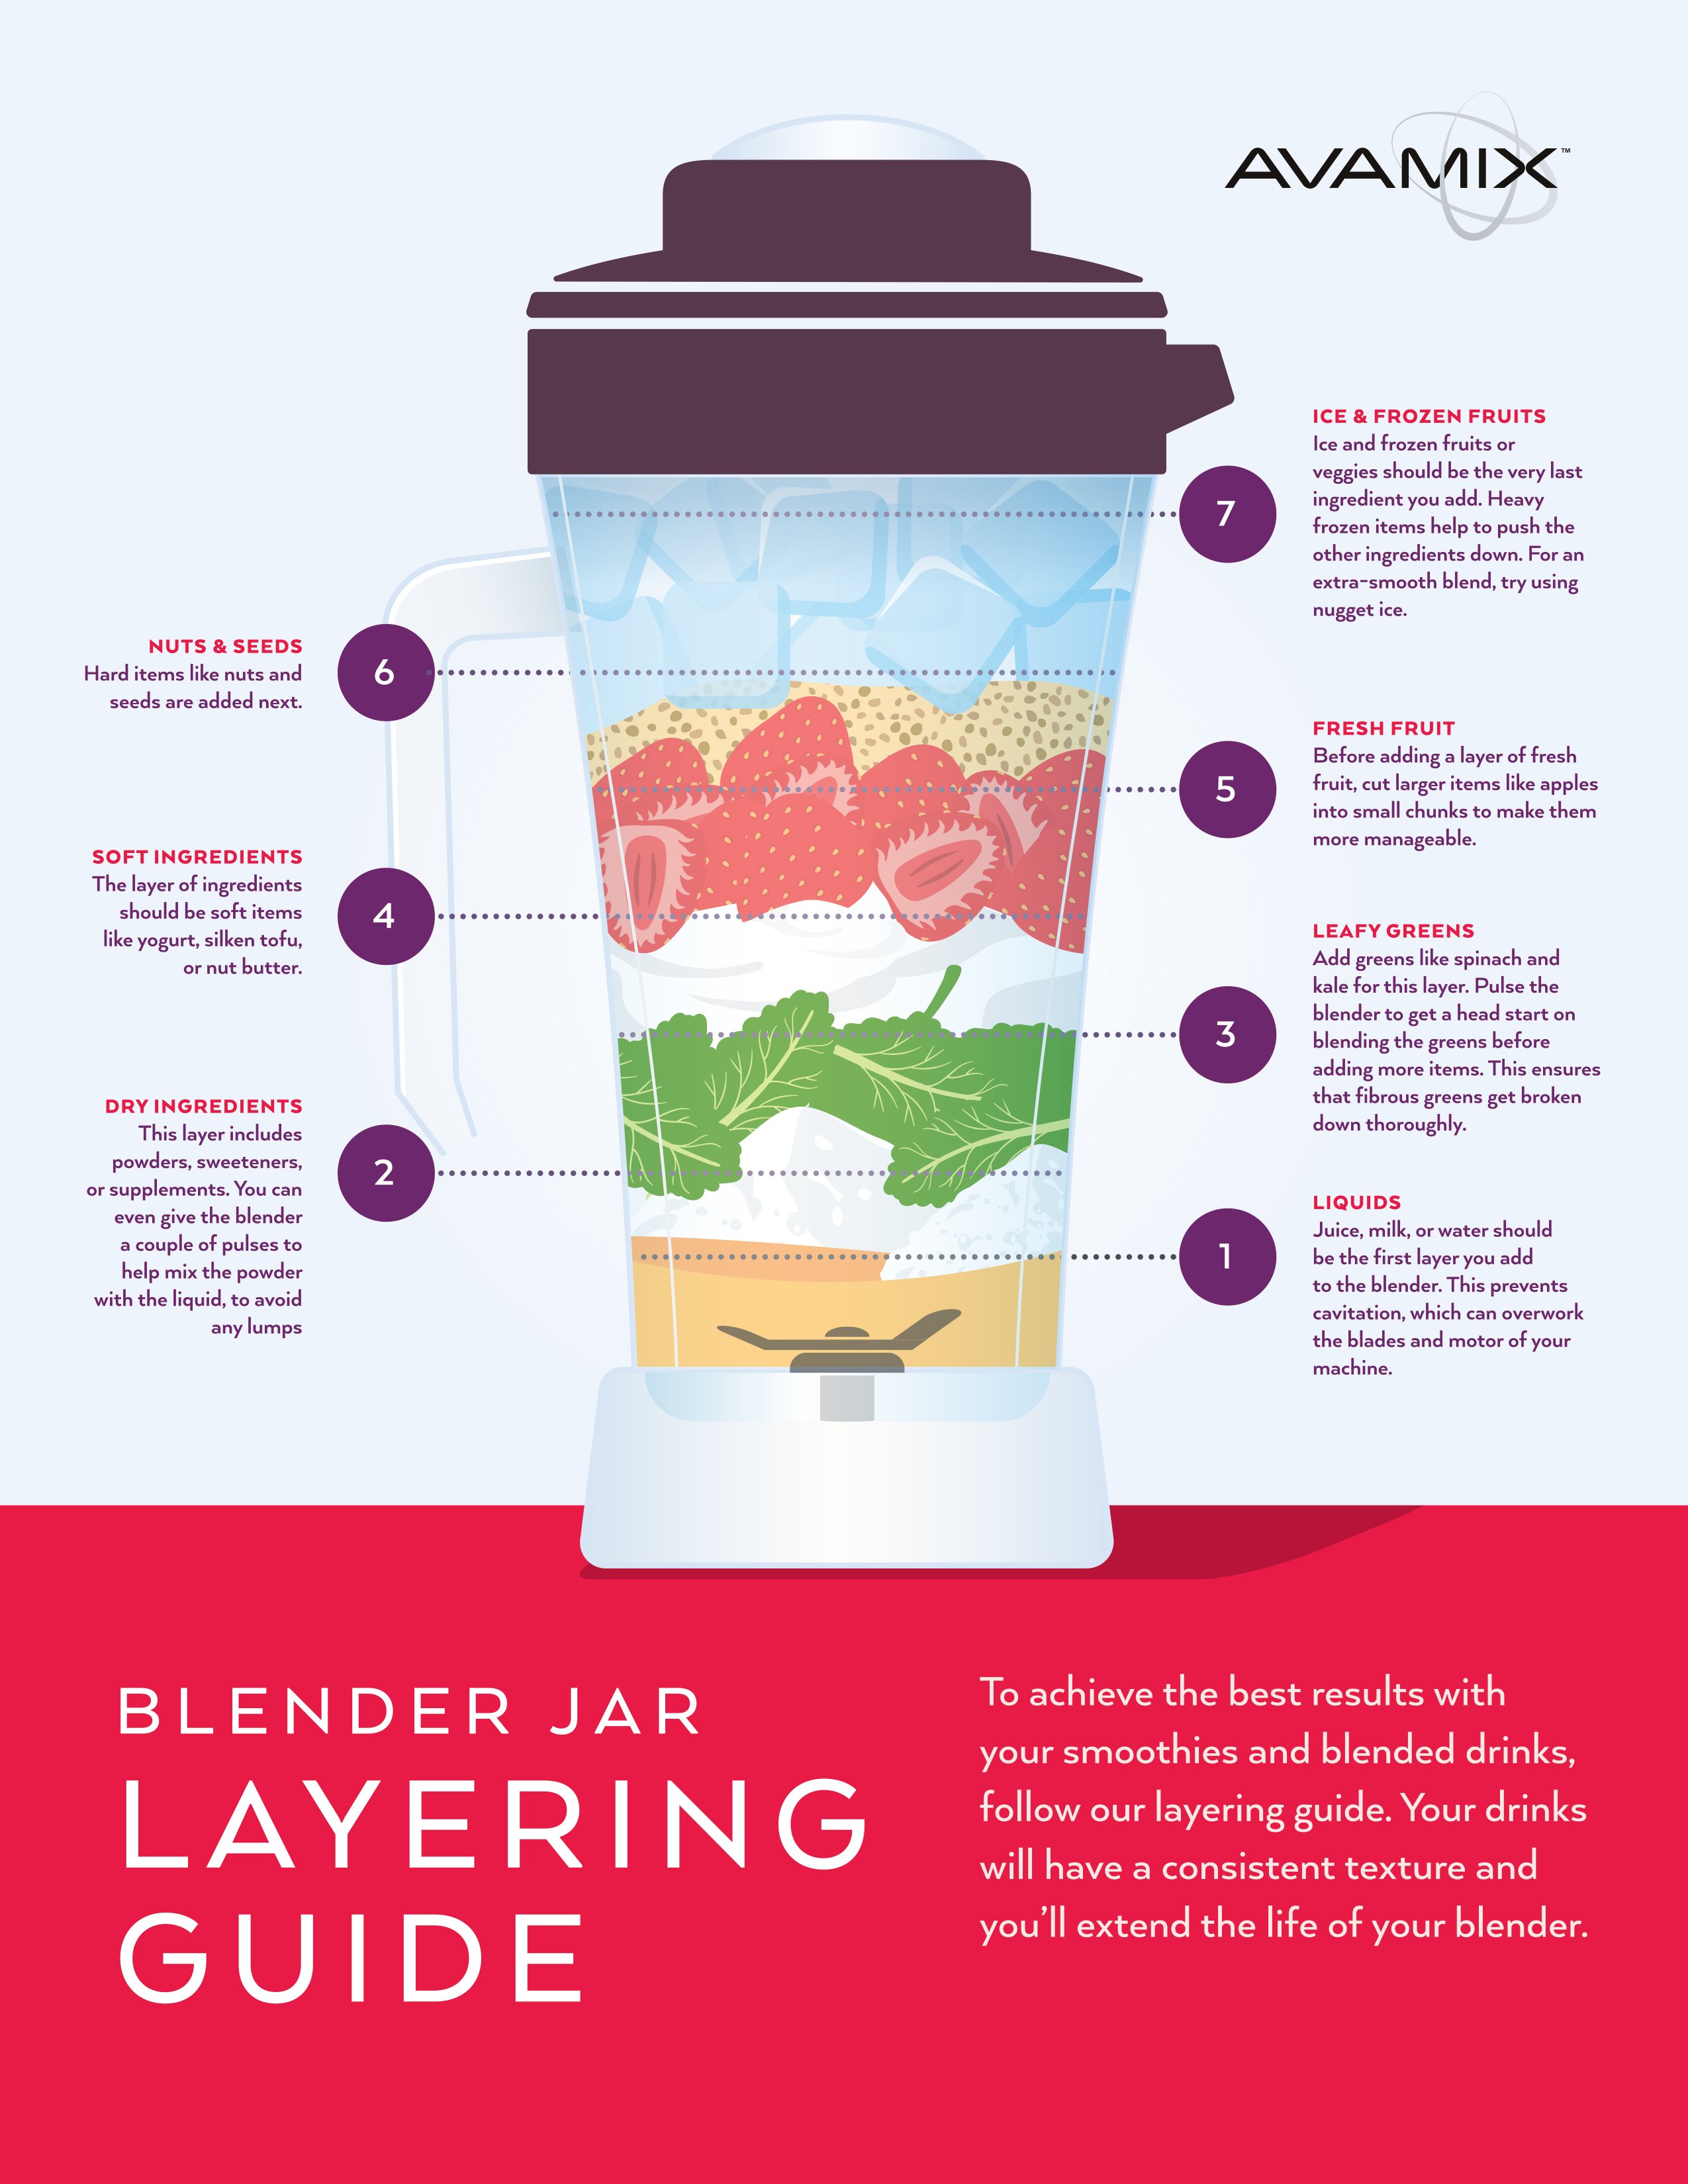
1. Pour liquids first (½–1¼ cups) to create the initial vortex—this lubricates the blade path
2. Add soft ingredients next like yogurt, fresh banana, or avocado to cushion frozen items
3. Place frozen solids on top (berries, mango chunks, spinach) so they fall into the vortex
4. Sprinkle powders last (protein, chia seeds) to prevent clumping against the blades
Personal blender exception (Nutribullet style): Reverse this order. Pack frozen items closest to the blade with liquids on top—otherwise, frozen chunks will float uselessly above the vortex.
Critical Loading Mistakes That Ruin Texture
- Putting frozen fruit directly on blades creates ice dams that stop rotation
- Adding sticky nut butter before liquids causes it to coat the pitcher walls
- Overpacking greens on top weighs down the vortex before blending starts
Fix Chunky or Watery Smoothies in 60 Seconds
That gritty texture or sad puddle at the bottom of your glass means one thing: ingredient ratios went off track. But don’t pour it out—most texture disasters have instant fixes. These field-tested adjustments rescue smoothies when your first blend misses the mark, saving precious morning minutes.
| Problem | Instant Fix |
|---|---|
| Too thin | Add ¼ cup frozen fruit or 1-2 Tbsp chia seeds; blend 15 seconds |
| Too thick | Splash in 2-3 Tbsp liquid; pulse 5 seconds until pourable |
| Too icy | Let sit 3 minutes to soften slightly; never add more ice |
| Leafy chunks | Blend 20 seconds longer with tamper; ensure greens weren’t layered on top |
Pro tip: For stubborn kale bits, add a splash of citrus juice (lemon or lime) before re-blending—the acid helps break down fibrous cell walls.
Create Spoonable Smoothie Bowls Without Fail
Transform your drinkable smoothie into an Instagram-worthy breakfast bowl with two critical tweaks. Standard smoothies become spoonable masterpieces when you slash liquid and maximize frozen ingredients—no special equipment needed. Get the ratio wrong, and you’ll either struggle to pour or end up with soup instead of soft-serve.
Exact bowl ratios for perfect thickness:
– Liquid: Only ¼–½ cup (use thick coconut milk or Greek yogurt instead of water)
– Frozen fruit/veg: 2–2½ cups (100% frozen—no fresh produce)
– Creaminess boost: Add ¼ cup avocado or ½ banana for structural integrity
Top like a pro: Layer toppings immediately after pouring into chilled bowls. Start with crunchy elements (granola clusters, cacao nibs), then fresh fruit slices, and finish with drizzles (almond butter, honey). Press toppings gently so they adhere to the thick base.
Bowl-Specific Blending Hack
Blend in two stages: First, combine ⅔ of ingredients until smooth. Pour into bowl, then pulse remaining ingredients with ½ cup extra frozen fruit for vibrant color contrast. This creates photogenic layers without complicated straining.
Prep Ingredients for 3-Minute Morning Magic
Wasting precious time chopping fruit or defrosting greens defeats the purpose of a quick smoothie. Strategic prepping turns your freezer into a smoothie command center where breakfast takes less time than brewing coffee. These methods eliminate morning decision fatigue while preserving peak nutrition.
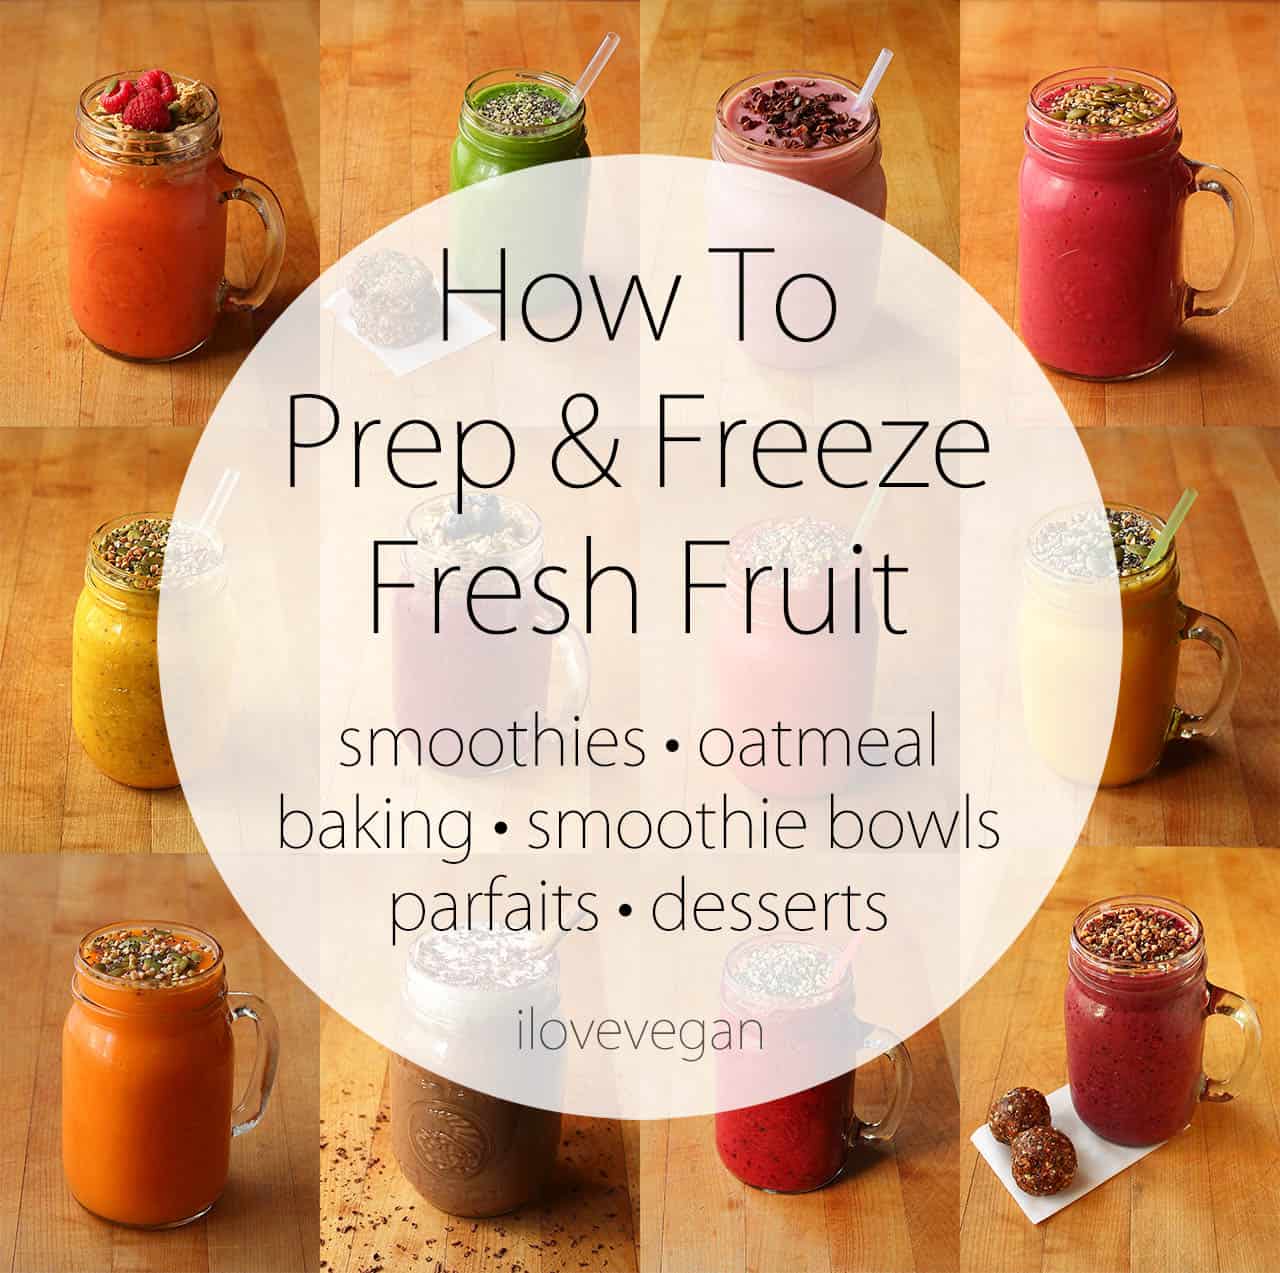
Banana freezing masterclass:
1. Wait until bananas develop brown spots (maximizes sweetness)
2. Peel and cut into 1-inch chunks
3. Flash-freeze on parchment-lined tray for 1 hour
4. Transfer to labeled freezer bags (use within 3 months)
Greens storage revolution: Buy spinach in bulk, blend with ¼ cup water until smooth, then freeze in ice cube trays. Pop out cubes and store in airtight containers—each cube equals one serving of greens.
Meal-prep assembly line: Pre-portion daily smoothie packs with:
– 1 cup frozen fruit
– 1 greens cube
– 1 Tbsp chia seeds
– ¼ cup Greek yogurt
Thaw bags for 30 minutes before blending for instant grab-and-go breakfasts.
Select Foolproof Ingredient Combos
Choosing incompatible ingredients creates flavor train wrecks (raw broccoli smoothies, anyone?). Stick to these scientifically tested pairings that balance sweetness, nutrients, and texture without requiring culinary expertise. Avoid the “kitchen sink” approach—limit to 5 core ingredients for clean flavor profiles.
Beginner-safe combos:
– Tropical recovery: 1 cup frozen mango + ½ banana + 1 cup coconut water + ¼ cup pineapple + spinach
– Berry protein punch: 1 cup mixed berries + ½ cup Greek yogurt + 1 Tbsp almond butter + 1 cup oat milk
– Green machine: 1 cup spinach cubes + ½ avocado + ½ green apple + 1 cup almond milk + lime juice
Never combine these:
– Raw cruciferous veggies (broccoli, Brussels sprouts) with citrus—they create sulfurous off-flavors
– Watermelon with dairy (causes separation)
– Pineapple with yogurt (accelerates souring)
Execute the 60-Second Blending Method
Most people blend too short or too long, creating either chunky disasters or oxidized, foam-filled slop. The sweet spot is precise timing with strategic speed changes. This industrial-tested sequence works for 95% of smoothie recipes across blender types—no guesswork required.
Perfect blending sequence:
1. Start on low (speed 1-2) for 5 seconds to pull ingredients down
2. Gradually increase to medium (speed 4-5) for 20 seconds
3. Ramp to high (speed 8-10) for 35 seconds until completely smooth
4. Use tamper (if available) during medium/high phases to push frozen chunks down
Critical stopping rule: Never run your blender continuously for more than 2 minutes. High-powered models need 60 seconds max; standard blenders require 90-120 seconds with one 10-second pause to scrape sides. Over-blending introduces air bubbles that separate ingredients.
Store Smoothies Without Nutrient Loss
Drinking yesterday’s smoothie shouldn’t mean sacrificing nutrition or texture. Proper storage preserves color, flavor, and vitamins for emergency breakfasts—but most people ruin leftovers through incorrect containers or reheating. Follow these pro protocols to make meal prep actually work.
Refrigeration rules:
– Fill glass jars to the very top to minimize oxygen exposure
– Press plastic wrap directly onto the smoothie surface before sealing
– Consume within 18 hours (not 24—vitamin C degrades rapidly)
– Always re-blend for 15 seconds before drinking to restore texture
Freezing mastery: Pour leftovers into popsicle molds for portable snacks, or freeze in 1-cup portions for future bases. Thaw frozen cubes for 5 minutes at room temperature before blending with fresh ingredients—never microwave.
Never do this: Store smoothies in metal containers (causes oxidation) or leave them at room temperature for more than 20 minutes (bacterial growth risk).
Mastering how to make a smoothie in a blender boils down to three non-negotiables: respect the liquid-to-frozen ratio, load ingredients in the correct sequence, and blend with precise timing. Forget complicated recipes—start with the core formula (½ cup liquid, 1½ cups frozen fruit, ¼ cup yogurt), then experiment with one new ingredient weekly. Within two weeks, you’ll develop the intuition to eyeball measurements and rescue texture disasters mid-blend. Your blender isn’t just an appliance—it’s your passport to effortless nutrition. Grab that pitcher, toss in last night’s overripe bananas, and create your first perfect smoothie before this sentence ends. The only thing better than drinking it? Knowing exactly why it turned out flawless.


