
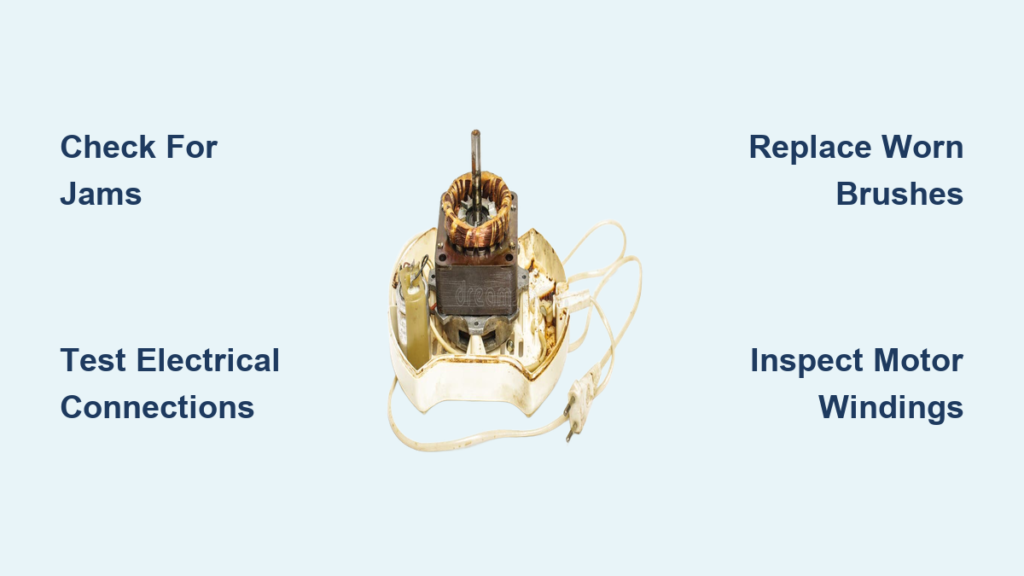
Nothing’s more frustrating than your juicer suddenly stopping mid-cycle, leaving you with half-processed produce and a humming motor that won’t spin. Before you replace your entire appliance, understanding how to fix juicer motor problems can save you both time and money. Many motor-related issues stem from simple, fixable causes like jammed components, worn brushes, or debris accumulation—problems you can resolve with basic tools and minimal technical experience. This comprehensive guide walks you through every step of diagnosing and repairing juicer motor issues, helping you restore your appliance’s performance and extend its lifespan without unnecessary expense.
Recognize Critical Juicer Motor Failure Symptoms
Your juicer communicates motor problems through specific symptoms that demand immediate attention. A healthy motor produces a consistent, smooth hum during operation, but when internal components begin failing, you’ll notice distinct changes in sound and behavior. Grinding, clicking, or high-pitched whining noises indicate worn bearings or loose internal parts. If your juicer suddenly stops mid-juicing when processing tougher ingredients like carrots or beets, this often signals an overloaded motor or failing thermal protection switch.
Pay special attention to these critical warning signs that require immediate action: intermittent operation where the motor runs briefly then stops, excessive heat radiating from the motor housing during normal use, a burning or scorching smell during operation, and visible smoke or sparks. These symptoms frequently indicate the motor is damaged beyond simple repair. Additionally, if your juicer runs but fails to achieve normal speed despite proper assembly, the motor may be losing torque due to brush wear or armature damage. Early recognition of these symptoms prevents further damage and helps you pinpoint the exact problem before attempting repairs.
Execute Essential Juicer Motor Repair Safety Measures

Working on any appliance with an electric motor requires strict safety protocols to prevent injury and additional damage. Always unplug your juicer completely from the wall outlet before beginning any disassembly or inspection—never attempt repairs while plugged in, even if turned off. Internal capacitors can store dangerous levels of electricity, so after unplugging, wait at least 15 minutes for any residual charge to dissipate, particularly for models with larger motors.
Work in a well-ventilated area with adequate lighting, and keep your workspace dry. Place the juicer on a stable, non-conductive surface like a wooden cutting board or rubber mat. Gather your essential tools before starting: a screwdriver set with Phillips and flathead options, needle-nose pliers, a multimeter for electrical testing, and clean cloths for cleaning. Keep a small container nearby for screws and parts to prevent loss during disassembly. If you discover burnt components, damaged wiring, or melted plastic during inspection, stop immediately and consult a professional rather than proceeding with repairs. Safety should always be your top priority when learning how to fix juicer motor issues.
How to Safely Access Internal Motor Components
Begin by removing all external juicing components according to your model’s instructions. Most juicers require you to remove the feeding tube, hopper, and juicing chamber before accessing the base. Take photos at each disassembly step to ensure proper reassembly. When removing the base cover, note how screws vary in length—many manufacturers use different sized screws at different locations. Carefully disconnect any internal wiring harnesses by pressing the release tab before pulling connectors apart. If your juicer has a safety interlock switch (prevents operation when disassembled), locate it and understand how it functions before proceeding. Always handle internal components gently to avoid creating additional problems while attempting to fix juicer motor issues.
Diagnose Mechanical Obstructions Causing Motor Problems
Before assuming motor failure, rule out mechanical obstructions—a leading cause of apparent motor problems. A jammed juicer head, stuck auger, or debris caught in the grinding mechanism creates excessive load that overwhelms healthy motors. Disconnect the juicer from power and disassemble the feeding tube, hopper, and juicing chamber. Inspect each component for visible obstructions: fruit pits, seeds, stringy vegetable fibers, or hardened pulp deposits that may have accumulated around the auger or shredding disc.
Remove any debris using a plastic spatula or soft brush—never use metal tools that could scratch the housing or damage seals. Check that all components rotate freely by hand after cleaning. The auger should spin smoothly without resistance, and the shredding disc should turn freely when you rotate it. If you feel binding, grinding, or resistance, continue investigating the specific component causing the obstruction. Sometimes the issue lies with a warped shredding disc or damaged bearing that requires replacement. After cleaning and reassembly, run the juicer briefly with only water to verify smooth operation before processing produce again.
Test Electrical Connections When Fixing Juicer Motor Issues
Electrical faults account for many juicer motor problems, and most stem from loose, corroded, or damaged connections rather than actual motor failure. Begin by inspecting the power cord for visible damage—frayed sections, exposed wires, or kinks that might indicate internal breaks. Gently flex the cord near the plug and where it enters the juicer body while testing continuity with your multimeter; intermittent readings suggest internal cord damage requiring replacement.
Next, examine the power switch by setting your multimeter to continuity mode and testing the switch terminals before and after pressing the control. A functioning switch registers continuity when engaged and no connection when released. Access the motor housing by removing the base cover and inspect the motor connections. Look for loose wire connectors, signs of burning or melting at terminal points, and corroded contact surfaces. Clean corroded contacts with electrical contact cleaner and a fine-grit sandpaper, then ensure all connectors are firmly reattached. If wires show signs of burning or melted insulation, this indicates overheating that likely damaged the motor windings, requiring professional assessment.
Replace Worn Motor Brushes in Your Juicer
In juicers with universal motors (common in most centrifugal and masticating models), carbon brushes deliver electrical current to the rotating armature. These brushes wear down over time and represent one of the most common and easily fixable motor problems. Signs of brush wear include reduced power and speed, sparking from the motor housing during operation, irregular motor operation, and a distinctive clicking or sputtering sound.
To inspect the brushes, access the motor typically located in the juicer’s base. Remove the base cover and locate the motor—it’s the cylindrical component with two small rectangular holders on opposite sides containing the brushes. Remove the brush holder caps (usually held by screws or snap-fit) and extract the brushes. Healthy brushes should have a rectangular contact surface that’s relatively flat with even wear. If the brushes are worn to less than a quarter inch in length, cracked, chipped, or have uneven wear patterns, they need replacement. Measure your existing brushes and purchase exact replacements. Install new brushes by sliding them into the holder channels with the spring facing outward, then replace the holder caps. Ensure the brushes move freely in their channels and the spring provides adequate pressure.
Evaluate Motor Windings and Armature Damage
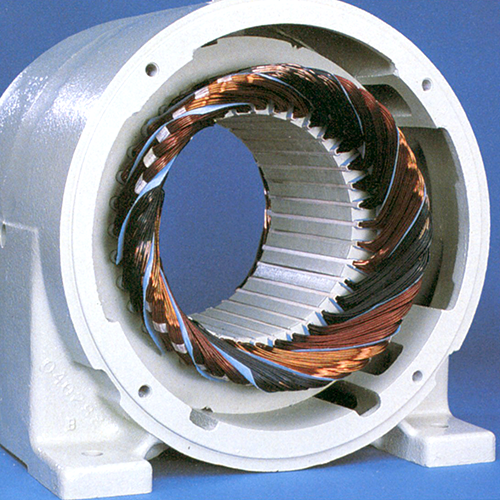
When brushes and connections check out but the motor still fails, internal winding or armature damage is likely the cause. Set your multimeter to resistance mode and test between the motor’s terminal wires. For most juicer motors, readings between 10 and 100 ohms indicate healthy windings. An “OL” (open loop) reading means broken windings requiring motor replacement, while readings near zero suggest shorted windings.
Inspect the armature—the rotating component—for visible damage. Look for dark discoloration indicating burnt windings, melted insulation, or physical damage to the commutator bars. The commutator should have a smooth, copper-colored surface with evenly spaced bars. Pitted, scored, or burnt commutator surfaces can often be cleaned with fine sandpaper, but severely damaged commutators require armature replacement. Additionally, check the bearings at each end of the motor shaft—they should spin freely without play or roughness. Worn bearings cause noise, vibration, and eventually motor failure, but replacing bearings is often more economical than replacing the entire motor when fixing juicer motor issues.
Implement Preventive Maintenance to Avoid Future Motor Failures
Extending your juicer’s motor life requires proper operation and regular maintenance. Always match your processing speed to the task—high-speed settings create more heat and stress during extended operation. For tough, fibrous produce like ginger or wheatgrass, use lower speeds and feed ingredients gradually rather than overloading the juicer in a single batch. Allow the motor to rest between extended juicing sessions; running continuously for more than a few minutes causes significant heat buildup that degrades motor components over time.
Clean your juicer thoroughly after each use, paying particular attention to areas where pulp can accumulate. A clean juicer runs more efficiently and produces less heat. Inspect the power cord regularly for damage, and replace the juicer if you notice any electrical issues rather than risking fire or shock hazards. Additionally, replace motor brushes according to your model’s maintenance schedule—typically annually for regular users—before they wear to the point of damaging the commutator. By treating your juicer with care and addressing minor issues before they escalate, you can enjoy years of reliable performance from your appliance and avoid frequent repairs when learning how to fix juicer motor problems.


