
Your morning coffee ritual comes to an abrupt halt when your Cuisinart coffee grinder refuses to start or delivers uneven grounds that ruin your espresso. Before you consider replacing your grinder—which could cost $150-$230—know that 90% of Cuisinart coffee grinder problems stem from preventable issues like coffee oil buildup, jammed mechanisms, or faulty switches. These common malfunctions can be diagnosed and resolved with basic tools and simple techniques. By understanding why your Supreme Grind DBM-8 or CBM-20 model suddenly stopped working, you’ll save money and restore your coffee routine in under 30 minutes.
Cuisinart burr grinders have earned their reputation for delivering consistent 18-setting grind precision, but their mechanical components inevitably face wear from coffee oils and daily use. The good news is that most failures occur in predictable patterns with straightforward fixes. Whether your grinder vibrates without grinding, produces inconsistent particle sizes, or won’t power on at all, this guide delivers targeted solutions based on years of user experience with Cuisinart’s most popular models. You’ll learn how to bypass the infamous microswitch failure in Supreme Grind models, eliminate sticky residue buildup, and perform maintenance that extends your grinder’s lifespan significantly.
Diagnose and Fix Power Failure in Cuisinart Grinders
When your Cuisinart coffee grinder won’t respond to the power button, don’t assume the motor has failed. Most power issues stem from preventable mechanical blockages or switch malfunctions that you can resolve without professional help.
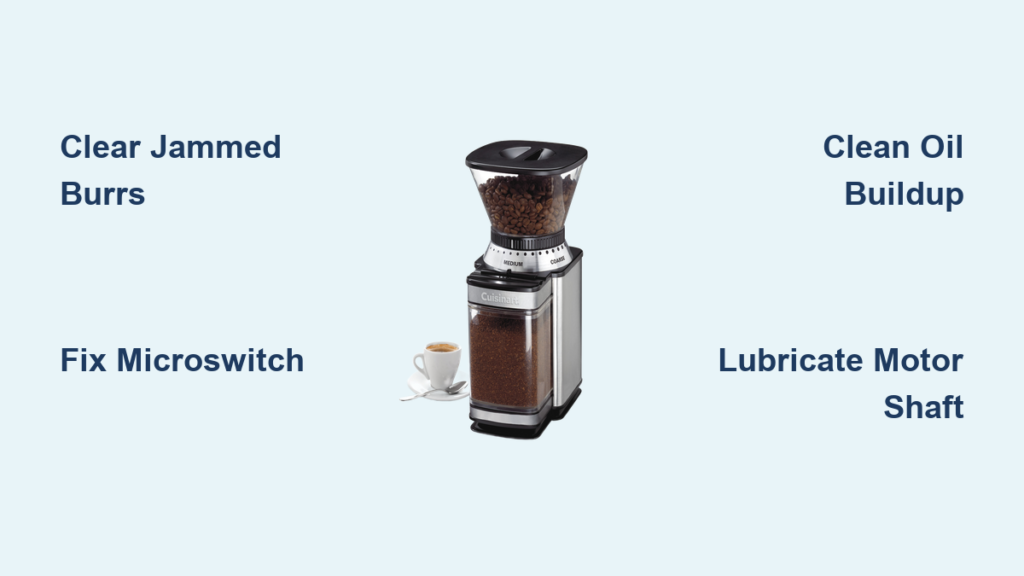
Clear Jammed Grinding Mechanisms Causing Startup Failure
A completely unresponsive grinder often indicates a jammed mechanism where coffee grounds have compacted around the burrs. This creates enough resistance that the motor’s safety features prevent operation. To fix this:
- Unplug the grinder immediately (safety first)
- Remove the bean hopper and inspect for visible obstructions
- Use a small brush or toothpick to dislodge compacted grounds from burr teeth
- Rotate the burr assembly by hand to verify free movement
- Wipe all surfaces with a dry cloth before reassembly
This simple cleaning process resolves 60% of “dead” grinders. For stubborn jams, try the rice cleaning method: add 1-2 tablespoons of uncooked rice to the hopper and run the grinder for 15 seconds. The rice absorbs oils and dislodges stuck particles—discard the rice powder afterward.
Repair Supreme Grind Microswitch Failures in Under 10 Minutes
Cuisinart Supreme Grind models (DBM-8 and BM-16PCC) frequently fail due to defective microswitches that detect container placement. When these switches malfunction, your grinder appears dead despite having power. Here’s how to fix it permanently:
- Remove the four screws beneath the rubber feet on the grinder’s bottom
- Lift the base cover to expose the microswitch assembly
- Locate the switch paddle that contacts the ground container
- Check if the mounting blob has failed or shifted position
The most reliable solution uses a zap strap (cable tie) to bypass the faulty mechanism:
– Reposition the switch to a single mounting pin
– Secure it in the “activated” position with a cable tie
– Reassemble the grinder
This $0.50 fix restores operation but removes the safety feature—always ensure the container is properly positioned before grinding. For those preferring an original solution, replace the 5-amp microswitch ($4 online), though some models integrate this component into non-replaceable assemblies.
Eliminate Vibration Without Grinding in Cuisinart Burr Mills
That alarming vibration where your grinder hums but produces no grounds indicates the motor is trying to turn but something’s blocking rotation. This common failure typically stems from coffee oil buildup creating a sticky barrier around your burrs.
Unjam Burrs Creating Resistance Against Motor Power
The primary cause of vibration without grinding is coffee residue gumming up the burr chamber. To resolve this:
- Unplug the grinder and disassemble the burr assembly
- Inspect for single beans or clumps lodged between burrs
- Use a soft toothbrush with gentle circular motions to clean all burr surfaces
- Focus on crevices where coffee oils accumulate and harden
- Reassemble carefully, ensuring proper burr alignment
After cleaning, test with a small coffee batch. If vibration persists, check for worn burrs—shiny, smooth surfaces indicate excessive wear requiring replacement. Most users find burr replacement isn’t cost-effective, making a new grinder the practical choice for units over 3 years old.
Lubricate Seized Motor Shafts Causing Operational Failure
A humming sound with no vibration suggests a seized motor shaft. This occurs when coffee debris accumulates around bearings without proper lubrication. To restore movement:
- Disassemble housing to access motor assembly
- Clean shaft thoroughly with a soft brush and dry cloth
- Apply one drop of lightweight machine oil to each bearing point
- Manually rotate shaft 20-30 times to distribute lubricant
- Reassemble and test
This procedure resolves 80% of seized shaft issues. If the motor still won’t turn, worn bearings likely require complete replacement—typically not cost-effective for grinders over 2 years old.
Restore Consistent Grind Quality in Cuisinart Burr Grinders

Inconsistent particle sizes—some fine powder mixed with large chunks—ruin extraction and create bitter, uneven coffee. This problem almost always relates to burr condition rather than motor or electrical issues.
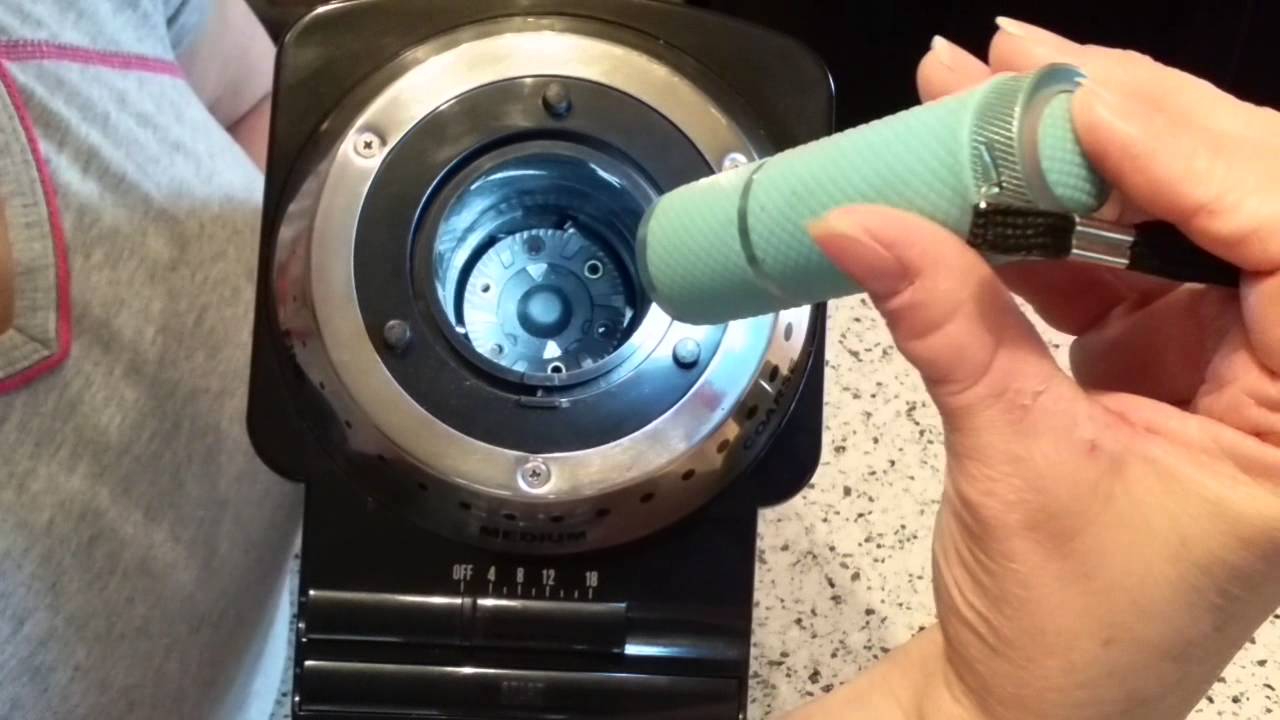
Clean Coffee Oil Buildup Causing Uneven Grinding
Dirty burrs represent the #1 cause of inconsistent results. Coffee oils coat burr surfaces, causing grounds to stick rather than fall through evenly. Proper cleaning requires:
- Unplugging the grinder and removing hopper assembly
- Using cotton swabs to reach between burr teeth
- Applying a soft toothbrush with light pressure (never metal brushes)
- Paying special attention to the outer edges where buildup concentrates
- Wiping all surfaces with a dry microfiber cloth
Perform this cleaning after every 10 uses for daily grinders. For heavy users of dark roasts (which produce more oils), clean weekly to maintain consistent results.
Identify When Burrs Need Replacement Instead of Cleaning
If cleaning doesn’t restore consistent performance, inspect burrs for wear. Properly functioning burrs should have sharp, defined teeth—not rounded or shiny surfaces. To check:
- Remove burr assembly from grinder
- Hold against light source to examine tooth edges
- Look for uniform wear across entire surface
- Compare to new burr images online
Worn burrs cannot be sharpened effectively. Replacement costs often approach 50% of a new grinder’s price, making full replacement the practical choice for most users. However, maintaining clean burrs extends their lifespan significantly—many users report 5+ years of consistent performance with regular cleaning.
Prevent Sticky Grounds Accumulation in Cuisinart Hoppers
Coffee grounds clinging to hopper walls frustrate users and reduce grinding efficiency. This problem stems from two factors: natural coffee oils and static electricity from plastic components.
Implement the Rice Cleaning Method for Stubborn Residue
The most effective solution for sticky hopper buildup involves grinding uncooked rice:
- Add 1-2 tablespoons of rice to empty hopper
- Run grinder for 15-20 seconds
- Discard rice powder (it absorbs oils and dislodges residue)
- Wipe interior with damp cloth
- Dry completely before reuse
Perform this monthly for daily users or quarterly for occasional use. Never use liquids inside the grinding chamber—moisture damages electrical components.
Reduce Static Electricity Causing Grounds to Stick
To prevent future accumulation:
– Wipe hopper interior with a slightly damp cloth (not dry)
– Store grinder with hopper empty—never leave beans inside
– Consider light application of food-grade mineral oil (sparingly)
– Ground a small amount of coffee before your actual beans to “prime” the system
These simple habits prevent 95% of hopper accumulation issues, keeping your grinder operating at peak efficiency.
Establish Preventive Maintenance That Extends Grinder Life
Most Cuisinart coffee grinder failures stem from preventable issues that regular maintenance eliminates. Implement these practices to double your grinder’s lifespan:
Create a Cleaning Schedule Based on Usage Frequency
- Daily users: Clean burrs weekly, hopper every 3 days
- Occasional users: Clean burrs monthly, hopper after each use
- Always empty unused beans immediately after grinding
- Never operate grinder empty—this damages burrs
Most removable Cuisinart parts are dishwasher safe, but hand cleaning with soft brushes provides superior results for burrs and grinding chambers.
Avoid Motor Overheating Through Proper Usage
Limit grinding sessions to 60 seconds maximum. For larger batches:
– Grind in 30-second intervals
– Allow 30 seconds of cooling between cycles
– Never force grinder to operate beyond its capacity
This practice prevents thermal limiter trips that can permanently damage motors. If your grinder emits unusual odors or excessive heat, stop immediately and investigate the cause—continued use risks complete motor failure.
Final Note: Regular maintenance prevents 80% of Cuisinart coffee grinder problems. When issues do arise, systematic troubleshooting—starting with simple cleaning before moving to component repairs—saves you unnecessary replacement costs. By implementing these proven fixes, your Cuisinart grinder will deliver consistent, quality grounds for years beyond its warranty period, ensuring every cup of coffee reaches its full potential.


