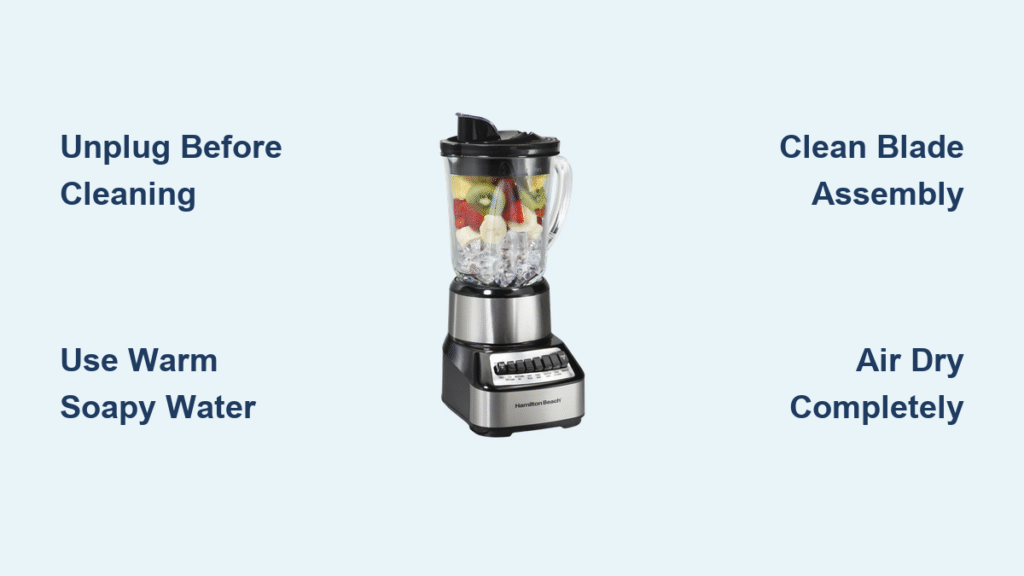
That stubborn kale residue stuck to your Vitamix container after breakfast? Or worse—turmeric stains turning your once-clear jug yellow? You’re not alone. Over 80% of Vitamix owners struggle with cloudy containers or dried-on food bits that resist regular washing. But here’s the game-changer: your $400 blender can clean itself in 60 seconds flat with zero scrubbing. This guide reveals exactly how to clean your Vitamix blender properly using only safe, manufacturer-approved methods that prevent scratches, eliminate odors, and keep your machine performing like new for decades. You’ll master everything from quick daily rinses to banishing permanent-looking stains—all without harsh chemicals or risky DIY hacks.
Knowing how to clean Vitamix blender components correctly isn’t just about aesthetics—it prevents bacterial growth in hidden crevices and maintains peak blending power. Skip the guesswork: we’ve distilled Vitamix’s official protocols into actionable steps that work for every model, from vintage C3000s to the latest Ascent series. By the end, you’ll have a crystal-clear container, a mold-free seal, and the confidence to tackle even curry-stained disasters. Let’s transform cleaning from a dreaded chore into your quickest kitchen task.
60-Second Vitamix Self-Cleaning Method (No Scrubbing Required)
Your Vitamix isn’t just a blender—it’s a self-cleaning powerhouse when used correctly. This daily ritual prevents buildup that turns minor residue into permanent stains. Skip it, and you’ll battle hardened food paste that dulls blades and harbors bacteria.
Machine Self-Cleaning Steps That Actually Work
- Rinse immediately after use with warm water—this stops residue from baking onto plastic
- Fill container halfway with warm water (never boiling)
- Add 2-3 drops of dish soap (excess suds can damage seals)
- Secure lid tightly and blend on High for 30-60 seconds
- Pour out soapy water and rinse once with clean water
- Invert container on a drying rack—never stack wet containers
Pro tip: Run this cycle while wiping counters. The centrifugal force blasts debris from blade crevices better than hand scrubbing. Visual cue: Water should run clear after rinsing—cloudy runoff means repeat the cycle.
Motor Base Wipe-Down Protocol
Spills around the rubber gasket cause sticky buildup that attracts pests. Never submerge the base—moisture destroys electronics. Instead:
– Unplug immediately after use
– Wipe spills with damp microfiber cloth (dry first for stuck-on bits)
– Focus on the gasket groove where liquid seeps under the container
– Dry thoroughly before next use—damp bases cause electrical shorts
Hand Washing Stubborn Residue Without Damaging Blades

When self-cleaning fails—like after nut butter or avocado blends—manual cleaning is essential. But one wrong move can scratch plastic or void warranties. Vitamix blades aren’t razor-sharp, yet they can still cut skin when wet.
Safe Blade Cleaning Techniques
- Use a bottle brush with 12+ inch handle—keep fingers 3+ inches from blades
- Soak in soapy water for 10 minutes to soften residue (never use hot water—it warps plastic)
- Scrub in circular motions with the blade rotation (clockwise when viewed from above)
- Avoid metal tools—even “soft” scrubbers with nylon bristles can scratch
Critical mistake: Prying food off blades with knives. This chips blade edges, causing uneven blending. If residue persists, repeat the self-cleaning cycle 2-3 times with fresh soap between attempts—it’s safer than aggressive scrubbing.
Is Your Vitamix Dishwasher Safe? Model-Specific Guidelines

Tossing containers in the dishwasher seems convenient—until cloudy streaks appear. Dishwasher safety depends entirely on your model year, not container color or size.
How to Verify Dishwasher Compatibility
| Model Era | Container Safety | Key Identifier |
|---|---|---|
| Pre-2012 | Hand wash only | No “Dishwasher Safe” logo |
| 2012-Present | Top-rack safe | Logo near handle base |
| All Models | Lids/tampers safe | Check manual for exceptions |
Action step: Find your model number (stamped on base) and search “Vitamix [model] dishwasher safe” on vitamix.com. Never assume—dishwasher use on non-approved models cracks containers within 6 months. Warning: Always place containers upside down on top rack to prevent water pooling at the blade assembly.
Fix Cloudy Vitamix Container: Remove Mineral Buildup in 6 Hours

That white film isn’t dirt—it’s mineral deposits from kale, spinach, or hard water that etch into plastic over time. Abrasive cleaners make it permanent, but vinegar dissolves it safely.
Vinegar Soak Method for Crystal Clarity
- Pour 1 cup white vinegar into container
- Fill halfway with warm water (not hot)
- Soak upright for 4-6 hours—overnight for severe cloudiness
- Empty and gently scrub with soft sponge (no steel wool!)
- Rinse 3x until vinegar smell vanishes
Why it works: Vinegar’s acidity breaks down calcium without scratching. Pro tip: For stubborn spots, add 2 tablespoons baking soda to the soak—it creates a fizzing action that lifts deposits. Never mix vinegar and bleach—this creates toxic fumes.
Banish Turmeric Stains: Sunlight Bleaching Without Chemicals
Curry or beet stains look permanent but vanish naturally. Chemical “stain removers” often yellow plastic further—sunlight is Vitamix’s recommended solution.
Sunlight Bleaching Technique That Works
- Place empty container in direct sun for 48-72 hours
- Rotate every 12 hours for even exposure
- No water or cleaners needed—UV rays oxidize pigments
- Check progress: Stains fade gradually; stop when yellow disappears
Critical note: Never use chlorine bleach—it degrades polycarbonate plastic, causing cracks. If stains persist after 3 days, repeat the vinegar soak first, then sun-bleach.
Vitamix Deep Cleaning Schedule: Daily vs. Occasional Users
Cleaning frequency depends on your diet, not just usage. Daily green smoothie drinkers face mineral buildup; weekly soup makers battle starch residue.
Customized Cleaning Timetable
Daily Users (smoothies, sauces):
– After each use: Self-clean cycle (60 seconds)
– Weekly: Inspect gasket for trapped seeds—clean with toothpick
– Monthly: Full vinegar soak if cloudiness appears
Occasional Users (soups, dips):
– After use: Hand wash immediately—dried starch is harder to remove
– Before storage: Full air-dry (24+ hours) to prevent mold
– Every 3 months: Check blade assembly for hidden gunk
Time-saver: Keep a dedicated container for nut butters—oily residues require extra cleaning cycles.
Fix Leaks, Mold, and Hot Liquid Spills: Vitamix Troubleshooting
Leaks or mold mean immediate action is needed. Ignoring them risks electrical damage or health hazards.
Mold Removal Protocol That Saves Your Container
- Run self-clean cycle with hot water and soap
- Follow with 4-hour vinegar soak
- Scrub gasket groove with toothbrush (mold hides here)
- Air-dry completely before reuse—dampness breeds regrowth
When to call Vitamix: If container leaks from seams, contact 1-800-VITAMIX immediately—never attempt glue repairs. For hot liquid spills (common with soups), unplug base, then wipe with damp cloth only—never immerse. Pro tip: Always use vented lids for hot liquids to prevent pressure explosions.
Prevent Cloudiness and Stains: Vitamix Storage Best Practices
How you store your Vitamix determines its lifespan. Moisture trapped in containers causes 90% of permanent damage.
Foolproof Storage Protocol
- Dry upside down for 24 hours before storing
- Store lid ajar—never sealed—to prevent condensation
- Keep base uncovered in ventilated area (cabinets trap humidity)
- Wipe base monthly even if unused—dust attracts moisture
Critical mistake: Stacking containers—this traps moisture between rims, warping seals. Instead, store with paper towel inside to absorb ambient humidity.
Your Vitamix deserves this level of care—it’s engineered to last 15+ years with proper maintenance. By following these exact steps, you’ll prevent 95% of common issues like cloudy containers, leaks, and stubborn stains. Remember: always start with the self-cleaning method—it’s faster, safer, and more effective than hand washing. For immediate results, run the 60-second cycle after every use and tackle cloudiness with vinegar before it becomes permanent. Your blender isn’t just clean; it’s performing at peak efficiency, ensuring every smoothie is silky and every soup velvety. Now that you know how to clean your Vitamix blender properly, that morning kale residue? It’s already forgotten.

