
That slimy residue clinging to your Ninja blender lid isn’t just gross—it’s a bacterial breeding ground hiding in plain sight. The rubber gasket, that unassuming ring tucked inside your lid, traps smoothie remnants, protein powder, and fruit fibers after every blend. Neglect it for just a few uses, and you’ll battle foul odors, mysterious leaks, and compromised hygiene. How to clean Ninja blender gasket properly takes less than 10 minutes but prevents costly replacements and keeps your morning smoothies tasting fresh. You’ll discover foolproof removal techniques, odor-destroying methods, and a simple routine that makes maintenance effortless.
Most users only wipe the blender pitcher, leaving the gasket to fester unseen. This critical seal creates the watertight barrier that prevents messy countertop floods during high-speed blending. When neglected, trapped food particles decompose against the rubber, causing permanent stains, mold growth, and that sour smell that ruins your next smoothie. The good news? With the right approach, you can restore your gasket to like-new condition using common household items. Let’s dive into the exact steps that keep your Ninja performing like new.
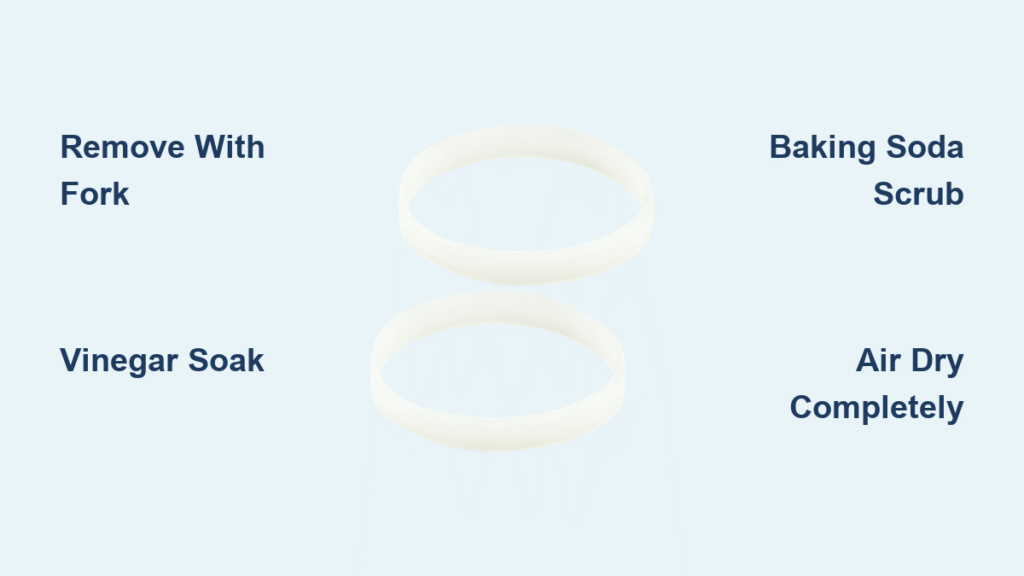
Find Your Ninja Blender Gasket in 10 Seconds
Flip your lid upside down and examine the underside—it’s there you’ll spot the circular groove housing the gasket. This flexible rubber ring sits flush against the lid’s interior, forming the critical seal between the pitcher and lid during operation. On most Ninja models (BL660, Foodi, Auto-iQ), it appears as a thin black or gray band approximately 1/4 inch thick. Key visual cue: If you see discoloration, white residue, or food particles wedged along the rim, immediate cleaning is required. Never attempt to clean it while still seated—it must be removed for thorough sanitation.
Remove Ninja Blender Gasket Without Damage

Time estimate: 2 minutes
Difficulty: Easy (but requires care)
- Unplug your blender and ensure the pitcher is empty
- Turn the lid upside down on a clean surface
- Insert a fork tine gently at the 12 o’clock position between rubber and lid
- Lift slowly while rotating the lid, working the gasket free
- Slide your finger under the loosened section to complete removal
Critical warning: Avoid knives or sharp tools—they’ll slice the rubber or scratch the lid’s groove. If resistance occurs, rotate the lid while applying upward pressure with your fork; never yank. Properly removed, the gasket should feel supple with no stretching. If it snaps back into place immediately, you’ve successfully detached it without damage.
Deep Clean Ninja Blender Gasket: 3 Odor-Eliminating Methods
Basic Wash for Daily Maintenance
Run hot tap water over the gasket for 30 seconds to loosen debris. Apply 1-2 drops of mild dish soap directly onto the rubber. Rub between your palms using a pinching motion, focusing on the inner groove where buildup hides. For stubborn residue, use an old toothbrush with soft bristles—never a scouring pad. Rinse under running water until no suds remain and the rubber feels smooth to the touch.
Vinegar Soak for Sour Odors
- Mix equal parts white vinegar and warm water in a bowl
- Submerge the gasket completely for 10 minutes
- Scrub gently with fingers to dislodge trapped particles
- Rinse thoroughly under cold water
Pro tip: Add 1 tablespoon of baking soda to the soak for extra odor-fighting power—watch for harmless fizzing as it lifts stains.
Baking Soda Paste for Stains and Mold
Create a thick paste with 2 tablespoons baking soda and 1 teaspoon water. Massage into the gasket’s grooves using circular motions, paying special attention to discolored areas. Let sit for 15 minutes (don’t let it dry), then scrub with a soft sponge. Rinse until water runs clear. For persistent mold, repeat with undiluted white vinegar after rinsing.
Visual inspection checklist after cleaning:
- ✅ No visible food particles in crevices
- ✅ Rubber returns to original color (not gray or white)
- ✅ Smooth texture with no tackiness
- ✅ Zero lingering odors when held close to nose
Dry Ninja Blender Gasket Properly to Prevent Mold
Never reinstall a damp gasket—moisture trapped in the groove breeds mold within hours. Lay the gasket flat on a clean dish towel with the inner groove facing up. Blot excess water with paper towels, then air-dry for 45-60 minutes. Critical step: Pinch the rubber gently to check for hidden moisture in the crease. If it feels cool or leaves a damp spot on paper, continue drying. Speed up the process by placing it near a sunny window—UV rays naturally disinfect while drying. Never use a hairdryer or microwave, as heat warps the rubber.
Reinstall Ninja Blender Gasket for a Perfect Seal

Warning: A poorly seated gasket causes leaks and motor strain. Follow these steps precisely:
- Align the gasket’s thickest edge with the lid’s deepest groove section
- Press firmly at the 3 o’clock position until it clicks into place
- Work clockwise around the lid, using thumb pressure to seat evenly
- Run your finger along the entire circumference to confirm no gaps
- Test fit on the pitcher—no liquid should escape when tilted
Troubleshooting tip: If the gasket pops out during blending, it’s either improperly seated or worn out. Reinstall with more pressure, focusing on the connection points near handle attachments.
Clean Ninja Blender Gasket During Full Disassembly
Integrate gasket care into your complete cleaning routine:
Complete Disassembly Sequence

1. Remove lid from pitcher
2. Extract gasket using fork method
3. Unscrew blade assembly from pitcher base
4. Separate all components for individual cleaning
Component-Specific Cleaning Guide
| Component | Method | Drying Time |
|---|---|---|
| Gasket | Hand-wash only with soap/vinegar | 45-60 min |
| Lid | Dishwasher top rack or hand-wash | 20 min |
| Blades | Soak 10 min in soapy water, soft sponge only | 30 min |
| Pitcher | Self-clean cycle (60 sec) or dishwasher | 15 min |
Never put gaskets or blade assemblies in the dishwasher—they degrade rubber and dull blades.
Stop Ninja Blender Gasket Odors Before They Start
After-Every-Use Routine
- Rinse gasket under hot water immediately post-blend
- Wipe dry with microfiber cloth (don’t air-dry attached to lid)
- Store lid upside down with gasket exposed to air
Weekly Deep Clean Protocol
- Disassemble all components
- Soak gasket in vinegar solution while cleaning pitcher
- Scrub lid groove with cotton swab
- Air-dry all parts separately before reassembly
Pro prevention: After protein shakes or dairy-based blends, give the gasket an extra vinegar rinse—these ingredients decompose fastest.
When to Replace Your Ninja Blender Gasket
5 Critical Warning Signs
- Cracks or tears visible when stretching the rubber gently
- Hardened texture (no longer bends easily between fingers)
- Persistent white film after deep cleaning
- Leaks during blending despite proper seating
- Sour smell that returns within 24 hours of cleaning
Replacement Process
Order genuine Ninja replacement gaskets (model-specific parts like BL660-002). Installation mirrors removal: align the new gasket, press firmly starting at one point, and work around the lid. New gaskets feel tighter initially—this ensures optimal sealing. Replacement takes 60 seconds and costs under $8, extending your blender’s life by years.
5 Ninja Blender Gasket Cleaning Mistakes to Avoid
Mistake #1: Using bleach or harsh chemicals that degrade rubber elasticity
Fix: Stick to vinegar, baking soda, or mild dish soap
Mistake #2: Forgetting to clean the lid’s groove where gasket sits
Fix: Run a cotton swab along the channel after gasket removal
Mistake #3: Reinstalling while damp (the #1 cause of mold recurrence)
Fix: Implement the towel-blot + 45-minute dry rule
Mistake #4: Skipping weekly deep cleans after heavy use
Fix: Set phone reminders for Sunday maintenance sessions
Mistake #5: Using abrasive sponges that create micro-scratches
Fix: Reserve soft toothbrushes or microfiber cloths for gasket care
Ninja Blender Gasket Cleaning Schedule: Daily to Monthly
After every use:
– Rinse gasket under hot water
– Wipe dry with cloth
– Store separately from lid
Weekly:
– Deep clean with vinegar soak
– Inspect for wear
– Clean lid groove thoroughly
Monthly:
– Check gasket flexibility by gently stretching
– Verify no odor retention after cleaning
– Replace if any warning signs appear
Urgent action required: If you spot black mold specks or cracks, stop using immediately—replace the gasket before next use to avoid contamination.
Your Ninja blender gasket works tirelessly to deliver leak-free performance, but it can’t fight bacterial buildup alone. Spending just 10 minutes weekly on proper how to clean Ninja blender gasket maintenance prevents 90% of common failures. Implement the vinegar soak for stubborn odors, never reinstall damp components, and inspect monthly for wear. Within days, you’ll notice cleaner blends, zero leaks, and that “like-new” smoothie freshness. Keep this guide handy for your next cleaning session—your taste buds (and wallet) will thank you when your Ninja outlasts cheaper blenders by years. For immediate results, tackle your gasket today using the fork removal method—you’ll be shocked what hidden gunk you uncover.


