
If you’ve ever tried juicing celery, you know the aftermath all too well: that stubborn, stringy green mess woven through your juicer’s filter like microscopic fishing line. Unlike softer produce, celery leaves behind a uniquely persistent residue that bonds to surfaces within minutes, turning what should be a quick cleanup into a frustrating battle with dried fibres. The good news is that with the right approach to how to clean celery residue from juicer components, you can transform this dreaded chore into a five-minute routine. This guide reveals proven techniques for immediate cleaning, deep cleaning neglected buildup, and preventing future messes—saving you time while extending your juicer’s lifespan.
Why Standard Cleaning Fails Against Celery Fibres
Celery creates cleaning nightmares because of its unique composition. The stalks contain lignin-rich fibres that remain intact even under high juicing pressure, forming long strands that tangle around filter screens and wedge into microscopic gaps. Unlike fruit pulp that rinses away easily, these fibres accumulate and dry quickly into concrete-like deposits. Adding to the challenge, celery contains silica compounds that act as tiny abrasives when mixed with juice, creating a paste-like residue that adheres strongly to plastic and metal surfaces. When this residue dries, it becomes significantly harder to remove—making immediate action essential for effective cleaning.
The Critical First Five Minutes After Juicing
Your best defense against stubborn celery residue is cleaning while components are still damp. Within five minutes of finishing your juice, the fibres remain soluble and haven’t bonded to surfaces. Start by disassembling your juicer immediately—most models feature quick-release mechanisms that let you remove the hopper, filter basket, blade assembly, and collection container within seconds.
Take each component to your sink and run warm (not hot) water through them in the opposite direction of juicing rotation. For centrifugal juicers, flush water downward through the filter basket from outside inward. For masticating models, run water through the feed chute in the juice flow direction. Use your fingers or a soft brush to gently dislodge visible fibres, working from corners where residue accumulates most heavily. Never use abrasive tools on filter screens, as damaged mesh reduces juicing efficiency. A silicone bottle brush reaches narrow channels without scratching surfaces.
Emergency Rinse Protocol for Time-Crunched Mornings
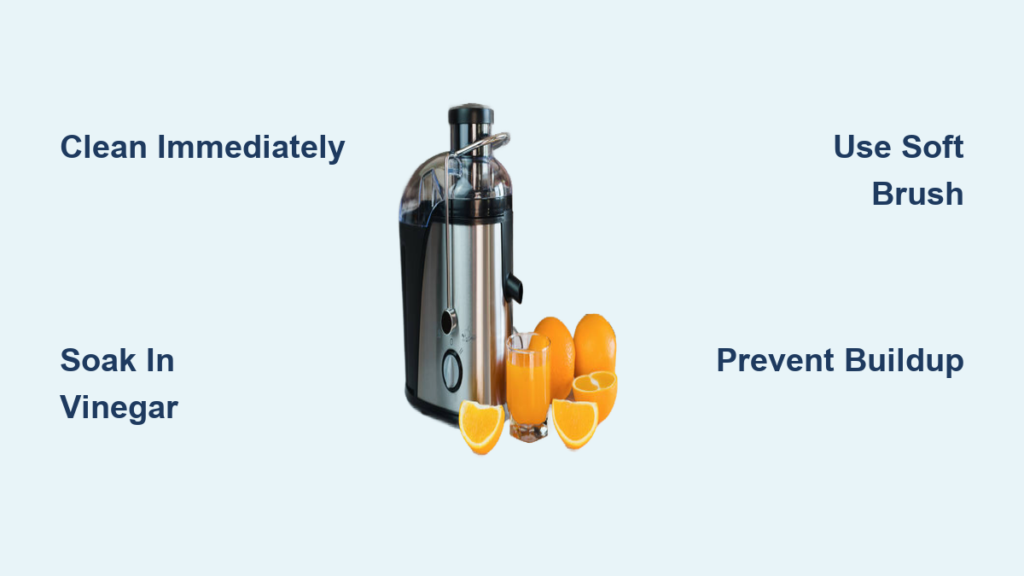
When thorough cleaning isn’t possible, a strategic quick rinse prevents residue from bonding permanently. Keep a bowl of warm water (100-110°F) near your juicer specifically for this purpose. Immediately after juicing, submerge all removable components for two to three minutes while you store your juice. This soaking loosens fibres enough that a subsequent quick scrub takes less than ninety seconds.
For enhanced effectiveness, add one tablespoon of white vinegar to the soaking water. The acetic acid provides additional residue-dissolving power without damaging components. After soaking, swish each piece through the water to pull away loosened fibres. A single rinse often removes eighty percent of residue when done immediately. Finish by rinsing under running water and air-drying on a clean dish towel. This entire process takes under five minutes but prevents the hour-long deep cleaning that dried residue requires.
Deep Cleaning Methods for Neglected Buildup
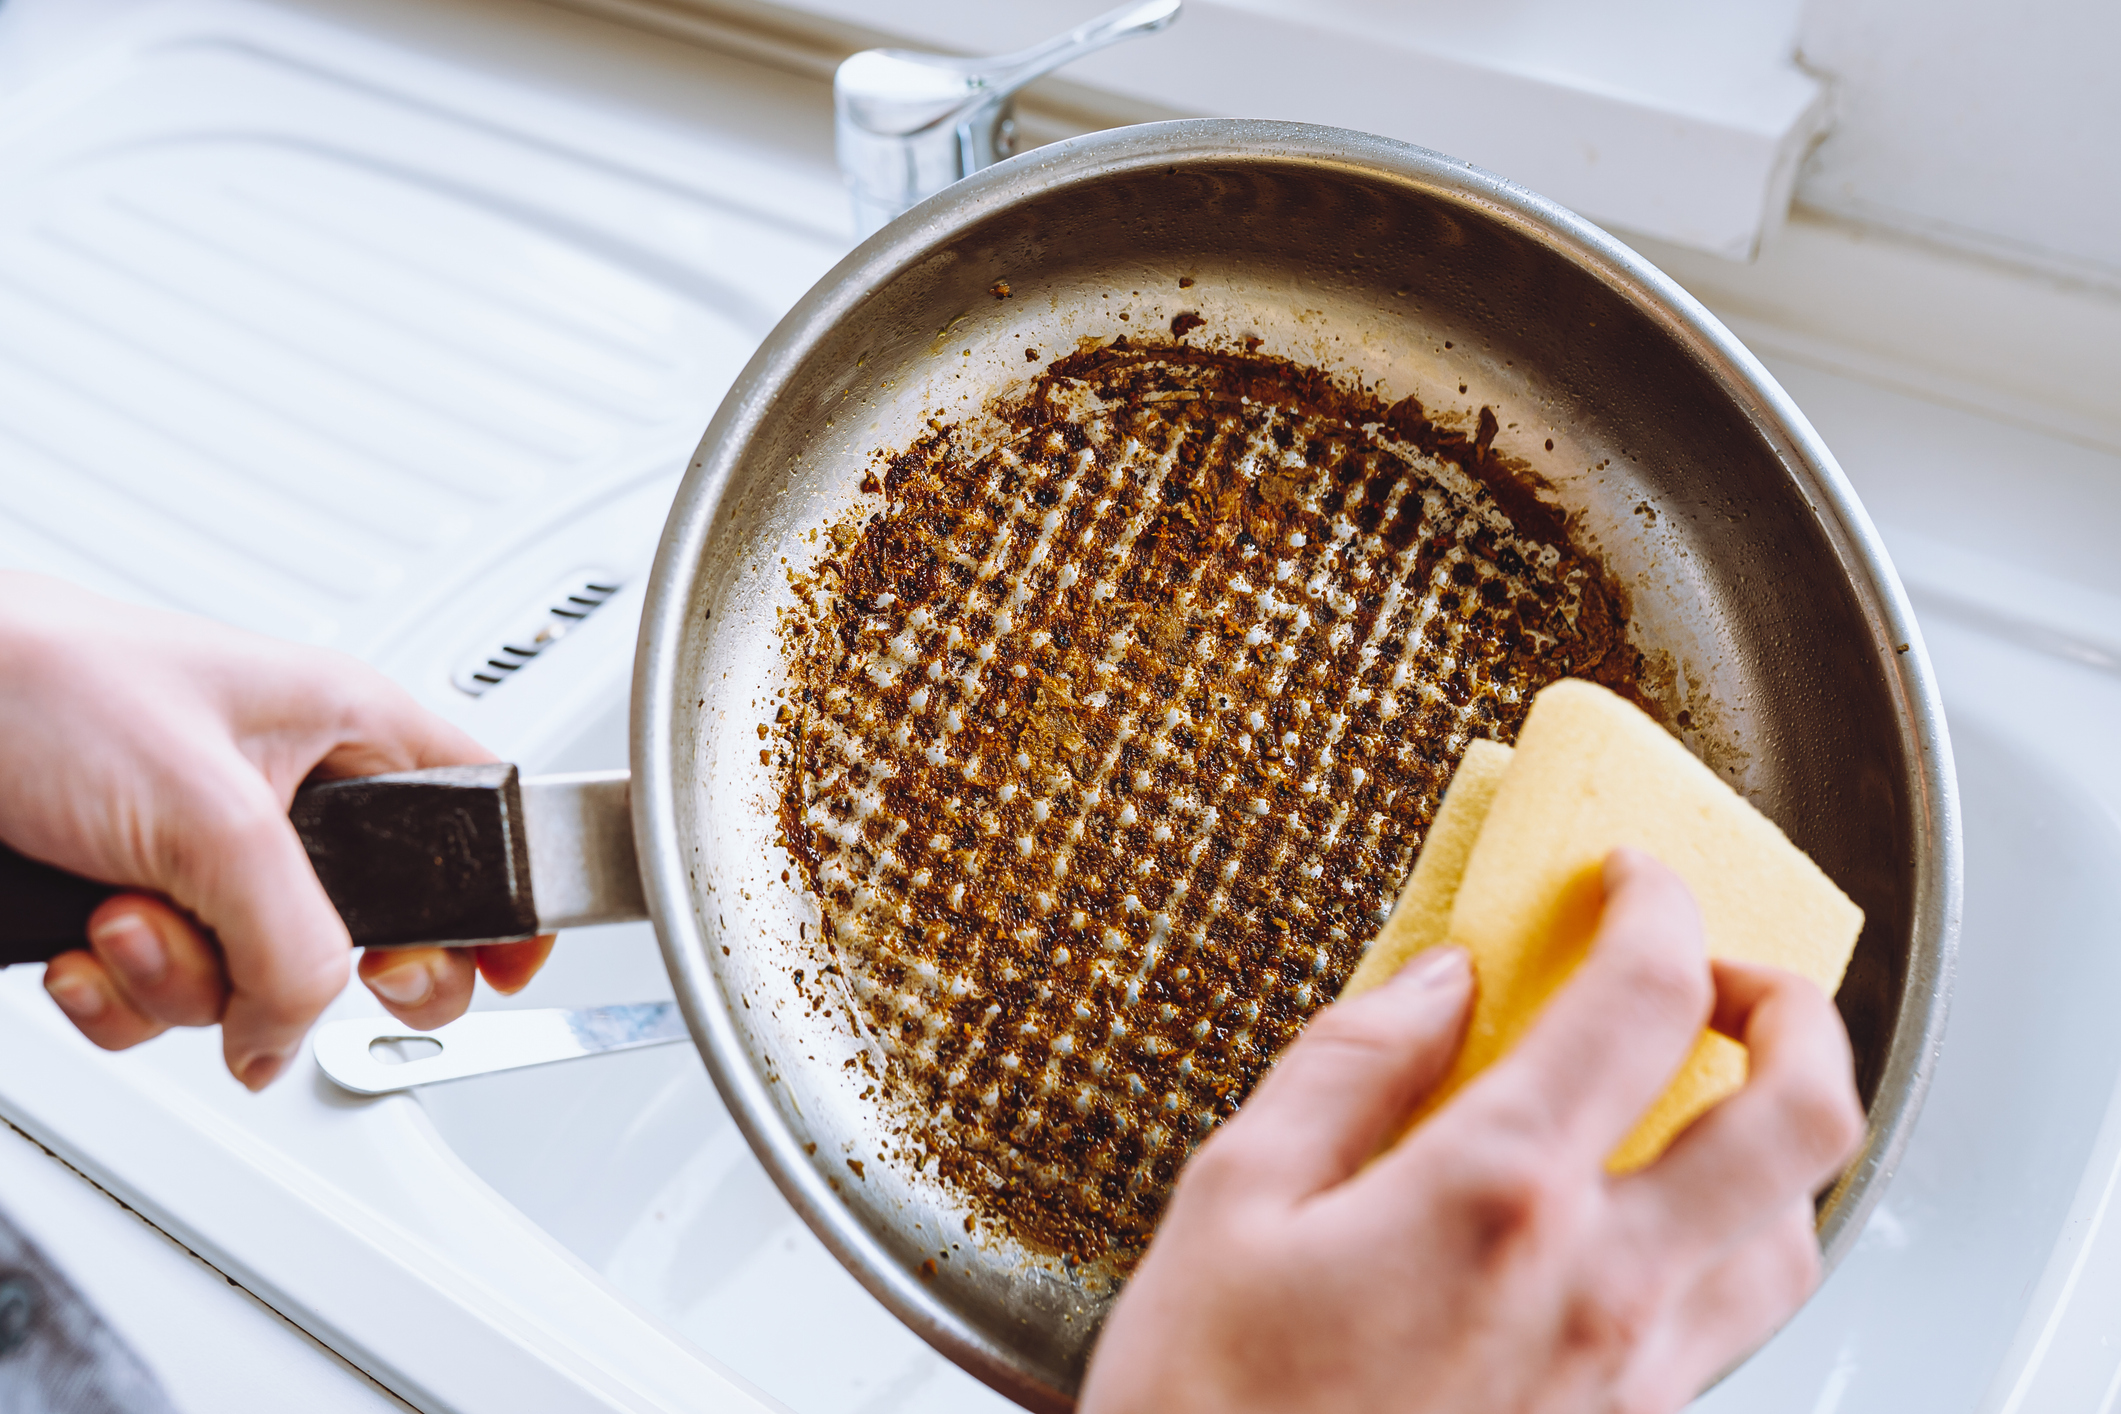
When celery residue has dried and bonded, you’ll need aggressive cleaning techniques. Start by soaking components in warm water mixed with dish soap for at least thirty minutes for light buildup or up to two hours for heavy deposits. For particularly stubborn areas, create a paste using baking soda and water applied directly to affected surfaces. The mild abrasion combined with alkaline properties breaks down the silica-cellulose matrix that makes celery residue so persistent.
Apply the paste generously to filter screens and blade housings, letting it sit for fifteen to twenty minutes before scrubbing with a soft brush. Follow this with a vinegar soak—rinse components and then submerge them in undiluted white vinegar for thirty minutes. The acid dissolves remaining residue, making final scrubbing significantly easier. For twin-gear juicers with complex internals, this vinegar soak reaches areas brushing cannot access.
For discolored plastic components, a hydrogen peroxide solution (three percent concentration) whitens parts affected by long-term celery exposure. Soak yellowed or green-tinted parts for several hours, then rinse thoroughly. Perform this treatment only after physically removing all residue.
Juicer-Specific Cleaning Techniques That Actually Work
Different juicer designs require tailored approaches because celery residue accumulates in different locations.
Centrifugal Juicers demand special attention to the rapidly spinning filter basket where fibres wrap around mesh. Clean the basket using circular motions following the mesh pattern—never scrub against the mesh direction, as this stretches and damages openings. The blade assembly often has celery wrapped around its base; use a small brush to clean this junction without risking cuts. Check the lid mechanism thoroughly, as fibres commonly lodge in seal grooves.
Masticating Juicers require careful handling of the auger, which often has fibres wound around its spiral grooves. Manually remove these before washing. The feed chute should be inspected for wedged pieces that can dry into blockages. When masticating juicer screens clog, the blockage is more complete—use a toothpick to clear screen openings without pushing residue further in.
Twin-Gear Juicers need complete disassembly after each use, with particular attention to small gaps between gears where fibres easily become trapped. Use the specialized cleaning brush typically included with these models. Soaking is especially important for twin-gear units, as dried residue in gear gaps is extremely difficult to remove and affects grinding precision.
Essential Cleaning Toolkit for Fibre Removal

Stock your cleaning arsenal with these specific tools that make celery residue removal easier while protecting your juicer:
- A set of silicone bottle brushes in varying sizes reaches narrow components that sponges can’t access
- Microfiber cloths for drying (better than paper towels as they don’t leave lint)
- A small amount of food-grade mineral oil to maintain rubber seals after cleaning
Natural cleaning solutions work effectively without requiring specialized products. White vinegar, baking soda, and dish soap form the core of an effective cleaning arsenal. Avoid bleach or ammonia-based cleaners that can damage plastic components and leave difficult-to-rinse residues.
Prevent Residue Before It Forms: Proven Strategies
Several preventive approaches reduce both residue accumulation and its tenacity:
- Alternate celery with juicier produce like cucumber or apple, which creates a natural rinsing effect during operation
- Pre-cut celery into one to two inch pieces to reduce fibre fragmentation and machine stress
- Remove leaves and tough outer stalks before juicing (they contain the highest concentration of stringy fibres)
- Run a small apple or cucumber through immediately after celery as a natural cleaning cycle
- Perform weekly maintenance cleaning by running warm water and dish soap through your assembled juicer
Troubleshooting Common Celery-Related Issues

When cleaning efforts don’t restore performance, these residue-related problems may be the cause:
Reduced juice yield often indicates partially clogged filter screens. Soak screens in vinegar solution for thirty minutes, then scrub gently. For persistent blockages, try a thorough two-hour soak followed by careful compressed air application.
Unusual noises during operation frequently signal celery fibres wrapped around blade assemblies or caught in gear mechanisms. Stop immediately and inspect all moving components—twisted fibres create imbalance that stresses motor bearings.
Leaking at seals typically results from residue interfering with proper seating. Remove and clean all seals thoroughly, checking that they seat properly before reassembly. Replace seals showing permanent staining or loss of elasticity.
Long-Term Maintenance for Maximum Juicer Lifespan
Extend your juicer’s lifespan with these final care practices:
- Inspect all components before and after each use for wear or missed residue
- Store components separated rather than assembled to allow air circulation
- Keep your juicer away from direct heat sources that can warp plastic
- Register with the manufacturer for maintenance reminders and warranty coverage
By implementing these techniques for how to clean celery residue from juicer components, you transform frustration into efficiency. The key insight is that celery’s unique fibre structure demands immediate attention and specific approaches, but with these methods, keeping your juicer spotless becomes second nature. Your machine will reward you with years of efficient operation—leaving you more time to enjoy fresh celery juice and less time scrubbing stubborn residue.


