
Your Breville blender should be the star of your kitchen—smash frozen berries, emulsify dressings, and puree soups with ease. But when cloudy residue clings to the jar, stubborn garlic smells linger after hummus, or dried kale smoothie crusts the blade housing, that high-performance machine starts feeling like a liability. Before you resign yourself to scrubbing for 20 minutes every time you blend, know this: proper Breville blender cleaning takes less than 60 seconds daily and prevents 95% of deep-cleaning emergencies. This guide delivers field-tested methods straight from Breville’s engineering specs to restore your blender to like-new condition without damaging seals or dulling blades.
Forget vague “rinse thoroughly” advice. You’ll learn exactly how to dissolve cemented peanut butter from blade crevices, banish tomato sauce stains from plastic jars, and clean the base without risking electrical damage—all using pantry staples. Whether you own the Fresh & Furious, Boss, or Oracle model, these techniques preserve your investment for years of flawless blending.
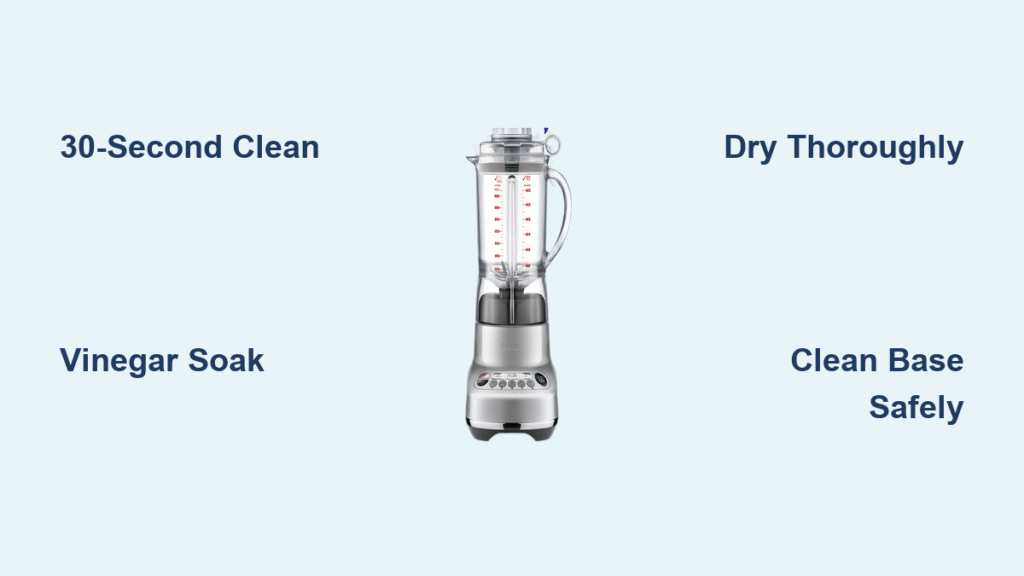
Stop Daily Residue Before It Hardens
Execute the 30-Second Cleaning Cycle
Immediately after pouring your smoothie, fill the jar halfway with warm water (not hot—100-110°F max) and add one drop of dish soap. Secure the lid, ensuring the sealing ring is properly seated, then run the blender on medium speed for 30-60 seconds. The vortex action scrubs the entire interior, including the blade assembly’s hidden crevices where spinach fibers and seed husks trap. Empty the soapy water, rinse twice with fresh water, and either towel-dry with a lint-free cloth or invert the jar on a drying rack.
Critical detail: Skip this step, and dried residue forces you into a 15-minute deep-clean battle later. That hardened almond butter? It’s 10x harder to remove when set for 2 hours versus cleaned immediately.
Avoid These Daily-Cleaning Traps
Never submerge the base unit or spray water directly onto control panels—moisture infiltration causes electrical shorts. Skip hot water straight from boiling; it warps plastic jars and degrades rubber seals over time. Using excessive soap creates a filmy residue that attracts more grime. And crucially, never leave soapy water sitting in the jar—it dries into a chalky layer that requires vinegar soaking to remove.
Erase Years of Buildup in One Deep Clean

Disassemble Components Safely
Unplug the base first—no exceptions. Twist the jar counterclockwise to detach it from the motor base, then remove the lid and sealing gasket. For blade assembly removal (model-dependent), hold the jar upside down and twist the blade housing counterclockwise until it releases. Warning: Always handle blades by the plastic housing, never the sharp edges. Keep the motor base completely dry throughout this process—it contains electrical components vulnerable to moisture damage.
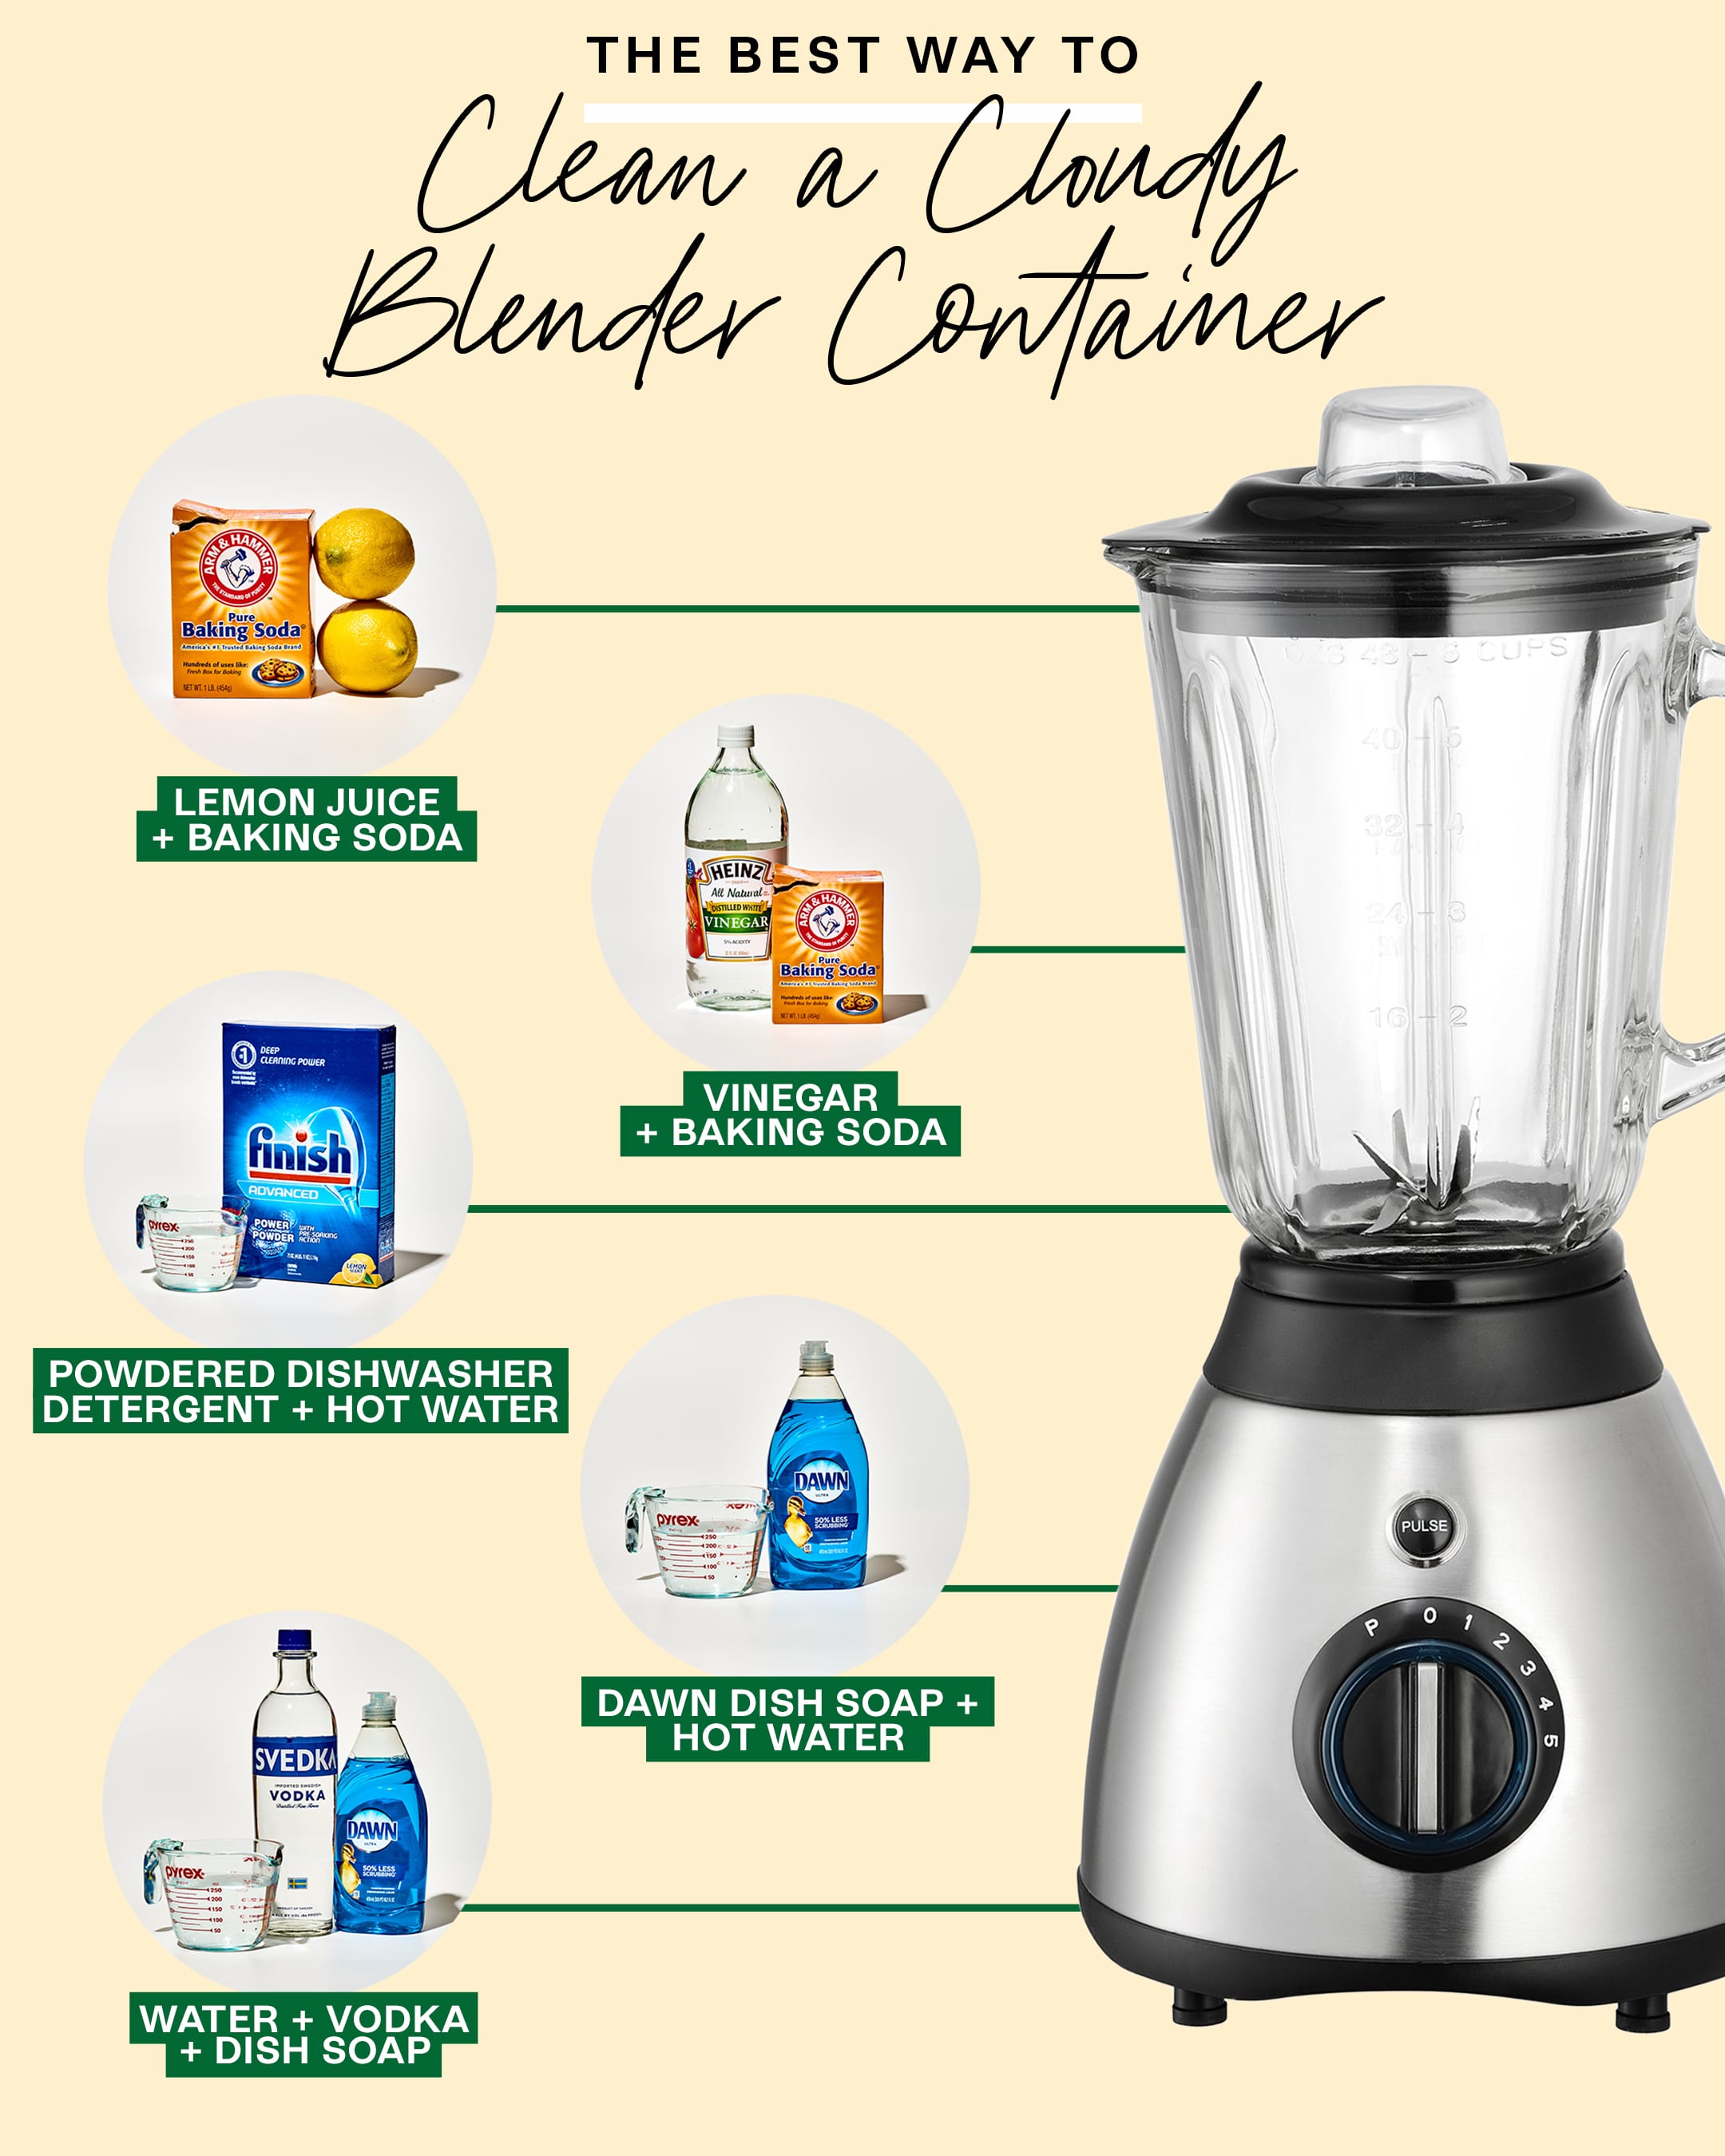
Soak with Precision Vinegar Solution
Combine warm water and white vinegar in a 4:1 ratio (e.g., 2 cups water + ½ cup vinegar) in a sink or bowl. Submerge all removable parts except the base unit. Soak for exactly 15 minutes—long enough to loosen dried sauces but short enough to prevent vinegar from degrading rubber seals. Use a soft bottle brush to scrub the jar’s bottom corners, blade assembly threads, and lid grooves where food hides.
Pro tip: For tomato or turmeric stains, add 1 tablespoon baking soda to the vinegar solution before soaking—it lifts pigments without abrasion.
Rinse and Dry Like a Pro
Rinse each component under warm running water until the vinegar smell vanishes. Inspect the blade assembly’s underside with a flashlight; trapped food particles often cling where blades meet plastic. Dry thoroughly with a microfiber cloth, paying special attention to the gasket groove. Air-dry inverted for 30 minutes to evaporate hidden moisture—skipping this causes mold growth in the seal.
Clean the Base Unit Without Electrical Risks
Control Panel Decontamination
Unplug and cool the base for 10 minutes. Dampen a microfiber cloth with water and 1 drop of dish soap (never spray liquid directly onto the unit), then wipe the entire exterior. Use a dry toothbrush to dislodge crumbs from button crevices—food debris here causes sticky controls. Finish with a dry cloth to eliminate moisture traces near the power cord port.
Ventilation Slot Maintenance
Turn the base upside down to access cooling vents. Use compressed air (held 6 inches away) or a soft-bristled brush to remove dust buildup. Critical check: Inspect the power cord for cracks, especially near the plug. Wipe with a barely-damp cloth, then dry immediately—frayed cords pose fire hazards.
Eliminate Ghost Odors and Stains Permanently
Lemon-Vinegar Odor Neutralization
Fill the clean jar with warm water, 3 tablespoons white vinegar, and 2 lemon slices (peel on). Blend 30 seconds, then let sit 5 minutes. The citric acid breaks down odor molecules from garlic or fish sauce, while vinegar dissolves alkaline residues. Rinse until water runs clear and smells neutral—no lingering pickle notes in your next smoothie.
Overnight Stain Soak Protocol
For stubborn coffee or beetroot stains, fill the jar completely with a 1:3 vinegar-to-water solution. Cover tightly and soak 8-12 hours. In the morning, empty and gently brush stains with a soft sponge—no scrubbing needed. Rinse 3 times to eliminate vinegar taste. Note: Glass jars tolerate longer soaks than plastic; never exceed 12 hours for BPA-free plastic models.
Flavor Transition Technique
Switching from savory to sweet? After the lemon-vinegar cleanse, add 1 teaspoon baking soda to warm water and blend 15 seconds. This neutralizes residual acids and savory compounds. Rinse until water clarity matches your tap—cloudiness means flavor carryover.
Prevent Costly Cleaning Damage

Temperature Safety Rules
Use water warm enough to wash dishes comfortably (100-110°F). Hotter water warps plastic jars and cracks seals. Let hot soup blends cool 5 minutes before cleaning to avoid thermal shock. Never plunge a warm jar into cold water—it stresses materials, causing microfractures.
Jar Material-Specific Tactics
Glass jars: Resists stains but chips easily. Check rims for cracks before use—damage worsens during blending. BPA-free plastic: Prone to berry or curry stains. Clean immediately after use; dried pigments absorb permanently. Always use non-abrasive tools—steel wool creates bacteria-trapping scratches.
Dishwasher Truths
While some Breville jars claim top-rack dishwasher safety, frequent cycles cloud plastic and degrade seals 3x faster. Hand-washing extends jar life significantly. If using a dishwasher, place components on the top rack away from heating elements, and skip heated dry cycles.
Store Components to Prevent Recontamination
Absolute Drying Protocol
Moisture in gasket grooves breeds mold. After towel-drying, invert the jar on a drying rack for 30+ minutes. For stubborn moisture, use a hair dryer on cool setting for 10 seconds inside the groove. Never store components snapped together—trapped humidity causes seal deformation and odors.
Optimal Storage Locations
Store the base in a dry cabinet away from steam sources like dishwashers. Keep the jar inverted on the base (if counter-stored) or upright in a cabinet. For long-term storage, place a paper towel inside the jar to absorb ambient moisture and prevent musty smells.
Monthly Maintenance That Extends Lifespan
Blade and Seal Health Check
Examine blades monthly for nicks or dulling—damaged edges strain the motor and create uneven blends. Inspect the rubber gasket for cracks or flattened sections; replace if it doesn’t spring back when pressed. Warning: Leaking during blending means immediate gasket replacement—water infiltration destroys motors.
Performance Preservation Steps
Clear dust from base ventilation slots with compressed air to prevent overheating. Tighten loose blade assembly screws (hand-tight only) to avoid wobbling. Wipe the power cord monthly—fraying near the plug is the #1 cause of motor failure.
Your Breville Cleaning Cheat Sheet
Daily: 30-second soap/water blend cycle after each use
Weekly: Vinegar soak for all removable parts
Monthly: Blade/gasket inspection + base ventilation clean
As needed: Overnight soak for stains, lemon-vinegar for odors
Emergency fix: For hardened residue, soak in warm soapy water 30 minutes before scrubbing—never chip at dried food with sharp tools.
Your Breville blender earns its counter space by delivering restaurant-quality results. By committing to these 60-second daily cleans, you’ll avoid 90% of deep-cleaning nightmares and keep flavors pure for years. Start today: run that quick soap cycle after your next smoothie, and feel the difference in every future blend.


