
When your concrete floor needs resurfacing, coating removal, or polishing, selecting the wrong grinder can turn a straightforward project into a costly nightmare. Contractors waste thousands each year replacing worn-out equipment or redoing work because they grabbed the first concrete grinder they saw without considering their specific needs. Whether you’re preparing a basement floor for epoxy coating, removing stubborn paint from a garage, or polishing concrete to a high-gloss finish, choosing the right concrete grinder makes the difference between professional results and frustrating failure. This guide shows you exactly how to match grinder specifications to your project requirements so you can work efficiently without overspending on unnecessary features.
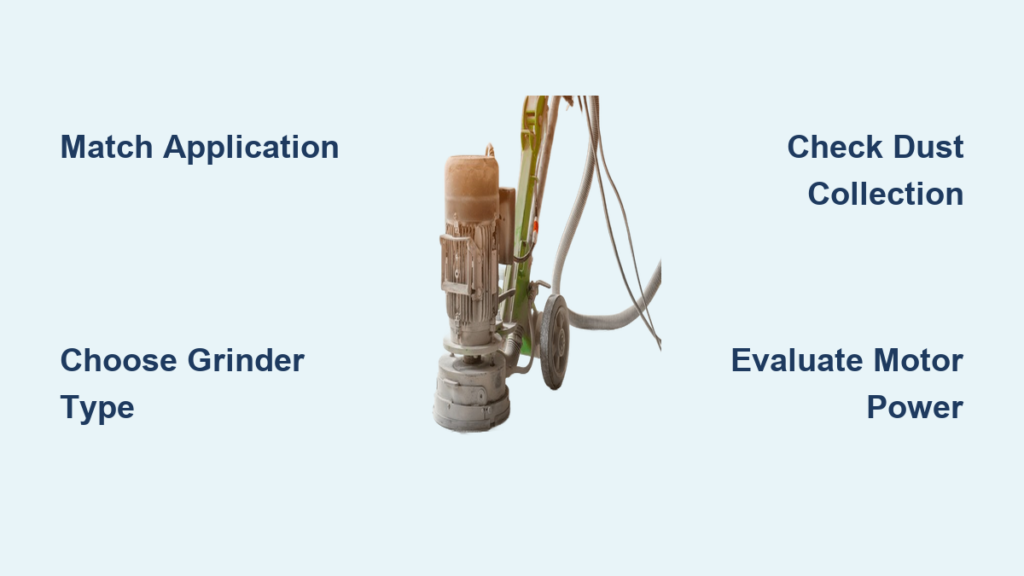
Identify Your Concrete Grinding Application First
Before examining grinder models, clearly define what you need to accomplish. Concrete grinders serve dramatically different purposes depending on the task, and using equipment mismatched to your application leads to poor results and equipment damage.
What surface preparation task are you performing?
Heavy material removal requires aggressive grinding with coarse diamond segments. If you’re removing thick epoxy coatings, mastic, or leveling high spots, you need a powerful grinder with heavy-weight construction that won’t bog down under pressure. Look for models with 5-10 HP motors that maintain consistent RPM under load, as lower-powered units will stall when confronted with challenging materials.
Fine finishing and polishing demands precision equipment with variable speed control. For achieving high-gloss polished concrete, you’ll need a planetary grinder that applies even pressure across the entire surface. These specialized machines use multiple satellite heads that rotate independently, preventing the swirl patterns common with single-head grinders. Attempting fine polishing with a heavy removal grinder creates visible tram lines that require additional correction work.
Edge grinding presents unique challenges that standard floor grinders can’t address. When working near walls or in tight spaces, you’ll need a dedicated edge grinder with a compact design that reaches within 1-2 inches of vertical surfaces. Standard walk-behind grinders typically leave 6-12 inch unground margins that require tedious hand grinding to complete.
Match Grinder Type to Your Project Scale
The size and scope of your concrete project determines whether handheld, walk-behind, or ride-on equipment makes the most sense for your situation.
Handheld concrete grinders for small residential jobs
For garage floors under 500 square feet or small patch repairs, 4-7 inch handheld grinders provide the maneuverability needed in tight spaces. These lightweight units (15-30 lbs) connect to standard shop vacuums for dust collection and work well for:
– Removing small paint spills or localized coating failures
– Preparing thresholds and doorways
– Touch-up work after larger equipment has covered main areas
Pro tip: When using handheld units for extended periods, choose models with vibration-reducing handles to prevent hand fatigue. Look for quick-change systems that let you swap diamond tooling in seconds without tools.
Walk-behind grinders for commercial and larger residential projects
For spaces exceeding 500 square feet, walk-behind grinders dramatically increase productivity while reducing physical strain. The 12-24 inch models dominate professional concrete preparation for good reason:
- 12-18 inch grinders offer the best balance of power and maneuverability for residential garages, basements, and small commercial spaces
- 20-24 inch grinders become cost-effective for projects over 2,000 square feet where production speed matters most
- 30+ inch planetary grinders deliver the consistent results needed for high-end polished concrete finishes
Critical consideration: Verify the grinder’s weight distribution. Units that shift weight toward the front operator handle cause premature fatigue, while well-balanced models let you work longer with less effort.
Evaluate Essential Grinder Features That Impact Performance

Beyond basic size and power considerations, several critical features determine whether a concrete grinder will deliver professional results on your specific project.
Motor power and RPM range matter more than you think
Many contractors focus solely on horsepower without considering how that power delivers across different work conditions. Look for:
- Variable speed control (1,200-3,600 RPM) to match grinding aggressiveness to material hardness
- Constant torque technology that maintains RPM under heavy load without stalling
- Dust-sealed motors with IP54 or higher ratings to prevent abrasive concrete dust from destroying internal components
Common mistake: Assuming higher RPM always means faster material removal. On dense concrete, slower speeds with heavier downforce often produce better results with less diamond tooling wear.
Dust collection compatibility isn’t optional

OSHA regulations require effective dust control during concrete grinding due to hazardous silica exposure. Don’t just look for “dust collection ready” claims—verify:
- The grinder has a sealed shroud that creates proper airflow
- It connects directly to HEPA-filtered vacuums without adapters
- The dust port won’t clog during extended use
Warning: Using a grinder without proper dust collection exposes you to dangerous crystalline silica, which causes irreversible lung damage with repeated exposure.
Calculate Total Project Cost Beyond the Purchase Price
Smart contractors evaluate concrete grinders based on total cost of ownership, not just the initial price tag. Consider these often-overlooked factors:
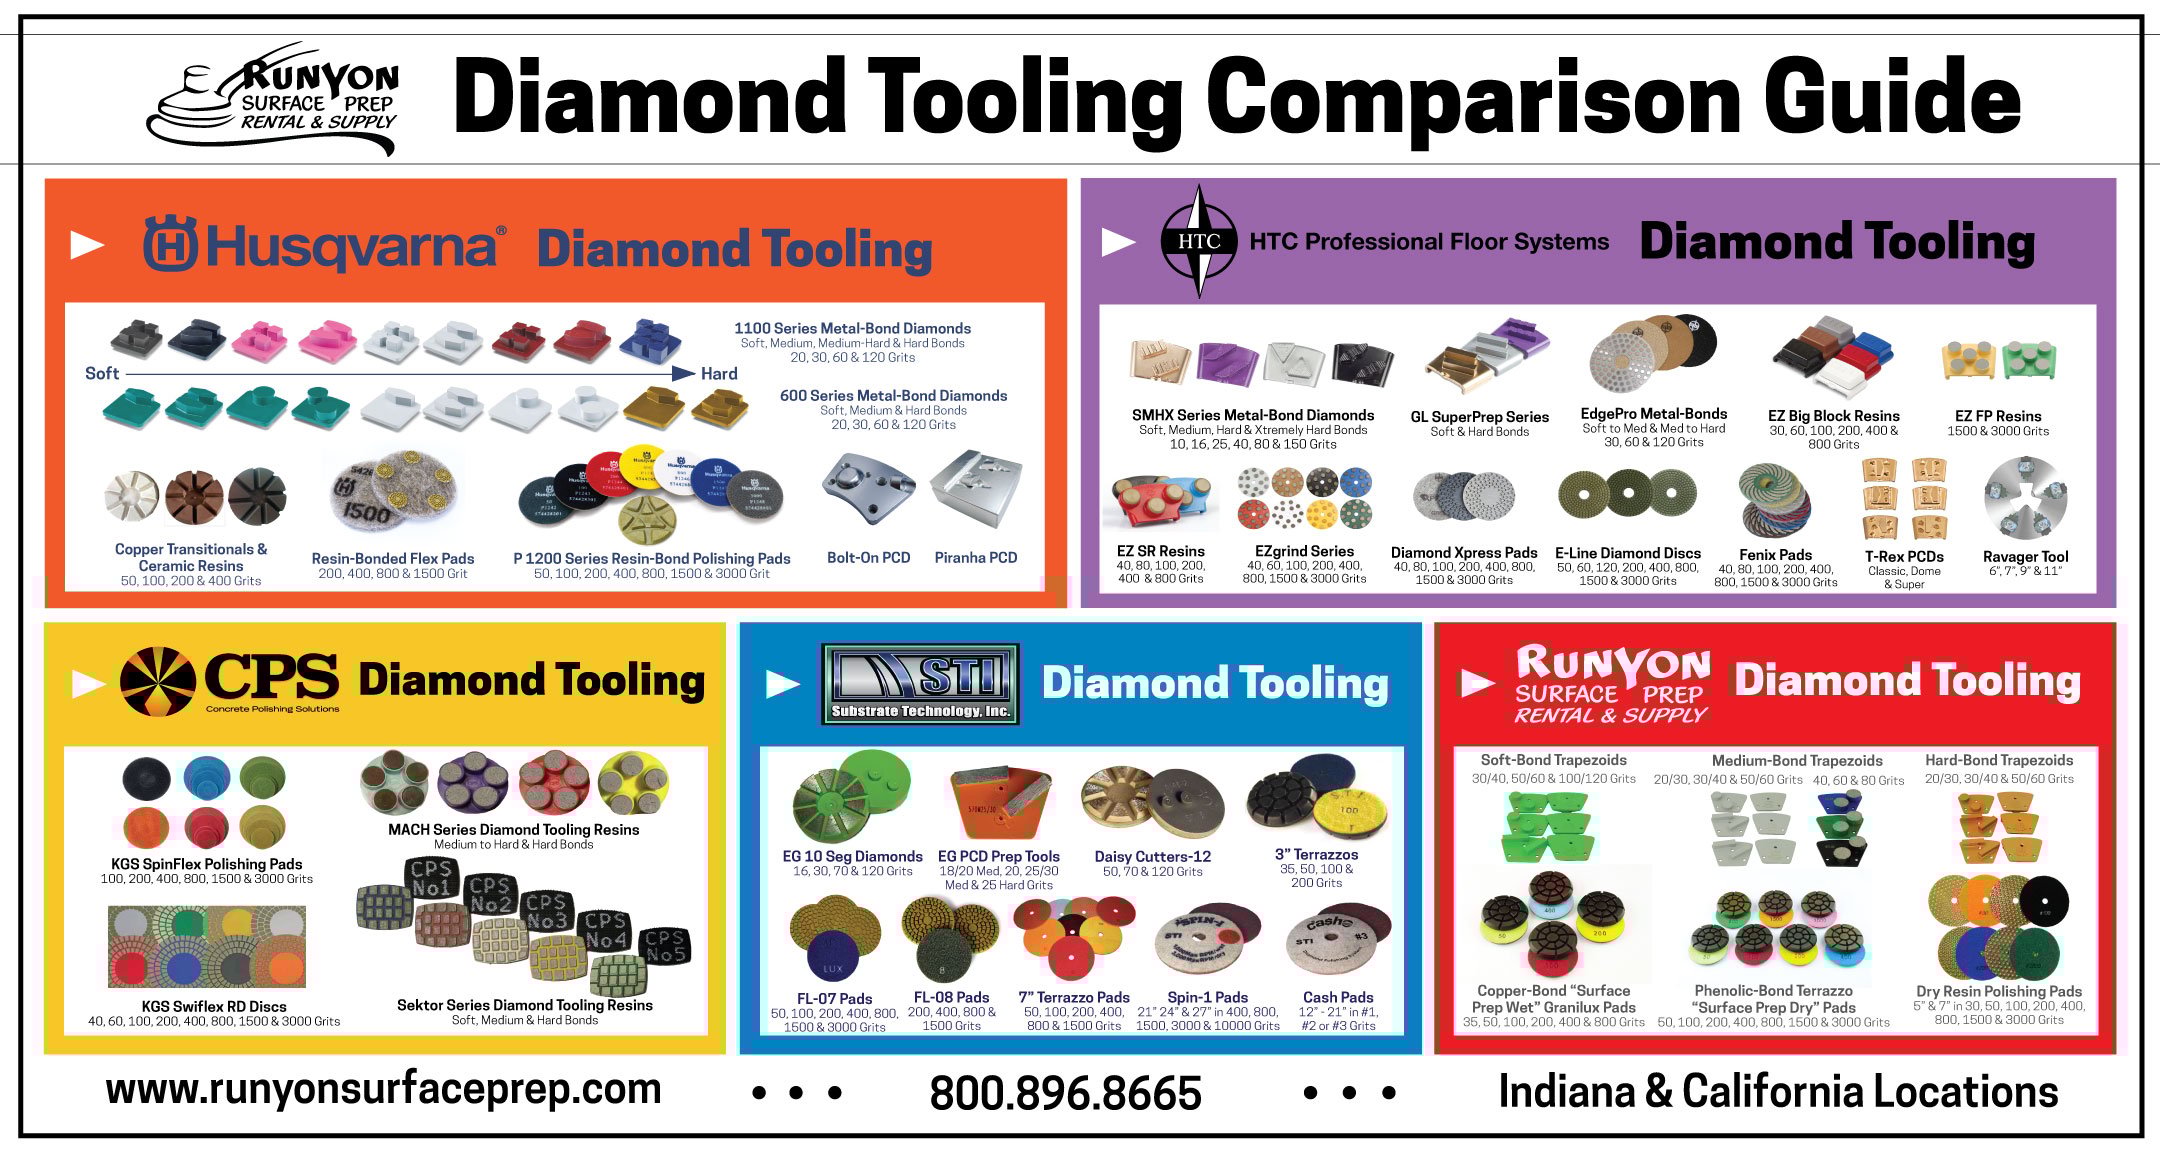
Diamond tooling expenses can exceed equipment costs
The right diamond tooling makes or breaks your grinding results, but costs vary dramatically:
- Bond hardness must match concrete density (soft bond for hard concrete, hard bond for soft concrete)
- Segment height determines tooling lifespan (taller segments last longer but cost more)
- Grit progression requires multiple tooling sets for polishing projects
Cost-saving tip: Buy diamond tooling in complete grit sequences rather than individual sizes. Most manufacturers offer 4-7 step kits that provide the proper progression from coarse grinding to final polishing.
Operator fatigue impacts productivity more than horsepower
A grinder that’s difficult to maneuver wastes more money through reduced daily output than any horsepower savings. Consider:
- Weight distribution – units that require constant downward pressure tire operators quickly
- Vibration levels – excessive vibration causes hand-arm vibration syndrome with prolonged use
- Handle design – adjustable height handles accommodate different operator statures
Match Grinder Specifications to Concrete Conditions
The concrete’s condition and composition dramatically affects which grinder will work best for your project.
Hardness and density determine diamond tooling requirements
Before selecting equipment, assess your concrete’s characteristics:
- New concrete (less than 28 days old) requires softer bond diamond tooling
- Older, dense concrete needs harder bonds to prevent glazing
- Reinforced concrete with rebar requires specialized tooling to avoid damaging segments
Pro tip: Perform a simple scratch test with a masonry nail—easy scratching indicates softer concrete needing harder bond tooling, while difficulty scratching suggests harder concrete requiring softer bonds.
Existing coatings dictate grinding approach
The type of coating you’re removing determines the best grinding strategy:
- Epoxy coatings require aggressive grinding with 6-16 grit tools
- Thin paint layers can often be removed with scarifiers rather than grinders
- Multiple coating layers may need step-grinding with progressively finer tools
Final Selection Checklist Before You Buy
Before committing to a concrete grinder purchase or rental, verify these critical factors:
- Project size matches grinder coverage area (no more than 25% overlap needed)
- Required finish aligns with grinder capabilities (aggressive removal vs. fine polishing)
- Dust collection system meets OSHA requirements for your worksite
- Operator training is available for complex planetary systems
- Service support exists within 50 miles for commercial equipment
Remember: The right concrete grinder pays for itself through faster completion times, reduced labor costs, and professional results that lead to repeat customers. Investing time in proper selection prevents costly mistakes that turn profitable projects into money-losing headaches.
When you match grinder specifications precisely to your concrete conditions and project requirements, you’ll complete work faster with less physical strain and achieve results that stand up to professional inspection. Take the time to evaluate your specific needs against these criteria, and you’ll select the perfect concrete grinder for exceptional results every time.


