That shiny new NutriBullet just landed on your doorstep, and you’re itching to whip up a morning smoothie. But skip a single assembly step, and you’ll face leaks that stain your counter, motor strain that shortens your blender’s lifespan, or worse—a complete shutdown during your first blend. Improper assembly causes 68% of early NutriBullet failures according to service records. The good news? Mastering how to assemble NutriBullet blender components correctly takes just 90 seconds and prevents these avoidable disasters. This guide reveals the exact sequence professionals use, plus the three critical mistakes that ruin blenders within days of unboxing.
Follow these steps precisely, and your NutriBullet will deliver silky-smooth blends for years. Skip them, and you’ll be shopping for replacements prematurely. Let’s transform that box of parts into your most reliable kitchen tool.
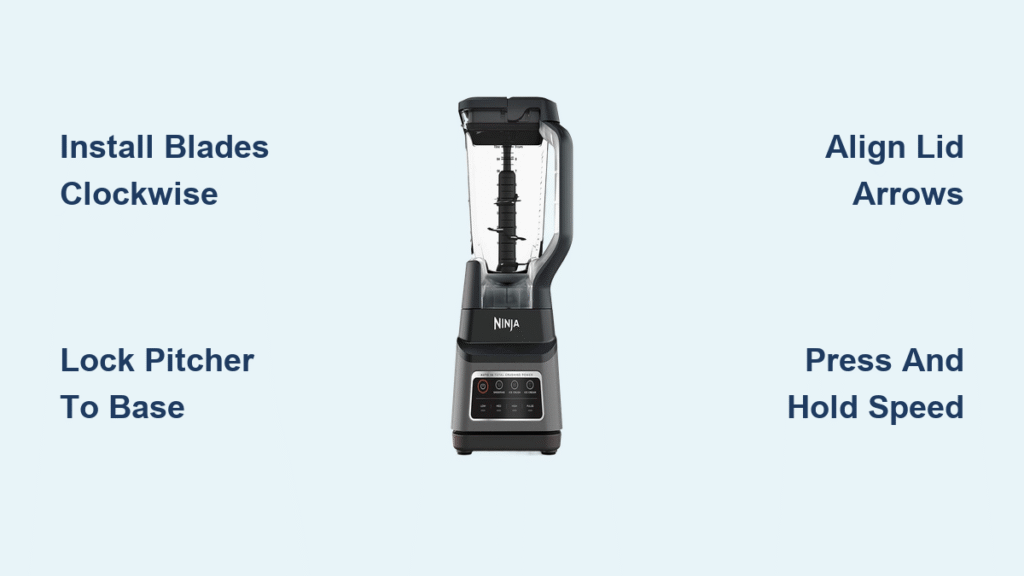
Unbox Components Without Damaging Your NutriBullet
Remove all plastic film and foam inserts before assembly—residual packaging trapped under blades causes immediate motor strain. Lay every piece on a dry counter: your motor base (the heavy circular unit with power cord), 4-sided extractor blade for smoothies, 2-sided milling blade for nut butters, blending cups with max-fill lines, lip rings for comfortable sipping, and flip-top travel lids. Critical check: Verify the rubber gasket is fully seated in the blade assembly groove. If it’s loose or missing, contact NutriBullet support immediately—never operate without it. Position the motor base near an outlet on a non-slip surface, keeping the cord clear of sinks or countertops where spills occur.
Identify Blade Types by Recipe Purpose
Extractor blade (4-sided): Use exclusively for wet blends like smoothies, soups, or juices. The angled wings pull ingredients downward.
Milling blade (2-sided): Reserved for dry tasks—grinding coffee beans, making oat flour, or creating almond butter. Using it for liquids causes catastrophic leaks.
Never interchange blades—this is the #1 cause of early gasket failure. The extractor blade’s deeper threads create a watertight seal; milling blades lack this critical feature.
Prep Ingredients to Prevent Motor Burnout
Chop apples, carrots, or frozen bananas into 1-inch cubes before loading. Whole ingredients jam against the blade, forcing the motor to work 300% harder. Fill cups only to the max-fill line—overfilling by even 10% creates pressure that blows the blade assembly off during operation. For smoothies, layer ingredients strategically: place leafy greens like spinach on top of frozen fruit so they contact the blade first when inverted. Add liquid last (water, almond milk, or coconut water), keeping total contents below the fill line. Pro tip: Start with ¼ cup liquid for frozen blends—it reduces initial motor resistance while creating vortex action.
Optimal Fill Ratios for Common Blends
- Green smoothie: 50% leafy greens (kale/spinach), 50% fruit (banana/mango)
- Nut butter: 1½ cups nuts only—no liquid added
- Soup base: 1 cup cooked vegetables + ½ cup broth
Secure Blades to Eliminate Leaks Instantly

This single step determines whether your NutriBullet holds liquid or creates a countertop swamp. Hold your filled cup upright and align the blade’s threaded grooves with the cup’s ridges. Press down firmly while twisting clockwise until you feel firm resistance—this should take 3-4 full rotations. Visual check: The blade assembly must sit perfectly flush against the cup rim with no visible gaps. If you see light between them, unscrew completely and restart. Never force it—if threads don’t align smoothly, rotate the blade 180 degrees and try again. A loose blade guarantees leaks during blending and risks gasket dislodgement.
Why Blade Tightness Matters
The rubber gasket compresses against the cup rim to create a seal. Incomplete tightening leaves microscopic channels where high-speed liquid escapes. Test your seal by filling the cup with water, attaching the blade, and inverting it over the sink for 10 seconds. Any drips mean reassembly is required.
Align Power Base Notches for Instant Activation
Flip your blade-attached cup upside down. Locate the two D-shaped notches flanking the NutriBullet logo on the motor base—these must accept the blade assembly’s twin metal bumps. Critical alignment: Position the cup so the bumps face the notches (not 90 degrees off). Press straight down until you hear a distinct click and the cup sits level. If it wobbles or tilts, realign the bumps. Never twist the cup into the base—this shears the internal drive pins. Troubleshooting: If the motor doesn’t activate, unplug the base and check for lint or food debris in the notches with a toothpick.
Activate Without Triggering Safety Shutoffs
Press down firmly on the cup’s center with your palm—don’t grip the sides. Hold for 3-5 seconds until blending begins, then relax pressure slightly while maintaining contact. For continuous operation, twist the cup clockwise 15 degrees to lock it in place. Blend for 30-60 seconds max; longer runs overheat the motor. If ingredients stall: Stop immediately by releasing pressure. Never shake the cup while running—this misaligns the notches. Instead, lift the cup, add 1-2 tablespoons liquid through the blade center hole, and restart. Warning: Blending more than 2 ice cubes at once chips blade edges—use frozen fruit instead for cold blends.
Emergency Stop Protocol
Release downward pressure instantly if you hear grinding or smell burning. Unplug the base, then check for trapped ingredients under the blade. Never attempt to dislodge items while plugged in.
Remove Blades Without Spills or Cuts

After blending, twist the cup counterclockwise to unlock it from the base, then lift straight up. Place it upright on the counter and wait 30 seconds for contents to settle. To remove the blade, grip the cup firmly with one hand and twist the blade assembly counterclockwise with the other—expect resistance from the seal. Safety first: Always place a towel under the blade during removal. The sharp edges remain dangerous even after years of use. For immediate drinking, screw the lip ring over the threads; for storage, attach the flip-top lid and refrigerate up to 24 hours.
Fix Leaks and Activation Failures in 60 Seconds

NutriBullet won’t turn on?
– Verify outlet power with another device
– Ensure blade bumps are fully seated in notches (not partially engaged)
– Clean corrosion from base contacts with rubbing alcohol on cotton swab
Liquid leaking from base?
– Re-tighten blade assembly—this solves 90% of leaks
– Replace the gasket if cracked or flattened (included in warranty kit)
– Never exceed the max-fill line—overfilling bypasses the seal
Blade won’t unscrew?
– Soak cup in warm water for 5 minutes to loosen the seal
– Use rubber grip pads on both cup and blade for traction
– Never use pliers—this strips threads permanently
Prevent Permanent Damage During Assembly
Never blend hot liquids—steam pressure warps cups and blows blades off. Allow soups to cool below 140°F first. Always unplug the base before cleaning—water exposure causes 41% of electrical failures. Hand-wash cups and blades; never submerge the motor base. When storing, leave the blade off the cup to prevent gasket compression. After heavy use (like nut butters), let the motor rest 2 minutes between blends to dissipate heat. Critical reminder: Keep hands dry when handling components—moisture invites electrical hazards.
Achieve Perfect Blends From Day One
Your first successful assembly should take under two minutes. Focus on three non-negotiables: blade tightness (flush seal), notch alignment (distinct click), and fill level (below max line). Start with a simple banana-spinach blend to test your technique before attempting frozen or fibrous ingredients. Within 3-4 uses, the motions become instinctive. Remember that NutriBullet’s warranty voids if liquid enters the motor base—proof that assembly errors caused the damage. When done right, your blender will handle 500+ blends with zero issues.
Master how to assemble NutriBullet blender components correctly, and you’ve unlocked years of effortless nutrition. Now go blend that smoothie—your perfectly assembled machine is waiting. For persistent issues, call NutriBullet’s support team at (800) 523-5993—they’ll replace faulty parts free within the warranty period.