
Your morning espresso pulls slower each day. The grind suddenly feels inconsistent—some powdery fines, some chunky boulders. That vibrant acidity in your Ethiopian pour-over has flattened into dull bitterness. If this sounds familiar, your coffee grinder’s burrs might be screaming for replacement. Yet manufacturers rarely give clear timelines, leaving home baristas and café owners guessing when to swap these critical components. The truth? There’s no universal replacement schedule—but understanding your grinder’s specific wear patterns transforms guesswork into precision. You’ll learn exactly what visual cues to inspect, how to track usage without spreadsheets, and why ceramic burrs in your budget grinder may outlast steel ones in commercial equipment. Most importantly, you’ll discover the three unmistakable performance red flags that mean right now is replacement time—saving you wasted beans and ruined brews.
Why Your Grinder’s Burrs Wear Out Faster Than You Think
Burr wear isn’t just about time—it’s a collision of physics and coffee chemistry. As hardened steel or ceramic blades fracture beans, microscopic coffee oils polymerize into gummy residues that accelerate erosion. Dark roasts with higher oil content can double wear rates compared to light roasts. Meanwhile, humidity turns residual grounds into abrasive paste that scour cutting edges. This explains why your grinder in Miami might need burrs replaced twice as fast as the same model in Arizona. Commercial units grinding 20+ pounds daily face different stressors than home grinders running 20 grams per morning. Ignoring these variables leads to the most common mistake: assuming “1 year = replacement time” regardless of actual usage. Track your coffee throughput instead—this single metric predicts wear more accurately than any calendar date.
How Bean Type Directly Erodes Your Burrs
Oily beans like Sumatrans or French roasts deposit sticky residues that trap fine particles between burrs. These particles act like sandpaper during grinding, creating micro-grooves on cutting edges. Test this yourself: grind oily beans for a week, then inspect burrs with a magnifying glass. You’ll see dull, rounded edges where sharp peaks should be. Lighter roasts like African naturals generate less oil but more brittle fragments that chip burr teeth over time. The solution? Alternate bean types weekly to distribute wear patterns, and always purge 5-10 grams of stale grounds before brewing to clear built-up residues.
Humidity’s Hidden Impact on Burr Longevity
High humidity transforms coffee grounds into a corrosive slurry inside your grinder. Moisture binds with coffee oils to create an acidic paste that etches metal burrs at a molecular level. In 70%+ humidity environments, steel burrs can develop pitting within 6 months even with light use. Ceramic burrs resist this better but become brittle when exposed to moisture fluctuations. Run this quick check: if your grinder sounds “grittier” during summer months, humidity is accelerating wear. Combat this by storing beans in airtight containers with oxygen absorbers and placing silica gel packs inside your grinder’s bean hopper overnight.
Critical Signs Your Burrs Need Immediate Replacement

Waiting for complete failure wastes money and ruins coffee. These three performance shifts mean burrs are past their prime—replace them before you lose another shot.
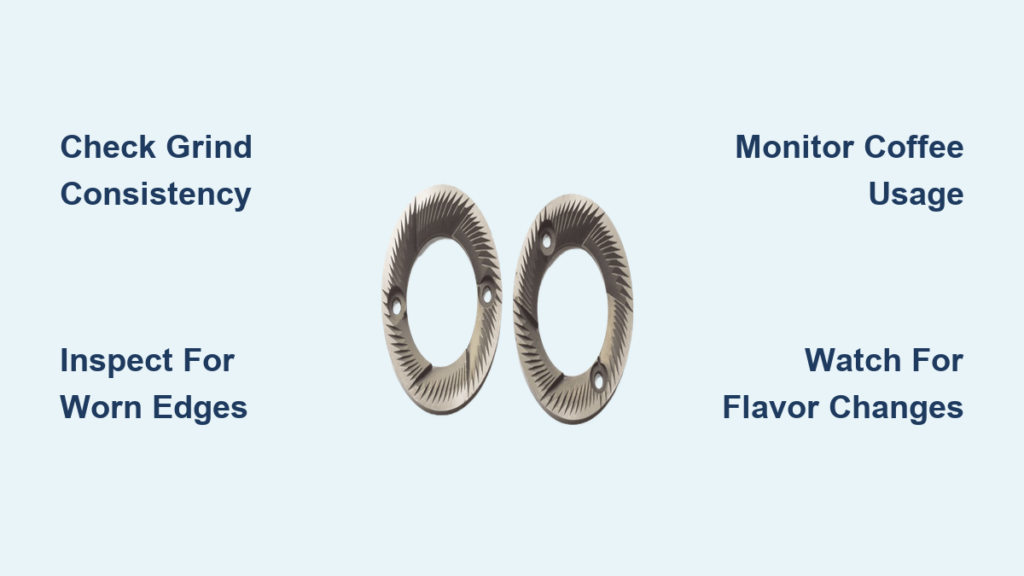
Unmistakable Grind Consistency Breakdown
Worn burrs lose their ability to produce uniform particles. You’ll notice:
– Fines migration: Powder collects at the bottom of your portafilter while larger chunks float on top
– Shot time variance: Pull times fluctuate wildly (e.g., 25 seconds one day, 45 seconds the next with identical settings)
– Texture test: Rub grounds between fingers—they should feel like fine sand, not gritty or bouldery
Perform the “paper test” monthly: grind 20g of beans, spread on white paper, and shine a flashlight sideways. Sharp burrs create even shadows; worn burrs show dramatic peaks and valleys in particle height. If shadows vary by more than 1mm, replacement is urgent.
Espresso Quality Collapse You Can’t Fix With Settings
When burrs wear, no dial adjustment rescues your espresso. Key indicators:
– Channeling despite perfect tamp: Water blasts through uneven channels even with level puck prep
– Sour shots at normal extraction: Under-extracted sourness appears even with longer pull times
– Rancid oil notes: Bitter, cardboard-like flavors emerge from oxidized coffee fines
These happen because worn burrs create “dead zones” where coffee sits unground. The resulting particle spread overwhelms even the best tamp technique. If you’ve cleaned your grinder thoroughly but shots still taste off, burrs are the culprit 9 times out of 10.
How Burr Material Dictates Your Replacement Timeline

Steel Burrs: The Commercial Workhorse With Hidden Weaknesses
Professional-grade steel burrs (like those in Eureka or Mahlkönig grinders) handle high-volume use but degrade predictably. In commercial settings grinding 15+ pounds daily:
– First performance drop: 6-8 months
– Complete replacement needed: 12-18 months
Home users grinding 0.5 pounds weekly often keep steel burrs for 3-5 years. But here’s the trap: steel burrs develop “false sharpness” as edges chip. Your grinder may seem fine until one day it produces mostly fines. Check for tiny nicks along the cutting edge with a 10x loupe—any visible damage means replacement time.
Ceramic Burrs: The Home Grinder’s Long-Lasting Secret
Ceramic burrs in popular home grinders (Baratza Encore, Fellow Ode) resist corrosion but fail differently. Instead of gradual wear, they often develop micro-cracks that cause sudden performance drops. Typical home use patterns:
– First signs of wear: 1.5-2 years (0.5 lbs/week)
– Catastrophic failure point: 3-4 years
Ceramic’s brittleness means a single accidental grind of a rock or pit can crack teeth. Always sort beans manually before grinding. When inspecting, look for hairline fractures radiating from the center hub—these will spread rapidly under pressure.
Your Step-by-Step Burr Inspection Protocol
How to Safely Remove and Examine Burrs
- Unplug grinder and empty bean hopper
- Remove upper burr carrier using manufacturer’s wrench (never force it)
- Wipe burrs with dry cloth—no liquids near grinding chamber
- Hold under bright light at 45-degree angle; rotate slowly
- Check critical zones: Outer cutting edges and inner teeth valleys
Pro Tip: Place burrs on a dark surface. Sharp edges reflect light brightly; worn edges appear matte and diffuse.
What Wear Actually Looks Like Up Close
Healthy burrs show:
– Mirror-like polish on cutting edges
– Consistent tooth height across entire surface
– No visible pitting or discoloration
Worn burrs reveal:
– “Rolling” edges: Rounded corners instead of sharp 30-degree angles
– Height variation: Teeth differing by more than 0.1mm (use feeler gauge)
– Micro-chipping: Tiny missing flakes along cutting perimeter
If you see any of these, replace burrs immediately—further use damages grinder motors.
Extending Burr Lifespan With Smart Maintenance
The 60-Second Daily Ritual That Doubles Burr Life
After each use:
1. Run grinder empty for 5 seconds to clear residual grounds
2. Wipe burr carrier with dry microfiber cloth (no oils!)
3. Store with hopper empty in airtight container with silica gel
This prevents moisture buildup that accelerates corrosion. Never use compressed air—it forces particles deeper into burr grooves.
Beans That Destroy Burrs (And What to Use Instead)
Avoid these burr killers:
– Pre-ground coffee: Contains hard fragments that chip teeth
– Oily dark roasts daily: Switch to medium roasts for regular use
– Flavored beans: Sugar residues crystallize into abrasive grit
Safer alternatives:
– Dry-processed light roasts (Ethiopian Yirgacheffe)
– Freshly roasted beans (within 2 weeks of roast date)
– Intermittent “cleaner” grinds of plain rice (10g monthly)
Cost Analysis: When Replacement Beats a New Grinder

Home Grinder Economics Breakdown
| Grinder Tier | Burr Cost | Labor (DIY) | Labor (Shop) | Break-Even Point |
|---|---|---|---|---|
| Entry ($100) | $25-40 | Free | $30-50 | 1.5 years |
| Mid-Range ($300) | $45-75 | Free | $50-75 | 3+ years |
| High-End ($800+) | $100-200 | Free | $100-150 | 5+ years |
Key insight: For grinders under $200, replacement makes sense only if <2 years old. For premium models, burr swaps extend life cost-effectively.
Commercial Grinder Reality Check
In café settings, burr replacement is non-negotiable for quality control. Factor in:
– Downtime cost: $50-$100/hour during service
– Consistency loss: 15% drop in customer retention with inconsistent shots
– Hidden savings: Fresh burrs reduce coffee waste by 20% through better extraction
Most specialty cafés schedule burr replacement at 1,500 pounds throughput—regardless of calendar time.
Manufacturer Guidelines Decoded
Finding Your Model-Specific Thresholds
- Check manual appendix for “burrs” or “wear indicators”
- Search “[Your Model] burr lifespan” on manufacturer forums
- Call support directly—ask: “What throughput triggers replacement?”
Example: Baratza specifies 500-1,000 pounds for Encore steel burrs but notes “taste degradation may occur at 300 pounds with oily beans.”
Why Commercial Timelines Don’t Apply to Home Use
Commercial grinders run at 90% capacity with continuous duty cycles. Home grinders experience thermal cycling (heat/cool) that causes different wear patterns. A Nuova Simonelli grinder in a busy café needs burrs at 1,200 pounds, while the same model at home might last 4,000 pounds. Never apply commercial timelines to home equipment—they’re engineered for different stress profiles.
Final Note: Your burrs don’t care about calendar dates—they respond to coffee pounds, bean oils, and humidity exposure. Start tracking monthly coffee weight today using a kitchen scale (just multiply daily grams by 30). When you notice inconsistent grinds despite cleaning, inspect burrs with the 45-degree light test. For most home users, replacement falls between 500-1,500 pounds—but your taste buds are the ultimate indicator. If espresso shots feel “off” with no explanation, swap burrs before chasing phantom tamp or dose issues. One last pro move: keep old burrs as emergency spares—they’ll still outperform severely worn ones in a pinch. Now go reclaim your perfect extraction.


