
You’re staring at another jar of store-bought peanut butter loaded with palm oil and added sugars, wondering why something so simple requires a chemistry degree to understand. What if you could create velvety-smooth homemade peanut butter in blender form using just one ingredient and your countertop appliance? The truth is, transforming roasted peanuts into luscious spreadable butter takes less time than your morning coffee brews—and costs pennies per jar. Forget complicated recipes; this method skips unnecessary steps while guaranteeing that rich, fresh-roasted flavor you’ve been missing.
Most failed attempts happen because people use underpowered blenders or quit too early when the mixture looks crumbly. But when you understand the exact transformation stages—from coarse crumbs to warm liquid gold—you’ll never waste another batch. In this guide, you’ll discover how to leverage your blender’s power to extract natural peanut oils without additives, plus troubleshooting tricks for perfect texture every time. Whether you’re avoiding allergens, saving money, or craving honey-cinnamon swirls, your blender is about to become a peanut butter factory.
Blender Requirements for Perfect Peanut Butter Every Time

Your blender’s motor must handle sustained high-speed processing without burning out. Standard blenders often fail because peanuts create dense resistance that stalls weaker motors. Before starting, test your appliance: if it pulverizes ice effortlessly, it can process peanuts. Vitamix, Blendtec, and Ninja models with 1000+ watt motors excel here, but even mid-range models work if you follow timing guidelines.
Critical features for success:
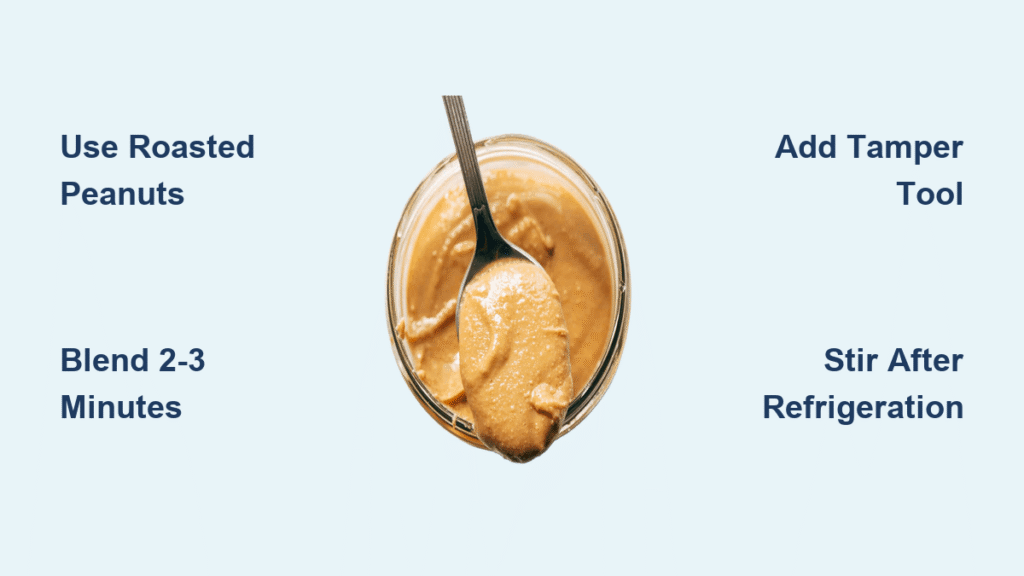
– Tamper tool: Essential for pressing peanuts toward blades during blending
– Variable speed control: Start low, then ramp to medium-high
– Container fill level: Never exceed ¾ full (2 cups peanuts max)
Without a tamper, pause every 30 seconds to scrape sides with a silicone spatula. Food processors work as a backup but require 50% more blending time and yield thicker results. If using one, expect the mixture to form a stubborn ball before smoothing out—this is normal.
Why High Power Matters for Homemade Peanut Butter in Blender
Peanuts release oils through friction heat generated during blending. Weak motors can’t maintain speed, causing peanuts to absorb heat instead of releasing oil. This creates a dry, crumbly mess that never transforms. High-powered blenders generate consistent friction, hitting the 140°F internal temperature needed for oil release within 90 seconds. If your blender overheats, stop immediately and let it cool 15 minutes before continuing in 60-second bursts.
Choosing the Best Peanuts for Blender Peanut Butter
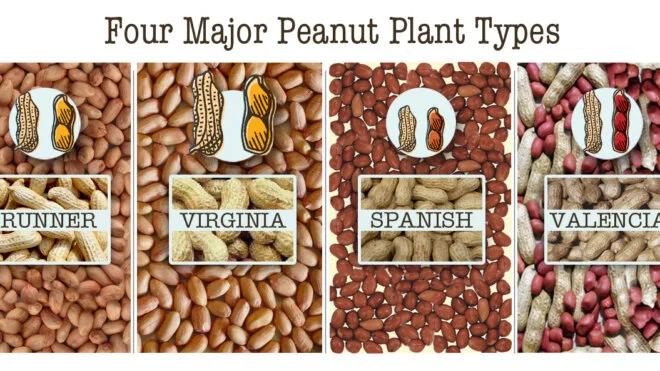
Dry-roasted peanuts deliver superior results because their pre-released oils accelerate the blending process. Spanish peanuts are ideal when available—they contain 45% oil versus standard peanuts’ 40%, creating naturally creamier butter. Avoid cocktail peanuts with added oils; these cause greasy separation. Raw peanuts work too but require home roasting first to develop flavor and oil content.
Roasted vs. raw comparison:
– Roasted peanuts: Skip roasting step, yield sweeter butter in 2 minutes
– Raw peanuts: Require 20-25 minute oven roast at 350°F first
– Honey-roasted: Creates pre-sweetened butter (reduce added sweeteners)
For smoothest texture, rub warm roasted peanuts in a kitchen towel to remove skins. This step is optional but eliminates graininess. Never use salted peanuts if controlling sodium—unsalted gives you complete flavor customization.
Home Roasting Technique for Raw Peanuts
Preheat oven to 350°F. Spread raw peanuts in a single layer on a baking sheet. Roast 20-25 minutes, stirring twice for even browning. Cool 10 minutes before blending—warm peanuts release oils faster. Test doneness by snapping a peanut; it should break cleanly without bending. Over-roasting creates bitter butter, while under-roasting prolongs blending time.
Blending Raw Peanuts into Smooth Butter: A 3-Minute Process
Start with 2 cups (299g) dry-roasted peanuts in your blender—this fills the container halfway, ensuring proper circulation. Pulse 8-10 times on low speed until uniformly chopped. This critical step prevents motor strain and creates consistent particle size for even oil release. Now increase to medium-high speed while using the tamper to continuously press peanuts toward the blades.
Watch these transformation stages:
1. 0-30 seconds: Dry crumbs that won’t stick together
2. 60-90 seconds: Thick, crumbly paste that forms clumps
3. 90-120 seconds: Darkening paste that pulls away from sides
4. 120-180 seconds: Warm, runny liquid that coats the container
Stop blending when the mixture becomes warm to the touch and appears almost too thin—this signals complete oil release. It will thicken dramatically when chilled. Adding salt (¼-½ tsp) or sweeteners (2 tsp honey) during the final 5-second pulse prevents graininess. Never add liquids earlier; they interfere with natural oil extraction.
Customizing Your Homemade Peanut Butter: Crunchy and Flavored Varieties
For crunchy texture, reserve ½ cup peanuts before initial blending. Process remaining peanuts to smoothness, then add reserved pieces and pulse 3-4 times. Pulse longer for finer chunks. This technique preserves texture without over-processing the base butter.
Flavor boosters to add after smoothness:
– Chocolate: 2 tbsp cocoa powder + 1 tsp vanilla
– Honey-Cinnamon: 1 tsp cinnamon + 1 tbsp honey
– Protein Power: 2 scoops unflavored protein powder
– Spicy Kick: ½ tsp cayenne + smoked paprika
Kid-friendly customization: Let children choose mix-ins during the final pulse. Supervise closely—quick 2-second pulses teach texture control without turning additions to dust. For nut allergies, substitute sunflower seeds using identical timing.
Storing Homemade Peanut Butter to Prevent Rancidity
Transfer warm butter directly into 16 oz glass mason jars, filling to the brim to minimize air exposure. Refrigeration is non-negotiable for longevity—room temperature storage risks rancidity within 2 weeks. Properly stored, your homemade peanut butter in blender form lasts 3 months in the fridge (6 months in the freezer).
Texture management tips:
– Refrigerated butter: Takes 30 minutes at room temperature to spread easily
– Oil separation: Natural occurrence—stir thoroughly before each use
– Freezing: Portion into ice cube trays, then transfer cubes to freezer bags
– Never thaw at room temperature: Move frozen portions to fridge overnight
Glass jars prevent flavor absorption better than plastic. Discard if you detect paint-like odors or bitter tastes—these signal rancidity from oil oxidation.
Fixing Grainy or Dry Peanut Butter in Your Blender
:max_bytes(150000):strip_icc()/20250707-SEA_Hardy_PeanutButterLoveLetter-5e3b22761b4a48ec8d9f66114315980c.jpg)
Graininess almost always means insufficient blending time. Return the mixture to your blender and process 60-90 seconds more—you’ll hear the motor pitch drop as oils release. If your blender overheats, let it cool 15 minutes before continuing in 30-second bursts. Never add oil; fresh peanuts contain 45% natural fat that just needs more friction to liquefy.
Troubleshooting flowchart:
– Crumbly texture? → Blend 60 seconds more
– Stuck in ball formation? → Scrape down sides, add 1 tsp water
– Motor smoking? → Stop immediately—appliance is underpowered
– Still dry after 5 minutes? → Peanuts are too old (moisture depleted)
Older blenders may require resting between 90-second intervals. If problems persist, switch to a food processor—you’ll get thicker but still edible results.
Why Making Peanut Butter in a Blender Saves $100 Annually
A 16 oz bag of dry-roasted peanuts ($3.50) yields 14 oz of homemade peanut butter in blender form—versus $7.99 for premium store brands. For households using two jars monthly, this equals $106 in annual savings. Buying 5 lb peanut bags drops costs to $2.25 per batch. But the real value is in control: zero palm oil, customizable sweetness, and no cross-contamination risks for allergy sufferers.
Quality comparison highlights:
– Freshness: Homemade tastes roasted that day versus months-old commercial
– Nutrition: Identical protein (4g/tbsp) without added sugars
– Customization: Tailor salt levels for dietary needs
– Eco-impact: Reuse jars instead of disposable packaging
Your blender pays for itself in under six months of regular use. Start small with single batches to perfect your technique before scaling up.
Pro Tips for Foolproof Homemade Peanut Butter Every Batch
Trust the process when your mixture looks like failure at the 90-second mark—that crumbly stage is essential before transformation. Always use room-temperature peanuts; cold nuts resist oil release. For ultra-smooth results, blend an extra 30 seconds after adding seasonings. Chill overnight before judging texture—it thickens 40% when cold.
Time-saving shortcuts:
– Roast 2 lbs peanuts at once for 4 batches
– Store pre-portioned peanut cups in freezer
– Label jars with “best by” dates (3 months from made date)
– Freeze single-serve cubes for smoothies
Once mastered, experiment with almond-peanut hybrids or espresso-infused versions. Your homemade peanut butter in blender journey starts with two cups of peanuts and three minutes of blending—no special skills required. The moment you spread that first spoonful of warm, fresh butter on toast, you’ll wonder why you ever bought the store version. Ready to transform your pantry? Grab your blender and a bag of peanuts—your perfect batch awaits.


