
There’s nothing quite like the bright, tangy flavor of fresh apple juice made in under 15 minutes using only your kitchen blender. Forget expensive juicers or store-bought bottles loaded with preservatives—this cold-pressed method captures the essence of sun-ripened apples while preserving vital antioxidants destroyed by commercial pasteurization. When you make homemade apple juice with blender technology, you control every element: the apple varieties, sweetness levels, and even texture. Best of all, it transforms ordinary kitchen tools into a juice factory that yields crystal-clear, vibrant liquid bursting with orchard-fresh flavor. You’ll discover why thousands ditch bottled juice after tasting their first glass of this simple, nutrient-dense refreshment.
Most people assume juicing requires specialty equipment, but your existing blender unlocks a world of pure, unadulterated apple goodness. This technique mimics professional cold-press methods by mechanically breaking down fruit cells without heat, retaining up to 30% more vitamin C and polyphenols than heat-processed alternatives. Whether you’re using backyard apples or grocery store finds, this guide shows exactly how to convert crisp fruit into refreshing juice while avoiding common pitfalls. Get ready to experience apple juice that tastes like biting into a freshly picked orchard treasure—no special gadgets required.
Select Apple Varieties for Maximum Juice Yield
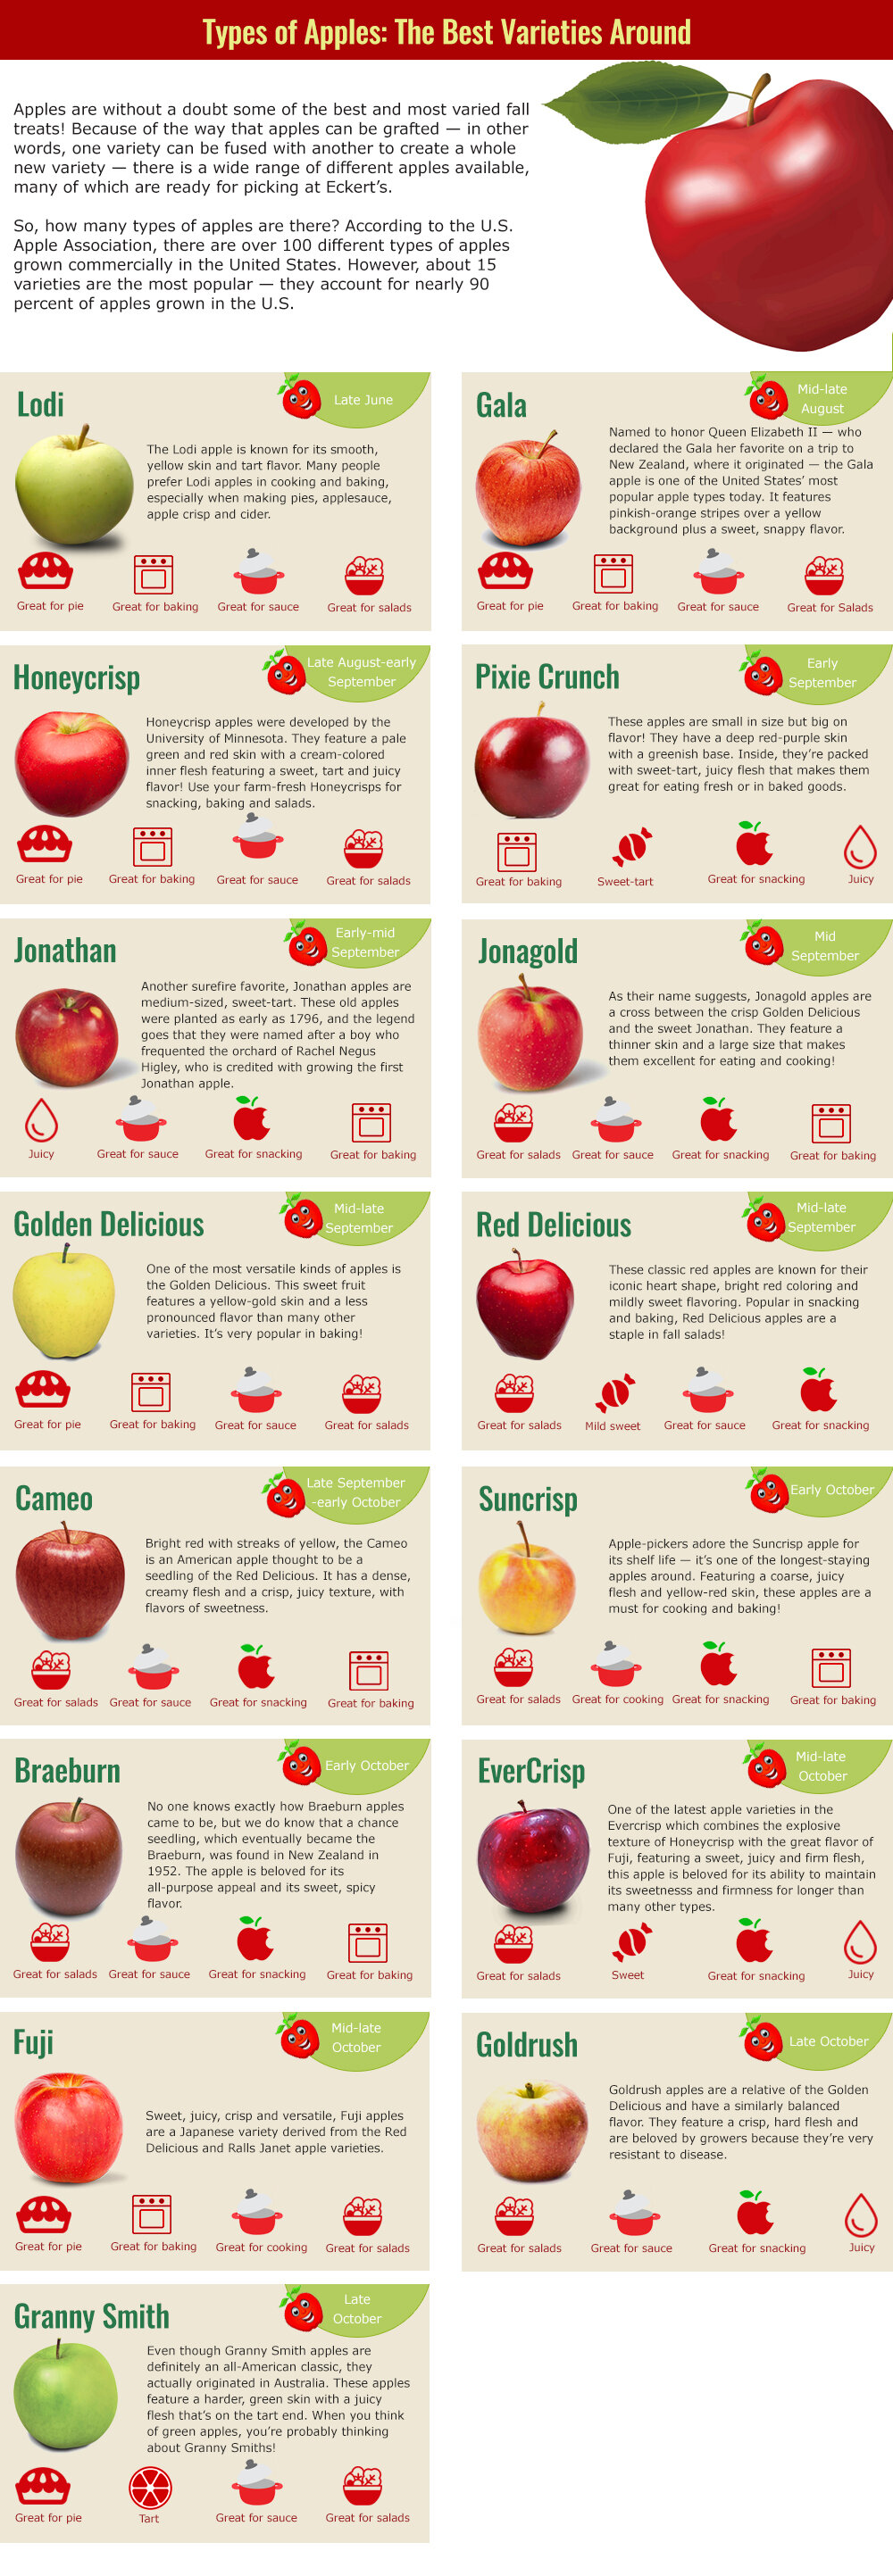
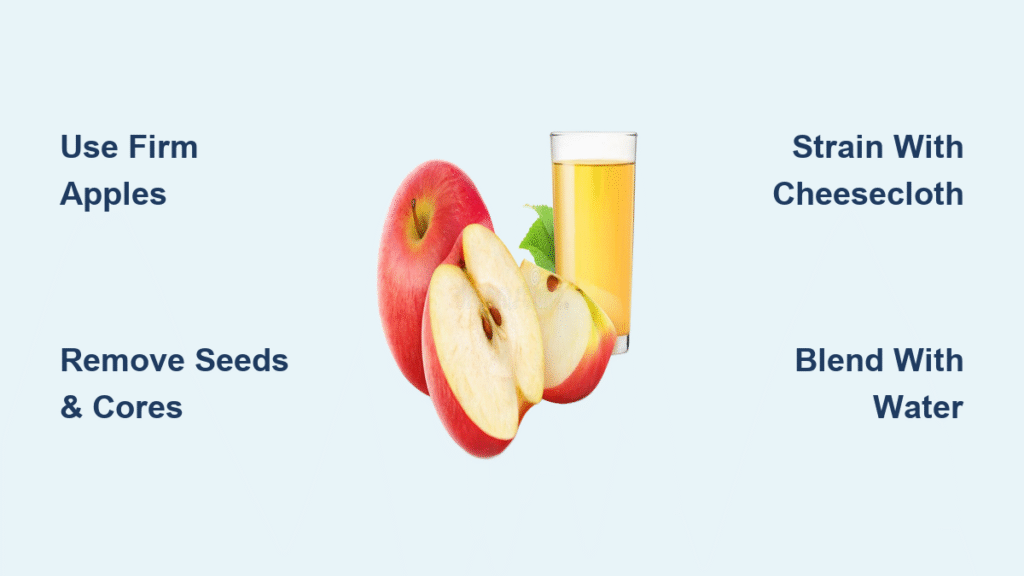
Your apple choice directly impacts flavor complexity and liquid output. Sweet varieties like Honeycrisp and Fuji deliver crowd-pleasing juice with natural sugars that rarely need sweetening, while tart Granny Smiths add vibrant acidity that balances richer blends. For restaurant-quality results, combine three apples in a 2:1 sweet-to-tart ratio—try two Fujis with one Braeburn for that perfect sweet-tart harmony. Avoid mealy or soft-skinned apples, as they produce less juice and create bitter undertones during straining.
Spotting Premium Apples at Market
Examine apples closely for firmness, smooth skin, and vibrant color—wrinkled or bruised specimens indicate reduced juice content. Organic apples eliminate pesticide concerns, but thoroughly scrub conventional ones with a vegetable brush to remove wax coatings that interfere with straining. Remember: firmer apples like Pink Lady yield 20% more liquid than softer varieties like McIntosh. When in doubt, gently press the apple’s flesh; if it gives slightly without denting, it’s juicing perfection.
Assemble Minimalist Juicing Equipment
Skip expensive juicers—your blender handles everything when paired with smart straining tools. A standard high-speed blender pulverizes apples into fine pulp, while a nut milk bag or triple-layered cheesecloth extracts every drop without pulp residue. Keep water nearby for quick cleanup, as dried apple fibers become stubborn overnight. This entire setup costs less than $15 if you repurpose household items: a clean nylon stocking works as a strainer, and any glass jar stores juice beautifully.
Pro tip: Warm your cheesecloth under running water before straining—it becomes more pliable and extracts 15% more juice through improved fiber compression.
Prep Apples for Optimal Blending
Core and Chop for Safety and Efficiency
Start by washing apples under cool running water for 30 seconds while scrubbing with a vegetable brush. Peel waxed store-bought apples (organic ones can keep skins for extra fiber). Crucially, remove all seeds and cores—apple seeds contain amygdalin, which converts to trace cyanide when crushed. Cut into uniform 1-inch chunks to prevent blade strain and ensure even blending. Discard any brown or bruised sections, as they impart bitterness to your final juice.
Safety note: Never blend whole apples—cores can damage blender blades and seeds create toxic compounds. Work methodically: peel one apple while the next soaks, then core and chop in batches.
Master the Blending Technique
Achieve Perfect Pulp Consistency
Add apple chunks to your blender, filling no more than three-quarters full to prevent overflow. For every two to three apples, pour in ⅓ cup filtered water—this lubricates the blades without diluting flavor. Pulse twice to break large pieces, then blend continuously for 45-60 seconds until completely smooth. Stop and scrape sides once if needed, but avoid over-blending which heats the juice and oxidizes nutrients. The ideal texture resembles thick applesauce with zero visible chunks.
Troubleshooting tip: If mixture stalls, add water by the tablespoon until it flows. For tart Granny Smiths, include a peeled pear to boost natural sweetness during blending.
Extract Every Drop with Professional Straining

Fine Mesh Method for Quick Results
Place a fine-mesh strainer over a large bowl and ladle in small batches of apple puree. Press firmly with a rubber spatula, working the pulp against the mesh in circular motions until it turns dry and crumbly. This yields clear juice in minutes but sacrifices about 10% of potential liquid. Reserve the spent pulp for baking—it’s packed with fiber.
Cheesecloth Technique for Maximum Yield
For commercial-quality clarity, line your strainer with three layers of damp cheesecloth or a nut milk bag. Pour puree into the cloth, gather the edges, and twist while applying steady downward pressure. Squeeze until no liquid drips—this extracts 25% more juice than mesh straining alone. For stubborn pulp, place the bag in a colander over your bowl and weigh it down with a heavy can.
Double Extraction to Eliminate Waste
Don’t discard strained pulp immediately! Return it to the blender with ¼ cup water, pulse for 10 seconds, and strain again. This second pass captures residual juice while producing pulp perfect for muffins or smoothies. You’ll gain an extra ¼ cup liquid per three apples—enough for a bonus shot of antioxidants.
Customize Flavor Without Added Sugar
Taste your juice before adjusting—most sweet apple blends need zero enhancement. If balancing tart varieties like Granny Smith, stir in ½ teaspoon honey per cup rather than refined sugar. For depth, include a ¼-inch ginger slice during blending or add a cinnamon stick to the finished juice. Create signature blends: mix equal parts apple and pear for delicate sweetness, or add orange segments for citrus zing. Always serve over ice to heighten refreshing qualities.
Pro tip: Refrigerate juice for 1 hour before serving—it concentrates flavors as subtle sediment settles.
Store Juice for Peak Freshness
Refrigeration Best Practices
Transfer juice immediately to sterilized glass jars with airtight lids. Consume within 24 hours for vibrant flavor and maximum nutrient retention—after day two, oxidation dulls taste and reduces antioxidants. If thickening occurs during chilling, stir in 1-2 tablespoons water. Never store more than three days; discard if bubbles or cloudiness appear.
Freezing for Long-Term Enjoyment
Pour juice into ice cube trays and freeze solid (4 hours). Transfer cubes to labeled freezer bags for up to three months. Use frozen cubes to chill fresh juice without dilution, or drop two into smoothies for instant apple infusion. Thaw overnight in the fridge for undiluted drinking.
Transform Leftover Pulp into Value

Your strained pulp isn’t waste—it’s a fiber powerhouse. Fold ½ cup into muffin batter for natural sweetness and moisture retention, or replace ¼ cup oil in banana bread recipes. For oatmeal cookies, mix pulp with rolled oats to create chewy texture while reducing fat content. Blend frozen pulp cubes into protein shakes, or simmer with sugar and spices for quick apple butter. Gardeners can compost pulp to enrich soil with potassium and pectin.
Calculate Precise Juice Yields
Track your output: three medium apples (about 1.5 pounds) yield exactly 1 cup (8 ounces) of pure juice. Scale recipes using this ratio—six apples make two cups, ideal for sharing. Account for apple density: Fuji and Honeycrisp deliver more liquid than softer varieties like McIntosh. For single servings, use two apples to produce 1¼ cups—enough for a generous glass with leftovers for freezing.
Time-saver: Weigh apples instead of counting—24 ounces raw fruit equals 8 ounces juice.
Fix Common Juicing Problems
Troubleshoot Flavor Issues Immediately
Too sour? Blend in leftover pulp from sweet varieties or add ½ teaspoon maple syrup per cup. Overly sweet juice benefits from a splash of lemon juice or extra tart apples next time. Bland results mean you used only one apple type—always combine sweet and tart varieties. If juice turns brown rapidly, you blended with seeds; remove cores meticulously.
Simplify Equipment Cleanup
Prevent dried pulp buildup by rinsing the blender immediately. Fill halfway with warm water and one drop of dish soap, then blend for 30 seconds before hand-washing. For stubborn strainer residue, soak in vinegar-water solution (1:1 ratio) for 10 minutes before scrubbing. Never put nut milk bags in the dishwasher—they degrade quickly.
Enjoy Superior Nutritional Benefits
Each 1¼ cup serving delivers 114 calories from natural fruit sugars, 28g carbohydrates for sustained energy, and 1g fiber—even strained juice retains gut-friendly pectin. With zero fat and just 10mg sodium, it’s a hydrating alternative to sugary sodas. Crucially, cold-pressed blender juice preserves heat-sensitive quercetin and epicatechin antioxidants lost in commercial pasteurization. These compounds support heart health and reduce inflammation—proving that fresh, homemade apple juice with blender methods isn’t just delicious, it’s medicinal.
Making homemade apple juice with blender transforms ordinary kitchen tools into a nutrient-preserving powerhouse. You’ve seen how just apples, water, and 15 minutes create vibrant juice that outshines store-bought versions in flavor and health benefits. Start small with two apples today—your first sip of orchard-fresh liquid sunshine will hook you forever. Remember to share your favorite apple combinations in the comments, and explore our companion guide on using leftover pulp for zero-waste baking. The juicing revolution begins right in your blender bowl.


