
When your Hitachi angle grinder suddenly stops working mid-project, the frustration is real. These powerful tools are essential for metalworkers, construction professionals, and DIY enthusiasts, but like any power tool, they develop problems that can bring your work to a halt. Understanding how to diagnose and fix common Hitachi grinder issues saves you both time waiting for service and money on unnecessary repairs. This guide reveals step-by-step solutions for the most frequent grinder failures, helping you get back to work faster with minimal downtime.
Hitachi grinders typically fail in predictable patterns that point directly to specific components. Rather than randomly replacing parts or immediately taking your tool to a service center, you can systematically identify the exact problem through careful observation and targeted testing. Most failures stem from four key areas: motor components, electrical connections, wear parts, and mechanical assemblies. By learning to recognize the symptoms associated with each failure type, you’ll repair your grinder efficiently and avoid costly mistakes.
Why Your Hitachi Grinder Won’t Start and How to Fix It

A non-starting grinder creates immediate workflow disruption and often stems from simple, fixable issues rather than major component failure. Before assuming the worst, methodically check these common culprits in order of likelihood. Begin with the most accessible components and work toward more complex possibilities.
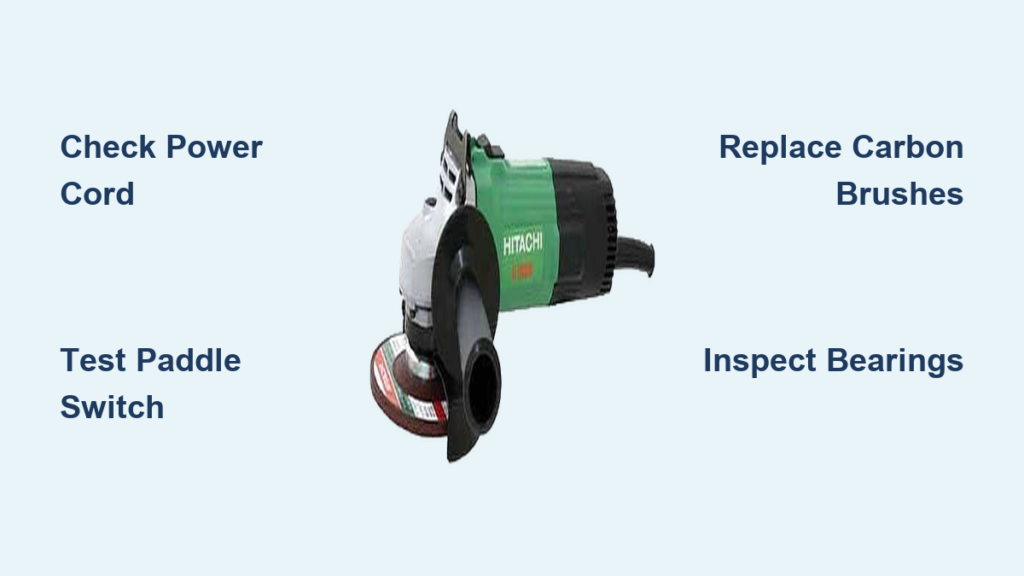
First, verify power delivery to your grinder. Plug a different tool into the same outlet to confirm power availability, then inspect your grinder’s power cord for cuts, kinks, or fraying that might interrupt current flow. If the cord appears damaged at either end, replace it with an identical gauge and length cord rated for your grinder’s amperage. Many Hitachi models use standardized cord connections that simply plug into internal terminals, making replacement straightforward.
Testing the Switch Assembly
The paddle switch on Hitachi grinders experiences constant use and represents one of the most common failure points. When your grinder won’t start but shows no other symptoms, the switch should be your next diagnostic target. Access the switch by removing the handle housing screws and carefully separating the two halves. Using a multimeter set to continuity mode, test the switch by pressing the paddle while checking for circuit completion.
A functioning switch shows zero resistance when activated and infinite resistance when released. If your meter indicates partial resistance or inconsistent readings, replace the switch with an exact Hitachi OEM part. Generic replacements often fail prematurely due to inferior materials and improper electrical ratings. When installing the new switch, note wire positions carefully—most Hitachi grinders use a simple two-wire configuration where field coil leads connect directly to switch terminals.
Fixing Intermittent Operation in Hitachi Grinders
Grinders that start and stop unexpectedly during use create dangerous working conditions and point directly to carbon brush problems. These small components wear down through normal operation and eventually fail to maintain consistent electrical contact with the armature. The good news is that brush replacement ranks among the simplest Hitachi grinder repairs, requiring minimal tools and no complete disassembly.
Access the brushes by removing the small caps located on the motor housing sides. These caps typically twist off or slide out depending on your model. Inspect both brushes—they should measure at least 1/4 inch in length with smooth contact surfaces. Worn brushes develop notches that match the commutator profile, causing intermittent contact as the armature rotates. Replace both brushes simultaneously, even if only one appears significantly worn, to ensure balanced electrical contact.
Diagnosing Armature Problems
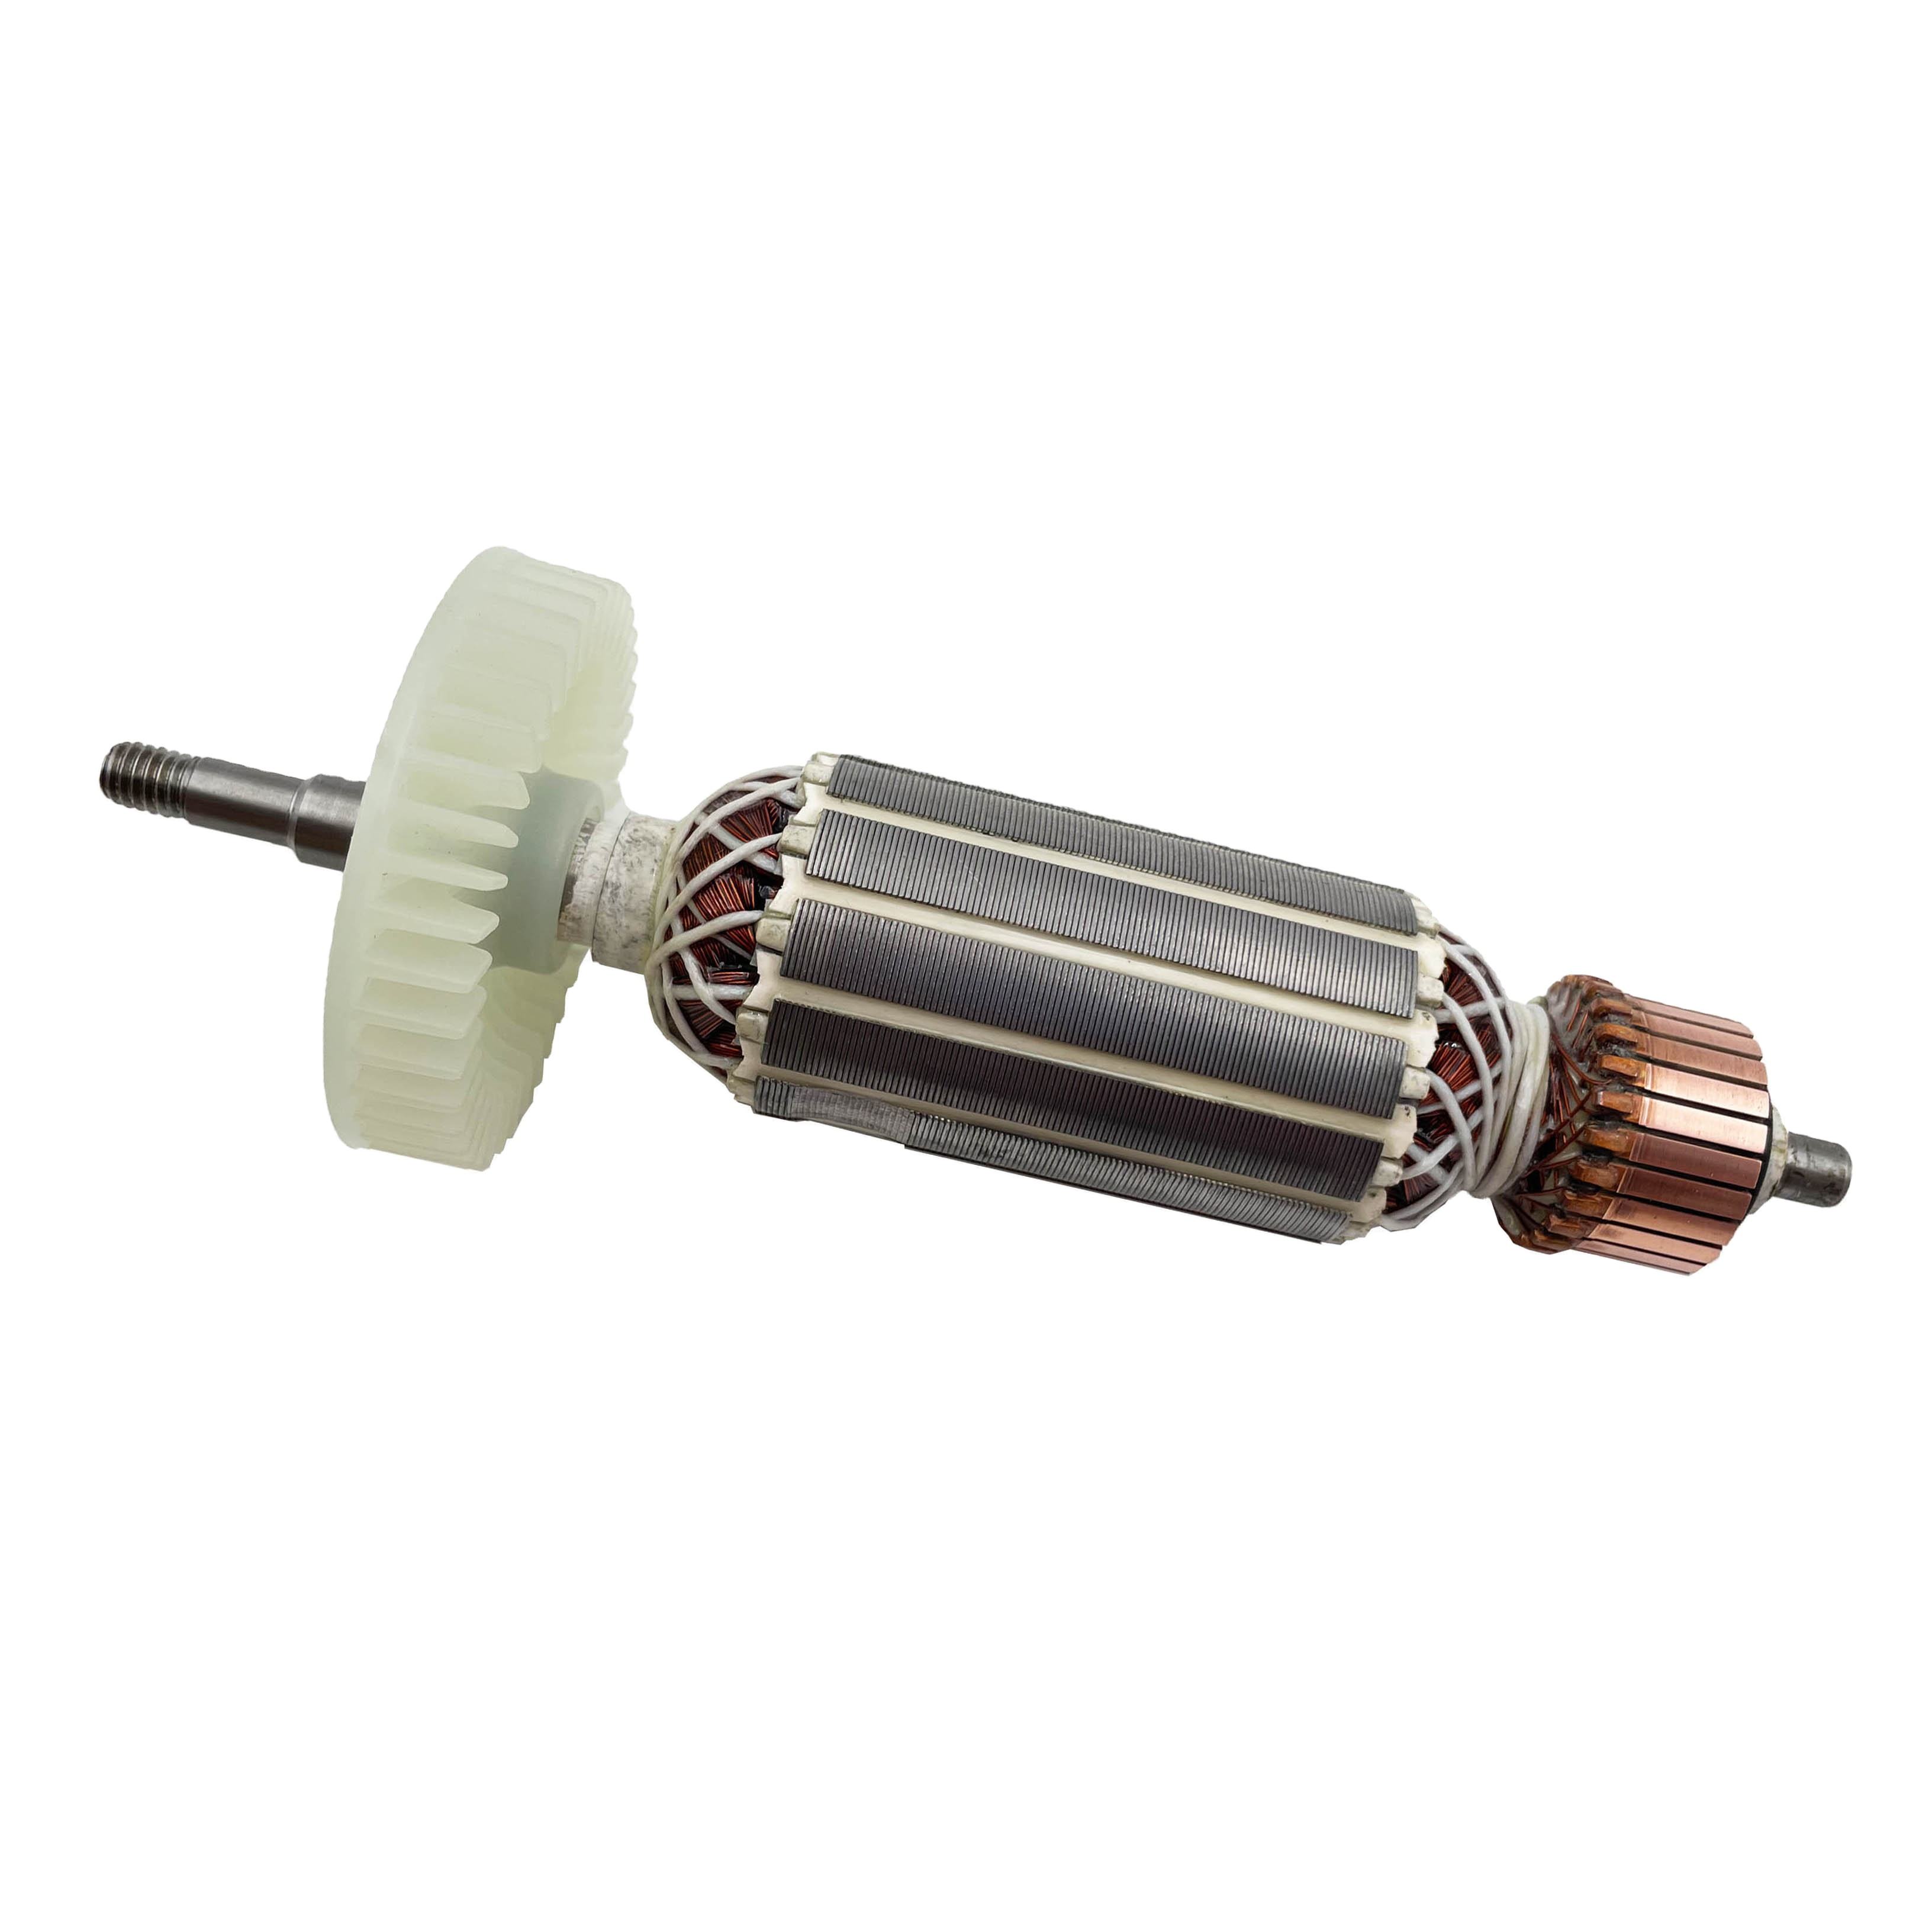
If brush replacement doesn’t resolve intermittent operation, the problem likely involves the armature. Excessive sparking combined with inconsistent power delivery suggests commutator damage or winding failures. Remove the armature by separating the motor and gear housings, then inspect the commutator bars for pitting, scoring, or uneven wear.
A healthy commutator shows smooth, evenly spaced copper bars with a uniform golden-brown patina. Light surface damage can often be repaired using a commutator stone to smooth imperfections, but deeply pitted or burned bars indicate serious armature damage requiring replacement. Test for winding failures by checking continuity between adjacent commutator bars—any open circuits mean the armature needs replacement as internal repairs aren’t feasible for most users.
Solving Excessive Vibration in Hitachi Angle Grinders
Vibration that exceeds normal operation levels creates safety hazards and accelerates component wear throughout your grinder. This symptom typically indicates bearing failure or a bent arbor, both requiring immediate attention to prevent further damage. Don’t continue using a vibrating grinder—this compounds the problem and risks damaging other components.
Begin diagnosis by removing the grinding wheel and guard to isolate the vibration source. Start the grinder without the wheel attached—if vibration persists, the problem lies within the motor or gear assembly. If vibration only occurs with the wheel installed, check wheel mounting surfaces for debris and ensure the wheel fits properly on the arbor without wobble.
Bearing Replacement Procedure
Worn bearings produce distinctive rumbling or grinding sounds that intensify under load. To replace them, support the armature on wooden blocks with the bearing positioned over an appropriately sized hole. Use a bearing puller to remove the old bearing, applying force only to the inner race. Never hammer bearings off, as this damages the armature shaft.
Install new bearings by pressing only on the outer race using a bearing driver or properly sized socket. Warm the new bearing slightly in warm oil (never exceeding 250°F) to expand it for easier installation. After pressing into place, verify the bearing spins freely without roughness or play. Proper bearing installation prevents premature failure and ensures smooth operation.
Essential Maintenance to Prevent Future Failures
Regular maintenance extends your Hitachi grinder’s service life significantly and prevents many common failures before they occur. After each use, thoroughly clean dust from air vents and internal components using compressed air—accumulated debris causes overheating that damages windings and bearings. Pay special attention to the brush area, as graphite dust buildup creates electrical leakage paths that reduce performance.
Inspect carbon brushes monthly for frequent users or quarterly for occasional use. Replace brushes when they reach half their original length rather than waiting for complete failure—this prevents commutator damage from worn brush springs losing contact pressure. Store your grinder in a dry location protected from moisture and temperature extremes, as humidity causes internal corrosion that accelerates component failure.
Proper Operating Techniques
How you use your grinder significantly impacts its longevity. Never force the tool through material—allow the grinding wheel to work at its natural speed. Forcing creates excessive heat that damages bearings and windings while reducing cutting efficiency. Use appropriate wheel types and sizes for your application, as mismatched wheels create vibration that stresses internal components.
Always start your grinder without load whenever possible. Hitachi grinders draw maximum current during startup, and beginning under load stresses windings and bearings beyond design specifications. Allow the tool to reach full speed before contacting your workpiece, and release the trigger before the wheel stops completely. These simple techniques dramatically extend your grinder’s operational life.
When to Seek Professional Repair Services
While many Hitachi grinder repairs are DIY-friendly, certain situations warrant professional attention. Armature rewinding, field coil replacement, and major gear assembly repairs require specialized equipment and expertise that most users lack. If you’re uncomfortable working with live electrical components or lack the proper diagnostic tools, consult a qualified power tool technician.
Consider the cost-benefit ratio before investing significant time and money into repairs. For older or lower-end Hitachi models, the cost of multiple replacement parts may approach the price of a new tool. Research current pricing for your specific model before committing to extensive repairs—sometimes replacement proves more economical than restoration.
For critical repairs involving safety components like the guard mechanism or wheel retention system, professional service ensures proper function and maintains your tool’s safety certifications. Never compromise on safety-critical components—proper installation and calibration matter significantly for your protection during operation.
When your Hitachi grinder acts up, methodical diagnosis beats random part replacement every time. By understanding the specific symptoms associated with common failures—from non-starting conditions to dangerous vibrations—you can efficiently restore your tool to full functionality. Remember that regular maintenance prevents most failures before they occur, saving you both time and money in the long run. Keep your grinder clean, inspect wear components regularly, and operate within design parameters to maximize service life. For complex electrical issues or safety-critical components, don’t hesitate to consult a professional—your safety is always worth the investment. With these repair and maintenance strategies, you’ll keep your Hitachi grinder working reliably for years to come.


