
You’ve got a bag of fresh steak in the freezer and burger night planned—but no meat grinder. Before you clear counter space for that bulky appliance, try this: Your Ninja blender can transform raw meat into restaurant-quality ground beef faster and cleaner than traditional methods. Thousands of home cooks now skip dedicated grinders entirely, using their Ninja to process chuck roast into flawless burger meat in under two minutes. Cleanup takes seconds, not the 30-minute chore of disassembling metal parts. If you’ve ever hesitated to grind meat at home due to complexity, this guide proves grinding meat with ninja blender is not only possible—it’s the smartest move for quality, convenience, and kitchen real estate. Discover why users report grinding chuck steak into “the best hamburger ever” while ditching their $100 meat grinders.
Freshly ground meat elevates everything from juicy burgers to savory meatballs, but quality control starts with your tool. Dedicated meat grinders force compromises: storage nightmares, tedious assembly, and sanitation risks from hidden crevices. Your Ninja blender eliminates these pain points while delivering superior texture control. This isn’t theoretical—experienced cooks with both Waring grinders and Ninja blenders confirm the Ninja “dances circles around it” for speed and results. By the end of this guide, you’ll master cold-temperature processing, pulse techniques, and container strategies to avoid pasty, over-processed meat. Let’s turn your everyday blender into a precision meat-grinding powerhouse.
Why Your Ninja Blender Beats Dedicated Meat Grinders Every Time
Setup Time: 2 Minutes vs 15 Minutes of Frustration
Forget wrestling with screws and plates. With grinding meat with ninja blender, you skip assembly entirely—just plug in, load meat, and pulse. Traditional grinders demand 15 minutes of meticulous part alignment before processing even begins, while Ninja users achieve ready-to-blend status in 60 seconds. This speed advantage isn’t just convenient; it eliminates the mental barrier that makes home grinding feel like a chore. One chef who tested both methods noted his Ninja handled steak-to-burger conversion before his dedicated grinder was fully assembled.
Cleanup That Takes Seconds, Not 30 Minutes
Dedicated meat grinders force you to scrub threaded parts and hidden crevices where bacteria hide. Your Ninja simplifies sanitation into a 30-second ritual: rinse the container, add hot water and dish soap, then blend for 10 seconds to scour blades. No disassembly means no missed spots. Crucially, all Ninja components are dishwasher-safe, but immediate post-use cleaning prevents dried residue. Pro tip: Never let meat sit in the container—rinsing within 2 minutes stops protein buildup that causes lingering odors.
Storage Freedom: One Appliance, Multiple Uses
Meat grinders live in cabinets or dominate counter space, but your Ninja stays accessible for daily smoothies, soups, and meat grinding. This multi-functionality eliminates single-use appliance clutter. One user’s testimonial captures the shift: “I kept my grinder in the garage because it was such a pain to set up. Now I grind meat weekly since my Ninja’s always on the counter.” That accessibility directly translates to better eating habits—you’ll grind fresh meat more often when the tool is instantly available.
Preparing Meat for Flawless Ninja Blender Grinding

Selecting the Best Cuts for Grinding
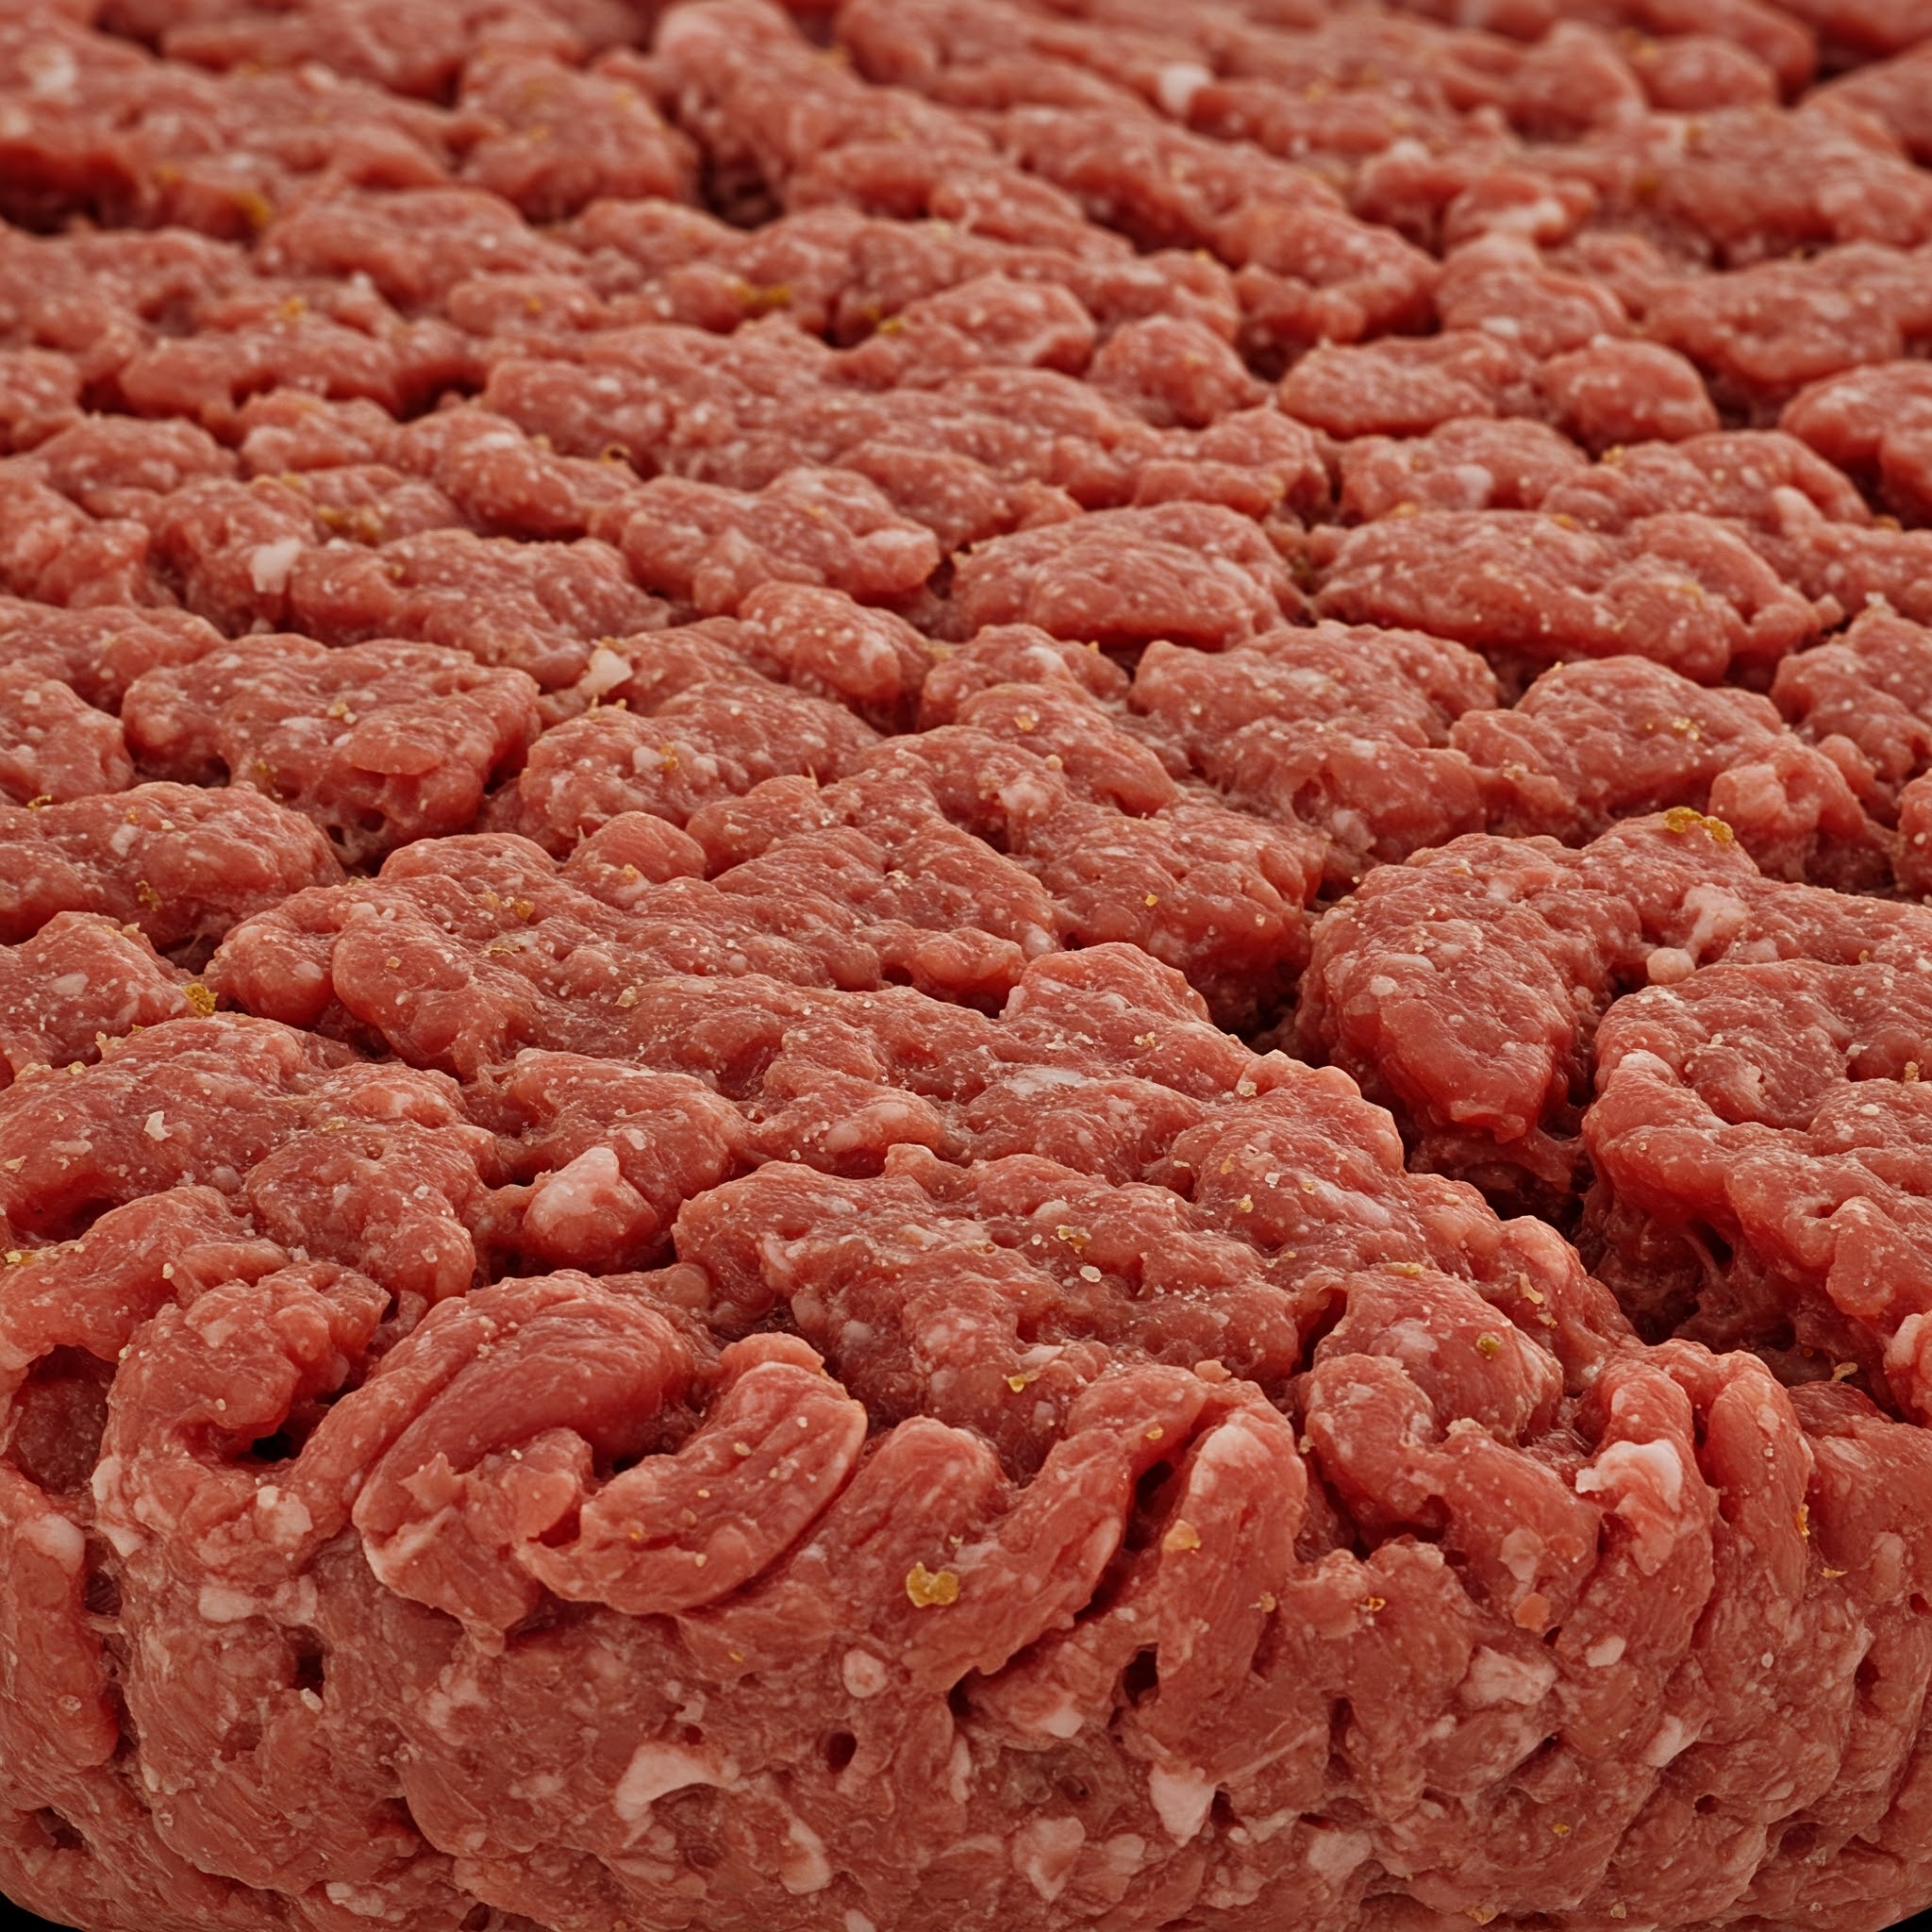
Start with boneless, low-fat cuts like chuck roast or sirloin for burgers, and skinless chicken thighs for poultry dishes. Avoid discounted mystery meat—the “tasted like liver” reports stem from poor-quality inputs, not the blender. For optimal fat content (15-20% for juicy burgers), trim visible fat from chuck roast before cutting. Never grind meat with bones; it risks blade damage and inconsistent texture. One pro tip: Freeze small steak portions specifically for grinding—they thaw faster and maintain ideal firmness.
Cutting and Chilling: The Secret to Perfect Texture
Cut meat into uniform 1-2 inch cubes while keeping it cold (35-40°F). Partially frozen chunks (thawed 10-15 minutes) prevent smearing during processing. Warm meat turns gummy as fat melts, so chill cubes in the freezer for 20 minutes pre-grinding if your kitchen runs warm. Crucially, never use room-temperature meat—it risks bacterial growth and ruins texture. Visual cue: Meat should feel firm but yield slightly when pressed; if it leaves residue on your fingers, it’s too warm.
Step-by-Step: Grinding Meat in Your Ninja Blender
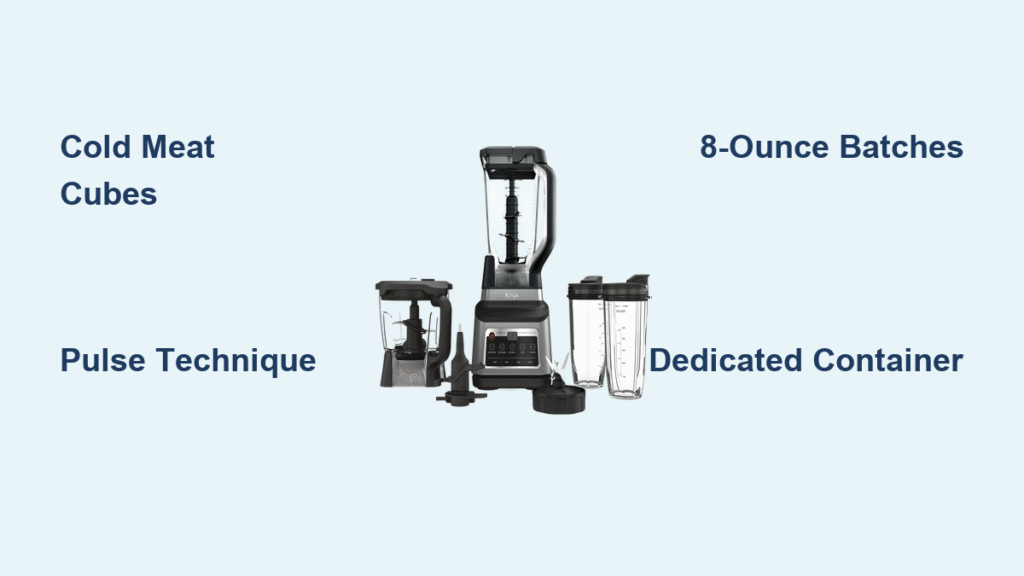
Batch Size: Why 8-12 Ounces Is the Sweet Spot
Overloading strains your motor and creates uneven texture. Fill the container no more than halfway—this equals 8-12 ounces per batch for most models. Larger batches force continuous blending to process all meat, leading to over-processed paste. For a family of four, grind in two batches rather than pushing capacity. Warning: If your Ninja sounds strained, stop immediately and reduce batch size. Smaller loads ensure clean cuts and extend motor life.
Mastering the Pulse Technique for Ideal Consistency
Continuous blending guarantees mushy results. Instead:
1. Load chilled meat cubes into a dedicated container
2. Secure the lid firmly (never skip this safety step)
3. Pulse for 1-2 seconds 3-4 times
4. Check texture—stop when particles resemble rice grains
5. Continue in 1-second pulses only if needed
Over-pulsing beyond 5-6 total pulses creates paste. Stop when you see distinct meat flecks; it will tighten when cooked. One user’s breakthrough came when they reduced pulses from 10 to 4, achieving “perfectly coarse ground beef” for burgers.
Choosing the Right Container for Meat Only
Dedicate one container exclusively to meat grinding to prevent cross-contamination and flavor transfer. Label it clearly—”MEAT ONLY”—and store it with the lid off to avoid moisture buildup. While both large and small containers work, the smaller one offers better control for 8-ounce batches. Never use containers that held strong-smelling ingredients (like garlic) without a baking soda soak first. This simple habit ensures your chicken thighs never taste like last night’s pesto.
Avoid These 3 Critical Meat Grinding Mistakes
Over-Processing: How to Stop Before It’s Mush
Mistake: Holding the pulse button continuously for “just a few more seconds.”
Consequence: Meat turns into a sticky paste that won’t form proper patties.
Fix: Set a mental timer—max 6 pulses total. After pulse #4, check texture. If chunks remain, do 1-2 more pulses max. Remember: Meat tightens when cooked, so slightly coarse is better than too fine.
Temperature Control: Keeping Meat Cold for Safety
Mistake: Using fully thawed meat straight from the fridge.
Consequence: Warm fat smears during grinding, creating a dense, unappetizing texture.
Fix: Chill meat cubes for 20 minutes pre-grinding. If meat warms mid-process (feels >40°F), pause and refrigerate for 10 minutes. Always handle meat with cold hands—rinse them in icy water first.
Starting with Low-Quality Meat: The Hidden Flavor Killer
Mistake: Using discounted “mystery meat” to save money.
Consequence: Off-flavors like “liver” notes ruin your grind, even with perfect technique.
Fix: Buy fresh, well-marbled cuts from trusted sources. For chuck roast, look for bright red color and fine fat marbling—not large white streaks. When in doubt, smell it; fresh meat has a clean, metallic scent.
30-Second Ninja Blender Cleaning After Meat Grinding
Immediate Rinse Method for Spotless Blades
Cleaning within 2 minutes prevents protein adhesion. Here’s the protocol:
1. Rinse container under hot running water to remove loose particles
2. Add 1 tsp dish soap + hot water to halfway fill the container
3. Blend for 10 seconds to scour blade assembly
4. Hand-wash or dishwasher—but never leave residue overnight
Critical warning: Skipping the immediate rinse invites bacterial growth in blade crevices. If meat dries, soak in vinegar-water solution before re-blending.
Dishwasher vs Hand-Washing for Longevity
While all parts are dishwasher-safe, hand-washing blades preserves sharpness longer. Place the blade assembly upside-down in soapy water—never stack containers on top, which dulls edges. For deep sanitizing, run an empty 30-second blend with 1 cup vinegar after cleaning. Store containers open to prevent musty odors from trapped moisture.
Why Home Cooks Are Ditching Meat Grinders for Ninja Blenders
Your Ninja blender transforms meat grinding from a specialized chore into an effortless kitchen habit. By prioritizing cold meat, precise pulsing, and dedicated containers, you’ll achieve texture control that rivals commercial grinders—without the cleanup agony. Start small with 8 ounces of chuck roast, master the pulse rhythm, and freeze portions immediately. Within weeks, you’ll wonder why you ever stored a single-use grinder. Remember: Freshly ground meat isn’t a luxury—it’s the secret to burgers that taste like they came from a $200 restaurant. With your Ninja, that quality is now as simple as pressing a button. Keep your appliance accessible, your meat cold, and your pulses deliberate. Your perfect grind awaits.


