Ever struggled to describe a broken grinder component to customer service or search online for replacement parts? Knowing the exact names of angle grinder parts and accessories transforms frustrating guessing games into efficient repairs and upgrades. This comprehensive guide details every critical component from power switches to abrasive discs, ensuring you can communicate precisely about your tool’s needs. Whether you’re troubleshooting a malfunctioning switch, replacing worn carbon brushes, or selecting the right flap disc for weld smoothing, understanding grinder parts accessories name terminology puts you in control of your tool’s performance and longevity.
Professional fabricators and DIY enthusiasts alike waste valuable time when they can’t accurately identify grinder components. Imagine trying to explain “that round metal piece that holds the disc” instead of requesting an “inner disc flange.” This precise naming knowledge becomes essential when ordering replacement parts, as major brands like DeWalt, Makita, and Bosch use specific terminology for their components. By mastering these terms, you’ll navigate repair manuals with confidence, communicate effectively with technical support, and make informed purchasing decisions that extend your tool’s lifespan while enhancing your workflow efficiency.
How to Identify Critical Angle Grinder Control Components
Power Switch and Safety Mechanism Names
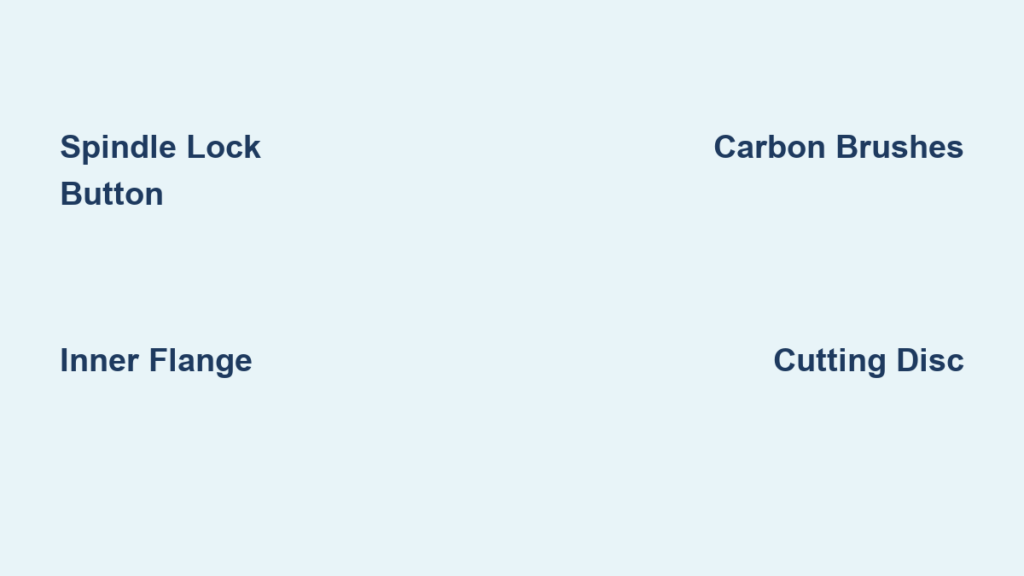
Your grinder’s power switch—often called the trigger or power lever—sits prominently on the main handle for immediate activation control. This critical component regulates electrical flow to the motor, allowing instant start/stop operation during precision work. Never confuse it with the lock button, which serves as a safety feature preventing accidental starts when the tool rests between tasks. Many modern grinders also incorporate a spindle lock button that immobilizes the rotating shaft during disc changes, eliminating the need for secondary tools to hold the spindle steady.
Handle System Terminology You Must Know
The main handle provides your primary grip point and houses most operational controls, designed ergonomically for your dominant hand. Distinguish this from the side handle (also called auxiliary handle), which screws into mounting points on either side of the grinder body for left- or right-handed operation. High-quality side handles feature textured rubber grips and prominent end caps that prevent slippage during aggressive cutting tasks. Recognizing these handle types ensures proper installation and optimal control during demanding applications where stability prevents accidents.
Essential Spindle and Disc Retention System Parts Explained

Flange Nut and Spindle Components Decoded
The spindle—the threaded metal shaft protruding from your grinder—connects directly to the motor and spins at high RPMs during operation. Standard M14 threading dominates among major brands including DeWalt and Makita, though always verify before purchasing accessories. The flange nut (or arbor nut) secures your abrasive disc to this spindle, requiring proper torque to prevent dangerous slippage. Never overtighten, as this can damage the nut threads or crack your grinding wheel during operation.
Inner and Outer Flange Identification Guide
The inner disc flange (backing flange) sits between the spindle and your abrasive wheel, providing critical stability during high-speed rotation. This flat metal component prevents wobbling that could compromise cut quality or cause disc shattering. The outer flange works with the flange nut to clamp the wheel securely in place. When changing discs, always inspect both flanges for cracks or warping—compromised flanges are among the most dangerous grinder parts accessories name issues that can lead to catastrophic failure.
Must-Know Abrasive Disc Types and Their Proper Names

Cutting and Grinding Wheel Terminology
Cut-off wheels (cutting discs) enable precise metal slicing with their thin, reinforced construction. These differ significantly from grinding discs, which feature thicker profiles designed for heavy stock removal and weld smoothing rather than through-cuts. Diamond blades represent specialized cut-off wheels with diamond-embedded edges for masonry and concrete applications where standard abrasives wear too quickly. Each type carries specific maximum RPM ratings—exceeding these limits causes dangerous disc disintegration.
Surface Preparation Disc Identification
Flap discs combine grinding and finishing capabilities through multiple overlapping abrasive layers, ideal for weld smoothing on metal surfaces. Sanding discs come in various grit ratings (36-100+), with aluminum oxide variants for metal and silicon carbide for harder materials. Clean and strip discs feature aggressive construction for rust and paint removal, preparing surfaces for coatings. Wire wheels (cup brushes or knotted wire variants) excel at corrosion removal but require different handling than abrasive discs due to their flexible nature.
Electrical Components Every Grinder Owner Should Recognize
Carbon Brush and Motor System Terminology
Carbon brushes transfer electrical current between stationary and rotating motor parts, wearing down through normal use. Signs of failing brushes include reduced power, visible sparking from the motor housing, and loss of electric braking function. The brush holder keeps these components properly positioned against the commutator. When replacing brushes, always install a matched pair—even if only one shows significant wear—to prevent motor imbalance and premature bearing failure.
Power Delivery Component Names
The power cord connects your grinder to the electrical source, featuring thick double-insulated rubber construction to withstand workshop hazards. Inspect the cord protector (cable sleeve) where the cord meets the tool body for cracks that could expose wiring. Cordless models use battery packs with specific voltage (typically 18V) and amp-hour ratings affecting runtime. Never confuse these with pneumatic grinder components, which operate on compressed air systems with completely different connection mechanisms.
Safety Accessories That Complete Your Grinder Setup
Essential Protective Gear Terminology
While not technically grinder parts, safety glasses (or face shields) protect against flying debris during cutting operations. Hearing protection mitigates noise exposure from high-RPM grinding, while respirators filter harmful particulates when working with concrete or coated metals. Never operate your grinder without these accessories—OSHA regulations mandate their use for professional applications, and they prevent serious injuries during DIY projects.
Maintenance Tools You Can’t Operate Without
Spanner wrenches (also called flange nut wrenches) fit the specific dimensions of your grinder’s flange nut for safe disc changes. Standard kits include multiple wrench sizes for different tasks, preventing rounded fasteners from improper tool use. Cleaning supplies like compressed air remove dust from critical air vents, while specialized solvents address adhesive residue on spindles. Regular maintenance with these tools extends your grinder’s lifespan by preventing overheating and component wear.
When to Replace Worn Grinder Parts: Warning Signs

Critical Failure Indicators You Must Recognize
Reduced power or speed during operation signals worn carbon brushes needing immediate replacement. Listen for unusual noises or feel for excessive vibration—these indicate failing ball bearings that require professional servicing. Inspect your blade guard (disc guard) regularly for cracks that compromise its protective function. Never ignore these warning signs, as continuing to operate a malfunctioning grinder risks serious injury from component failure.
Preventative Maintenance Schedule
Check air vents weekly for dust buildup that blocks cooling pathways to the motor. Inspect carbon brushes monthly by removing the brush caps—replace them when worn to half their original length. Verify proper tension on both main and side handles before each use, as loose handles cause dangerous loss of control during operation. This simple maintenance routine prevents 90% of common grinder malfunctions while extending your tool’s service life significantly.
Understanding grinder parts accessories name terminology transforms you from a tool user into a knowledgeable operator who maximizes performance while minimizing downtime. By correctly identifying components like the inner disc flange, spindle lock mechanism, or specific abrasive disc types, you streamline repairs and upgrades while enhancing safety. Bookmark this reference guide for quick consultation whenever you need to communicate about your angle grinder—whether ordering replacement parts, troubleshooting issues, or selecting the perfect accessory for your next project. Proper component knowledge ensures your grinder remains a reliable, versatile asset in your workshop for years to come.