
Your grinder sits silently on the workbench, ready for another day of shaping metal or smoothing wood. But is it truly safe to use? A single overlooked defect in your grinding equipment can transform this essential workshop tool into a dangerous projectile hazard within seconds. Implementing a consistent grinder inspection checklist isn’t just about compliance—it’s your frontline defense against catastrophic wheel failures, electrical hazards, and workplace injuries that could change lives forever.
Statistics show that improper maintenance causes over 60% of grinder-related accidents in industrial settings. This comprehensive grinder inspection checklist gives you the exact steps to verify your equipment’s safety before every use. You’ll learn how to spot hidden wheel damage, verify critical safety components, and establish a maintenance routine that prevents 95% of common grinder failures. By the end of this guide, you’ll have a systematic approach to equipment verification that protects both your investment and the people operating it.
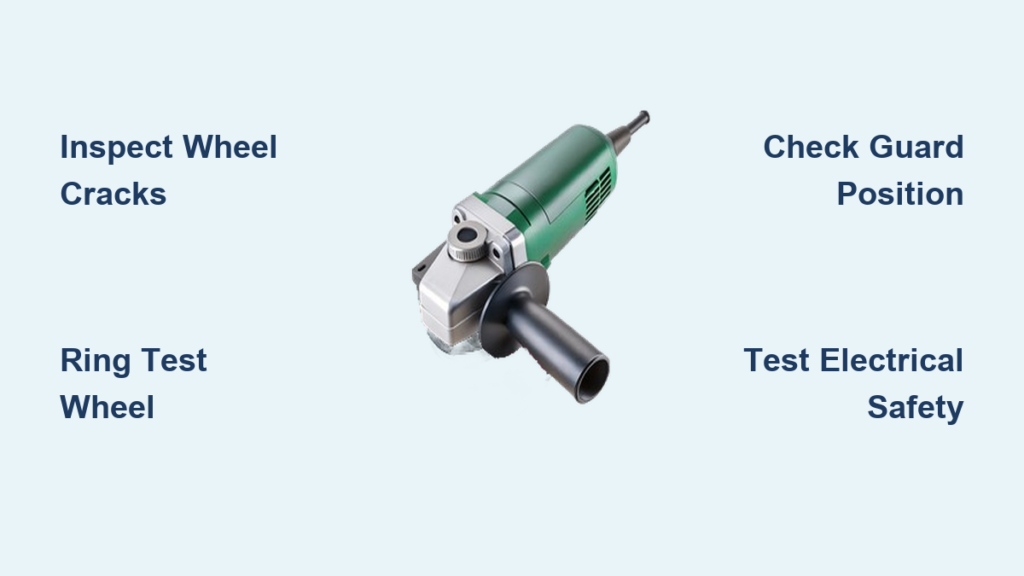
How to Perform Critical Pre-Use Grinder Wheel Inspections
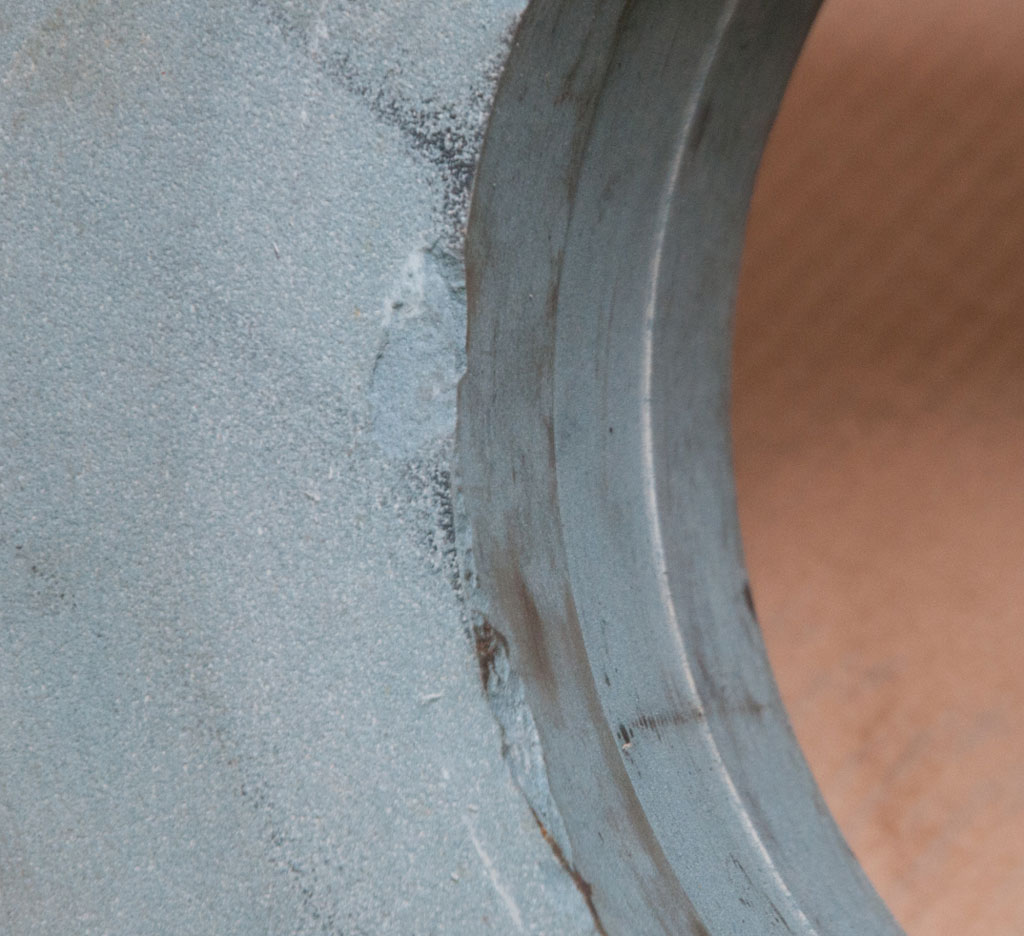
The grinding wheel represents the most hazardous component on your equipment, and its condition directly determines whether your operation remains safe or becomes dangerous. Before connecting power, conduct a thorough visual examination of the wheel surface for cracks, chips, or uneven wear patterns that compromise structural integrity. Wheels showing any visible damage require immediate replacement—never risk using a compromised wheel.
Conducting the Ring Test for Hidden Wheel Damage
Tap the wheel gently with a non-metallic object like a plastic screwdriver handle while holding it lightly between your fingers. A healthy wheel produces a clear, ringing tone that indicates intact internal structure. If you hear a dull thud instead of a ring, the wheel likely contains hidden cracks that could cause catastrophic failure during operation. This simple 10-second test catches defects invisible to the naked eye.
Verifying Proper Wheel Mounting and Security
Check that wheel flanges are clean, undamaged, and properly aligned before mounting. The mounting surface on the spindle should be free of burrs or debris that could cause improper seating. When tightening nuts, use only manufacturer-specified wrenches and follow torque recommendations—over-tightening cracks wheels while under-tightening allows dangerous movement during operation. After mounting, rotate the wheel by hand to confirm smooth, wobble-free movement before powering on.
Essential Safety Guard Verification Before Every Grinding Session

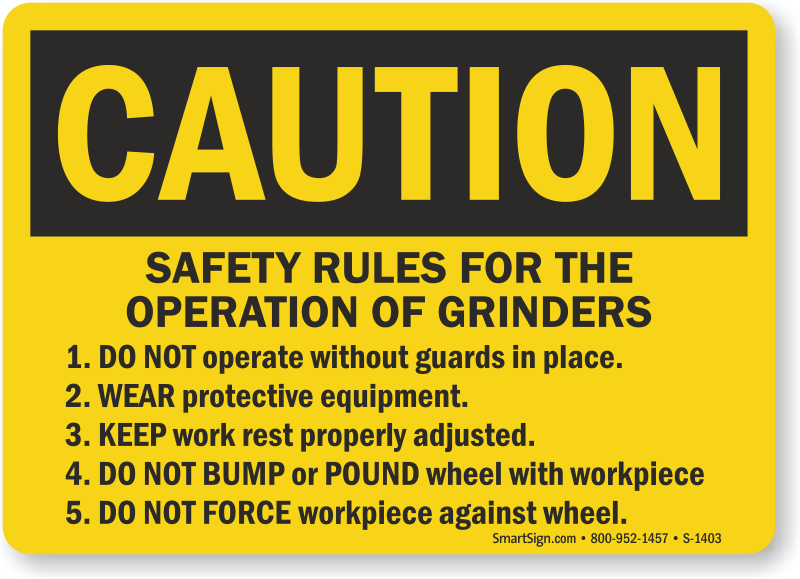
Safety guards form the critical barrier between you and potential wheel fragments during operation. Yet damaged or improperly positioned guards render this protection useless. Begin by confirming that guards cover at least 75% of the wheel’s surface according to OSHA standards. Check for cracks, deformations, or loose mounting hardware that compromise structural integrity.
Adjusting Guards for Optimal Protection
Position the work rest no more than one-eighth inch from the wheel surface to prevent workpieces from catching and being thrown toward you. Verify that the tongue guard sits within one-quarter inch of the wheel to contain debris effectively. Guards should remain securely locked in position during operation—any movement or vibration indicates loose mounting hardware requiring immediate attention.
Electrical System Safety Checks That Prevent Shock Hazards
Damaged electrical components create both shock risks and fire hazards that often go unnoticed until it’s too late. Inspect the entire power cord length for cuts, abrasions, or exposed conductors—pay special attention to areas near plugs and where cords enter the grinder body. Any visible copper wiring requires immediate cord replacement before further use.
Testing Critical Electrical Components
Confirm that all switches operate smoothly without sticking or requiring excessive force. Test the spindle lock mechanism by engaging it and attempting to rotate the wheel by hand—it should hold firmly without slippage. Check that grounding connections remain secure and undamaged, as compromised grounding increases shock risks significantly. If your grinder features a GFCI plug, press the test button to verify it trips correctly before each use.
During-Operation Monitoring: Recognizing Dangerous Warning Signs
Even with perfect pre-use inspections, problems can develop during operation that require immediate attention. Train yourself to recognize these critical warning signs that indicate dangerous conditions developing:
- Abnormal vibrations that don’t resolve after reducing pressure
- High-pitched noises or irregular clicking sounds from the motor
- Excessive sparking beyond normal grinding operation
- Burning smells indicating overheating components
- Visible wheel wobble during operation
When you notice any of these symptoms, immediately power down the grinder and allow it to coast to a complete stop before investigating. Never attempt to adjust components while the wheel remains in motion.
Post-Use Maintenance: 5-Minute Routine for Equipment Longevity
The quality of your post-operation maintenance directly impacts your grinder’s lifespan and future safety. Implement this quick but essential routine after every use:
- Allow the grinder to cool completely before storage—never store hot equipment
- Remove accumulated dust and debris using compressed air at 30 PSI or less
- Wipe down all surfaces with a dry cloth to prevent moisture retention
- Verify that guards and work rests return to secure storage positions
- Store in a dry location away from temperature extremes and moisture
This simple five-minute routine prevents 80% of common maintenance issues that lead to premature equipment failure. Skipping these steps allows contaminants to harden, making future cleaning more difficult and accelerating component wear.
Documenting Grinder Inspection Failures: Compliance Protocol
Proper documentation transforms your grinder inspection checklist from a safety ritual into a legally defensible compliance program. When you identify a defect during inspection, record these critical details:
- Specific defect description (e.g., “1/4-inch crack at 3 o’clock position on grinding wheel”)
- Location of defect (e.g., “left mounting flange shows deformation”)
- Severity assessment (e.g., “critical safety hazard requiring immediate removal from service”)
- Corrective action taken (e.g., “wheel replaced with model XYZ-456”)
- Verification of repair (e.g., “re-inspected and passed all safety criteria”)
Tag and remove any grinder failing critical safety inspections using a standardized lockout/tagout procedure. Never allow equipment with documented safety defects to return to service until verified repairs complete.
Complete Daily Grinder Inspection Checklist Template
Download and print this actionable grinder inspection checklist to ensure you never miss a critical safety point before operation:
Wheel Inspection
– [ ] No visible cracks, chips, or damage
– [ ] Passes ring test (clear ringing sound)
– [ ] Properly mounted and secured
– [ ] Correct rotation direction verified
Guard Verification
– [ ] Guard covers minimum 75% of wheel
– [ ] No cracks or deformations
– [ ] Work rest positioned within 1/8 inch of wheel
– [ ] Tongue guard within 1/4 inch of wheel
Electrical Safety
– [ ] Power cord intact with no exposed wires
– [ ] Switches operate smoothly
– [ ] Spindle lock functions correctly
– [ ] Grounding connection secure
Operational Readiness
– [ ] Lubrication points verified
– [ ] Work rest securely mounted
– [ ] No unusual noises during startup
– [ ] Proper coolant flow (if applicable)
This comprehensive grinder inspection checklist takes less than three minutes to complete but prevents the vast majority of preventable accidents. Consistent implementation creates a safety culture where equipment reliability becomes expected rather than hoped for. Print this checklist, laminate it, and keep it near each grinder station for daily verification—your team’s safety depends on these critical pre-use checks. Remember, a single skipped inspection could be the difference between a productive workday and a life-altering accident.


