
Grinding cacao nibs at home unlocks fresh, intense chocolate flavor for baking, smoothies, and beverages—but many home cooks wonder if their coffee grinder can handle the task. The answer is nuanced: yes, you can grind cacao nibs in coffee grinder, but success requires understanding the unique challenges these fatty, aromatic nibs present. Unlike coffee beans, which are dry and brittle, cacao nibs contain approximately 50-55% cocoa butter, making them prone to clumping, sticking, and creating messy residue that can damage equipment or contaminate future coffee batches.
This guide walks you through everything you need to know to grind cacao nibs successfully in your coffee grinder, from preparation techniques that minimize problems to cleaning procedures that preserve your equipment. You’ll learn how to achieve the consistency you need, avoid common pitfalls, and decide whether coffee grinding meets your goals or whether alternative equipment might serve you better.
Why Cacao Nibs Clog Your Coffee Grinder
Cacao nibs release cocoa butter when ground, transforming your coffee grinder from a dry particle reducer into a messy paste maker. The high fat content (50-55%) causes ground material to adhere stubbornly to burrs, blades, and chamber walls—completely different from the clean break of dry coffee beans. This fundamental difference explains why many users report clogged grinders and ruined coffee flavor after attempting cacao processing.
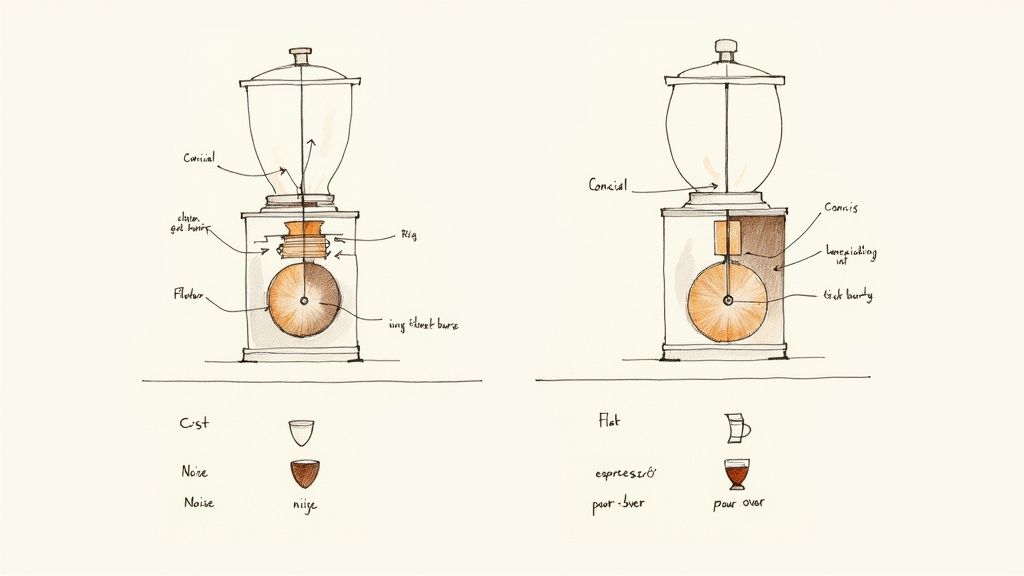
Conical burr grinders like the Niche Zero handle nibs better than flat burr models due to reduced surface area exposure. Blade grinders offer simpler cleaning but produce inconsistent particle sizes and generate more heat that melts cocoa butter faster. Your grinder’s condition significantly impacts success—worn burrs or existing coffee residue creates more opportunities for cacao oil to accumulate and cause problems.
How Cocoa Butter Sabotages Grinding Performance
The moment you start grinding, heat from friction causes cocoa butter to liquefy, creating a gummy residue that coats internal components. Within 15-30 seconds, this “cacao liquor” begins accumulating in hard-to-reach areas, reducing grinding efficiency and potentially damaging your equipment. The combination of heat, pressure, and fat creates a perfect storm for clogging, especially in grinders with complex internal mechanisms.
Critical warning: Never attempt continuous grinding—pulse in 5-10 second bursts with frequent pauses to check for buildup. Continuing to grind when clumping begins guarantees a complete clog that requires hours of disassembly and cleaning to resolve.
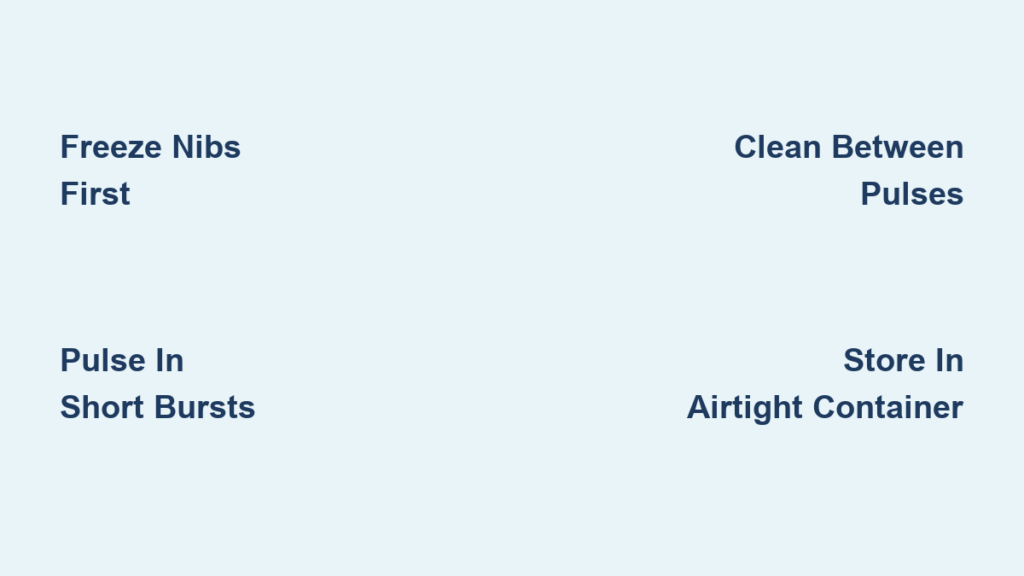
Freeze Nibs Before Grinding for Cleaner Results
The single most effective technique for successful cacao grinding is freezing your nibs beforehand. Cold temperatures solidify cocoa butter, dramatically reducing oil release during processing. This simple preparation step transforms an otherwise messy operation into something manageable.
Place nibs in an airtight container and freeze for at least 4 hours (overnight is ideal). Work with them while still frozen—remove only what you’ll process immediately and keep the remainder frozen. Process in small batches (no more than 2 tablespoons at a time) to maintain low temperatures throughout grinding.
How to Prep Nibs for Optimal Grinding
- Break nibs into smaller pieces using a mortar and pestle for faster processing
- Weigh your batches—aim for no more than 20g per session
- Keep nibs frozen until the moment you add them to the grinder
- Work quickly to prevent warming before grinding begins
This preparation reduces strain on your grinder and minimizes the time cocoa butter remains in liquid form during processing. Users report up to 70% less residue buildup when following this frozen nib technique compared to room-temperature grinding.
Grind Cacao Nibs in Coffee Grinder Without Damage
The correct grinding technique requires abandoning your normal coffee routine. Instead of one continuous grind, you’ll need multiple short sessions with cleaning interruptions between each pass.
Start with frozen nibs and pulse your grinder in 5-second bursts. After each burst, stop to inspect for clumping and remove any accumulated residue using stiff brushes or wooden toothpicks. Continue this cycle—5 seconds grinding, inspection, cleaning—until you achieve your desired consistency. Total grinding time typically ranges from 30-90 seconds spread across multiple sessions.
Critical Cleaning During Grinding Sessions
- After every 2-3 pulses, remove visible cacao paste from chamber walls
- Use dry tools—damp cloths introduce moisture that worsens clumping
- Focus on burr edges where residue most commonly accumulates
- Never force stuck material—gentle scraping prevents component damage
This meticulous approach takes longer than regular coffee grinding but prevents the catastrophic clogs that ruin grinders. The time investment pays off in usable ground nibs and preserved equipment.
Clean Coffee Grinder Immediately After Cacao Processing
Cleaning must begin while residue remains soft—delaying even 10 minutes allows cocoa butter to harden in hard-to-reach areas. Start by wiping out loose material with a dry cloth, then use a slightly damp cloth for remaining residue.
For burr grinders:
1. Remove hopper and top components to access burrs
2. Brush burrs thoroughly with stiff cleaning brush
3. Use toothpicks for stubborn residue between burr teeth
4. Wipe all accessible surfaces with neutral oil (vegetable or grapeseed)
Blade grinders require soaking—fill with warm soapy water and run for 30 seconds, then repeat with clean water until no chocolate color remains. For persistent residue, create a baking soda paste and gently rub problem areas before final rinsing.
Important: All components must air dry for 24+ hours before reassembly. Moisture trapped in the grinder causes rust and bacterial growth that ruins future coffee.
Store Ground Cacao Nibs to Prevent Rancidity
Home-ground cacao nibs spoil faster than commercial cocoa powder due to retained fat content. Proper storage is non-negotiable for maintaining quality and safety.
Transfer ground nibs immediately to an airtight glass container—plastic containers absorb odors and may leach chemicals into the fatty product. Vacuum sealing provides optimal protection by eliminating oxygen exposure that accelerates rancidity.
Optimal Storage Methods by Duration
| Storage Method | Shelf Life | Quality Notes |
|---|---|---|
| Room temperature (airtight) | 7-14 days | Noticeable flavor degradation after day 7 |
| Refrigerated (airtight) | 3-4 weeks | Slight moisture risk with frequent opening |
| Frozen (vacuum sealed) | 6-8 weeks | Best quality retention; thaw before opening |
The practical recommendation from experienced users: grind only what you’ll use within one week. This eliminates storage concerns entirely while ensuring maximum freshness and flavor intensity in your recipes.
When to Choose Alternative Equipment Instead

While possible, grinding cacao nibs in coffee grinders often creates more problems than it solves. Consider these alternatives when:
- You regularly make chocolate products
- Fine powder consistency is essential
- You want to preserve your coffee grinder’s performance
- Flavor contamination is unacceptable
Food processors handle larger batches with less heat buildup, while hand-crank grain mills with stainless steel burrs offer complete heat control. Dedicated chocolate grinders like the HG-1 provide optimal results but represent significant investment.
Pro tip: Purchase an inexpensive blade grinder ($20-$30) specifically for cacao processing. This eliminates flavor contamination concerns and removes the stress of potentially damaging valuable equipment.
Make the Right Decision for Your Chocolate Needs
Grinding cacao nibs in coffee grinder works for occasional home use when you follow proper techniques and accept realistic expectations. Don’t expect commercial cocoa powder consistency—home-ground nibs retain their natural fat, creating a coarser, oilier product ideal for baking and smoothies but unsuitable for some applications.
The cost savings favor home grinding for regular chocolate users—bulk cacao nibs cost significantly less than retail cocoa powder. More importantly, fresh-ground nibs deliver superior flavor complexity that processed powders cannot match, with users consistently reporting richer, more intense chocolate notes in their recipes.
If you attempt this process, freeze your nibs first, pulse rather than continuous grind, clean meticulously between sessions, and dedicate equipment to chocolate use only. With these precautions, your coffee grinder can successfully unlock fresh chocolate flavor—just don’t expect it to perform like professional chocolate processing equipment. For occasional use with proper technique, grinding cacao nibs in coffee grinder delivers rewarding results without breaking the bank.


