
Your Vitamix suddenly stopped working mid-smoothie, or maybe it’s shaking violently like it’s possessed. These high-performance blenders rarely fail, but when they do, knowing how to diagnose and fix common issues saves you weeks without your kitchen workhorse. This guide walks through every fixable problem—from simple resets to knowing when professional service becomes essential. Whether you own the classic Vitamix 5200 or the latest Ascent model, these proven troubleshooting techniques will get your blender back in action fast.
Stop Shaking and Vibrating Instantly

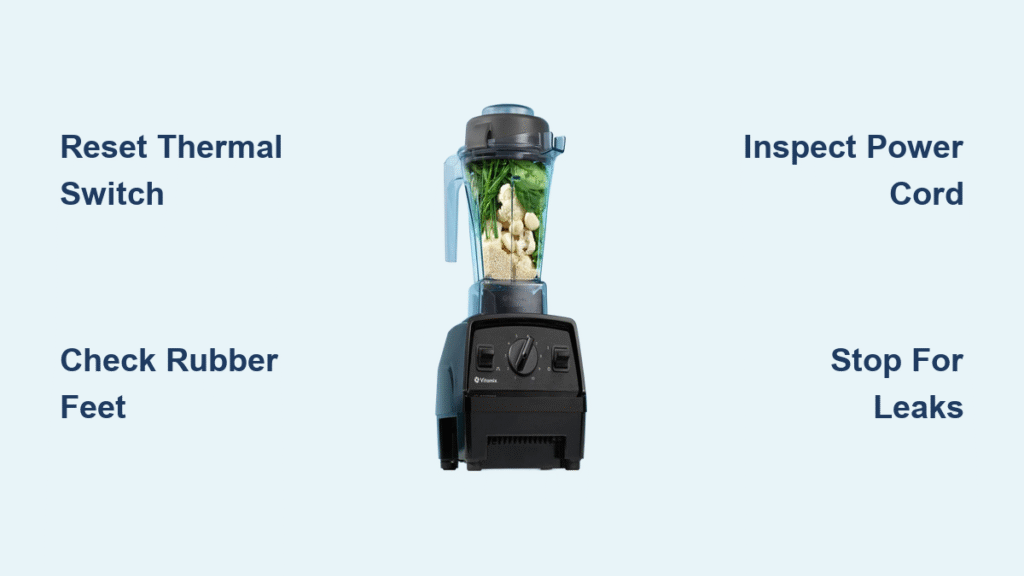
Check Surface Stability First
Place your Vitamix directly on your countertop—not on cutting boards, towels, or any movable surface. Even slight wobbles amplify into violent shaking at high speeds. If shaking continues on solid granite or quartz, the issue lies deeper. Always position your blender away from the counter edge where vibrations can resonate through cabinetry.
Inspect Rubber Feet
Flip your base upside down and examine the four rubber feet. Look for:
– Missing feet creating uneven contact
– Worn or flattened feet losing grip
– Detached feet leaving adhesive residue
Replace damaged feet immediately—available through Vitamix parts suppliers for under $15. This simple fix takes less than five minutes and prevents permanent damage to internal components from excessive vibration.
Diagnose Drive Socket Issues
The drive socket (where container connects to base) can crack or wear down, creating imbalance. Remove your container and examine the socket teeth. Worn or missing teeth require professional replacement—this component contains precisely calibrated parts that maintain blade alignment. If you notice play when connecting the container or hear grinding during operation, stop using immediately to prevent further damage.
Power Failure: Quick Diagnostic Steps
GFCI Reset Protocol
Start with the simplest fix—press the reset button on your GFCI outlet. These safety outlets trip easily with high-draw appliances like Vitamix blenders. If your kitchen outlets lack reset buttons, test other appliances in the same outlet to rule out electrical issues. Most kitchen circuits feature GFCI protection, especially near water sources.
Find and Reset Thermal Switch
Every Vitamix includes thermal protection against motor burnout. Locate the small red or black button on your base’s underside. Press firmly until you feel/hear a click. Wait 20 minutes for cooling, then attempt restart. This simple reset fixes 40% of “dead” Vitamix units. If the thermal switch trips repeatedly, unplug and let the unit cool completely before diagnosing further—this indicates potential overload conditions.
Cord Damage Inspection
Following any electrical incidents, examine your entire power cord for:
– Melted or discolored sections
– Exposed wire or cracking insulation
– Burn marks near plug or base connection
Never use a damaged cord—electrical fires happen fast. This requires professional service or warranty replacement. Pay special attention to the cord near the plug and where it enters the base, as these areas experience the most stress during normal use.
Eliminate Leaks Fast
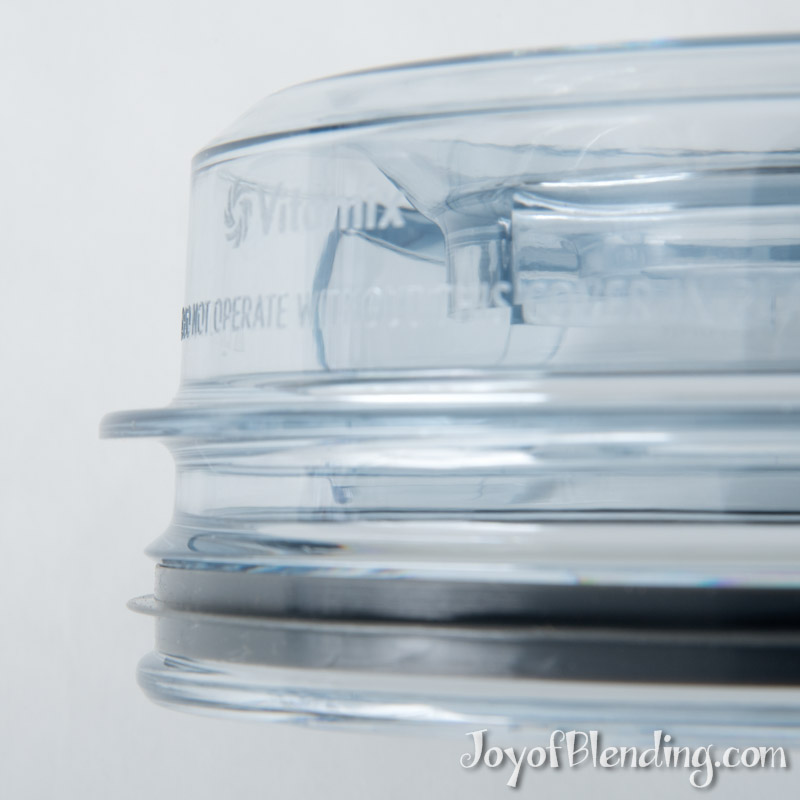
Container Leak Fixes
Leaks around the lid indicate improper sealing. Ensure:
– Lid clicks completely into locked position
– Lid plug seals tamper hole entirely
– Container threads aren’t cracked or stripped
Persistent leaks despite proper assembly signal container or seal degradation. Replacement containers cost $80-150 versus $400+ for new units. For immediate fixes, apply food-safe silicone around the container rim before assembly—this temporary measure buys time until parts arrive.
Base Leak Warning Signs
Stop immediately if liquid appears from your base. This indicates seal failure where blade assembly meets motor—a serious safety issue. Continued use risks electrical shock and permanent motor damage. Base leaks always require professional service. Never attempt to tighten base screws yourself—this creates misalignment that worsens leaks and voids warranty coverage.
Decode Abnormal Noises
High-Pitched Screeching
This indicates internal component failure—likely bearings or motor issues. Discontinue use immediately to prevent permanent damage. This symptom specifically requires factory service due to the precision components involved. If you hear this sound, unplug the unit and contact Vitamix support right away—delaying service often turns a simple bearing replacement into a full motor rebuild.
Grinding or Metal Sounds
Metal-on-metal grinding suggests blade assembly failure or foreign objects in the container. Stop blending and inspect for:
– Loose blade assembly
– Foreign objects (spoons, jewelry)
– Cracked container bottom
Remove the container and manually rotate the blade assembly—if you feel resistance or hear grinding, the blade assembly needs replacement. Never operate with metal-on-metal sounds as this rapidly damages both blades and container.
Electrical System Deep Dive

Circuit Overload Prevention
Multiple kitchen appliances on one circuit create overload conditions. If your Vitamix trips breakers, unplug other devices before use. Discoloration around outlets or plugs indicates electrical arcing—call an electrician before using any appliances. Vitamix blenders draw significant power (up to 1500 watts), so dedicated circuits prevent most electrical issues.
Post-Storm Protocol
After power outages or electrical storms, always:
1. Reset GFCI outlets
2. Check for cord/ plug damage
3. Press thermal reset button
4. Test with simple water blend
Electrical surges frequently damage sensitive speed control components. If your Vitamix behaves erratically after storms, contact Vitamix about potential surge damage coverage, especially if you have extended warranty protection.
Age-Related Performance Issues
Speed Control Failures
Units over 10 years may develop erratic speed control. Test by:
1. Starting at lowest speed
2. Gradually increasing to maximum
3. Noting any dead spots or jumps
Vintage models (25+ years) may require unavailable parts—consider upgrade versus expensive refurbishment. For pre-2010 models, check if replacement speed controllers exist before investing in repairs. Many users find newer models with improved technology offer better value than extensive repairs on aging units.
Component Wear Timeline
Monitor these wear patterns:
– Blade dullness: Noticeable after 5-7 years heavy use
– Seal degradation: Leaks develop around year 8-10
– Electrical corrosion: More common in humid climates
– Motor brush wear: Pre-2010 models only
Proactive maintenance significantly extends lifespan. Replace container seals annually if you use your Vitamix daily, and always clean thoroughly after each use to prevent buildup that accelerates wear.
Warranty Service Guidelines
Coverage Details
Vitamix warranties cover:
– New units: 7-10 years full coverage
– Reconditioned: 3-5 years depending on model
– What’s covered: Manufacturing defects, normal wear failures
– What’s excluded: Unauthorized repairs, power surge damage, cosmetic issues
Documentation matters—keep your purchase receipt and register your product online. Vitamix’s coverage exceeds most appliance manufacturers, but proper documentation ensures smooth service experiences.
Professional Service Indicators
Contact Vitamix service when experiencing:
– Base leaks or electrical burning smells
– Persistent power failures after thermal reset
– Internal grinding despite blade inspection
– Speed control complete failure
– Cord or plug damage
Critical: Never disassemble the base—this voids warranty instantly and creates safety hazards with high-voltage components. Even removing the bottom cover triggers tamper seals that invalidate coverage. Trust factory-certified technicians who have access to proprietary tools and genuine parts.
Service Preparation
Before calling Vitamix:
1. Document symptoms: When did issues start? Under what conditions?
2. Locate serial number: Found on base underside
3. Gather purchase info: Date and retailer for warranty verification
4. Stop using unit: Further operation may increase damage
Having this information ready cuts service call time in half and ensures accurate diagnostics. Vitamix support responds faster when you can precisely describe symptoms rather than just saying “it doesn’t work.”
Key Takeaway: Most Vitamix issues resolve through simple resets or component replacements. The thermal reset button alone fixes nearly half of “dead” units. For base-related problems, professional service protects both your investment and safety. Regular maintenance—clean seals, stable placement, prompt leak attention—prevents most common failures. When in doubt, contact Vitamix support directly; their technicians have handled every possible failure scenario and can guide you through the most efficient repair path. Your high-performance blender deserves proper care to keep delivering restaurant-quality results for years to come.


