
Nothing beats a refreshing bowl of gazpacho on a scorching summer afternoon. This Spanish cold soup transforms ripe summer produce into a silky, satisfying meal without ever turning on the stove. While traditional recipes require tedious chopping, your blender turns this classic into a 10-minute masterpiece that’s equally at home in elegant bowls or mason jars by the pool. The key to authentic flavor lies in peak-season tomatoes and a high-speed blender that extracts every drop of juice while creating that signature smooth texture.
This guide walks you through creating restaurant-quality gazpacho using just your blender, with pro tips for nailing the perfect texture every time. You’ll master the art of balancing acidity, achieving emulsified silkiness, and troubleshooting common issues—all while skipping the peeling and seeding steps. Prepare to serve Spain’s most refreshing culinary gift in under 15 minutes flat.
Essential Ingredients for Blender Gazpacho
Your blender does heavy lifting, but ingredient quality makes or breaks authentic gazpacho. Start with 1½ pounds of ripe, in-season tomatoes—farmers-market varieties deliver superior flavor that supermarket tomatoes can’t match. An English cucumber (no peeling needed) provides essential freshness, while a red bell pepper adds natural sweetness and vibrant color. For the onion component, choose half a Vidalia or Walla Walla for their mild sweetness rather than sharp yellow onions.
Don’t skip the sherry vinegar—it’s the authentic Spanish touch that elevates this soup beyond ordinary tomato juice. Pair it with a generous ⅓ cup of your best extra-virgin olive oil; cheap oil yields flat taste while peppery, fruity varieties create luxurious mouthfeel. For consistency control, keep ½ cup of cold tomato juice handy. Optional but recommended: two slices of day-old bread soaked in tomato juices for traditional body, or blanched almonds for gluten-free creaminess.
Prepping Vegetables for Blender Success
Quick Vegetable Prep Steps
Forget peeling or seeding—your blender handles everything. Simply core and quarter tomatoes (no precision needed), cut English cucumber into large chunks (peel standard cucumbers), and remove stems/seeds from the bell pepper before quartering. Smash garlic cloves with your knife’s flat side for easy peeling, and quarter the sweet onion. This no-fuss prep takes under 5 minutes and leverages your blender’s power to extract maximum flavor from skins and seeds.
Pro Texture Control
For chunky texture, pulse half the vegetables to small dice, reserve in a bowl, then blend the remaining half until smooth before combining. Want silky restaurant quality? Blend everything first, then strain through a fine-mesh sieve—this removes stubborn seeds while preserving that essential raw vegetable freshness. If avoiding straining, add ¼ cup blanched almonds during blending for natural silkiness without texture compromise.
Blender Method Step-by-Step
Loading Order Matters
Follow this sequence for optimal results: start with ½ cup cold tomato juice and 2 tablespoons sherry vinegar at the bottom. Layer soft vegetables next—tomatoes and cucumbers. Add firmer items like peppers and onions, then finish with seasonings (1-2 garlic cloves, salt, and pepper). This prevents motor strain and ensures even blending without hot spots.
Blending Technique
Pulse 5-6 times to break down large pieces, then blend on high for 30 seconds until completely smooth. With the motor running, slowly stream in the olive oil through the lid’s opening—this emulsifies the oil for creamy texture without separation. Taste immediately for seasoning adjustments (remember cold dulls flavors), then transfer to a pitcher. For parties, work in 2-cup batches to prevent foaming and motor strain before combining.
Perfecting Texture & Flavor
Common Texture Fixes
| Problem | Quick Solution |
|---|---|
| Too thick | Whisk in cold tomato juice ¼ cup at a time |
| Too thin | Add more tomatoes or soaked bread slice |
| Grainy texture | Strain through fine-mesh sieve or re-blend 30 seconds |
| Separated oil | Re-blend briefly to re-emulsify |
Flavor balancing happens after chilling—cold temperatures significantly dull tastes. After 2 hours refrigeration, re-taste and adjust: add salt in ¼-teaspoon increments, brighten with ½ teaspoon more vinegar, or balance acidity with a pinch of sugar. This critical step transforms good gazpacho into extraordinary.
Speed Chilling & Storage
Rapid Cooling Method
Skip the 4-hour wait: spread finished gazpacho in a shallow metal pan, cover, and freeze for 30 minutes. Metal conducts cold efficiently, bringing soup to ideal serving temperature (38–42°F) in half the time. Never serve room-temperature—this Spanish staple must be properly chilled.
Storage Guidelines
Store in airtight glass containers for 4-7 days (flavor peaks on day 2). Discard if separation won’t re-emulsify or develops off smells. Pro meal-prep strategy: make triple batches Sunday evening and portion into individual containers. Flavor intensifies beautifully, making Wednesday’s lunch taste better than Monday’s.
Creative Variations Beyond Basic
Flavor Twists to Try
Transform your base recipe with these chef-inspired variations:
– Spicy kick: Add ½ seeded jalapeño or 1 teaspoon hot sauce during blending
– Fruit fusion: Replace half the tomatoes with watermelon or strawberries
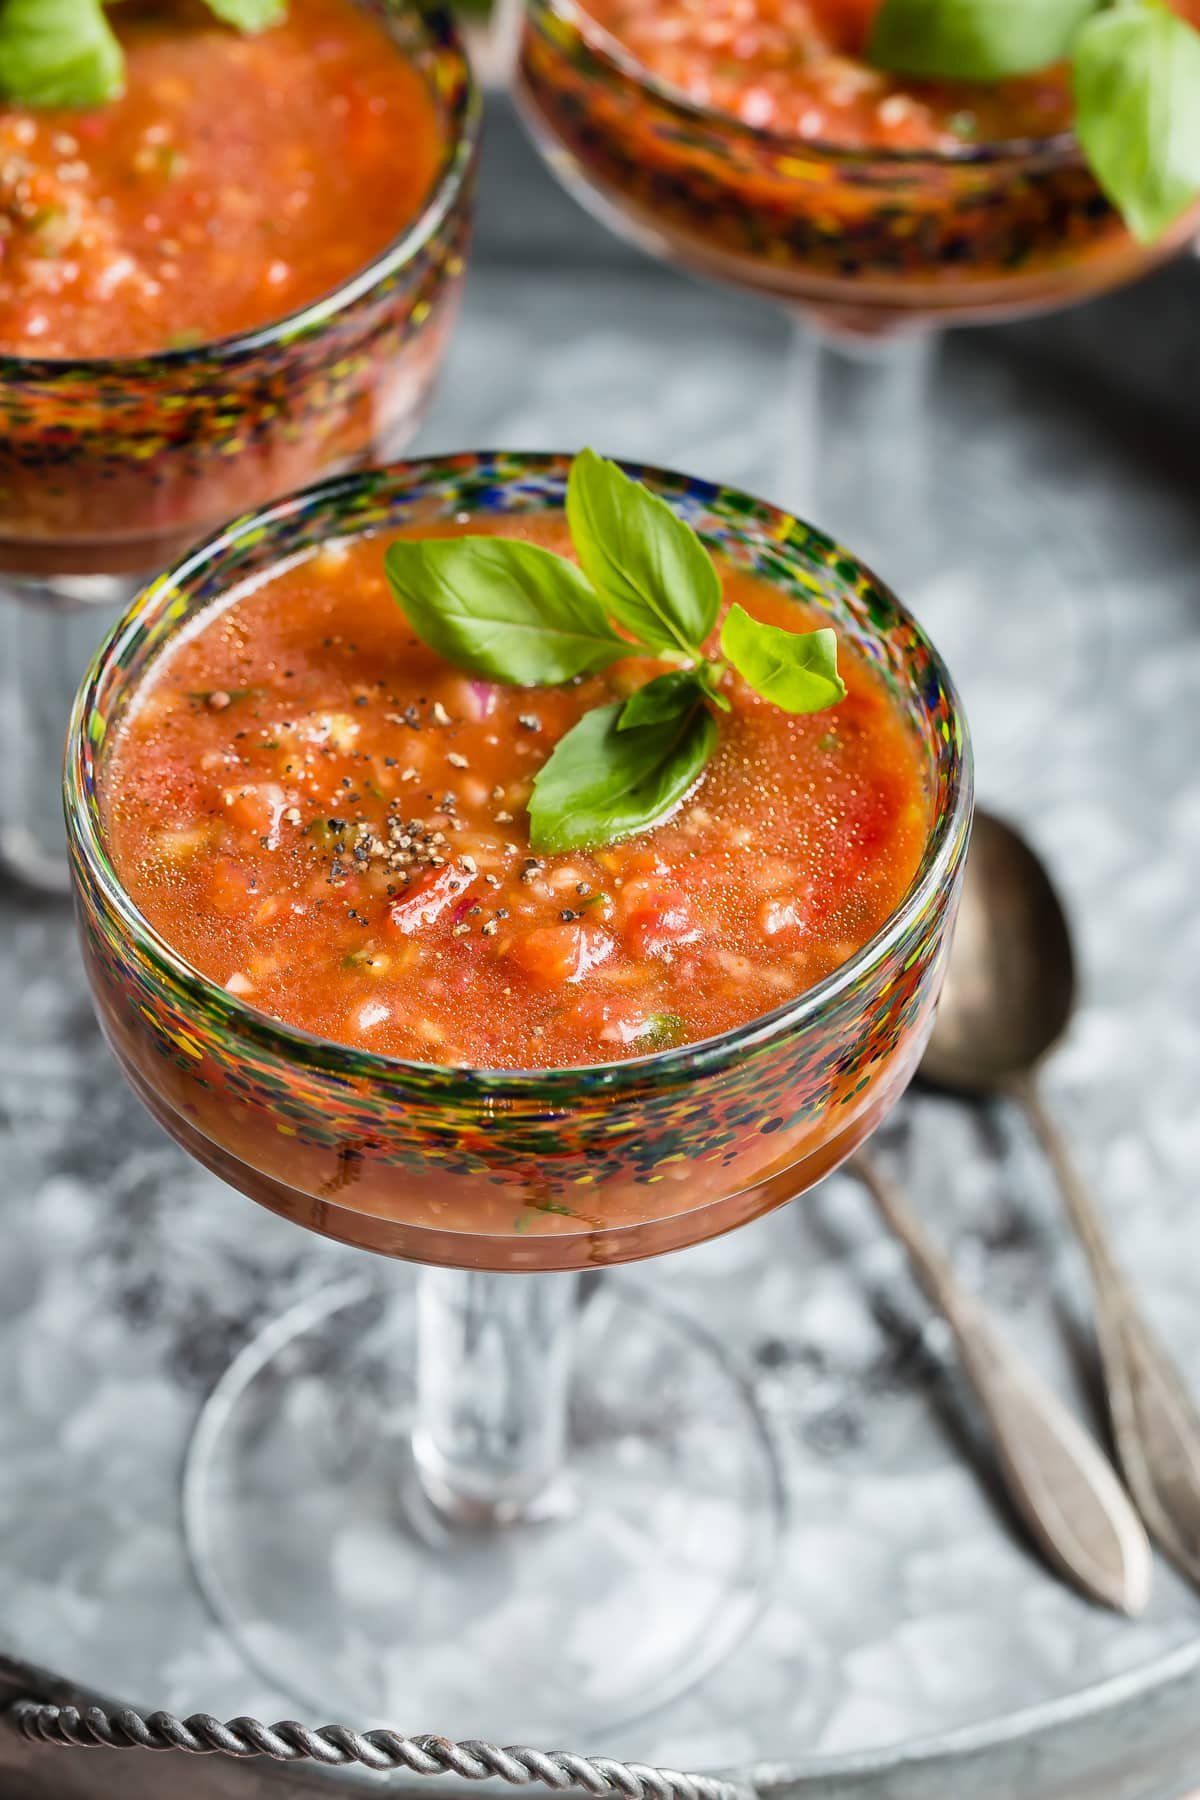
– Herb garden: Blend in ¼ cup fresh basil or cilantro for aromatic depth
– Nutty body: Substitute bread with ¼ cup soaked almonds for creaminess
– Low-calorie: Reduce oil by half and add extra vinegar for brightness
For authentic Andalusian style, include soaked bread and ½ teaspoon cumin. Or try Portuguese-inspired versions with red wine vinegar and smoked paprika. Modern twists like avocado cubes and grilled corn make stunning toppings.
Serving Presentation Ideas

Bowl vs. Glass Options
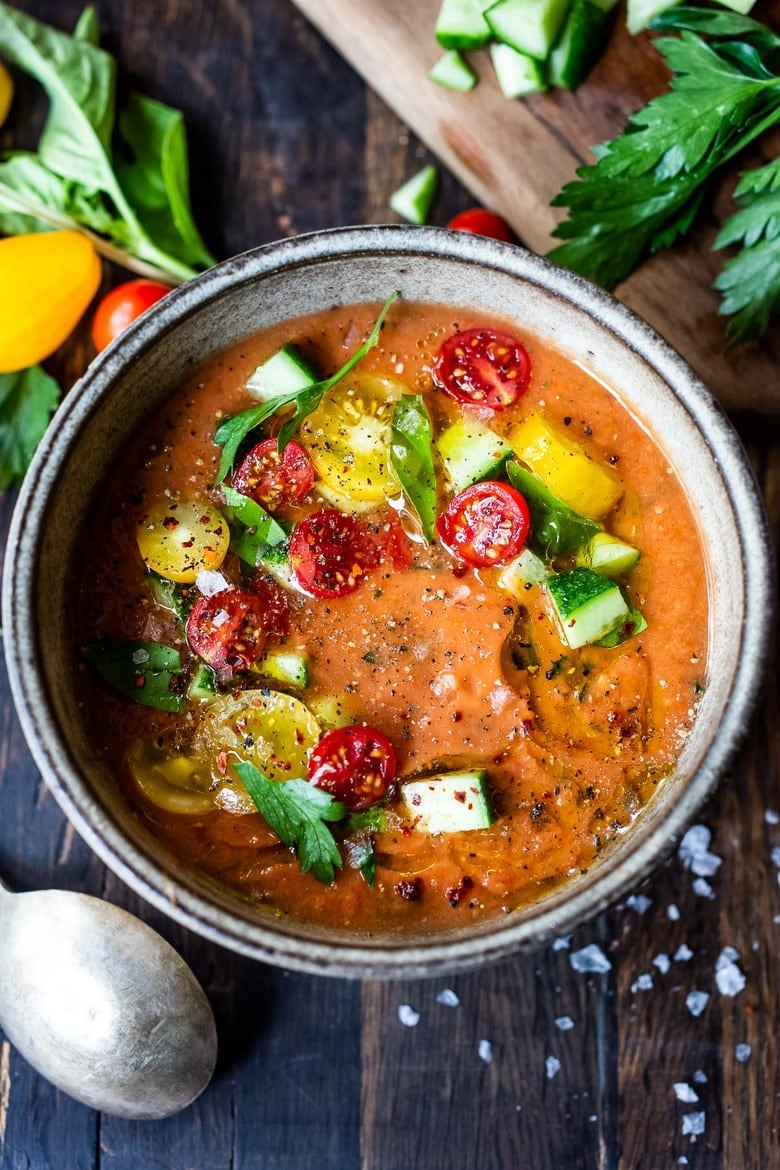
Break tradition with unexpected presentations: serve in chilled martini glasses for cocktail parties, wide-mouth mason jars with straws for poolside sipping, or classic white bowls that showcase the vibrant red-orange hue. The vessel should complement your occasion—casual gatherings suit jars while elegant events demand fine china.
Garnish Arsenal
Create a DIY topping bar with small bowls of:
– Diced reserved vegetables (cucumber, pepper, onion)
– Homemade croutons (cube stale bread, toss with oil, bake 350°F for 10 minutes)
– Fresh herb confetti (parsley, basil, chives)
– Extra-virgin olive oil for glossy drizzling
– Avocado cubes for luxurious richness
These customizable touches let guests personalize their perfect bowl.
Troubleshooting Common Issues
Quick Fixes for Common Problems
| Issue | Likely Cause | Instant Solution |
|---|---|---|
| Bitter taste | Cucumber skin or pepper seeds | Peel cucumber, seed peppers, or strain soup |
| Flat flavor | Under-seasoned or warm | Add salt, vinegar, and re-chill thoroughly |
| Too acidic | Over-vinegared | Balance with ½ teaspoon sugar or more tomatoes |
| Foamy texture | Over-blending | Let rest 5 minutes, skim foam, or re-blend briefly |
Remember the freshness rule: gazpacho quality starts with peak-season produce. If flavors seem muted after chilling, always re-taste and adjust seasoning—this soup evolves in the refrigerator. For silky texture without straining, the blanched almond trick works wonders.
Make-Ahead & Meal Prep
Sunday Prep Strategy
Invest 15 minutes Sunday to prepare triple batches. Portion into individual airtight containers for effortless grab-and-go lunches all week. The magic of gazpacho is how flavors intensify and meld—day 3 often tastes better than day 1. Keep garnishes separate in small containers for fresh assembly.
While not traditional, gazpacho freezes surprisingly well in ice cube trays. Use frozen cubes to instantly chill other soups or as sophisticated bloody mary mixers. But for best results, stick to the 4-7 day refrigeration window where flavors truly shine.
Master this easy gazpacho recipe once, and you’ll have a versatile summer staple that transforms with whatever peak produce you find. The blender does the heavy lifting while you reap the rewards of Spain’s most refreshing culinary gift—no cooking required, just perfect chilling and a final seasoning tweak. When tomatoes are at their sweetest, this 10-minute marvel becomes your go-to meal for sweltering days, pool parties, and effortless entertaining.


