
Your blender isn’t just for smoothies—it’s a hidden dough-making powerhouse sitting on your countertop. Thousands of home bakers have discovered that creating perfect bread dough in a blender takes just minutes with the right technique, eliminating the need for stand mixers or messy hand-kneading. The secret lies in understanding how to transform your everyday appliance into a professional dough-making machine.
This revolutionary approach to dough in blender technology delivers consistent results every time, with minimal cleanup and no special skills required. Whether you’re preparing a last-minute dinner or experimenting with small-batch baking, your blender can produce restaurant-quality breadsticks in under 30 minutes. You’ll learn exactly which blender models excel at dough-making, the precise ingredient ratios that guarantee success, and the step-by-step process that takes the guesswork out of baking.
Why Your Blendtec Blender Creates Better Dough Than Stand Mixers
Blendtec blenders outperform traditional mixers for small-batch dough thanks to specialized jar engineering that handles thick mixtures without straining motors. The WildSide jar’s square-bottom design creates a vortex that pulls ingredients downward, mixing up to 2.5 pounds of bread dough without overheating—a game-changer when you’re preparing dough in blender for family gatherings.
The Twister jar’s innovative design solves the #1 dough-making problem: ingredients sticking to jar sides. Its unique twisting lid mechanism allows you to continuously scrape dough from the walls while blending—no more stopping to manually scrape down sticky sides. Simply turn the lid counterclockwise during pulsing to maintain consistent texture throughout the mixing process.
Precision Measurements: The Secret to Foolproof Blender Dough
Your dough in blender success depends on exact ingredient ratios scaled perfectly for small-batch processing. The breadstick recipe that follows produces six perfect breadsticks with these precise measurements:
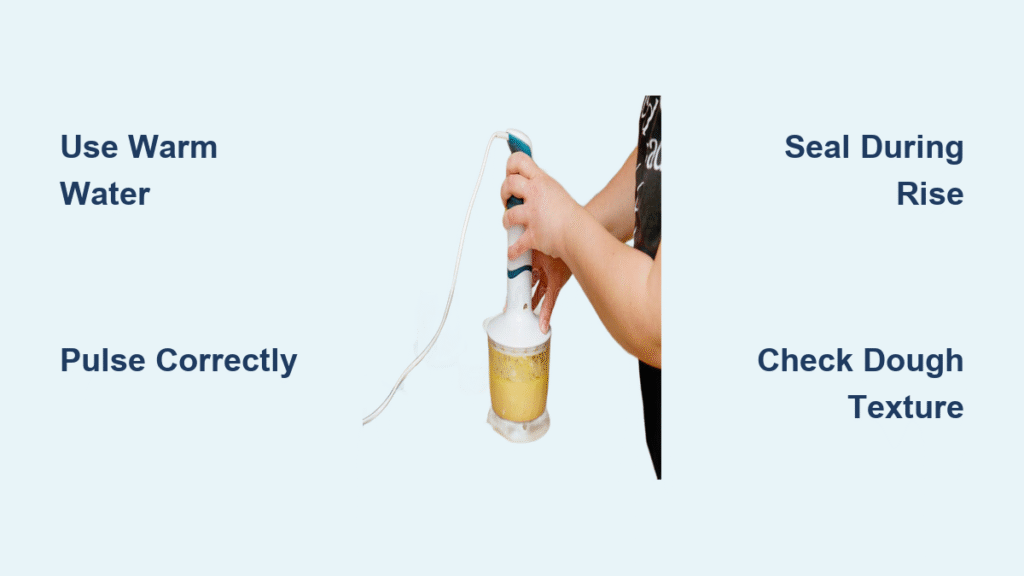
- 1/4 cup warm water (110-115°F—test with your wrist; it should feel comfortably warm, not hot)
- 1 teaspoon dry active yeast (fresh from the package for best results)
- 1 teaspoon honey (activates yeast while adding subtle sweetness)
- 1/8 teaspoon salt (balances flavors without overwhelming)
- 1 1/2 teaspoons olive oil (creates tender crumb structure)
- 3/4 cup all-purpose flour (spooned and leveled—not packed)
This carefully calibrated ratio prevents the common blender dough pitfalls: too-sticky mixtures that won’t form a ball or dry clumps that strain your motor. Measure ingredients in order—they matter for proper hydration and mixing.
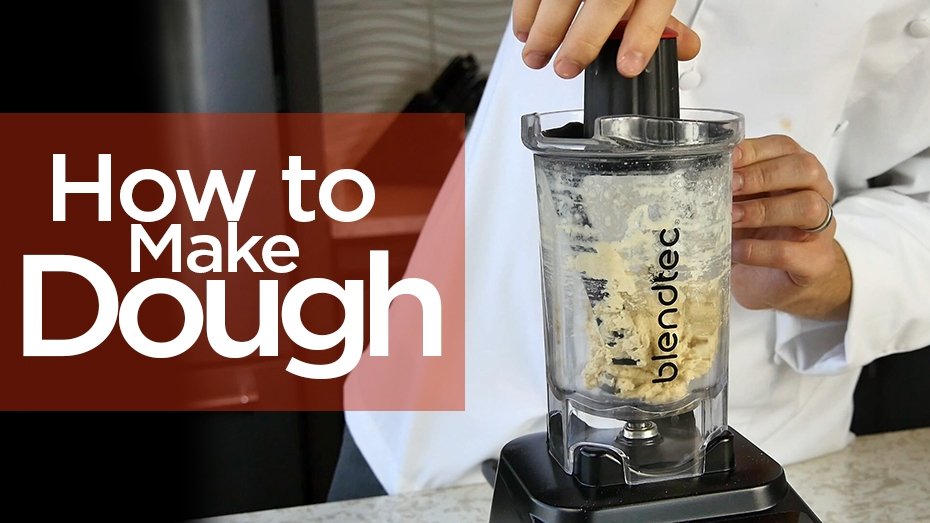
Step-by-Step: Creating Perfect Dough in Blender
Activate Yeast Directly in Your Blender Jar
Start with proper yeast activation—the foundation of successful dough in blender preparation. Combine warm water, dry active yeast, and honey in your Twister jar first. Secure the lid firmly with one hand while pulsing twice with the other. Watch for the mixture to become foamy within 5-10 minutes—this visible proof confirms your yeast is active and ready to work.
Critical tip: If your mixture doesn’t foam, your water was either too hot (killing yeast) or too cold (slowing activation). Discard and restart with fresh ingredients—never proceed with inactive yeast.
Build Perfect Dough Structure in Seconds
Add remaining ingredients in exact sequence: salt first (prevents direct contact with yeast), followed by olive oil, then flour. This order ensures even distribution without clumping. Place the Twister lid securely and pulse 6-8 times while turning the lid counterclockwise. Watch as the shaggy mixture transforms into a smooth, elastic dough ball clinging to the blades.
Pro technique: After 4 pulses, stop to check consistency. If flour remains visible, pulse 2-4 more times. Over-pulsing develops excessive gluten, resulting in tough breadsticks—your dough should feel soft and slightly tacky but not sticky.
Master the Jar Rising Technique
Let dough rise directly in the blender jar with lid secured. The Twister jar’s airtight seal creates the ideal warm, humid environment for rising—no plastic wrap or extra bowls needed. Check after 30 minutes; your dough should have visibly doubled in size. If your kitchen is cool, place the jar in a slightly warm oven (turned off) to accelerate rising.
Visual cue: Properly risen dough will spring back slowly when gently poked with a floured finger—this “poke test” confirms sufficient air pocket development.
Professional Baking Techniques for Blender-Made Dough
Shape Perfect Breadsticks Every Time
Turn risen dough onto a lightly floured surface immediately after removing from the jar. Gently press out air bubbles without deflating completely. Divide into six equal portions using a bench scraper—this ensures uniform baking. Roll each piece using gentle outward pressure from the center, rotating as you go to create uniform 8-inch breadsticks with tapered ends.
Common mistake: Over-handling dough at this stage collapses air pockets. Work quickly with minimal pressure—your hands should barely leave impressions in the dough.
Achieve Bakery-Quality Results with Oven Prep

Preheat oven to 450°F with baking stone inside—this creates instant heat transfer crucial for proper oven spring. The stone absorbs moisture while providing consistent bottom heat, developing that professional crispy exterior you want in your dough in blender creations. Allow 25-30 minutes for complete preheating—perfect timing while your dough rises.
Alternative: No baking stone? Place a heavy-duty sheet pan upside down in the oven during preheating for similar results.
Bake to Perfect Golden Finish
Place shaped breadsticks directly on preheated surface—no parchment needed. Bake 6-10 minutes until deep golden brown with slightly darker ends. The color transformation happens quickly during the final minute, so watch closely. Remove when breadsticks sound hollow when tapped on the bottom.
Critical cooling step: Let breadsticks rest 3-5 minutes on the baking surface before transferring. This brief rest allows interior structure to set—cutting too soon releases trapped steam, creating gummy texture.
Avoid These 3 Critical Blender Dough Mistakes
Cold water kills yeast activation—always use water between 110-115°F. Test by sprinkling a few drops on your wrist; it should feel comfortably warm, like baby bottle temperature. Too hot? Wait for it to cool; too cold? Microwave in 5-second increments.
Over-pulsing creates tough texture—after 8 pulses, check dough consistency. If it hasn’t formed a ball, add 1/2 teaspoon water and pulse once more. Your blender should never struggle loudly during mixing—if it does, stop immediately to prevent motor damage.
Premature lid removal collapses rising dough—keep the Twister jar sealed during rising. Each time you lift the lid, you release precious CO2 that creates air pockets. Trust the process and only open when rising time is complete.
Troubleshooting Guide: Fix Common Dough Issues
Dough won’t form a ball? Your flour might be too old or environment too dry. Add 1/2 teaspoon water and pulse once. If still problematic, your blender jar might be too large for the small batch—try pressing ingredients toward the blades before pulsing.
Breadsticks spread too much? Ensure your baking surface is fully preheated and dough has risen sufficiently. Under-proofed dough lacks structure to maintain shape during baking. Next time, let dough rise until it passes the poke test.
Dough too sticky to handle? Lightly flour your work surface and hands, but avoid adding excess flour to the dough itself. Sticky dough often indicates perfect hydration—resist the urge to add more flour, which creates dry breadsticks.
Flavor Variations: Elevate Your Blender Dough Creations
Garlic-herb breadsticks: Add 1/2 teaspoon garlic powder and 1/2 teaspoon Italian seasoning with the flour. After baking, brush with melted garlic butter for extra flavor.
Cheese-stuffed breadsticks: Flatten each dough portion, place a thin mozzarella stick in the center, then roll to seal completely. The cheese melts into a delicious surprise center.
Everything bagel breadsticks: After baking, brush with olive oil and generously coat with everything bagel seasoning while still warm for maximum adhesion.
Protect Your Blender: Essential Maintenance After Dough Making
Clean immediately after use—dough hardens quickly in crevices. Fill the jar halfway with warm water and one drop of dish soap. Pulse 3-4 times, then rinse thoroughly under running water. Never submerge the motor base.
Check blade assembly monthly—dough-making stresses your blender more than liquids. Remove the jar from the base and gently wiggle the blade assembly. If you detect movement, tighten the base screw according to your model’s instructions.
Store Twister lid properly—keep it upright in a cabinet, not stacked under heavy items. The twisting mechanism contains small internal parts that can misalign if stored under pressure, compromising its unique scraping ability.
Mastering dough in blender techniques unlocks endless possibilities beyond breadsticks—try pizza dough, cinnamon rolls, or even pasta dough using the same principles. The convenience of small-batch baking with minimal cleanup makes this method perfect for busy home cooks who still crave fresh, homemade bread. With precise measurements, proper technique, and your trusty blender, you’ll create bakery-quality results that impress every time—no expensive equipment required. Your next fresh-baked treat is just 30 minutes away, ready to elevate any meal from ordinary to extraordinary.


