
Your die grinder suddenly sputters and dies mid-job, leaving you with an unfinished cut and a growing deadline. Or maybe it’s lost that powerful spin it once had, forcing you to apply excessive pressure that ruins your workpiece. Die grinder failures happen to every metalworker, mechanic, and fabricator—but the good news is most common problems can be diagnosed and repaired in under an hour with basic tools. This guide shows you exactly how to identify why your die grinder won’t start, loses power, or makes unusual noises, then provides step-by-step repair procedures that get your essential tool back in action. You’ll learn to safely troubleshoot electrical components, replace worn brushes, diagnose bearing failures, and perform critical maintenance that prevents future breakdowns—no specialized equipment required.
Diagnosing Common Die Grinder Failure Symptoms
Before grabbing your screwdrivers, properly identify what’s wrong with your die grinder. Different symptoms point to specific internal failures that require different repair approaches. Listen carefully to unusual sounds, note when power loss occurs, and observe any visible signs of wear or damage.
Why Your Die Grinder Won’t Start at All
When pressing the trigger yields complete silence, check these critical components first. Confirm power source functionality by testing your air compressor or electrical outlet with another tool—many “dead” die grinders simply have disconnected air hoses or tripped circuit breakers. For pneumatic models, inspect the air inlet filter for clogs that block airflow; a simple cleaning often solves no-start issues. Electric models frequently fail due to worn carbon brushes that no longer make contact with the armature. Remove the brush caps and check for brushes shorter than 3/8 inch or springs that have lost tension. Test the power switch by bypassing it temporarily with jumper wires—if the tool runs, replace the faulty switch immediately as this becomes a safety hazard.
When Your Die Grinder Starts but Loses Power Under Load
This frustrating symptom—where your grinder spins freely but stalls when you apply pressure—typically indicates failing armature windings or severely worn bearings. As you operate the tool, listen for rhythmic grinding sounds that intensify under load, signaling bearing failure. Check for excessive side-to-side shaft movement; more than 0.005 inches of play means bearings need replacement. For electric models, smell for burning odors which indicate overheating windings—a serious condition requiring professional rewinding or motor replacement. Pneumatic grinders suffering power loss often have worn vanes inside the motor housing; disassembly reveals these small rectangular pieces chipped or unevenly worn.
Essential Tools for Die Grinder Repair
Must-Have Basic Repair Kit for Any Workshop
Gather these seven critical items before starting your repair: precision screwdrivers (Phillips #1 and #2), 4mm and 5mm hex keys for most models, needle-nose pliers for brush installation, bearing puller/set tool, replacement carbon brushes specific to your model, high-temperature grease for bearings, and a digital multimeter for electrical testing. Keep these organized in a dedicated container so you’re ready when your next die grinder fails mid-project.
Specialized Equipment Worth the Investment
For frequent repairs, add these professional tools to your kit: an armature growler for detecting shorted windings, bearing heater for proper installation, pneumatic motor vane removal tool, and a shaft straightening jig. These prevent common mistakes like damaging armatures during disassembly or improperly seating bearings that cause premature failure.
Step-by-Step Motor Repair Procedures
Replacing Worn Carbon Brushes in Electric Die Grinders
This 15-minute fix solves 60% of electric die grinder failures. Unplug the tool and remove the brush caps using a small flathead screwdriver. Note the brush orientation before removal—some models have different length brushes for positive and negative terminals. Clean the brush tubes with compressed air to remove carbon dust buildup that causes sticking. Install new brushes while compressing the springs, ensuring the copper leads seat properly in their clips. Test operation before final reassembly—hold the grinder securely as new brushes may cause brief arcing until they seat.
Fixing Bearing Failures Without Specialized Tools

When bearings wear out, your grinder develops dangerous vibration that damages other components. Disassemble the housing by removing retaining rings with snap-ring pliers. Remove the old bearings by gently tapping around the outer race with a brass punch—never strike directly on the bearing. Clean the housing bore thoroughly with solvent and inspect for pitting. Apply high-temperature grease liberally before installing new bearings. Seat bearings properly by pressing only on the outer race with a socket that matches the bearing outer diameter—improper installation is the #1 cause of repeat failures.
Critical Safety Procedures During Repair
Electrical Safety Protocols for Motor Work

Always discharge capacitors in electric grinders using an insulated screwdriver across terminals before touching internal components. Verify power isolation with your multimeter—never assume the tool is safe. Wear safety glasses during disassembly as springs and small parts can eject forcefully. Never operate a grinder with the housing partially assembled—this creates dangerous imbalance during testing.
Pneumatic System Safety Checks
Before reconnecting air lines, inspect all hoses for cracks that could cause sudden disconnection under pressure. Verify regulator function to prevent over-pressurization that damages newly repaired components. Always point the grinder away from yourself when testing pneumatic models—the tool can unexpectedly lurch forward.
Preventing Future Die Grinder Failures
Daily Maintenance That Extends Tool Life
Implement these three habits after every use: blow out internal components with low-pressure air to remove grinding dust that causes overheating, lubricate moving parts with manufacturer-recommended oil (never use standard machine oil), and inspect the collet for wear that causes bit slippage and vibration. These simple steps prevent 80% of common failures and double your tool’s service life.
Storage Practices That Prevent Component Degradation
Store die grinders vertically with collets removed to prevent moisture accumulation inside the spindle. For electric models, wrap cords properly without kinking to avoid internal wire damage. Keep pneumatic tools’ air inlets capped when not in use to prevent contaminant entry. Most importantly, never store tools with batteries attached—this drains cells and damages circuitry over time.
When to Replace Rather Than Repair
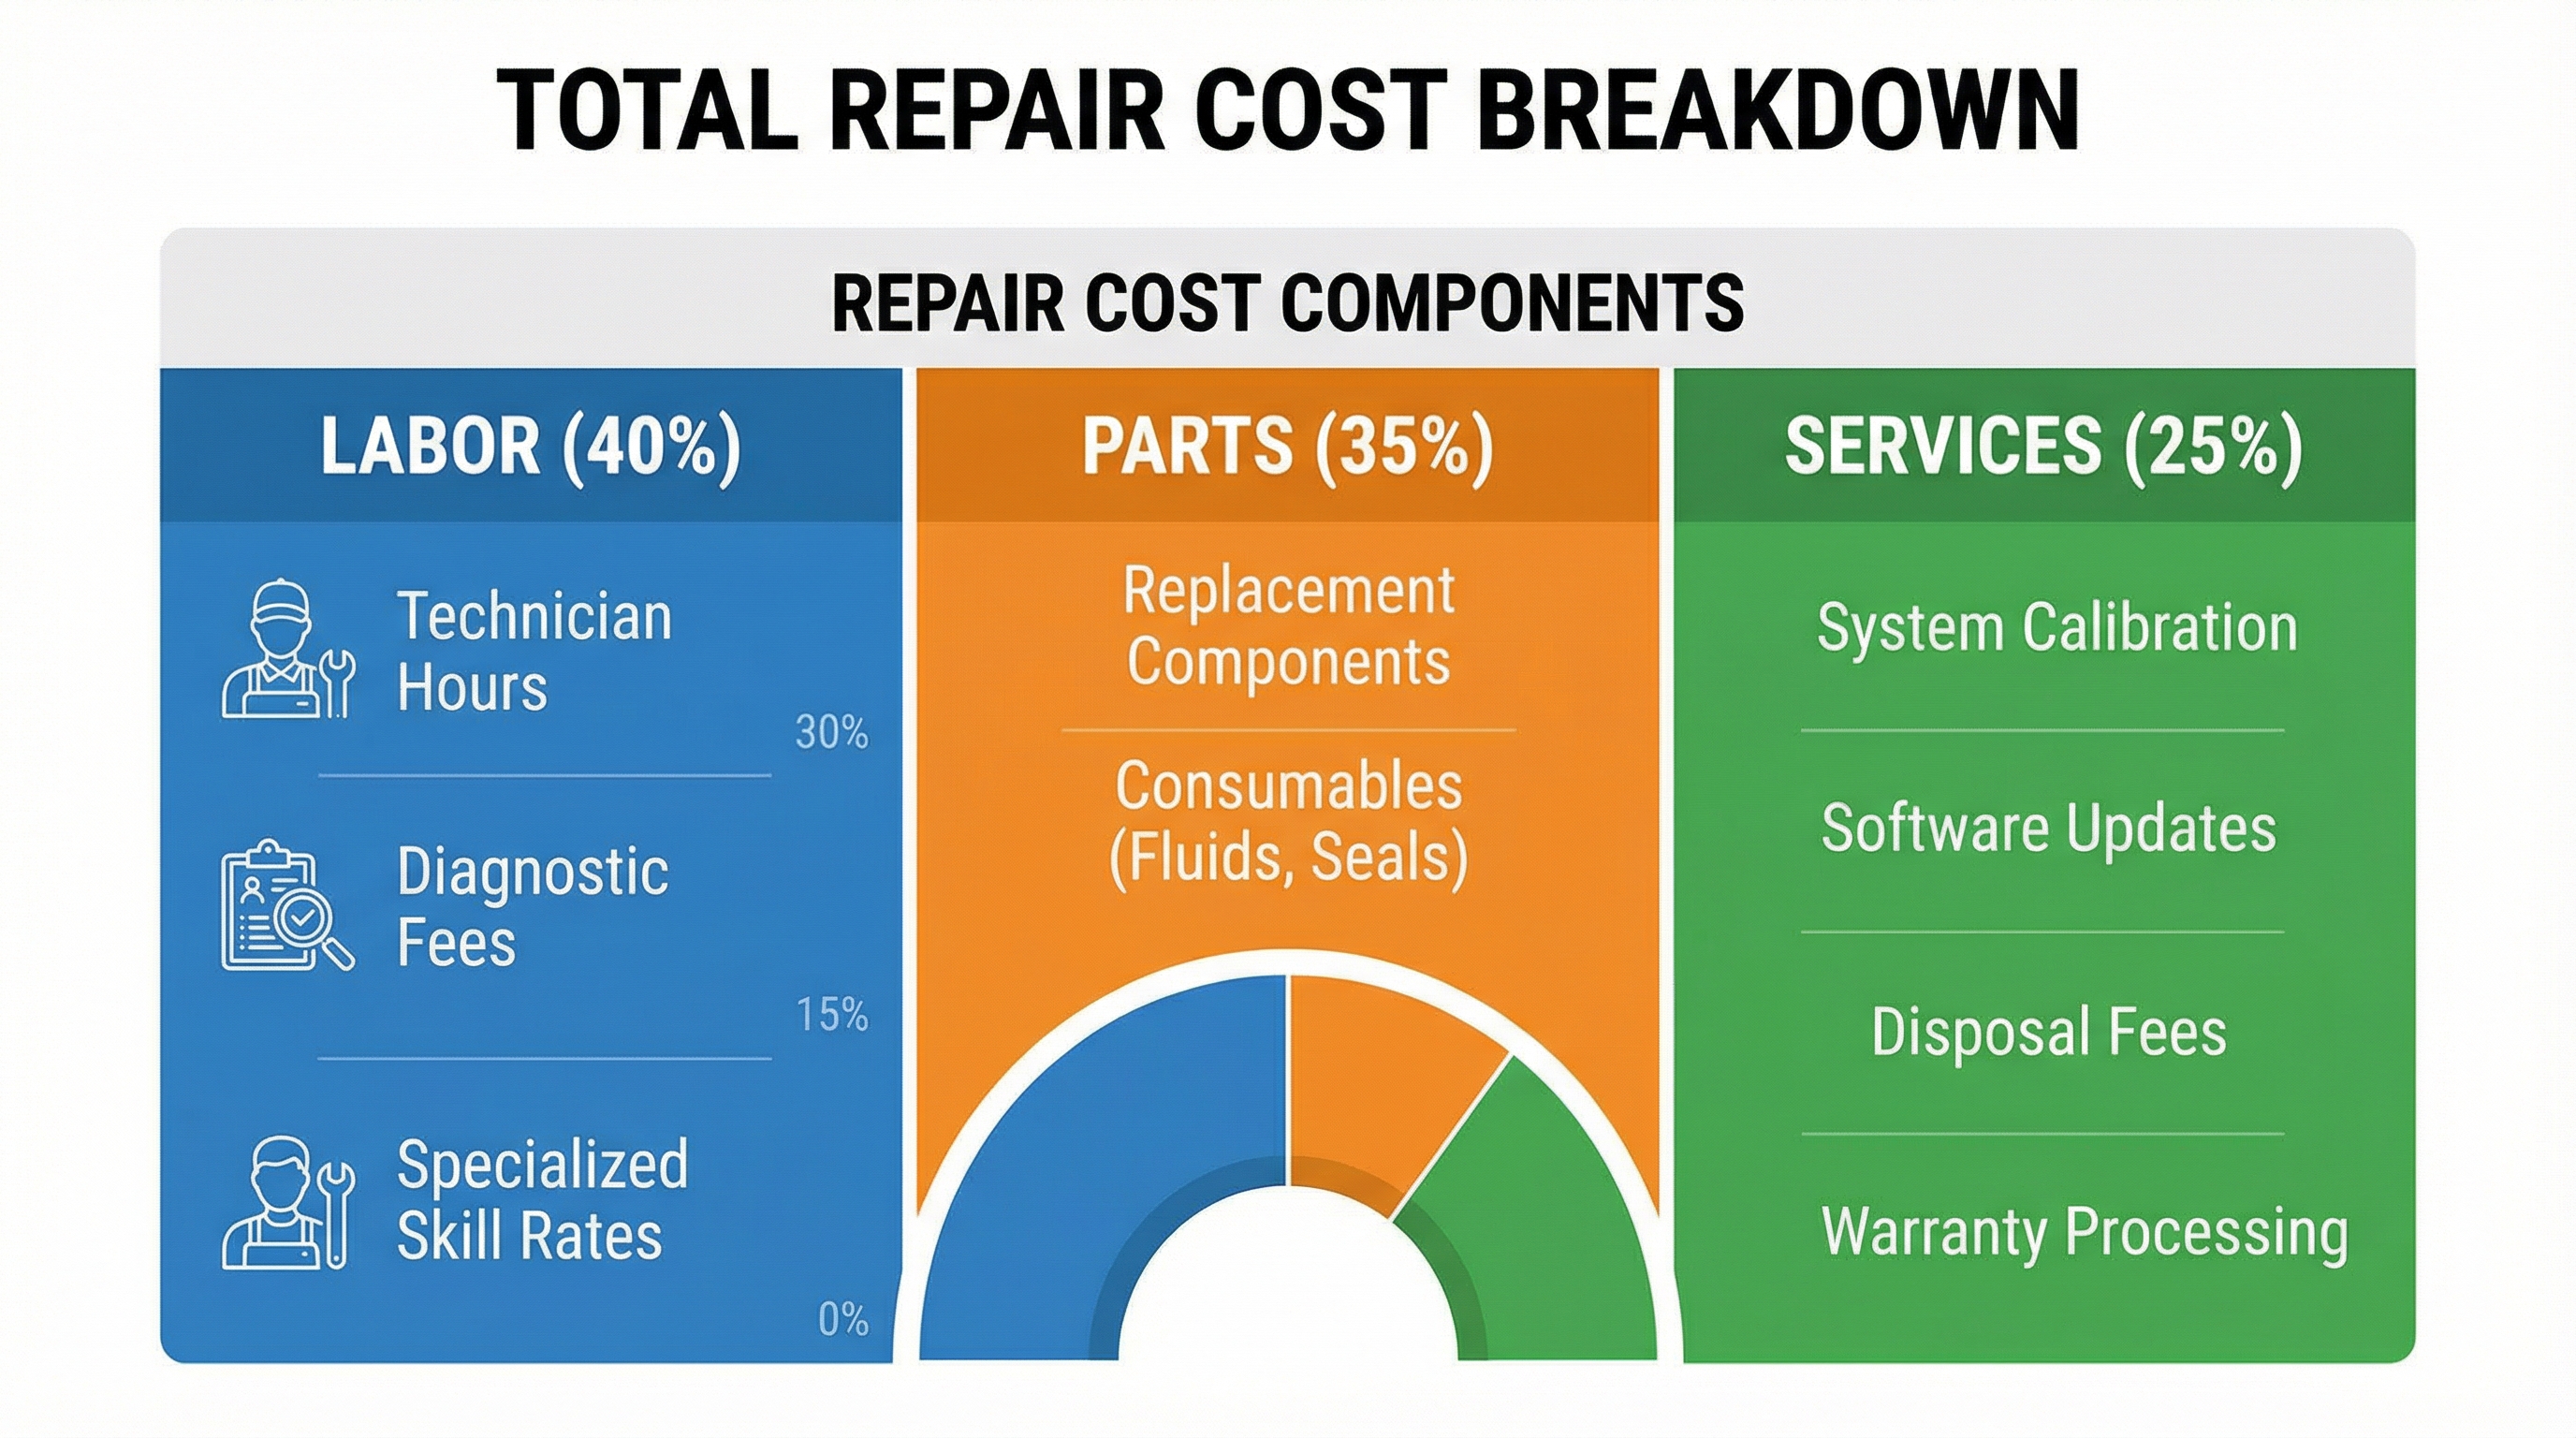
Cost-Benefit Analysis for Major Failures
If your grinder requires armature rewinding (typically $80-$120), compare this to 40-60% of a new tool’s cost—you’re often better replacing it. Severely pitted housings from corrosion or impact damage cannot be safely repaired. Cracked motor casings on electric models create electrical hazards that no repair can fully eliminate. Consider the tool’s age—repairing grinders older than 5 years often leads to subsequent failures as other components wear out.
Salvaging Parts from Beyond-Repair Grinders
Even when a die grinder is beyond economical repair, harvest usable components like switches, collets, and side handles for future repairs. Keep the motor housing as a source of specialty screws and retaining rings that are difficult to replace. Save worn bearings as reference when ordering replacements for other tools—they often match common industrial sizes.
Final Note: Regular die grinder maintenance prevents most failures—clean internal components after each use and replace carbon brushes at first sign of sparking. When repairs become necessary, proper bearing installation and electrical component testing ensure your tool returns to full performance. Keep this guide handy for your next die grinder emergency, and consider creating a dedicated repair kit with model-specific parts to minimize downtime during critical projects. For persistent issues beyond these procedures, consult manufacturer service manuals or seek professional repair services to avoid safety hazards from improper fixes.


