That sharp, acrid odor hitting your nostrils the moment you fire up your Cuisinart blender? Stop blending immediately. When your Cuisinart emits a burning smell, it’s screaming a mechanical emergency—ignore it for more than 30 seconds, and you’ll likely face permanent motor destruction. This isn’t just a nuisance; it’s your blender’s last warning before costly replacement becomes inevitable. You’ll discover exactly where that burning smell originates, how to diagnose the specific failure point in under 5 minutes, and whether you can fix it yourself or must cut your losses. Most critical burning issues resolve with simple $10 part replacements if caught early.
Pinpoint Your Burning Smell Source in 60 Seconds
Don’t guess—diagnose. The location and timing of that burning odor reveal exactly which component is failing. Smell concentrated near the base motor housing points to electrical faults, while odors rising from the blade assembly indicate mechanical overload. Immediate burning on startup usually means seized bearings or melted couplers, whereas smells developing after 30+ seconds of use typically signal dull blades overworking the motor. Never ignore even faint electrical smells—they escalate to smoke within minutes.
Take these critical actions now:
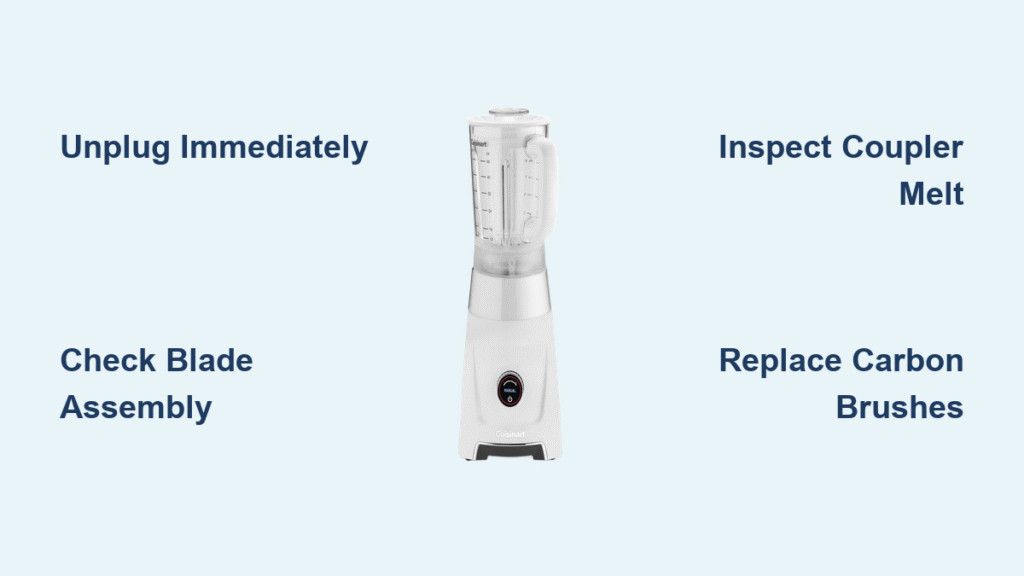
– Unplug directly from the wall (don’t trust the power switch)
– Remove the jar to stop motor strain
– Inspect the base coupling for melted plastic or brown residue
– Wait 15 minutes before handling—components reach 200°F+ during failure
Blade Assembly Failure Symptoms That Trigger Burning Smells

Seized Bearings: The Silent Motor Killer
That grinding noise during operation? It means liquid has breached your seal and seized the blade bearings. When bearings lock up, your motor strains against immovable blades, generating intense heat that creates burning smells within 20 seconds. Left unchecked, this destroys motor windings permanently.
Perform this blade check:
1. Unplug the blender completely
2. Remove the jar and turn it upside down
3. Spin the blade assembly by hand—smooth rotation means healthy bearings
4. Stuck blades or gritty resistance confirms bearing failure
5. Check for rust-colored liquid pooling under the seal—this signals liquid infiltration
Dull Blades Overloading Your Motor
Dull blades force your Cuisinart to work 40% harder when crushing ice or frozen fruit. This sustained overload overheats motor components, producing that telltale burning odor after 45-60 seconds of use. You’ll notice reduced blending power and unusual strain sounds before the smell appears.
Replace blades correctly:
– Always unplug before disassembly
– Unscrew the blade assembly from the jar base
– Pop out the old agitator and seal—never reuse the seal
– Position the new seal between the agitator and jar (not the base!)
– Screw the assembly back tightly—loose fittings cause leaks
Motor Failure Patterns Beyond Simple Overheating
Carbon Brush Degradation: The Electrical Burn Source
Worn carbon brushes create visible electrical arcing inside the motor housing—the leading cause of burning smells with no visible blade issues. As these consumable parts degrade (typically after 2-3 years of daily use), they spark against the armature, emitting that distinct ozone-like burning odor. You might see smoke or experience intermittent power loss before complete failure.
Replace brushes safely:
1. Unplug and locate brush caps (usually two side ports)
2. Use a flat screwdriver to pop off caps
3. Slide out worn brushes—they’ll feel gritty or measure under ¼ inch
4. Insert new brushes with the spring facing inward
5. Secure caps tightly—loose caps cause dangerous arcing
Secondary Motor Damage Cascade
Burning smells often indicate a chain reaction of failures. A torn seal lets liquid reach the motor shaft, causing electrical shorts that burn windings. Simultaneously, seized blades overwork the motor, generating heat that melts internal components. This dual assault creates overwhelming burning odors that won’t resolve with single-part replacements.
Seal System Breakdown: The Hidden Liquid Intruder
Early Seal Failure Detection Saves Your Motor
Torn seals are silent killers—they let liquid seep into your motor over weeks, causing corrosion that eventually triggers burning smells. Catch these warning signs before permanent damage: brown liquid pooling under the blender base, rust-colored residue on the motor shaft, or intermittent electrical odors during use. Once liquid penetrates the motor, complete replacement becomes likely.
Replace seals proactively:
– Always install a new seal when changing blades
– Never reuse old seals—they lose elasticity
– Position the seal snugly between the agitator and jar
– Test for leaks by filling the jar with water before use
Plastic Coupler Meltdown: Your Blender’s Safety Fuse

Coupler Failure Creates Burning Plastic Odors
Your coupler acts as a designed failure point—like a fuse—to protect the motor during blade jams. When overloaded (often from frozen ingredients), plastic couplers melt and harden in damaged positions. This forces the motor to spin against resistance, creating intense burning plastic smells within seconds. You’ll notice the jar won’t lock properly or spins unevenly.
Install a new coupler correctly:
– Unplug and remove the jar
– Pop out the damaged coupler with a screwdriver tip
– Clean metal debris from the spindle—this causes future failures
– Screw the new coupler on counter-clockwise
– Test rotation by hand before plugging in
Monthly Prevention Strategies That Stop Burning Smells
Critical Maintenance Checklist
Prevent 80% of burning incidents with this 5-minute monthly routine:
– Inspect seals for cracks under bright light
– Test blade sharpness by chopping soft tomatoes—dull blades crush instead of slice
– Check coupler tightness—wobble means replacement time
– Clear motor vents with a toothpick—dust buildup causes overheating
Usage Rules to Eliminate Overload Burns
Follow these non-negotiables:
– Never exceed 6 ice cubes per blend cycle
– Always add liquid before solids—creates lubrication flow
– Pulse frozen ingredients in 3-second bursts
– Rest 2 minutes after every 3 minutes of continuous blending
Emergency Shutdown Protocol When Burning Smells Strike
Immediate Response Sequence
That first whiff of burning requires military-precision action:
1. Yank the plug from the wall—power switches may be compromised
2. Remove the jar immediately to eliminate load
3. Open windows and run fans—fumes contain harmful particulates
4. Document symptoms—note smell location and intensity for diagnosis
5. Wait 30 minutes before inspection—hot components cause burns
Quick Fix vs. Replace Decision Framework
Repair if:
– Burning stops after blade/seal replacement
– Motor runs silently during 30-second test
– Blender is under 3 years old with moderate use
Replace if:
– Smoke visibly escaped the motor housing
– Burning smell returns after carbon brush replacement
– Motor brushes measure under ¼ inch when removed
– Unit is over 5 years old with daily ice blending
Component Replacement Timeline by Usage

| Component | Heavy Daily Use | Moderate Weekly Use |
|---|---|---|
| Blades & Seals | Every 6 months | Every 12 months |
| Carbon Brushes | Every 18 months | Every 2.5 years |
| Coupler | Inspect monthly | Check quarterly |
That burning smell from your Cuisinart blender won’t fix itself. Each second of operation risks permanent motor damage. Start with blade assembly inspection—this solves 70% of burning smell issues. Replace worn seals and dull blades immediately. For motor-level problems, carbon brushes offer a cost-effective fix before considering complete replacement. Your quick action today saves your blender from becoming an expensive paperweight tomorrow.

