
Your Cuisinart blender just started leaving a mysterious puddle on your kitchen counter after making your morning smoothie. That wet ring isn’t just annoying—it’s a clear signal that your reliable kitchen workhorse needs attention before the problem escalates. When your Cuisinart blender leaking issue appears, it’s not just creating a mess; it’s potentially damaging your investment and creating safety hazards you might not even notice.
Every drip from your Cuisinart blender means liquid is escaping where it shouldn’t, potentially reaching electrical components or causing permanent damage to your countertop. Whether it’s a slow seep or a steady stream, ignoring these leaks will only lead to more expensive repairs or complete replacement. This guide delivers precise diagnostic steps and proven solutions that will have your blender operating leak-free again—often with just a $5 part and 15 minutes of your time.
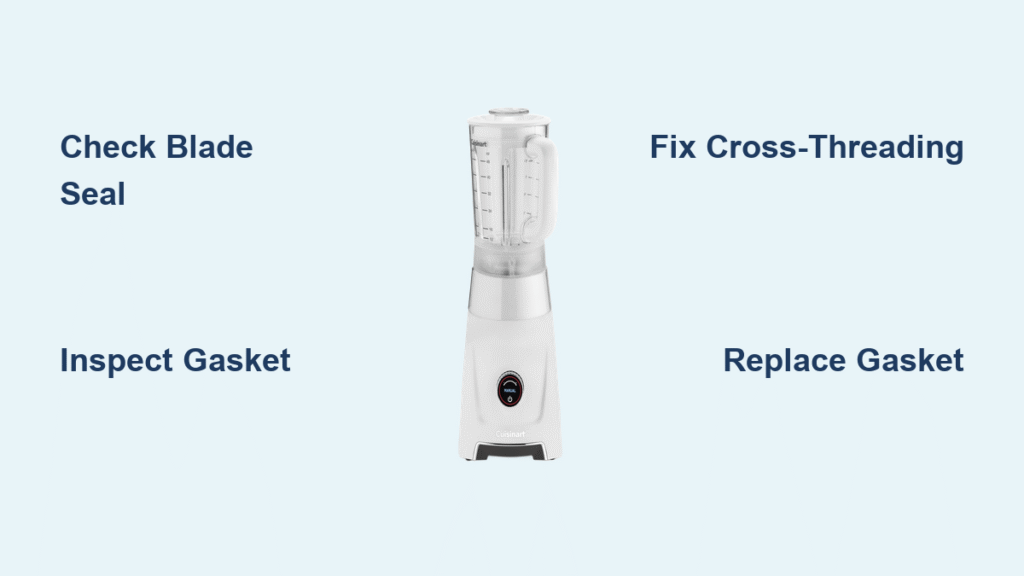
Pinpoint Exactly Where Your Cuisinart Blender Leaks From
Blade Assembly Seal Failure Signs
The blade assembly represents the most common leak source in Cuisinart blenders, particularly in models used regularly for hot soups or frozen drinks. When the internal bearing seal deteriorates, you’ll notice distinctive brownish liquid pooling directly beneath the blade housing—not around the jar base. This discoloration occurs because the escaping liquid mixes with food residue trapped inside the mechanism.
Carefully inspect your blade assembly for hairline cracks radiating from the center hub. Even minuscule fractures compromise the watertight integrity, allowing liquids to penetrate toward the motor assembly. If you spot any cracks, replacement is your only viable option—temporary fixes like food-safe epoxy create health risks and rarely provide lasting solutions.
Jar Base Connection Weak Points
Your Cuisinart blender’s jar connects to the motor base through a threaded system that relies on a rubber gasket to maintain a watertight seal. When this gasket degrades or becomes misaligned, liquid exploits microscopic gaps between the metal surfaces. The telltale sign? Water spots appearing around the jar’s threaded connection after each use, especially when blending at high speeds.
This connection point suffers most from improper assembly techniques. Many users unknowingly cross-thread the jar by forcing it onto the base at a slight angle. This creates permanent misalignment that prevents proper sealing, even when the jar appears securely fastened. Before replacing parts, verify you’re aligning the jar perfectly straight before tightening.
Gasket Wear Indicators You Can’t Ignore
Cuisinart’s rubber gaskets typically maintain effectiveness for 18-24 months with daily use. As they age, these critical components harden, lose elasticity, and develop micro-cracks invisible to the naked eye. Watch for these unmistakable warning signs:
- Tiny black rubber particles appearing in your blended beverages
- A persistent damp smell even after thorough cleaning and drying
- The need to overtighten the jar significantly beyond normal hand-tightening
- Visible gaps between the jar and base when assembled
When multiple symptoms appear simultaneously, gasket replacement becomes essential—not optional. Continuing to use your blender with a compromised seal accelerates wear on other components.
Immediate Diagnostic Tests You Can Perform Today

Precision Visual Inspection Protocol
Conduct this systematic examination with your blender unplugged and completely dry:
- Remove the jar from the motor base and turn it upside down
- Examine the blade assembly mounting area for cracks or corrosion
- Check the rubber gasket for hardness, cracks, or uneven seating
- Inspect both sets of threads (on jar and base) for food debris or damage
- Look for liquid residue trails indicating the leak’s origin point
Critical red flags requiring immediate action:
– Cracks extending from the blade assembly center
– Missing or severely damaged gasket
– Rust or corrosion on metal components
– Food particles permanently lodged in threads
Acceptable wear indicators:
– Slight discoloration of rubber components
– Minor surface scuffs on metal parts
– Light staining from regular food use
Controlled Water Testing Method
This simple test delivers definitive leak source identification:
- Fill your clean, empty blender jar with exactly 2 cups of room-temperature water
- Secure the lid properly and blend on the highest setting for 30 seconds
- Immediately place the blender on a fresh white paper towel
- Wait precisely 2 minutes before checking for leaks
- Document exactly where moisture appears
Interpret your results:
– Moisture directly under blade assembly = internal seal failure
– Water droplets around jar base connection = gasket or threading issue
– Dampness on motor base surface = severe leak requiring immediate repair
Model-Specific Vulnerability Checkpoints

Different Cuisinart series exhibit distinct leak patterns:
Smart Power models (SPB-7, SPB-10): Focus on the plastic collar beneath the blade assembly—these frequently develop hairline cracks from thermal stress when blending hot liquids
Velocity series (CBT-500, CBT-1000): Examine the large rubber gasket surrounding the drive coupling—this component often degrades faster in high-performance models
Compact units (CPB-300): Inspect the smaller blade assembly for stripped threads—these lightweight models experience accelerated wear at connection points
Proven DIY Repair Solutions That Actually Work
Gasket Replacement Made Simple
Most Cuisinart leaks stem from a worn gasket—easily fixed with these steps:
- Order the correct part: Locate your model number (stamped on the motor base underside) and purchase an OEM replacement gasket
- Remove the old gasket: Use needle-nose pliers to carefully pull the degraded ring from its groove
- Deep clean the channel: Remove all debris with a cotton swab dipped in white vinegar solution
- Install the new gasket: Press firmly into the groove, ensuring no twists or gaps in the seal
- Conduct a water test: Verify your repair before making actual food
Pro tip: Always purchase two gaskets—these inexpensive components should be replaced preventatively every 18-24 months, and having a spare saves future frustration.
Blade Assembly Replacement Procedure
When gasket replacement doesn’t solve the leak, the blade assembly itself likely needs replacement:
Required tools: Phillips screwdriver, needle-nose pliers, soft cloth
- Unplug the blender and remove the jar
- Turn jar upside down and locate the retaining ring securing the blade assembly
- Unscrew the ring counterclockwise using pliers wrapped in cloth to prevent scratching
- Carefully lift out the old assembly, noting washer and gasket orientation
- Install the new assembly in reverse order, ensuring all components seat properly
- Hand-tighten the retaining ring, then apply gentle additional pressure with pliers
Critical warning: Never overtighten the retaining ring—this creates new leak points by distorting the assembly.
Fixing Cross-Threaded Jars Properly
Cross-threading creates permanent misalignment that causes persistent leaks:
Symptoms: Jar feels loose despite tightening, visible gaps between components, grinding sounds during assembly
Effective correction method:
1. Completely remove the jar from the base
2. Thoroughly clean both sets of threads with a soft-bristled brush
3. Align the jar perfectly perpendicular to the base
4. Start threading slowly with light pressure
5. Stop immediately if resistance occurs—restart the alignment process
Leak Prevention Strategies That Extend Blender Life
Daily Assembly Best Practices
Prevent 90% of leaks with proper daily handling:
- Hand-tighten only: Mechanical force damages gaskets—your hand strength provides optimal compression
- Verify alignment: Ensure the jar sits perfectly straight before tightening
- Respect fill limits: Never exceed the “max” line—liquid expansion during blending creates pressure leaks
- Clean immediately: Food residue hardens in threads, compromising future seals
Preventative Maintenance Schedule
Implement this simple routine to avoid unexpected leaks:
After each use: Rinse blade assembly immediately to prevent food buildup in critical areas
Weekly: Disassemble and clean all components with warm, soapy water
Monthly: Inspect gaskets for early signs of hardening or cracking
Every 18 months: Replace gaskets preventatively—don’t wait for leaks to appear
Optimal Storage Techniques
How you store your blender significantly impacts its longevity:
- Store disassembled: Keep the jar separate from the motor base to prevent gasket compression
- Avoid heat exposure: Never store near stoves, ovens, or in direct sunlight—heat accelerates rubber degradation
- Ensure complete drying: Moisture trapped in threads leads to corrosion and seal failure
When Professional Service Becomes Necessary
Warranty Claim Process
Cuisinart typically offers 3-year limited warranties on motors and 1-year coverage on parts. If your blender leaks within warranty:
- Contact Cuisinart customer service at 1-800-726-0190 with model number and purchase date
- Describe the leak location, frequency, and any troubleshooting steps attempted
- Follow their specific return instructions—never attempt DIY repairs on warranty units
- Request a service center referral if mail-in repair isn’t feasible
Repair vs. Replacement Decision Guide
For out-of-warranty units, consider these cost factors:
Authorized service: $40-60 labor plus parts, 1-2 week turnaround, uses genuine components
Local repair shops: $25-40 labor, may use generic parts, faster service but variable quality
Replacement threshold: When repair costs exceed 50% of a new comparable model’s price
A leaking Cuisinart blender typically requires just a simple gasket replacement, but addressing it immediately prevents costly motor damage and countertop destruction. Start with the water test to pinpoint your specific leak source, then implement the appropriate solution based on your findings. Keep a spare gasket in your kitchen drawer—it’s the most cost-effective insurance against future leaks, and you’ll be grateful when the next drip appears. With proper maintenance, your Cuisinart blender can deliver leak-free performance for years to come.


